单细胞神经元可视化-- HarmonyOS Next


目录
新建项目
目录结构
页面
数据请求
渲染
3D可视化
新建项目
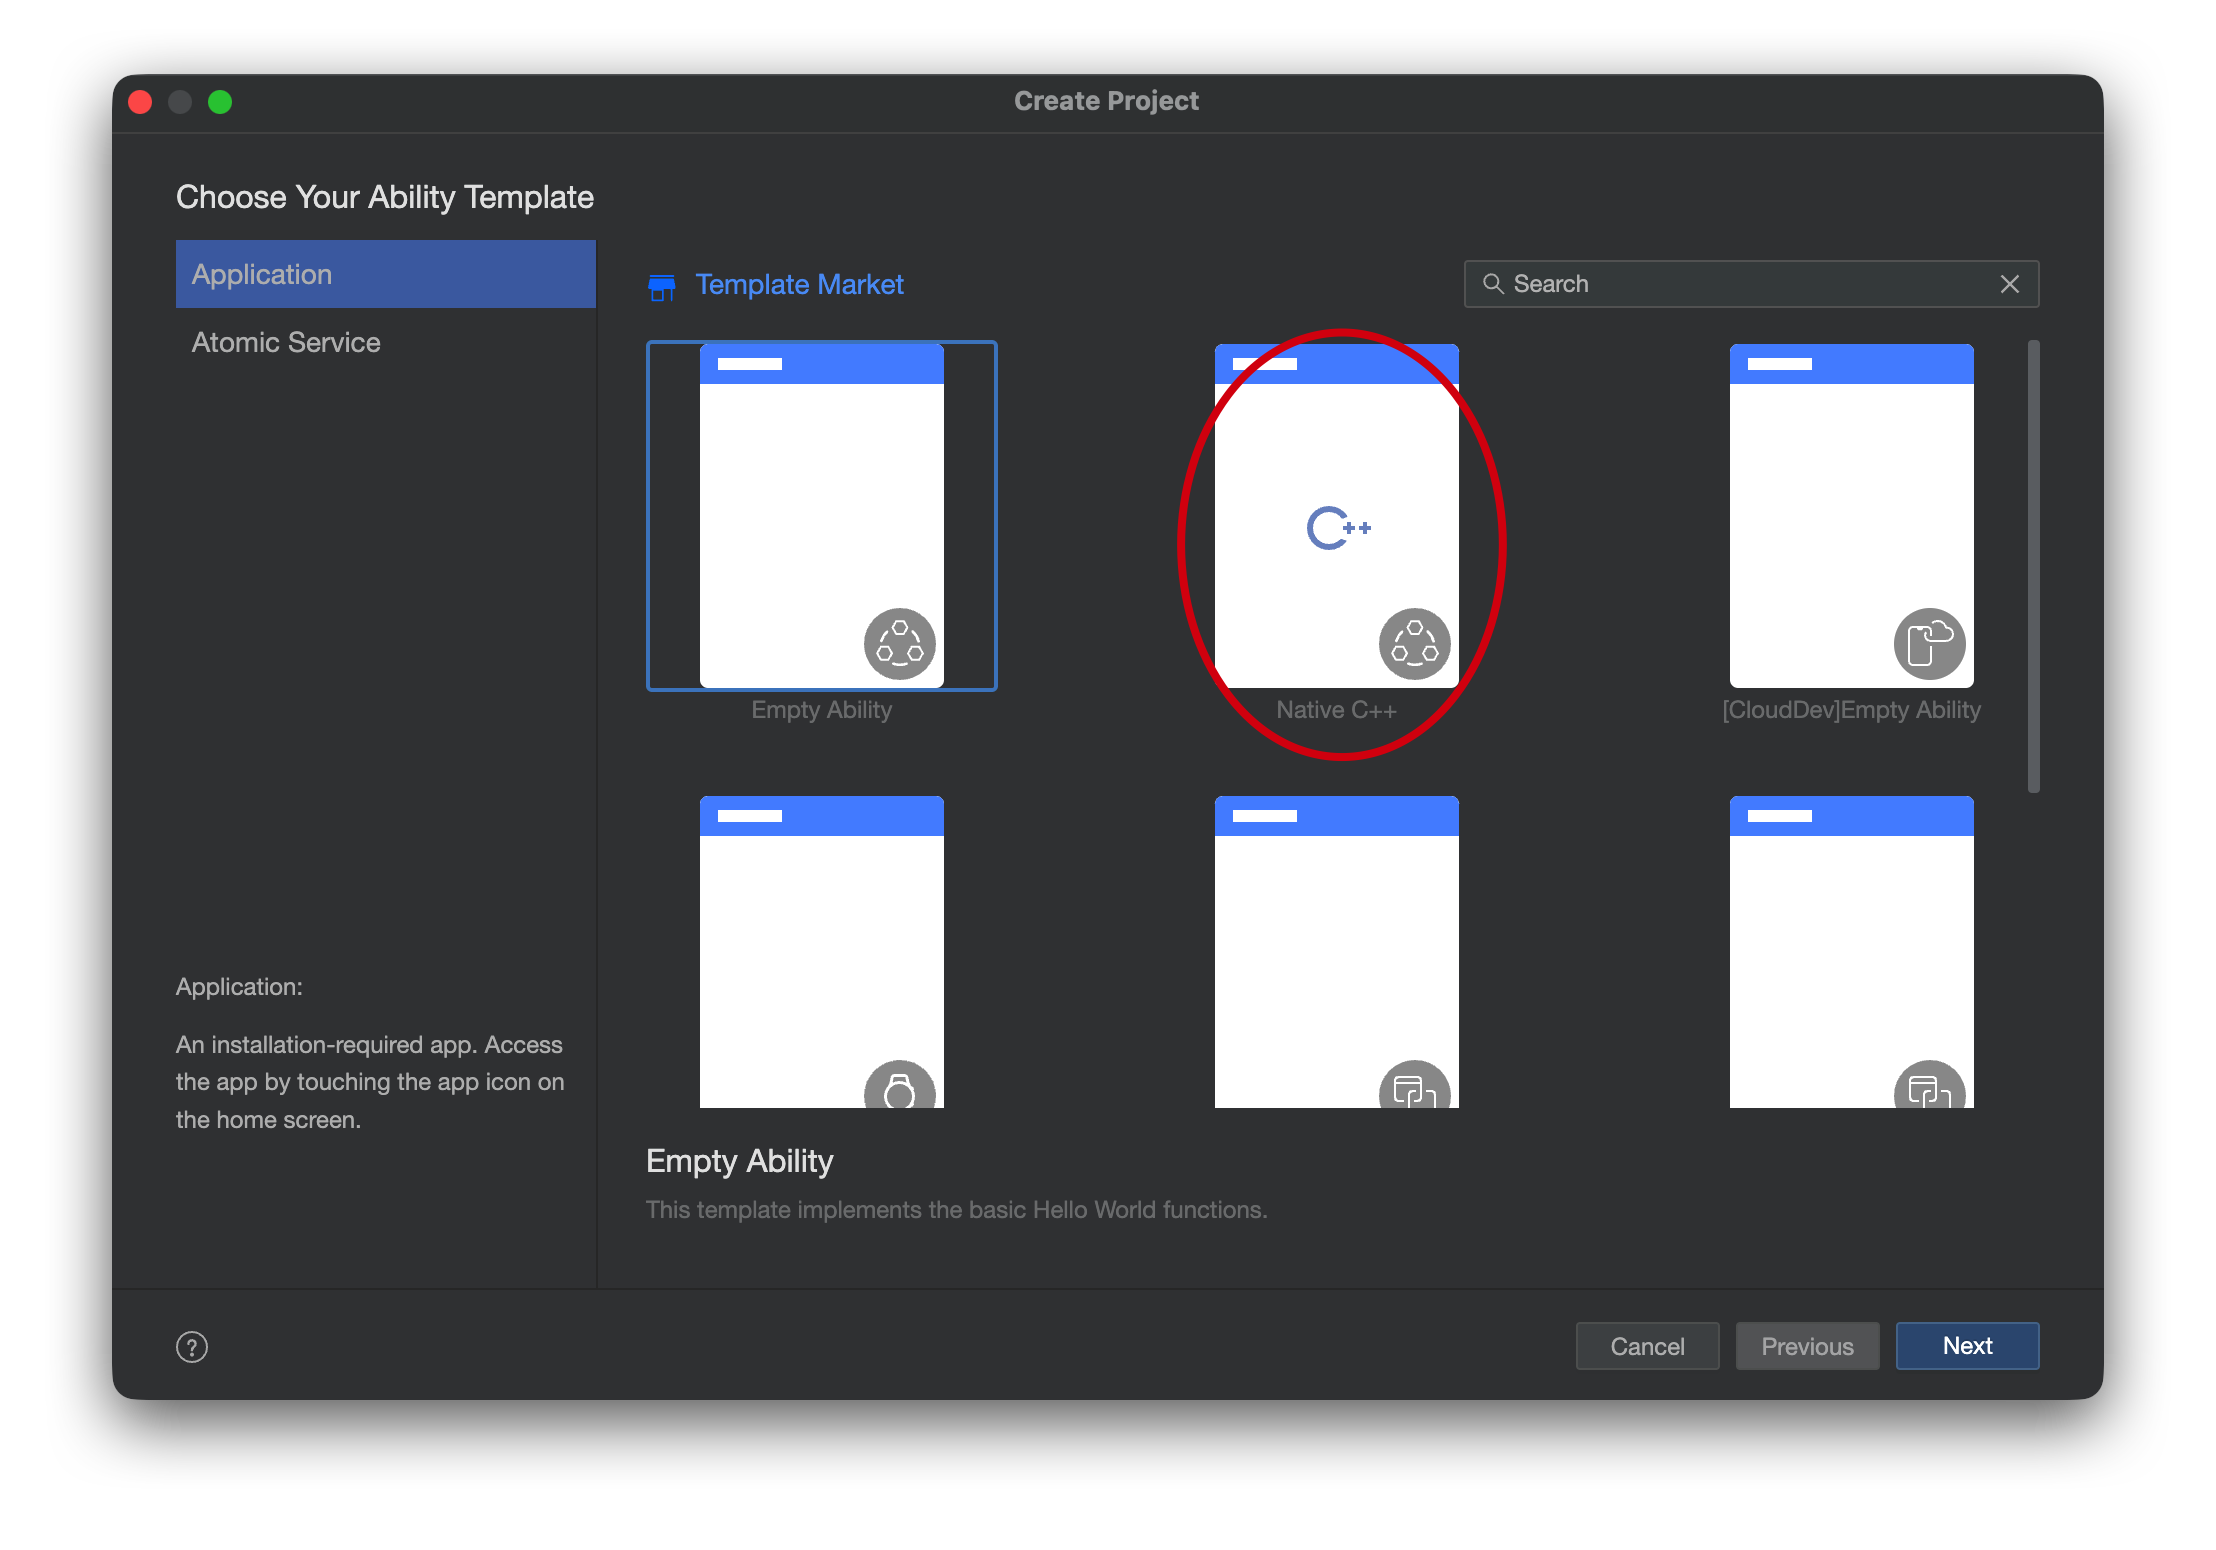
可视化项目中,为了借助原生c++的性能,同时复用已有的c++代码,可以在DevEco-Studio中新建Native C++的工程(左侧),也可以从官方例子中找个简单的XComponent示例工程开始(右侧)。一次开发可以在多种设备上运行。

目录结构
新建完成后基本目录结构大致如下:
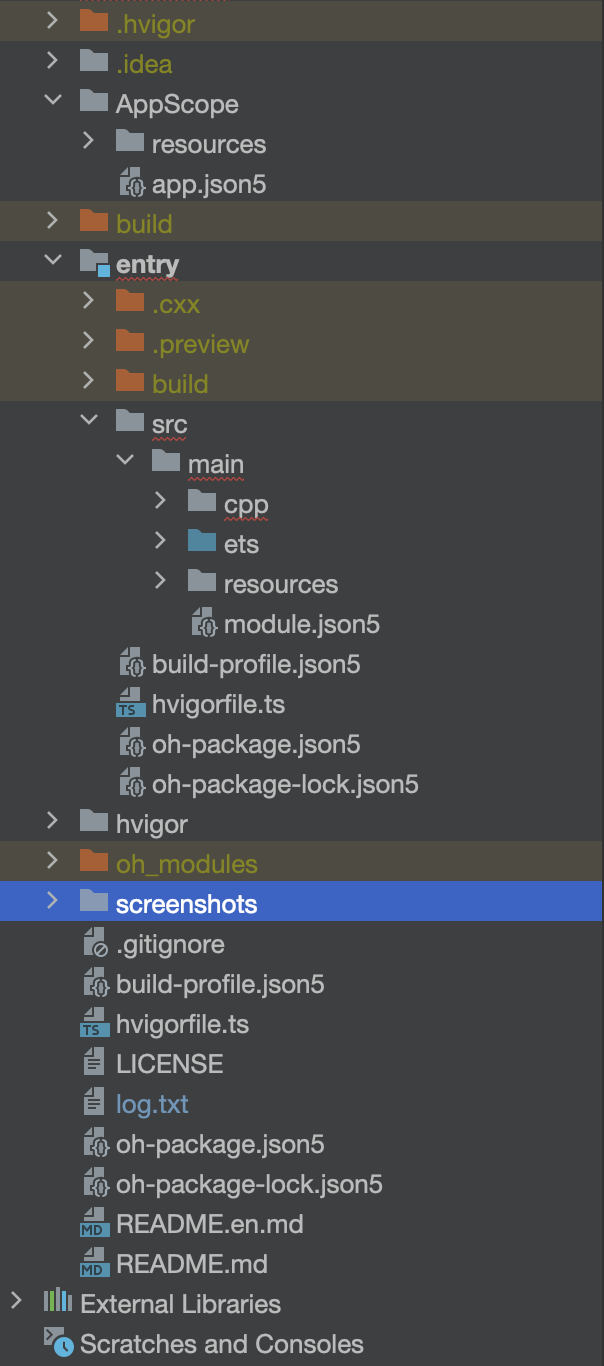 | ├─AppScope // 存放应用全局所需要得资源文件 ├─resources // 目录用于统一存放应用所需的各种资源,包括图片、音频、视频、文本等等 ├─app.json5 // 应用的全局配置信息 ├─entry // 应用/服务模块,编译构建生成一个HAP。 ├─src ├─main ├─ets // 用于存放ArkTS源码 ├─entryability // 应用/服务的入口 ├─pages // 应用/服务包含的页面 ├─resources // 用于存放应用/服务模块所用到的资源文件。 ├─base // 图形、多媒体、字符串、布局文件等 ├─en_US // 设备设置美式英文时,优先匹配此目录下资源 ├─zh_CN // 设备设置美式简体中文时,优先匹配此目录下资源 ├─module.json5 // Stage模型模块配置文件 ├─…… ├─build-profile.json5 // 当前的模块信息、编译信息配置项 ├─hvigor // 配置和管理项目的构建过程 ├─hvigor-config.json5 // 指定hvigor的版本、构建依赖以及构建行为的配置参数 ├─oh_modules // 用于存放三方库依赖信息,包含应用/服务所依赖的第三方库文件 ├─build-profile.json5 // 应用级配置信息,包括签名、产品配置等 ├─hvigorfile.ts // 应用级编译构建任务脚本 ├─local.properties // 配置SDK目录 ├─oh-package.json5 // 描述全局配置 |
选择好运行设备后(真机或者模拟器),运行后即可看到效果,自己新建的项目将看到“Hello World”。之后我们就可以在新建的工程上添加代码了,首先是页面的设计。

页面
页面相对简单,仅添加一个页面,但是把页面中不同模块分在了不同的小组件里面,这样有利于代码的组织,避免单个文件代码太多太乱。比如这里简单分为左右两个部分,左边放SampleNeuronList,右边放XComponent;在左侧的SampleNeuronList中同样划分为更小的模块,上面SampleList,下面NeuronList;左上SampleList中继续划分为工具栏和列表区,左下同样。采样基本的Grid即可完成页面布局。
其中SampleList页面代码如下,看上去比较长,主要是包含了一堆样式属性:
build() {Column() {TextInput({ placeholder: $r('app.string.search_sample') }).onChange((value: string) => { // 监听输入变化this.searchKey = value;}).height('8%').padding({ top: 0, bottom: 0 }).margin(0).backgroundColor('#A9A9A9').borderRadius(0)List() {ForEach(this.sampleList.filter(sample =>sample.sampleid.toLowerCase().includes(this.searchKey.toLowerCase())), (sample: Sample) => {ListItem() {Row() {Checkbox().width(20).height(20).margin(3).onChange((event) => {if(event)this.emitEvent([sample.sampleid],this.species+'addSampleNeurons')else{this.emitEvent([sample.sampleid],this.species+'removeSampleNeurons')}})Text(sample.sampleid).fontSize(15).margin({ left: 5, right: 5 }).align(Alignment.Start).fontColor('#FFFFFF')Column() {Badge({count: sample.count,position: BadgePosition.Right,style: { badgeSize: 10, badgeColor: '#4A2A2D' }}) {Text(sample.pi).fontSize(6).margin(1).width('100%').fontColor('#FFFFFF')}Text(String(sample.region)).fontSize(8).textOverflow({ overflow: TextOverflow.Ellipsis }).maxLines(1).width('100%').fontColor('#FFFFFF')}.width('60%').align(Alignment.Start)}}.margin({top: 1,bottom: 1,left: 3,right: 3}).width('100%').align(Alignment.Start).backgroundColor(this.getItemHoverState(sample.sampleid) ? '#E6F4FF' : '#3A424A').onHover((event) => {this.setItemHoverState(sample.sampleid, event); // 更新对应项的状态})}, (sample: Sample) => sample.sampleid)}.divider(this.egDivider).height('92%')}.borderColor('#F5F5F5').backgroundColor('#3A424A').borderWidth(1).height('100%')}设计了一个EventBus来跨页面事件响应。
export class EventBus {private listeners: Record<string, Array<(para:string[]) => void>> = {};private para:string[]=[];// Make the constructor private to enforce singletonprivate constructor() {}// Get the singleton instanceprivate static instance: EventBus | null = null;static getInstance(): EventBus {if (!EventBus.instance) {EventBus.instance = new EventBus();}return EventBus.instance;}on(eventName: string, callback: (para:string[]) => void) {// Now `this` refers to the instanceif (!this.listeners[eventName]) {this.listeners[eventName] = [];}this.listeners[eventName].push(callback);}emit(eventName: string,para:string[]) {this.para=para;this.listeners[eventName]?.forEach(callback => callback(this.para));}
}
数据请求
在页面加载时请求后台数据
aboutToAppear(): void {this.sendGetRequest();}请求数据后修改成员数据sampleList,@State装饰的变量是组件内部的状态数据,当这些状态数据被修改时,将会调用所在组件的build方法进行UI刷新。需要注意的是耗时的请求或者数据加载操作需要异步进行,否则会卡死主进程,导致程序退出。
async sendGetRequest() {let httpRequest = http.createHttp();const resourceManager = this.getUIContext().getHostContext()!.resourceManager;resourceManager.getStringValue($r('app.string.server_address')).then((address: string) => {// 订阅 HTTP 响应头事件httpRequest.on('headersReceive', (header) => {console.info('header: ' + JSON.stringify(header));});let url = address + "/selectSample?sample_id=all";// 发起 GET 请求httpRequest.request(url,{method: http.RequestMethod.GET,expectDataType: http.HttpDataType.STRING,usingCache: false,priority: 1,connectTimeout: 60000,readTimeout: 60000,usingProtocol: http.HttpProtocol.HTTP1_1,usingProxy: false},(err: BusinessError, data: http.HttpResponse) => {if (!err) {console.info('请求成功,结果: ');const result: Sample[] = JSON.parse(data.result as string);this.sampleList = result.filter(sample =>sample.species.toLowerCase().includes(this.species));console.info('响应码: ' + JSON.stringify(data.responseCode));httpRequest.destroy();} else {console.error('请求失败,错误: ' + JSON.stringify(err));// 取消订阅 HTTP 响应头事件httpRequest.off('headersReceive');// 当该请求使用完毕时,调用 destroy 方法主动销毁httpRequest.destroy();}});}).catch((err: BusinessError) => {console.error('access failed: ', err);});}渲染
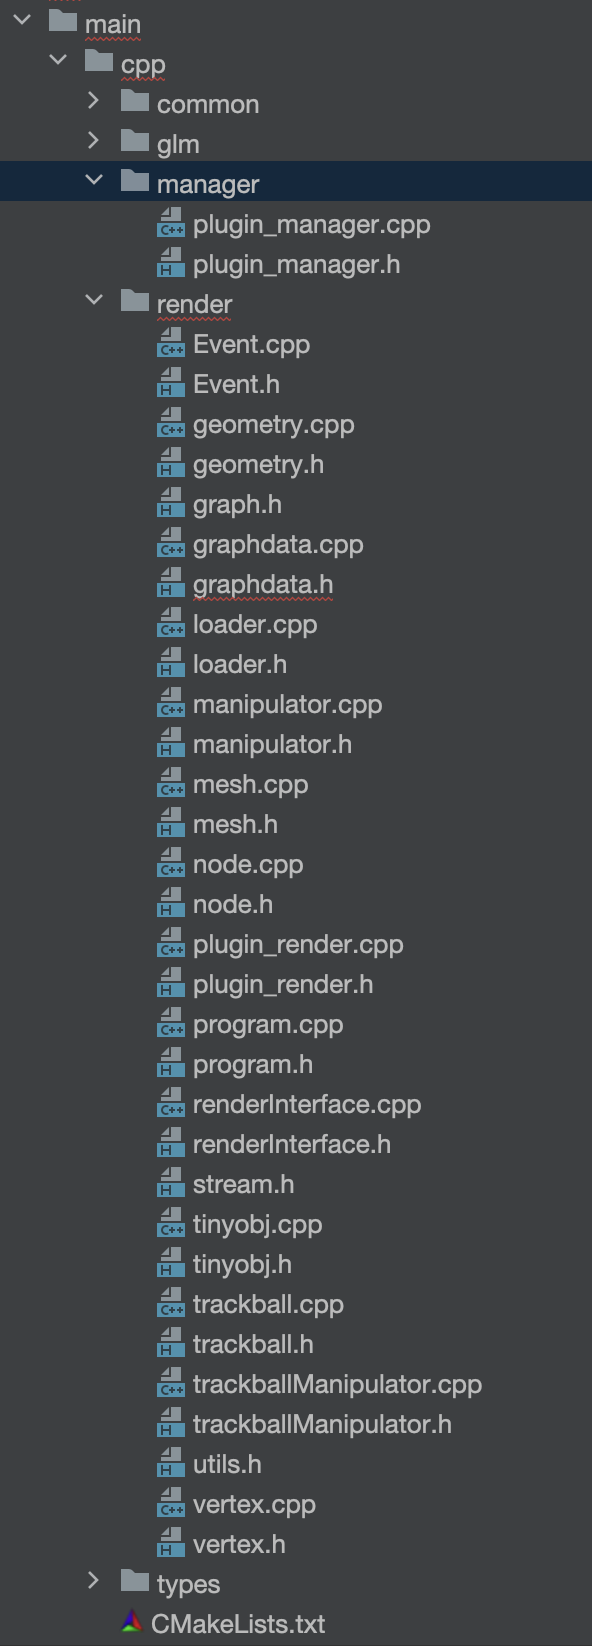
渲染部分是一个c++库,编译完之后是一个.so,可以看到下面的代码中和熟悉的c++代码完全一样,甚至直接加上了glm库。c++和arkts的交互主要通过NAPI完成。
HarmonyOS NDK提供多个开放能力库,如图形图像、内存管理、设备管理等,供开发者实现代码逻辑;同时提供业界标准库,如libc标准库、标准C++库、Node-API等。
首先:Native侧方法的实现
1.实现ArkTS接口与C++接口的绑定和映射。
// entry/src/main/cpp/napi_init.cppEXTERN_C_START// 模块初始化static napi_value Init(napi_env env, napi_value exports) { // ArkTS接口与C++接口的绑定和映射 napi_property_descriptor desc[] = { // 注:仅需复制以下两行代码,Init在完成创建Native C++工程以后在napi_init.cpp中已配置好。 {"callNative", nullptr, CallNative, nullptr, nullptr, nullptr, napi_default, nullptr}, {"nativeCallArkTS", nullptr, NativeCallArkTS, nullptr, nullptr, nullptr, napi_default, nullptr} }; // 在exports对象上挂载CallNative/NativeCallArkTS两个Native方法 napi_define_properties(env, exports, sizeof(desc) / sizeof(desc[0]), desc); return exports;}EXTERN_C_END2.在index.d.ts文件中,提供JS侧的接口方法。
// entry/src/main/cpp/types/libentry/index.d.tsexport const callNative: (a: number, b: number) => number;export const nativeCallArkTS: (cb: (a: number) => number) => number;3.在oh-package.json5文件中将index.d.ts与cpp文件关联起来。
// entry/src/main/cpp/types/libentry/oh-package.json5{ "name": "libentry.so", "types": "./index.d.ts", "version": "", "description": "Please describe the basic information."}4.在CMakeLists.txt文件中配置CMake打包参数。
# entry/src/main/cpp/CMakeLists.txtcmake_minimum_required(VERSION 3.4.1)project(MyApplication2)set(NATIVERENDER_ROOT_PATH ${CMAKE_CURRENT_SOURCE_DIR})include_directories(${NATIVERENDER_ROOT_PATH} ${NATIVERENDER_ROOT_PATH}/include)# 添加名为entry的库add_library(entry SHARED napi_init.cpp)# 构建此可执行文件需要链接的库target_link_libraries(entry PUBLIC libace_napi.z.so)5.实现Native侧的CallNative以及NativeCallArkTS接口。具体代码如下:
// entry/src/main/cpp/napi_init.cppstatic napi_value CallNative(napi_env env, napi_callback_info info){ size_t argc = 2; // 声明参数数组 napi_value args[2] = {nullptr}; // 获取传入的参数并依次放入参数数组中 napi_get_cb_info(env, info, &argc, args, nullptr, nullptr); // 依次获取参数 double value0; napi_get_value_double(env, args[0], &value0); double value1; napi_get_value_double(env, args[1], &value1); // 返回两数相加的结果 napi_value sum; napi_create_double(env, value0 + value1, &sum); return sum;}static napi_value NativeCallArkTS(napi_env env, napi_callback_info info){ size_t argc = 1; // 声明参数数组 napi_value args[1] = {nullptr}; // 获取传入的参数并依次放入参数数组中 napi_get_cb_info(env, info, &argc, args , nullptr, nullptr); // 创建一个int,作为ArkTS的入参 napi_value argv = nullptr; napi_create_int32(env, 2, &argv ); // 调用传入的callback,并将其结果返回 napi_value result = nullptr; napi_call_function(env, nullptr, args[0], 1, &argv, &result); return result;}ArkTS侧调用C/C++方法实现
ArkTS侧通过import引入Native侧包含处理逻辑的so来使用C/C++的方法。
// entry/src/main/ets/pages/Index.ets// 通过import的方式,引入Native能力。import nativeModule from 'libentry.so'@Entry@Componentstruct Index { @State message: string = 'Test Node-API callNative result: '; @State message2: string = 'Test Node-API nativeCallArkTS result: '; build() { Row() { Column() { // 第一个按钮,调用add方法,对应到Native侧的CallNative方法,进行两数相加。 Text(this.message) .fontSize(50) .fontWeight(FontWeight.Bold) .onClick(() => { this.message += nativeModule.callNative(2, 3); }) // 第二个按钮,调用nativeCallArkTS方法,对应到Native的NativeCallArkTS,在Native调用ArkTS function。 Text(this.message2) .fontSize(50) .fontWeight(FontWeight.Bold) .onClick(() => { this.message2 += nativeModule.nativeCallArkTS((a: number)=> { return a * 2; }); }) } .width('100%') } .height('100%') }}以上就是使用Node-API实现跨语言交互:
-
ArkTS侧:实现C++方法的调用。代码比较简单,import一个对应的so库后,即可调用C++方法。
-
Native侧:.cpp文件,实现模块的注册。需要提供注册lib库的名称,并在注册回调方法中定义接口的映射关系,即Native方法及对应的JS/ArkTS接口名称等。
3D可视化
3D渲染通过OpenGLES实现,这里主要渲染了脑子模型和神经元,具体可视化内容可参考后续文章,也可以参考官方示例。
上线
目前HarmonyOS Next未开放侧载,所以只能通过开发者模式或者从应用商店下载的方式来安装app,因此需要大规模分发时唯一的途径就是上线。但是现在政策规定所有app上线应用商店必须备案登记,而备案登记流程相对繁琐。所以。。。。