esp32_rust_oled
前言
本章学习rust embedded
1: 环境
ubuntu22
esp32s3(n16r8)( 44PIN)
rust(esp)
oled0.96 i2c
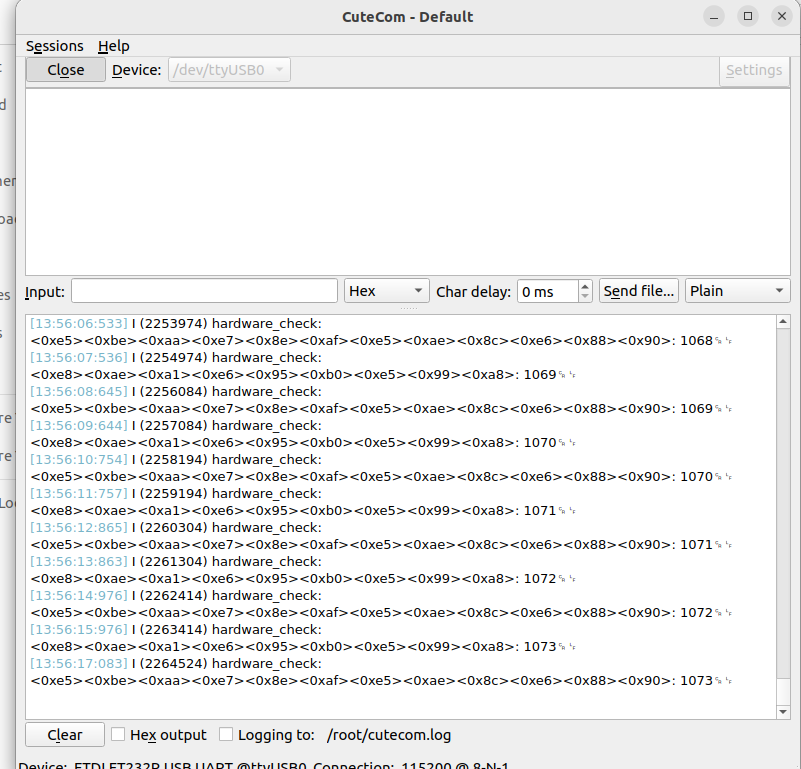
cutecom( 串口工具)
2:安装
rust 自行安装
安装esp 环境
cargo install --locked espup
espup install or espup uninstall
cargo install --locked espflash
https://narukara.github.io/rust-on-esp-book-zh-cn/installation/std-requirements.html
cargo install --locked ldproxy
cargo install --locked cargo-generate
首先,将 ESP-IDF 模板克隆到您的本地机器上:
git clone https://github.com/esp-rs/esp-idf-template.git ~/esp-rs-templates/esp-idf-template
教程
https://narukara.github.io/std-training-zh-cn/02_3_repository.html
Linux 图形 串口工具
sudo apt-get install cutecom
sudo cutecom
3:直接用std-training/intro/hardware-check 修改
需要科学上网,所以有写crate都是先下下来放本地
harware-check cargo.toml
[package]
name = "hardware-check"
version = "0.1.0"
authors = ["Anatol Ulrich <anatol.ulrich@ferrous-systems.com>","Sergio Gasquez <sergio.gasquez@gmail.com>",
]
edition = "2021"
resolver = "2"[[bin]]
name = "hardware-check"
harness = false # We can't use the default rust libtest harness for a crosscompile target[profile.release]
opt-level = "s"[profile.dev]
debug = true # Symbols are nice and they don't increase the size on Flash
opt-level = "z"[dependencies]
anyhow = "=1.0.95"
esp-idf-svc = "=0.50.1"
log = "=0.4.22"
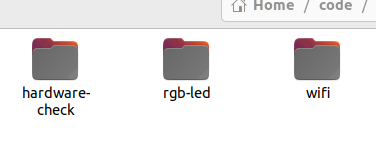
rgb-led = { path = "../rgb-led" }
toml-cfg = "=0.1.3"
wifi = { path = "../wifi" }
embassy-time = { version = "0.4.0", features = ["generic-queue-8"] } # NOTE: any generic-queue variant will work######################################
#u8g2 = {path="/home/ubuntu/code/rust/c_plus_dir/u8g2"}
embedded-graphics = "^0.8.1"
ssd1306 = { path="../../sharecrate/ssd1306-0.10.0",version = "0.10.0", features = ["graphics"] }#embedded-graphics = "~0.7.1" #"0.8.1"
#embedded-graphics= "0.7"
display-interface-i2c= "0.2"
#####################################
[build-dependencies]
embuild = "=0.33.0"
toml-cfg = "=0.1.3"
.cargo/config.toml
[build]
target = "xtensa-esp32s3-espidf"[target.xtensa-esp32s3-espidf]
linker = "ldproxy"
runner = "espflash flash --baud=921600 --monitor --flash-size 16mb"
rustflags = ["--cfg", "espidf_time64", "--cfg", "esp_idf_comp_vfs_enabled"][unstable]
build-std = ["std", "panic_abort"][env]
#MCU = "esp32s3"
# Note: this variable is not used by the pio builder (`cargo build --features pio`)
#ESP_IDF_VERSION = "v5.4.1"
# 明确告诉 bindgen 目标架构(关键配置)
#BINDGEN_EXTRA_CLANG_ARGS = "--target=xtensa-esp32s3-espidf"
MCU="esp32s3"
# Note: this variable is not used by the pio builder (`cargo build --features pio`)
#ESP_IDF_VERSION = "v5.4.1"
# Enables the esp-idf-sys "native" build feature (`cargo build --features native`) to build against ESP-IDF (v5.3.2)
#ESP_IDF_VERSION = { value = "tag:v5.3.2" }
ESP_IDF_VERSION = { value = "tag:v5.4.1" }# These configurations will pick up your custom "sdkconfig.release", "sdkconfig.debug" or "sdkconfig.defaults[.*]" files
# that you might put in the root of the project
# The easiest way to generate a full "sdkconfig[.release|debug]" configuration (as opposed to manually enabling only the necessary flags via "sdkconfig.defaults[.*]"
# is by running "cargo pio espidf menuconfig" (that is, if using the pio builder)
#ESP_IDF_SDKCONFIG = { value = "./sdkconfig.release", relative = true }
#ESP_IDF_SDKCONFIG = { value = "./sdkconfig.debug", relative = true }
ESP_IDF_SDKCONFIG_DEFAULTS = { value = "./sdkconfig.defaults", relative = true }
# ESP-IDF will be installed in ~/.espressif so it can be reused across the different examples.
# See also https://github.com/esp-rs/esp-idf-sys/blob/master/BUILD-OPTIONS.md#esp_idf_tools_install_dir-esp_idf_tools_install_dir
ESP_IDF_TOOLS_INSTALL_DIR = { value = "global" }
rust-toolchain.toml
[toolchain]
channel = "esp"
4:上代码
WS2812RMT GPIO48
OLED SDA gpio41 scl gpio42
use anyhow::Result;
use esp_idf_svc::eventloop::EspSystemEventLoop;
use esp_idf_svc::hal::prelude::Peripherals;
use log::info;
use rgb_led::{RGB8, WS2812RMT};use esp_idf_svc::hal::i2c::*;
use esp_idf_svc::hal::prelude::*;// 引入 ssd1306 和 embedded_graphics 库
use ssd1306::{prelude::*, I2CDisplayInterface, Ssd1306};
use embedded_graphics::{mono_font::{ascii::FONT_6X10, MonoTextStyle},pixelcolor::BinaryColor,prelude::*,text::{Text, Baseline},primitives::{Rectangle, Line, PrimitiveStyle, Circle},image::{Image, ImageRaw},
};// SSD1306 I2C地址
const SSD1306_ADDRESS: u8 = 0x3C;fn main() -> Result<()> {info!("程序启动");esp_idf_svc::sys::link_patches();esp_idf_svc::log::EspLogger::initialize_default();let peripherals = Peripherals::take().unwrap();let _sysloop = EspSystemEventLoop::take()?;info!("初始化外设");// 初始化RGB LEDlet mut led = WS2812RMT::new(peripherals.pins.gpio48, peripherals.rmt.channel0)?;led.set_pixel(RGB8::new(50, 50, 0))?; // 初始化为黄色// 初始化I2Clet i2c = peripherals.i2c0;let sda = peripherals.pins.gpio41;let scl = peripherals.pins.gpio42;info!("配置I2C");let config = I2cConfig::new().baudrate(100.kHz().into());let i2c_driver = I2cDriver::new(i2c, sda, scl, &config)?;info!("初始化SSD1306显示屏");// 创建显示接口let interface = I2CDisplayInterface::new(i2c_driver);// 创建 SSD1306 显示器实例let mut display = Ssd1306::new(interface,DisplaySize128x64,DisplayRotation::Rotate0,).into_buffered_graphics_mode();// 初始化显示器display.init().map_err(|e| anyhow::anyhow!("显示初始化失败: {:?}", e))?;display.clear(BinaryColor::Off).map_err(|e| anyhow::anyhow!("清屏失败: {:?}", e))?;display.flush().map_err(|e| anyhow::anyhow!("显示刷新失败: {:?}", e))?;info!("进入主循环");let mut counter: u32 = 0;// 创建文本样式let text_style = MonoTextStyle::new(&FONT_6X10, BinaryColor::On);loop {// 蓝色LEDled.set_pixel(RGB8::new(0, 0, 50))?;std::thread::sleep(std::time::Duration::from_secs(1));counter += 1;info!("计数器: {}", counter);// 绿色LEDled.set_pixel(RGB8::new(0, 50, 0))?;// 清空显示缓冲区display.clear(BinaryColor::Off).map_err(|e| anyhow::anyhow!("清屏失败: {:?}", e))?;// 绘制文本Text::with_baseline("Hello ESP32!", Point::new(0, 10), text_style, Baseline::Top).draw(&mut display).map_err(|e| anyhow::anyhow!("绘制文本失败: {:?}", e))?;// 绘制计数器值let counter_str = format!("Counter: {}", counter);Text::with_baseline(&counter_str, Point::new(0, 25), text_style, Baseline::Top).draw(&mut display).map_err(|e| anyhow::anyhow!("绘制文本失败: {:?}", e))?;// 绘制简单的图形Rectangle::new(Point::new(0, 30), Size::new(64, 20)).into_styled(PrimitiveStyle::with_stroke(BinaryColor::On, 1)).draw(&mut display).map_err(|e| anyhow::anyhow!("绘制矩形失败: {:?}", e))?;// 绘制对角线Line::new(Point::new(0, 30), Point::new(64, 50)).into_styled(PrimitiveStyle::with_stroke(BinaryColor::On, 1)).draw(&mut display).map_err(|e| anyhow::anyhow!("绘制线条失败: {:?}", e))?;// 绘制圆形Circle::new(Point::new(80, 40), 15).into_styled(PrimitiveStyle::with_stroke(BinaryColor::On, 1)).draw(&mut display).map_err(|e| anyhow::anyhow!("绘制圆形失败: {:?}", e))?;// 根据计数器值绘制进度条let progress = (counter % 100) as u32;let bar_width = (64 * progress / 100) as u32;Rectangle::new(Point::new(0, 55), Size::new(bar_width, 9)).into_styled(PrimitiveStyle::with_fill(BinaryColor::On)).draw(&mut display).map_err(|e| anyhow::anyhow!("绘制进度条失败: {:?}", e))?;// 刷新显示display.flush().map_err(|e| anyhow::anyhow!("显示刷新失败: {:?}", e))?;std::thread::sleep(std::time::Duration::from_secs(1));info!("循环完成: {}", counter);}
}
OR
使用 u8g2-fonts crate
[dependencies]
##增加u8g2-fonts 库
u8g2-fonts = “0.7.1”
main.rs
use anyhow::Result;
use esp_idf_svc::eventloop::EspSystemEventLoop;
use esp_idf_svc::hal::prelude::Peripherals;
use log::info;
use rgb_led::{RGB8, WS2812RMT};use esp_idf_svc::hal::i2c::*;
use esp_idf_svc::hal::prelude::*;// 引入 ssd1306 和 embedded_graphics 库
use ssd1306::{prelude::*, I2CDisplayInterface, Ssd1306};
use embedded_graphics::{pixelcolor::BinaryColor,prelude::*,primitives::{Rectangle, Line, PrimitiveStyle, Circle},geometry::Point,
};// 引入 u8g2-fonts 库
use u8g2_fonts::{fonts::u8g2_font_helvB08_tf, // 直接导入特定字体FontRenderer,types::{FontColor, VerticalPosition},
};// SSD1306 I2C地址
const SSD1306_ADDRESS: u8 = 0x3C;fn main() -> Result<()> {info!("setup");esp_idf_svc::sys::link_patches();esp_idf_svc::log::EspLogger::initialize_default();let peripherals = Peripherals::take().unwrap();let _sysloop = EspSystemEventLoop::take()?;info!("init");// 初始化RGB LEDlet mut led = WS2812RMT::new(peripherals.pins.gpio48, peripherals.rmt.channel0)?;led.set_pixel(RGB8::new(50, 50, 0))?; // 初始化为黄色// 初始化I2Clet i2c = peripherals.i2c0;let sda = peripherals.pins.gpio41;let scl = peripherals.pins.gpio42;info!("configi2c");let config = I2cConfig::new().baudrate(100.kHz().into());let i2c_driver = I2cDriver::new(i2c, sda, scl, &config)?;info!("initssd1306");// 创建显示接口let interface = I2CDisplayInterface::new(i2c_driver);// 创建 SSD1306 显示器实例let mut display = Ssd1306::new(interface,DisplaySize128x64,DisplayRotation::Rotate0,).into_buffered_graphics_mode();// 初始化显示器display.init().map_err(|e| anyhow::anyhow!("initfail:{:?}", e))?;display.clear(BinaryColor::Off).map_err(|e| anyhow::anyhow!("clean fail: {:?}", e))?;display.flush().map_err(|e| anyhow::anyhow!("refreshfail: {:?}", e))?;info!("enter loop");let mut counter: u32 = 0;// 创建字体渲染器,指定字体类型let font_renderer = FontRenderer::new::<u8g2_font_helvB08_tf>();loop {// 蓝色LEDled.set_pixel(RGB8::new(0, 0, 50))?;std::thread::sleep(std::time::Duration::from_secs(1));counter += 1;info!("couter:{}", counter);// 绿色LEDled.set_pixel(RGB8::new(0, 50, 0))?;// 清空显示缓冲区display.clear(BinaryColor::Off).map_err(|e| anyhow::anyhow!("clean fail:{:?}", e))?;// 使用 u8g2-fonts 绘制文本font_renderer.render("Hello ESP32!",Point::new(0, 10),VerticalPosition::Baseline,FontColor::Transparent(BinaryColor::On),&mut display).map_err(|e| anyhow::anyhow!("drawfail: {:?}", e))?;// 绘制计数器值let counter_str = format!("Counter: {}", counter);font_renderer.render(&*counter_str, // 使用 &* 将 String 转换为 &strPoint::new(0, 25),VerticalPosition::Baseline,FontColor::Transparent(BinaryColor::On),&mut display).map_err(|e| anyhow::anyhow!("drawtextfail:{:?}", e))?;// 绘制简单的图形Rectangle::new(Point::new(0, 30), Size::new(64, 20)).into_styled(PrimitiveStyle::with_stroke(BinaryColor::On, 1)).draw(&mut display).map_err(|e| anyhow::anyhow!("绘制矩形失败: {:?}", e))?;// 绘制对角线Line::new(Point::new(0, 30), Point::new(64, 50)).into_styled(PrimitiveStyle::with_stroke(BinaryColor::On, 1)).draw(&mut display).map_err(|e| anyhow::anyhow!("绘制线条失败: {:?}", e))?;// 绘制圆形Circle::new(Point::new(80, 40), 15).into_styled(PrimitiveStyle::with_stroke(BinaryColor::On, 1)).draw(&mut display).map_err(|e| anyhow::anyhow!("绘制圆形失败: {:?}", e))?;// 根据计数器值绘制进度条let progress = (counter % 100) as u32;let bar_width = (64 * progress / 100) as u32;Rectangle::new(Point::new(0, 55), Size::new(bar_width, 9)).into_styled(PrimitiveStyle::with_fill(BinaryColor::On)).draw(&mut display).map_err(|e| anyhow::anyhow!("绘制进度条失败: {:?}", e))?;// 刷新显示display.flush().map_err(|e| anyhow::anyhow!("显示刷新失败: {:?}", e))?;std::thread::sleep(std::time::Duration::from_secs(1));info!("loop finish:{}", counter);}
}
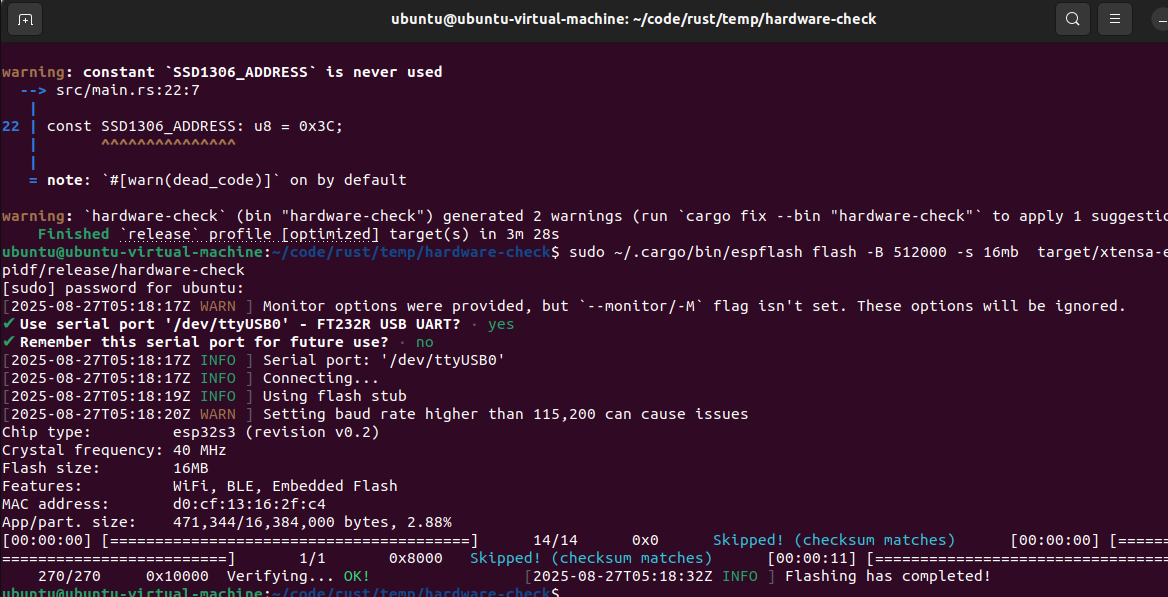
5:编译及烧录
cargo build --release
sudo ~/.cargo/bin/espflash flash -B 512000 -s 16mb target/xtensa-esp32s3-espidf/release/hardware-check
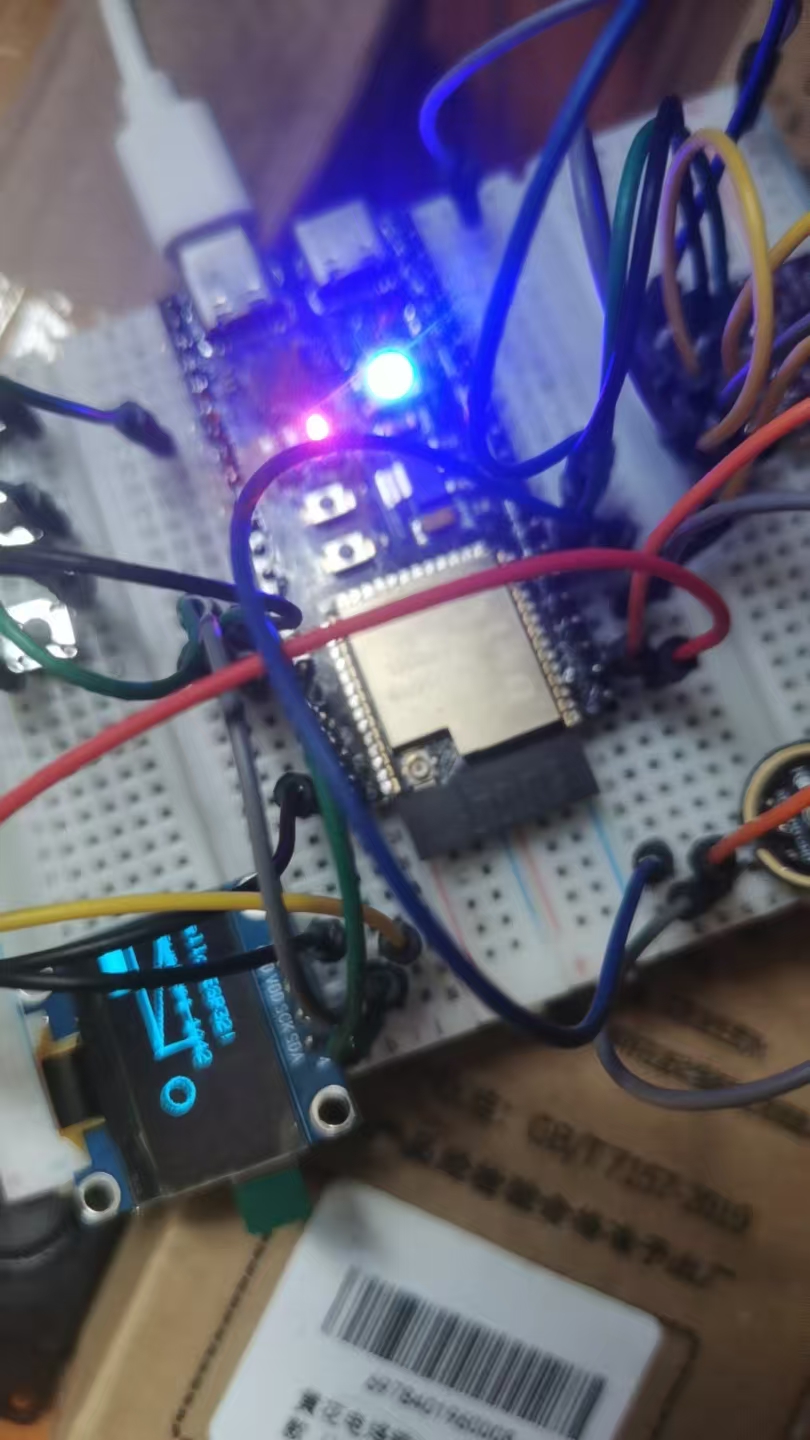
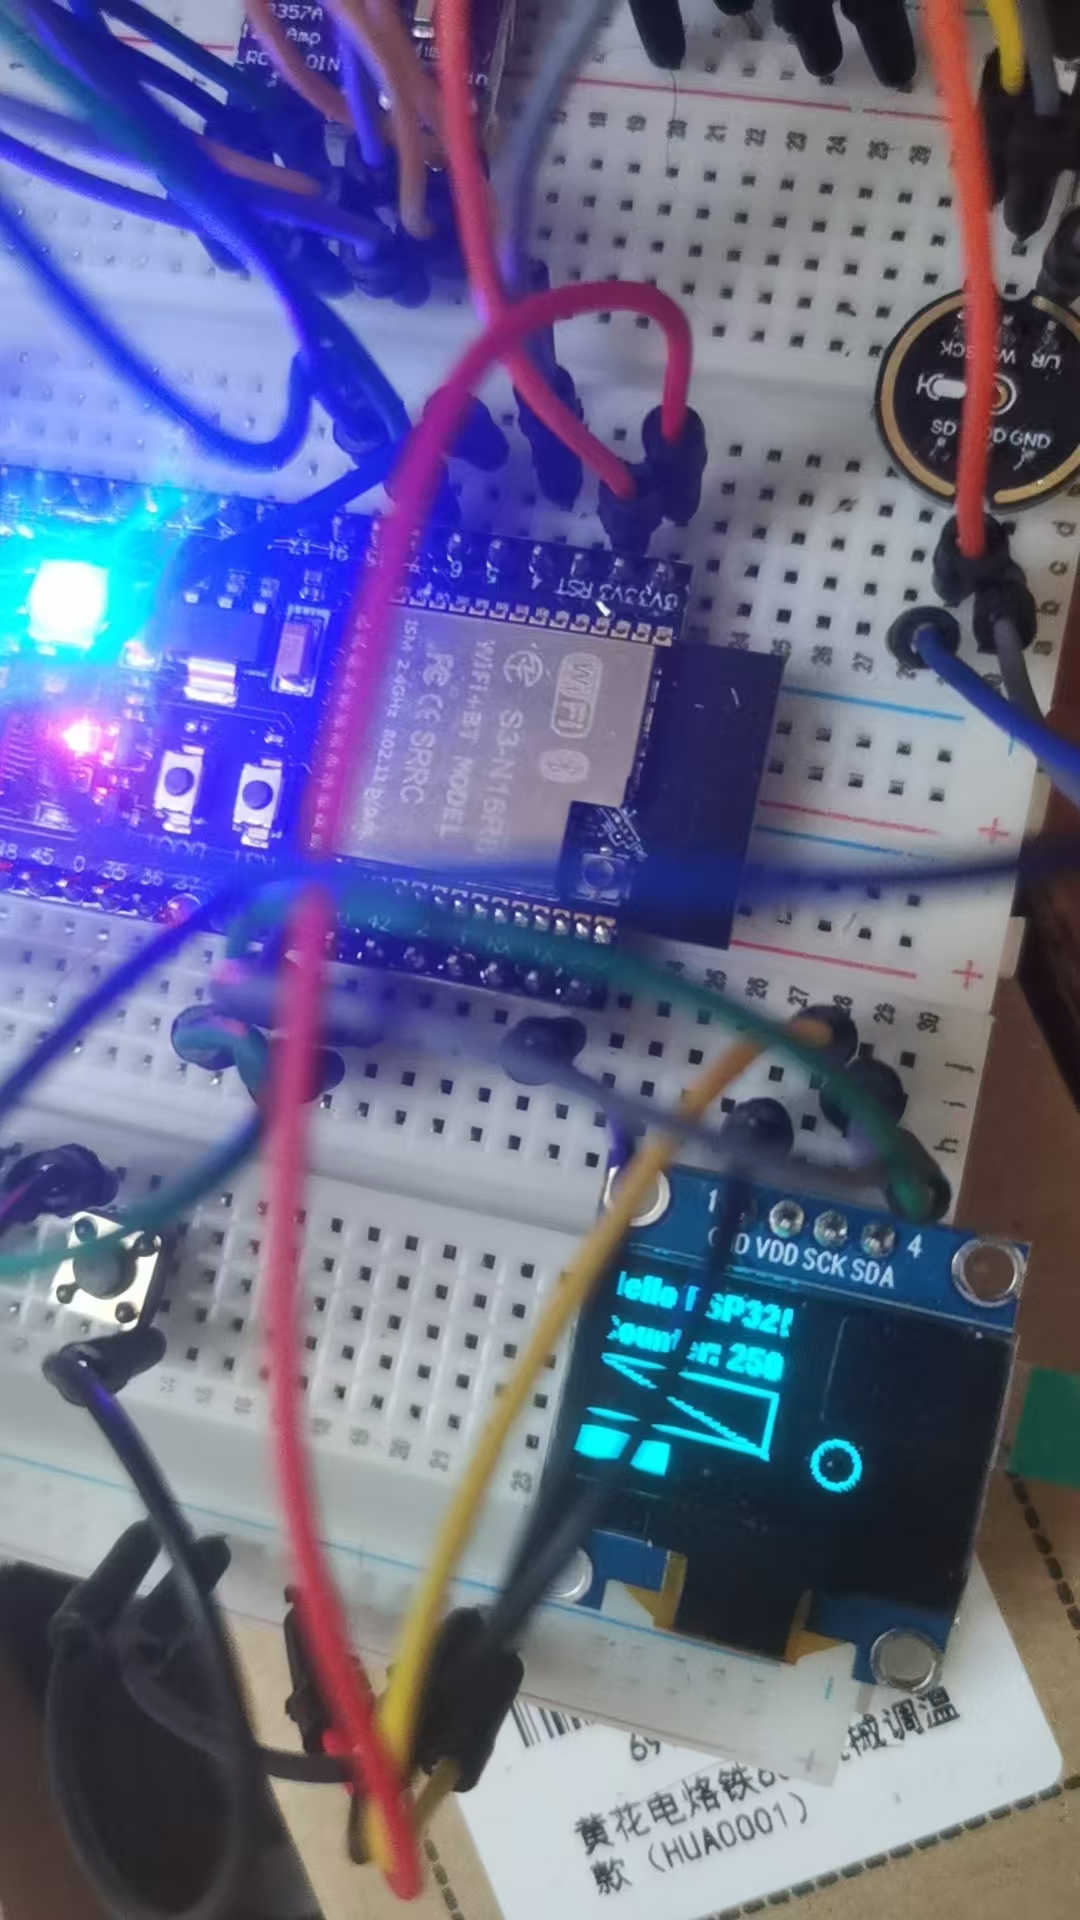
6:测试结果 如果对你又帮助,麻烦点个赞,加个关注