CentOS 8.5.2.111部署Zabbix6.0
Zabbix([`zæbiks])是一个基于WEB界面的提供分布式系统监视以及网络监视功能的企业级分布式开源监控解决方案。
Zabbix能监视各种网络参数,保证服务器系统的安全运营;并提供灵活的通知机制以让系统管理员快速定位/解决存在的各种问题。
Zabbix由2部分构成,Zabbix server与可选组件Zabbix agent。
Zabbix server可以通过SNMP,Zabbix agent,ping,端口监视等方法提供对远程服务器/网络状态的监视,数据收集等功能,它可以运行在Linux,Solaris,HP-UX,AIX,FreeBSD,OpenBSD,OS X等平台上。
鉴于此,工作需要,尝试CentOS 8.5.2.111安装Zabbix6.0 ,躺过一些坑,为了避免今后继续填坑及后人踩坑,记录一下:
前提、设置网络Ip地址等
| 1 2 3 4 5 6 | cd /etc/sysconfig
cd network-scripts/
ls
vim ifcfg-enp0s3
systemctl restart NetworkManager
ping www.baidu.com
|
重启网络服务,效果不好时重启服务器
| 1 2 | systemctl restart NetworkManager
reboot
|
0、安装中文语言包
| 1 | yum install glibc-langpack-zh.x86_64
|
1、交互式选择源,更加方便。
| 1 | bash <(curl -sSL https://gitee.com/SuperManito/LinuxMirrors/raw/main/ChangeMirrors.sh)
|
测试源是否可用?
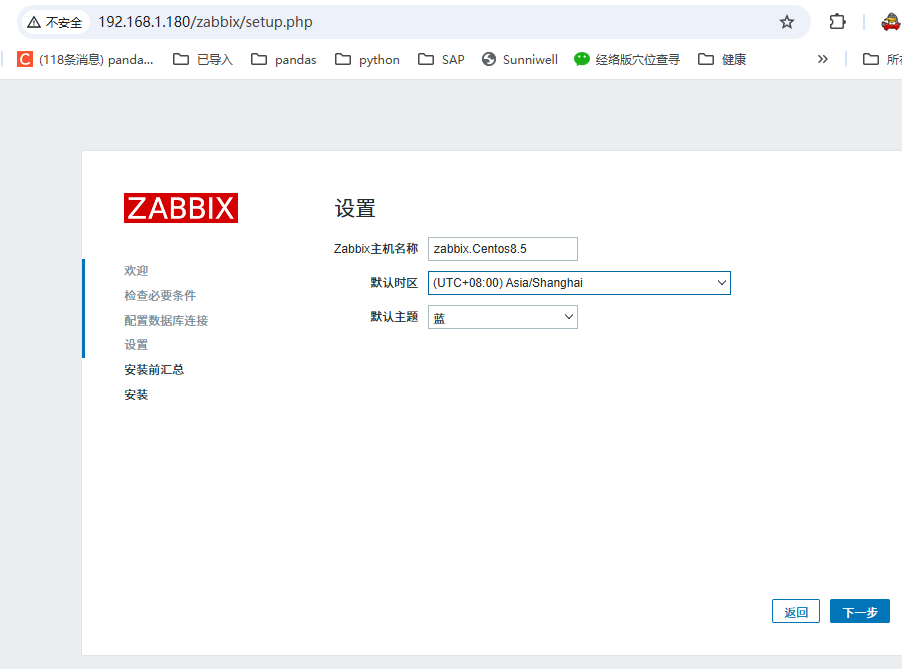
1.1、查看、设置主机名
| 1 2 3 | hostname
hostnamectl set-hostname zabbix6.Centos8.5
hostnamectl status
|
2.1
| 1 2 3 4 5 6 7 8 9 10 11 12 | 关闭防火墙
systemctl stop firewalld.service
开机不启动防火墙
systemctl disable firewalld.service
关闭linux 内核安全措施
setenforce 0
关闭日后linux 内核安全启动措施
sed -i "s/SELINUX=enforcing/SELINUX=disabled/g" /etc/selinux/config
防火墙状态
systemctl status firewalld
systemctl status selinux-autorelabel
|
3、安装MYSQL准备
| 1 2 3 4 5 6 7 8 9 10 | yum remove -y mysql #卸载之前安装的mysql
下载
wget https://dev.mysql.com/get/mysql80-community-release-el8-1.noarch.rpm
yum install mysql80-community-release-el8-1.noarch.rpm
yum module disable mysql
yum install mysql-community-server --nogpgcheck
vim /etc/my.cnf
default-authentication-plugin=mysql_native_password
#把这上面这一行的注释#去掉,没有的直接加上
|
4、MYSQL初始化
| 1 2 3 4 5 6 7 8 | mysql -V
rpm -qa | grep mysql
开启Mysql
systemctl restart mysqld
service mysqld status
查询临时密码,看到临时密码,要记录下来,用这个密码去更改mysql的管理员密码,并写到后续的配置中
grep 'temporary password' /var/log/mysqld.log
mysql -u root -p
|
5、MYSQL密码配置,修改root密码:
| 1 2 3 4 5 6 7 8 9 10 | ALTER USER 'root'@'localhost' IDENTIFIED BY 'yourPassWord'; #第一步需要先创建一个复杂一点的密码root_21ROOT
SHOW VARIABLES LIKE 'validate_password%'; #查看、修改密码策略
set global validate_password.policy=0; #这个我没执行
SHOW VARIABLES LIKE 'validate_password%'; #查看、修改密码策略
create user 'root'@'%' identified by 'yourPassWord';
grant all privileges on *.* to 'root'@'%' with grant option; #授权
exit #退出mysql,否则后面语句执行不了。
|
下载 zabbix安装包和配置文件源包:
| 1 2 3 4 | rpm -Uvh https://repo.zabbix.com/zabbix/6.0/rhel/8/x86_64/zabbix-release-6.0-4.el8.noarch.rpm
dnf clean all
cd /etc/yum.repos.d
ls
|
vim zabbix.repo #复制粘贴我页面提供的文本,到zabbix.repo 并保存
# 3、配置zabbix.repo文件仓库,把zabbix.repo 设置成如下内容,
vim zabbix.repo #复制粘贴我页面提供的文本,到zabbix.repo 并保存
| 1 2 3 4 5 6 7 8 9 10 11 12 13 14 15 16 17 18 19 20 21 22 23 24 25 26 | # repo文件开始
[zabbix]
name=Zabbix Official Repository - $basearch
#baseurl=https://repo.zabbix.com/zabbix/6.0/rhel/8/$basearch/
baseurl=https://mirrors.tuna.tsinghua.edu.cn/zabbix/zabbix/6.0/rhel/8/x86_64/
#上面是 zabbix清华源
enabled=1
gpgcheck=1
gpgkey=file:///etc/pki/rpm-gpg/RPM-GPG-KEY-ZABBIX-A14FE591
[zabbix-non-supported]
name=Zabbix Official Repository (non-supported) - $basearch
#baseurl=https://repo.zabbix.com/non-supported/rhel/8/$basearch/
baseurl=https://mirrors.tuna.tsinghua.edu.cn/zabbix/non-supported/rhel/8/x86_64/
#上面是 zabbix-non-supported清华源
enabled=1
gpgkey=file:///etc/pki/rpm-gpg/RPM-GPG-KEY-ZABBIX
gpgcheck=1
[zabbix-unstable]
name=Zabbix Official Repository (unstable) - $basearch
baseurl=https://repo.zabbix.com/zabbix/5.5/rhel/8/$basearch/
enabled=0
gpgcheck=1
gpgkey=file:///etc/pki/rpm-gpg/RPM-GPG-KEY-ZABBIX-A14FE591
# repo文件结束
|
vim zabbix-agent2-plugins.repo #复制粘贴我页面提供的文本,到zabbix-agent2-plugins.repo 并保存
| 1 2 3 4 5 6 7 8 9 10 11 12 13 14 15 | vim zabbix-agent2-plugins.repo #复制粘贴我页面提供的文本,到zabbix-agent2-plugins.repo 并保存
# 4、配置zabbix-agent2-plugins.repo文件仓库
[root@centos8 yum.repos.d]# vim zabbix-agent2-plugins.repo
# repo文件开始
[zabbix-agent2-plugins]
name=Zabbix Official Repository (Agent2 Plugins) - $basearch
#baseurl=https://repo.zabbix.com/zabbix-agent2-plugins/1/rhel/8/$basearch/
baseurl=https://mirrors.tuna.tsinghua.edu.cn/zabbix/zabbix-agent2-plugins/1/rhel/8/x86_64/
# agent2清华源
enabled=1
gpgkey=file:///etc/pki/rpm-gpg/RPM-GPG-KEY-ZABBIX
gpgcheck=1
# repo文件结束
[root@centos8 yum.repos.d]#
|
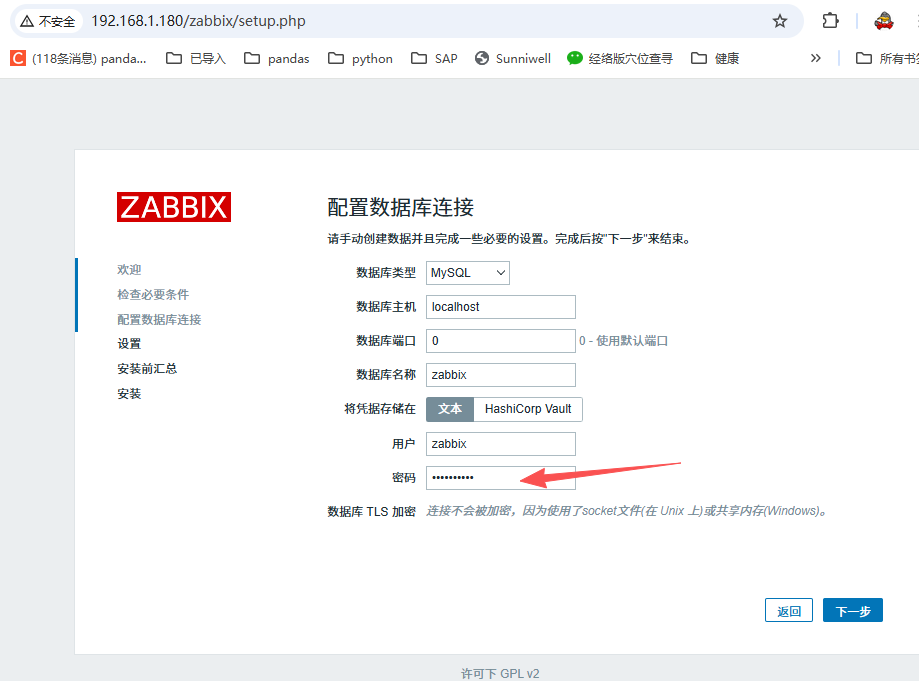
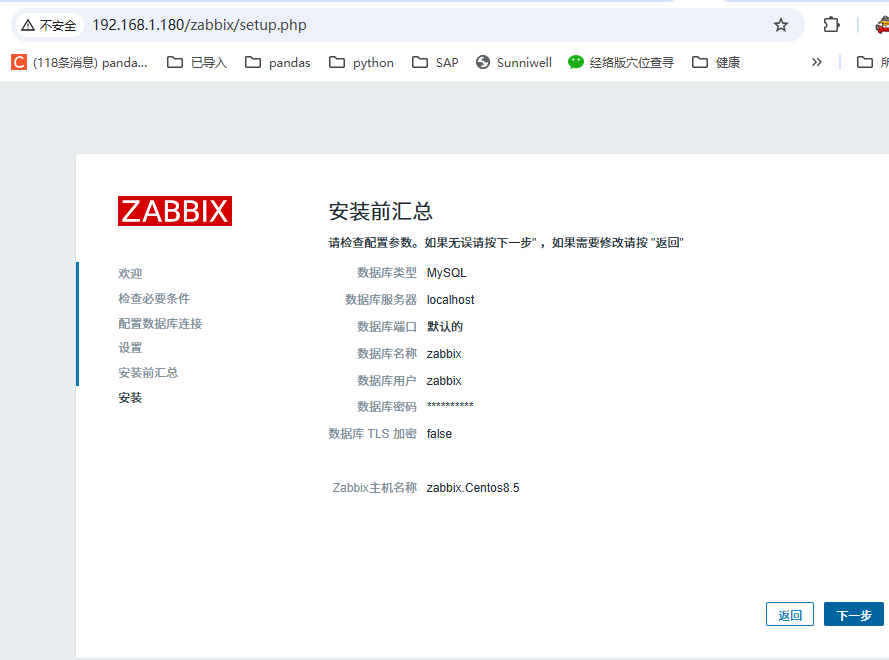
7、初始化数据库:
| 1 2 3 4 5 6 7 8 9 10 11 12 13 14 15 16 17 | mysql -u root -p
mysql> create database zabbix character set utf8mb4 collate utf8mb4_bin; # 创建zabbix数据库
mysql> create user zabbix@localhost identified WITH sha256_password BY 'password'; #创建zabbix数据库密码password
mysql> grant all privileges on zabbix.* to zabbix@localhost;
mysql> set global log_bin_trust_function_creators = 1;
mysql>use mysql;
mysql>delete from user where user=' ';#我这句没执行
mysql>flush privileges;
mysql> quit;<br><br>
|
安装zabbix 相关模块
| 1 | dnf install zabbix-server-mysql zabbix-web-mysql zabbix-apache-conf zabbix-sql-scripts zabbix-selinux-policy zabbix-agent2
|
导入初始化数据库脚本
| 1 | zcat /usr/share/zabbix-sql-scripts/mysql/server.sql.gz | mysql --default-character-set=utf8mb4 -uzabbix -p zabbix
|
mysql -u root -p
| 1 2 | mysql> set global log_bin_trust_function_creators = 0;
mysql> quit;
|
8、启动zibbx 程序及agen:,开机自启相关服务。
vim /etc/zabbix/zabbix_server.conf # 取消注释 DBPassword= 并设置数据库密码
重启zabbix服务
| 1 2 3 | systemctl restart zabbix-server zabbix-agent2 httpd php-fpm
systemctl enable zabbix-server zabbix-agent2 httpd php-fpm
|
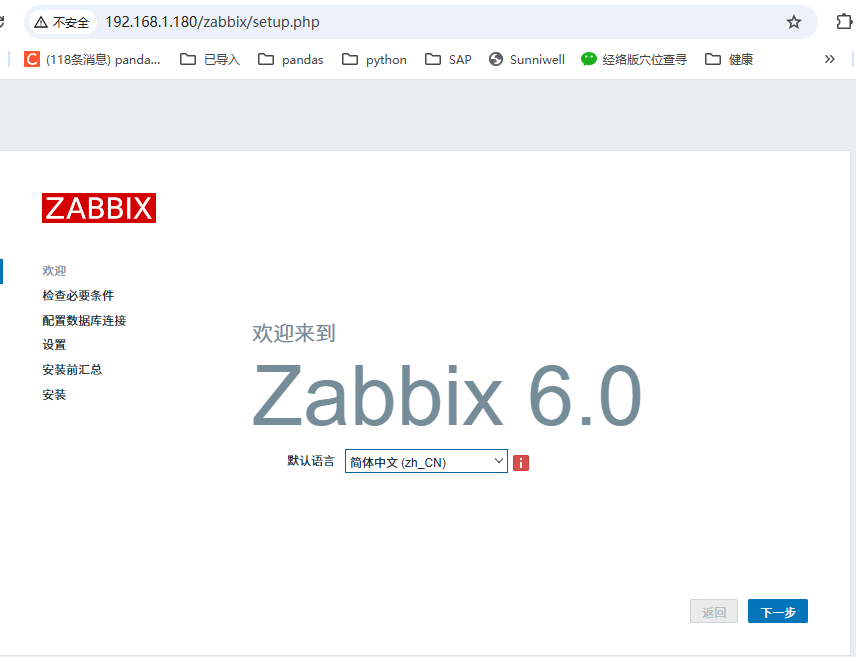
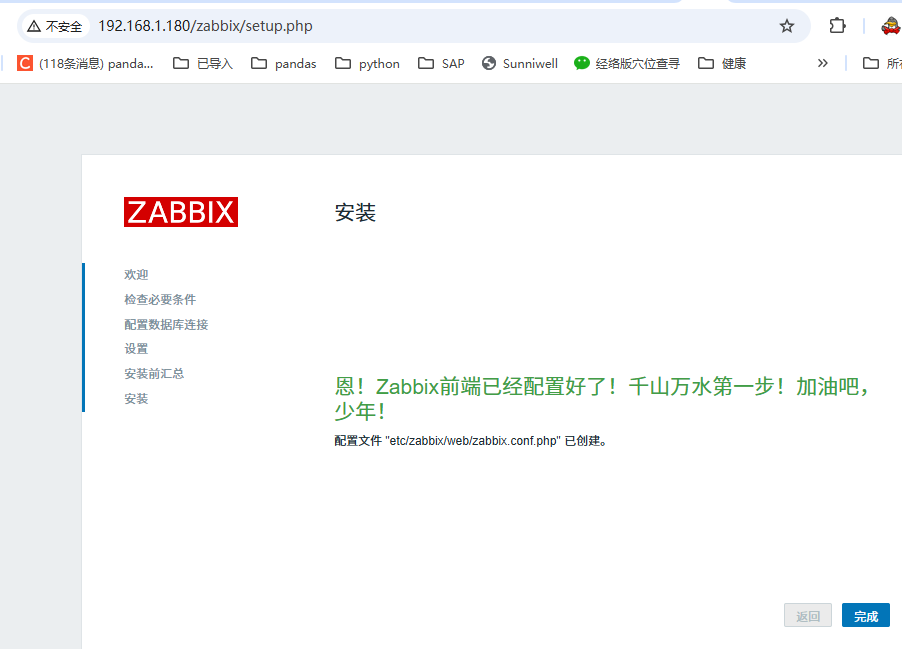
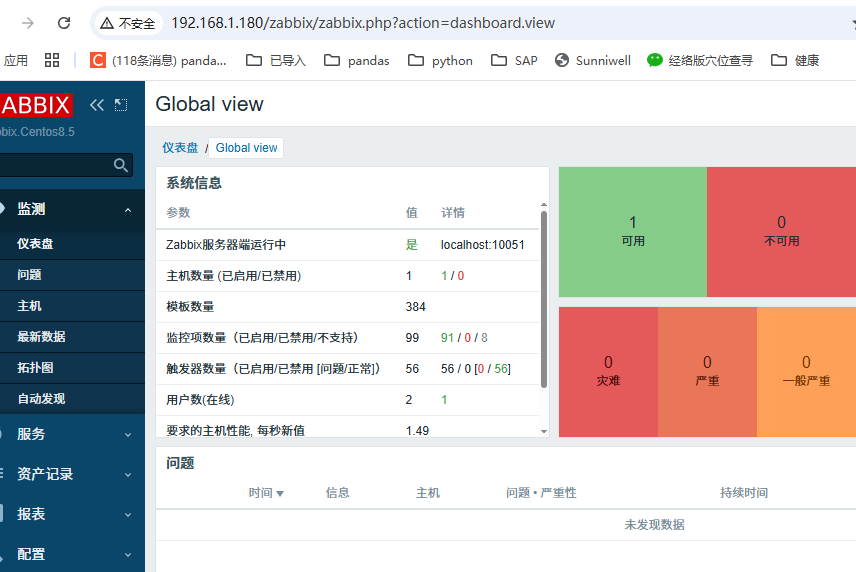
9、打开zabbix:
http://192.168.1.180/zabbix
用户名:Admin
密码:zabbix