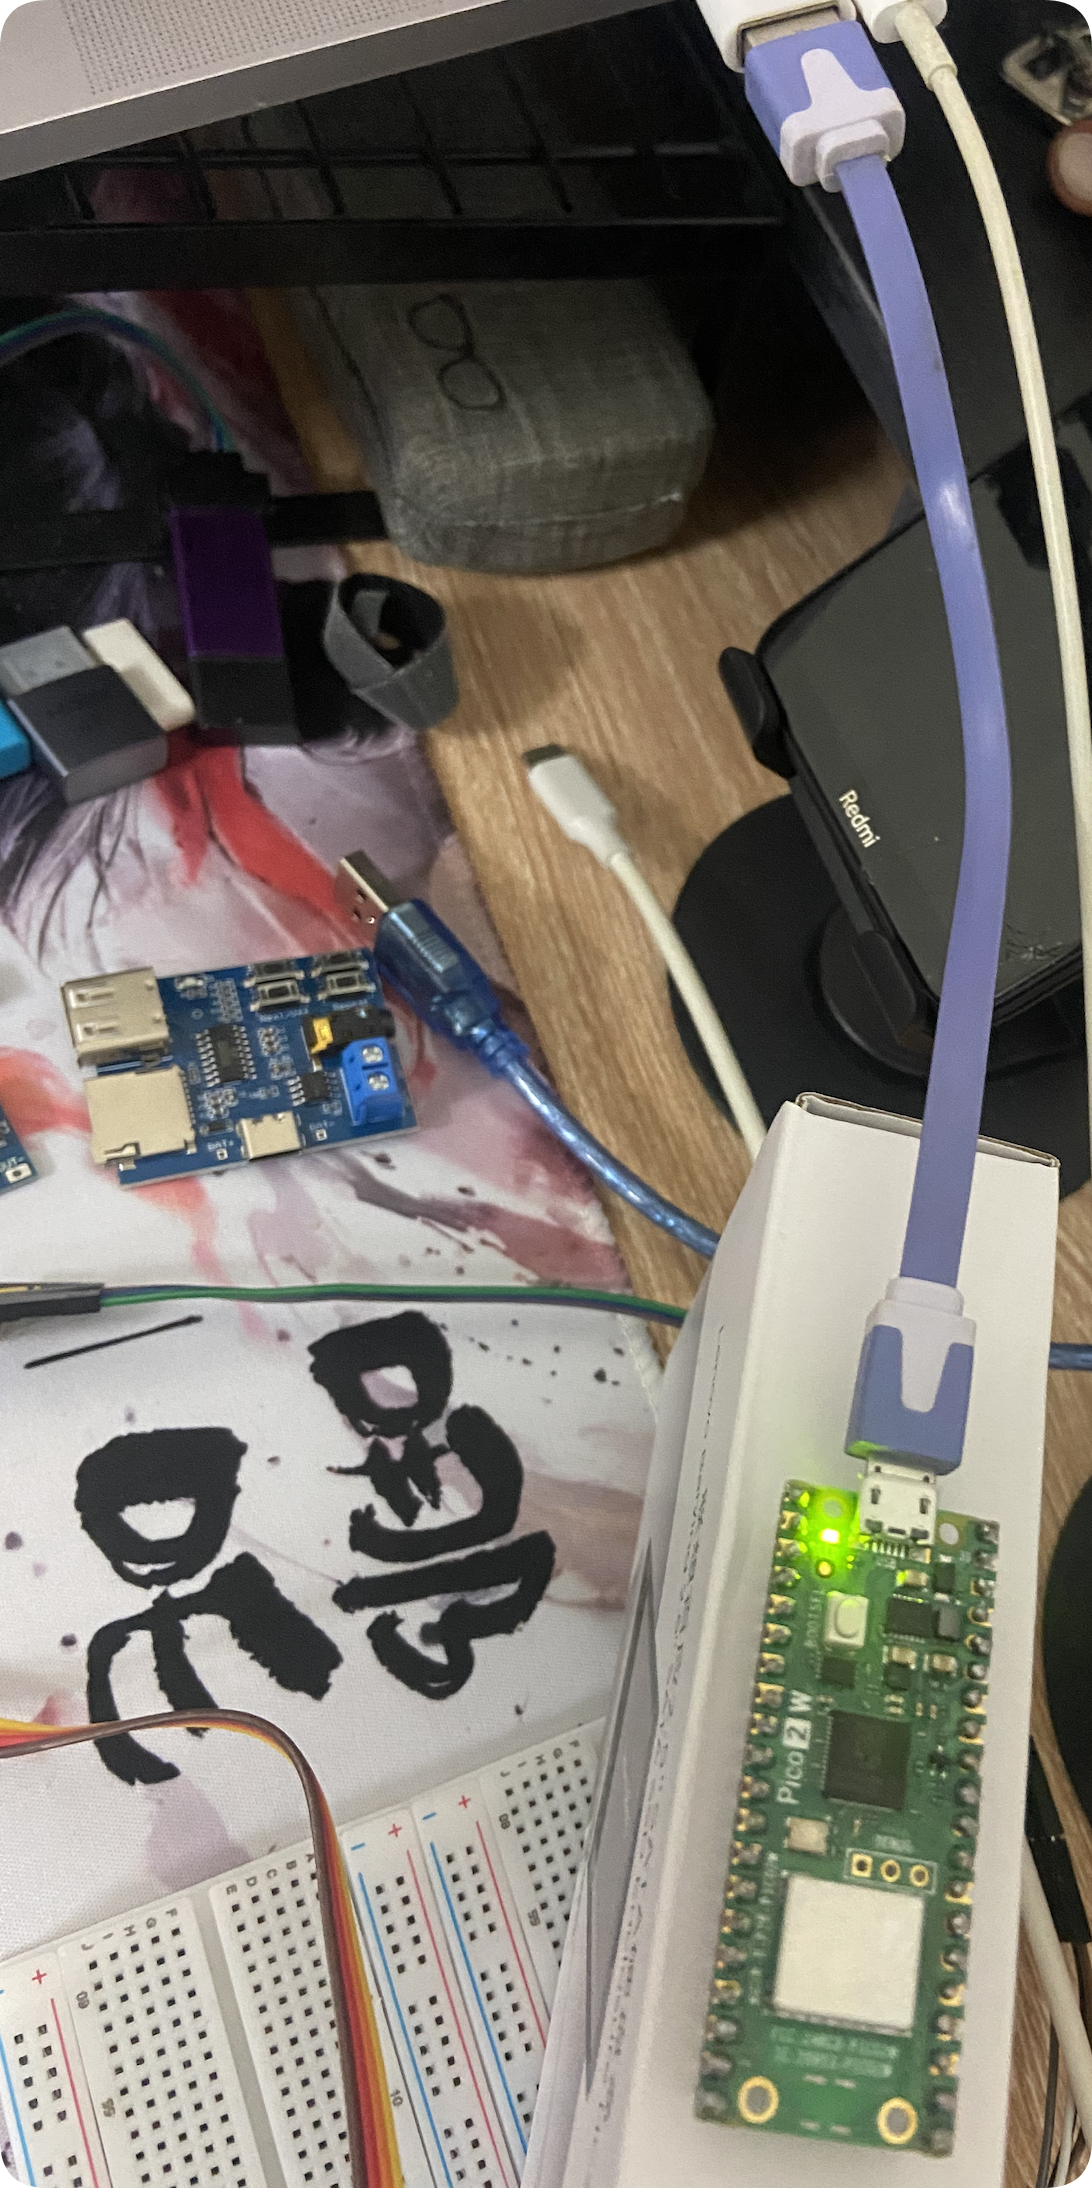
树莓派Pico 2W 开发环境搭建
1.下载micropyton固件
https://www.raspberrypi.com/documentation/microcontrollers/micropython.html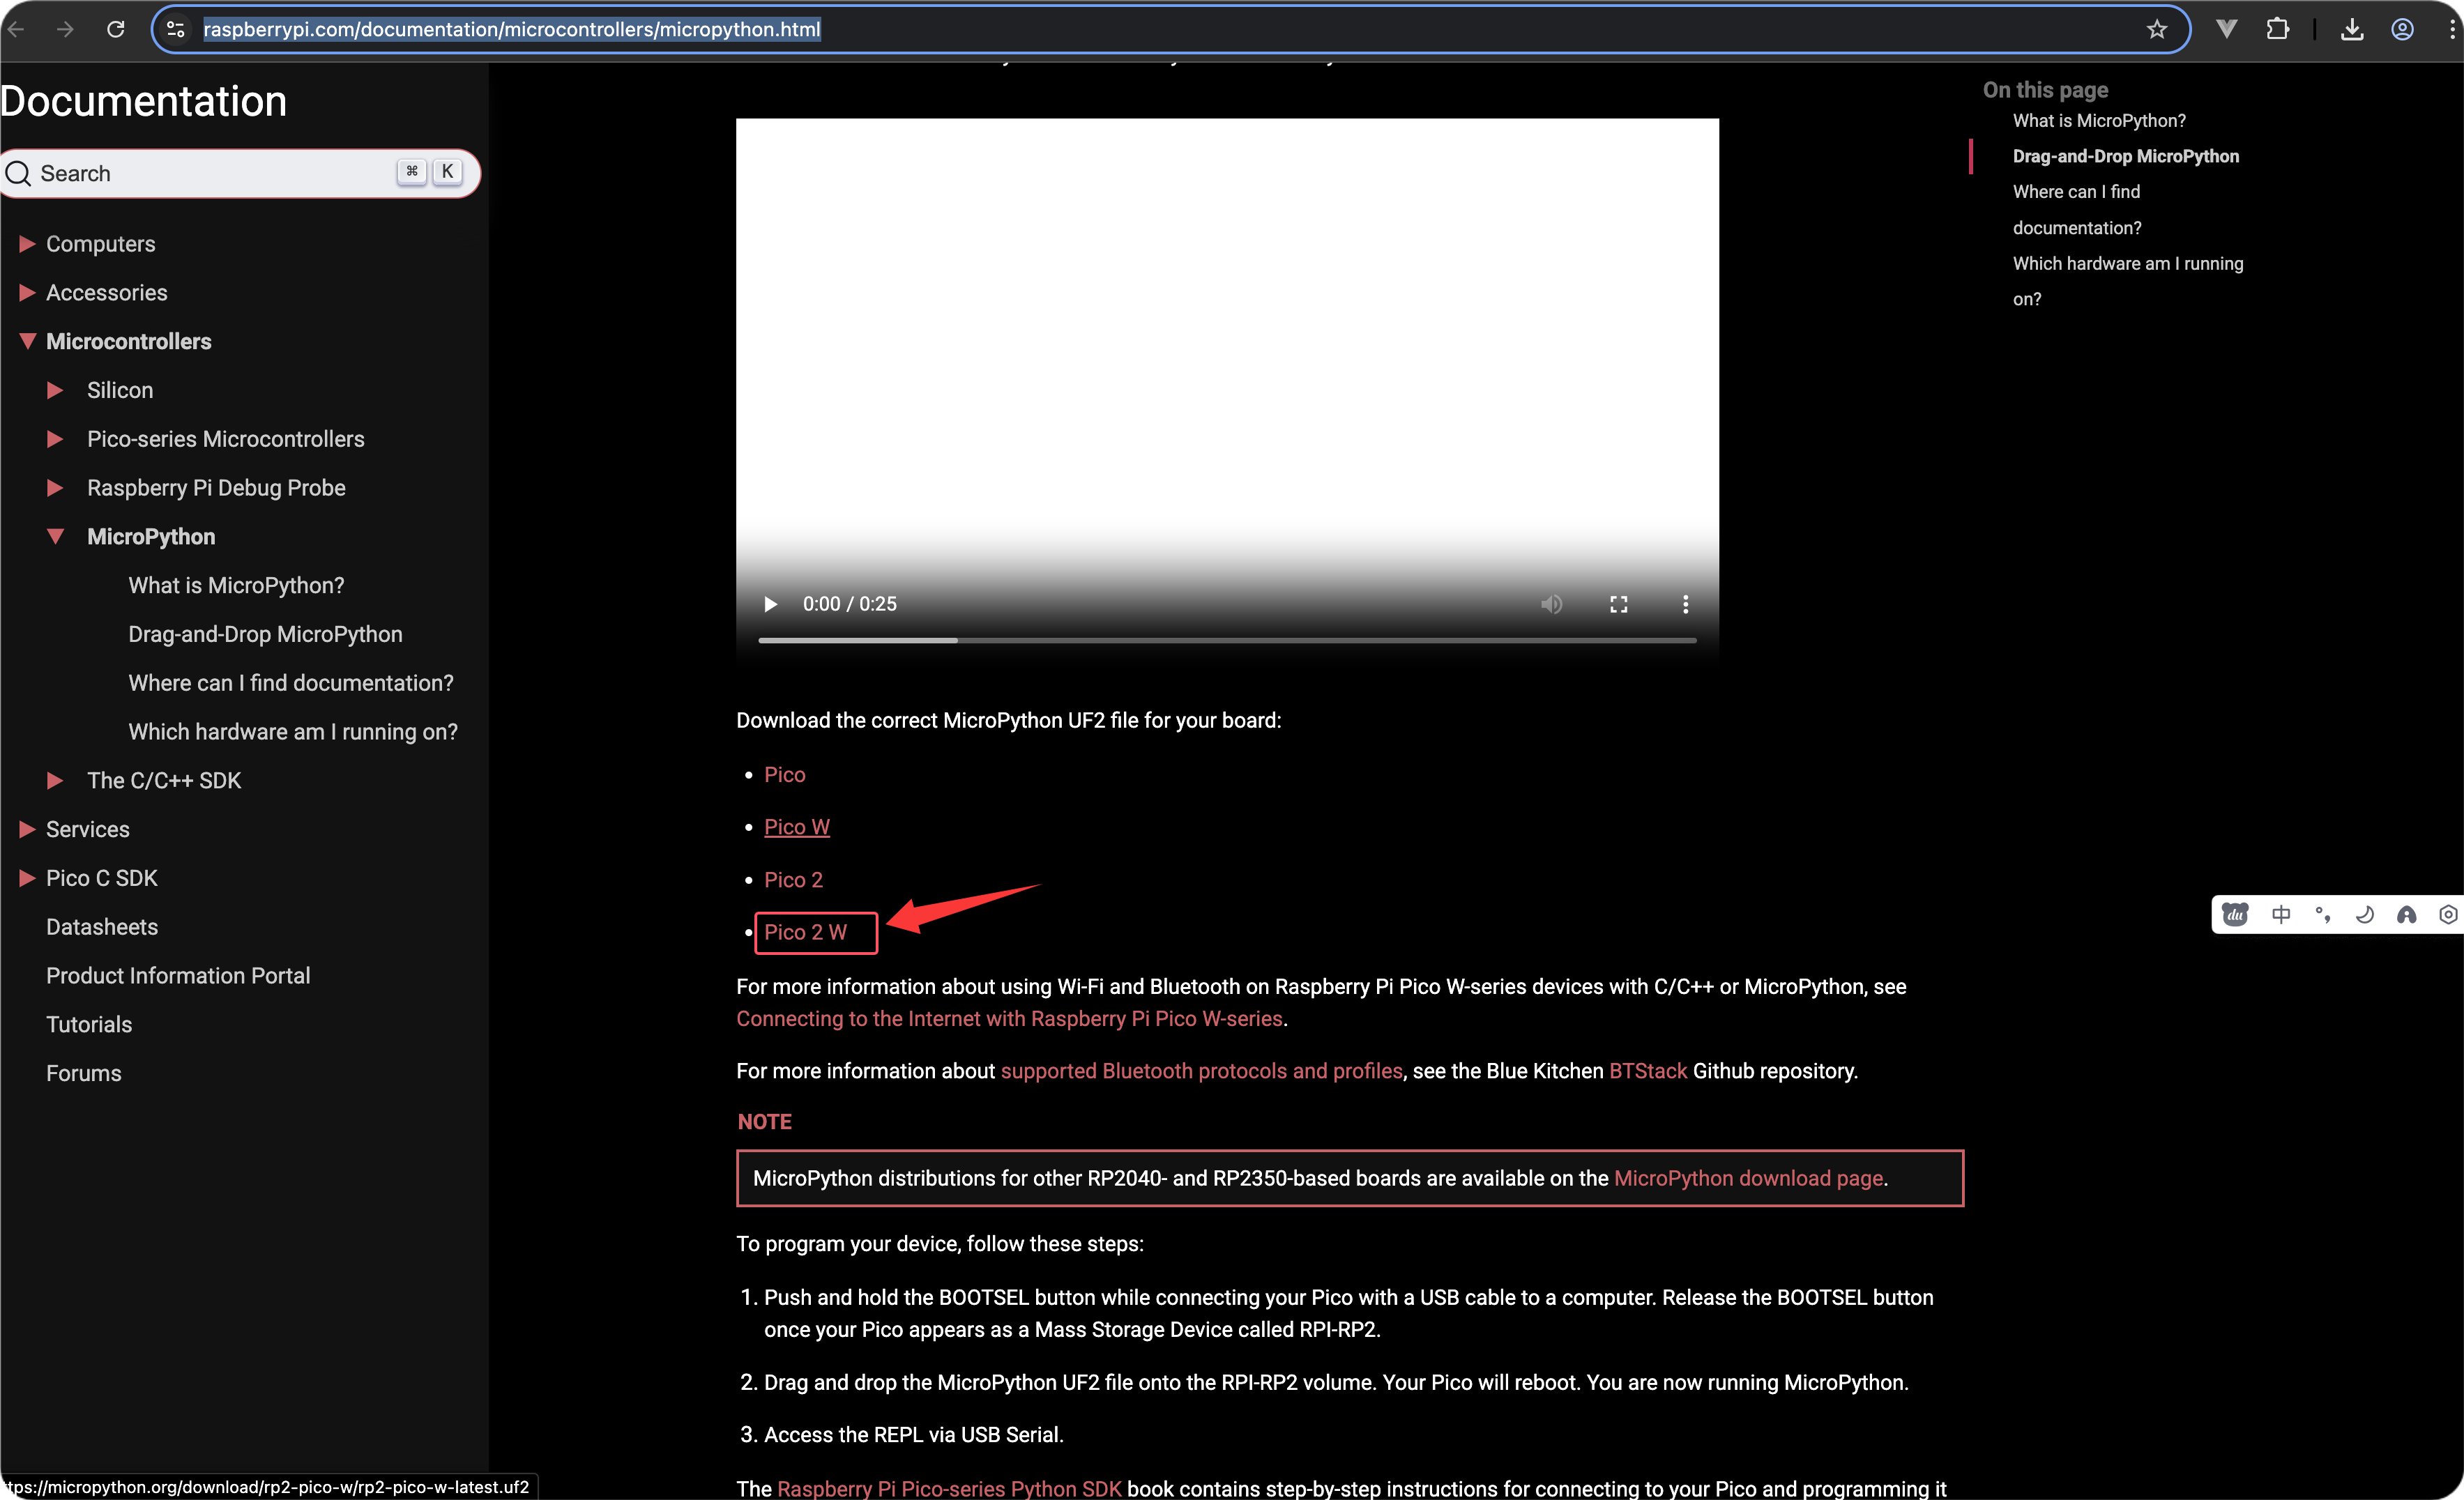
-
按住 Pico 2W 板上的 BOOTSEL 按钮不放。
-
在按住 BOOTSEL 按钮的同时,将 Pico 2W 通过 USB 线连接到电脑。
-
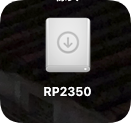
电脑出现RP2350盘符
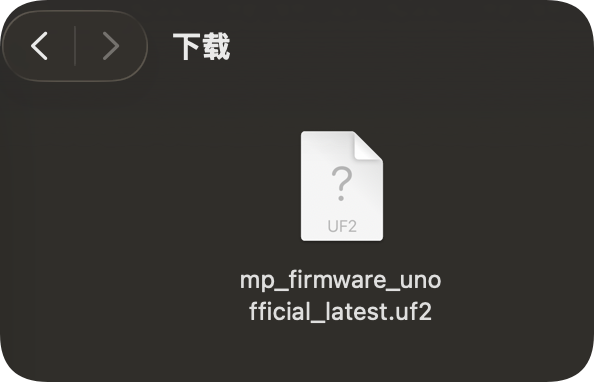
4.将下载的uf2文件拖入
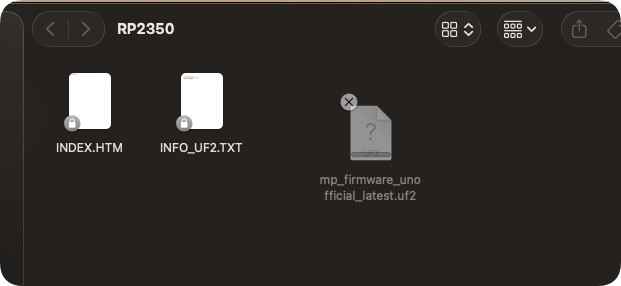
固件更新成功后RP2350盘符会消失,断开 USB与电脑连接,然后重新插入usb
打开Thonny,点击右下角,在弹出的菜单中选择Raspberry Pi Pico
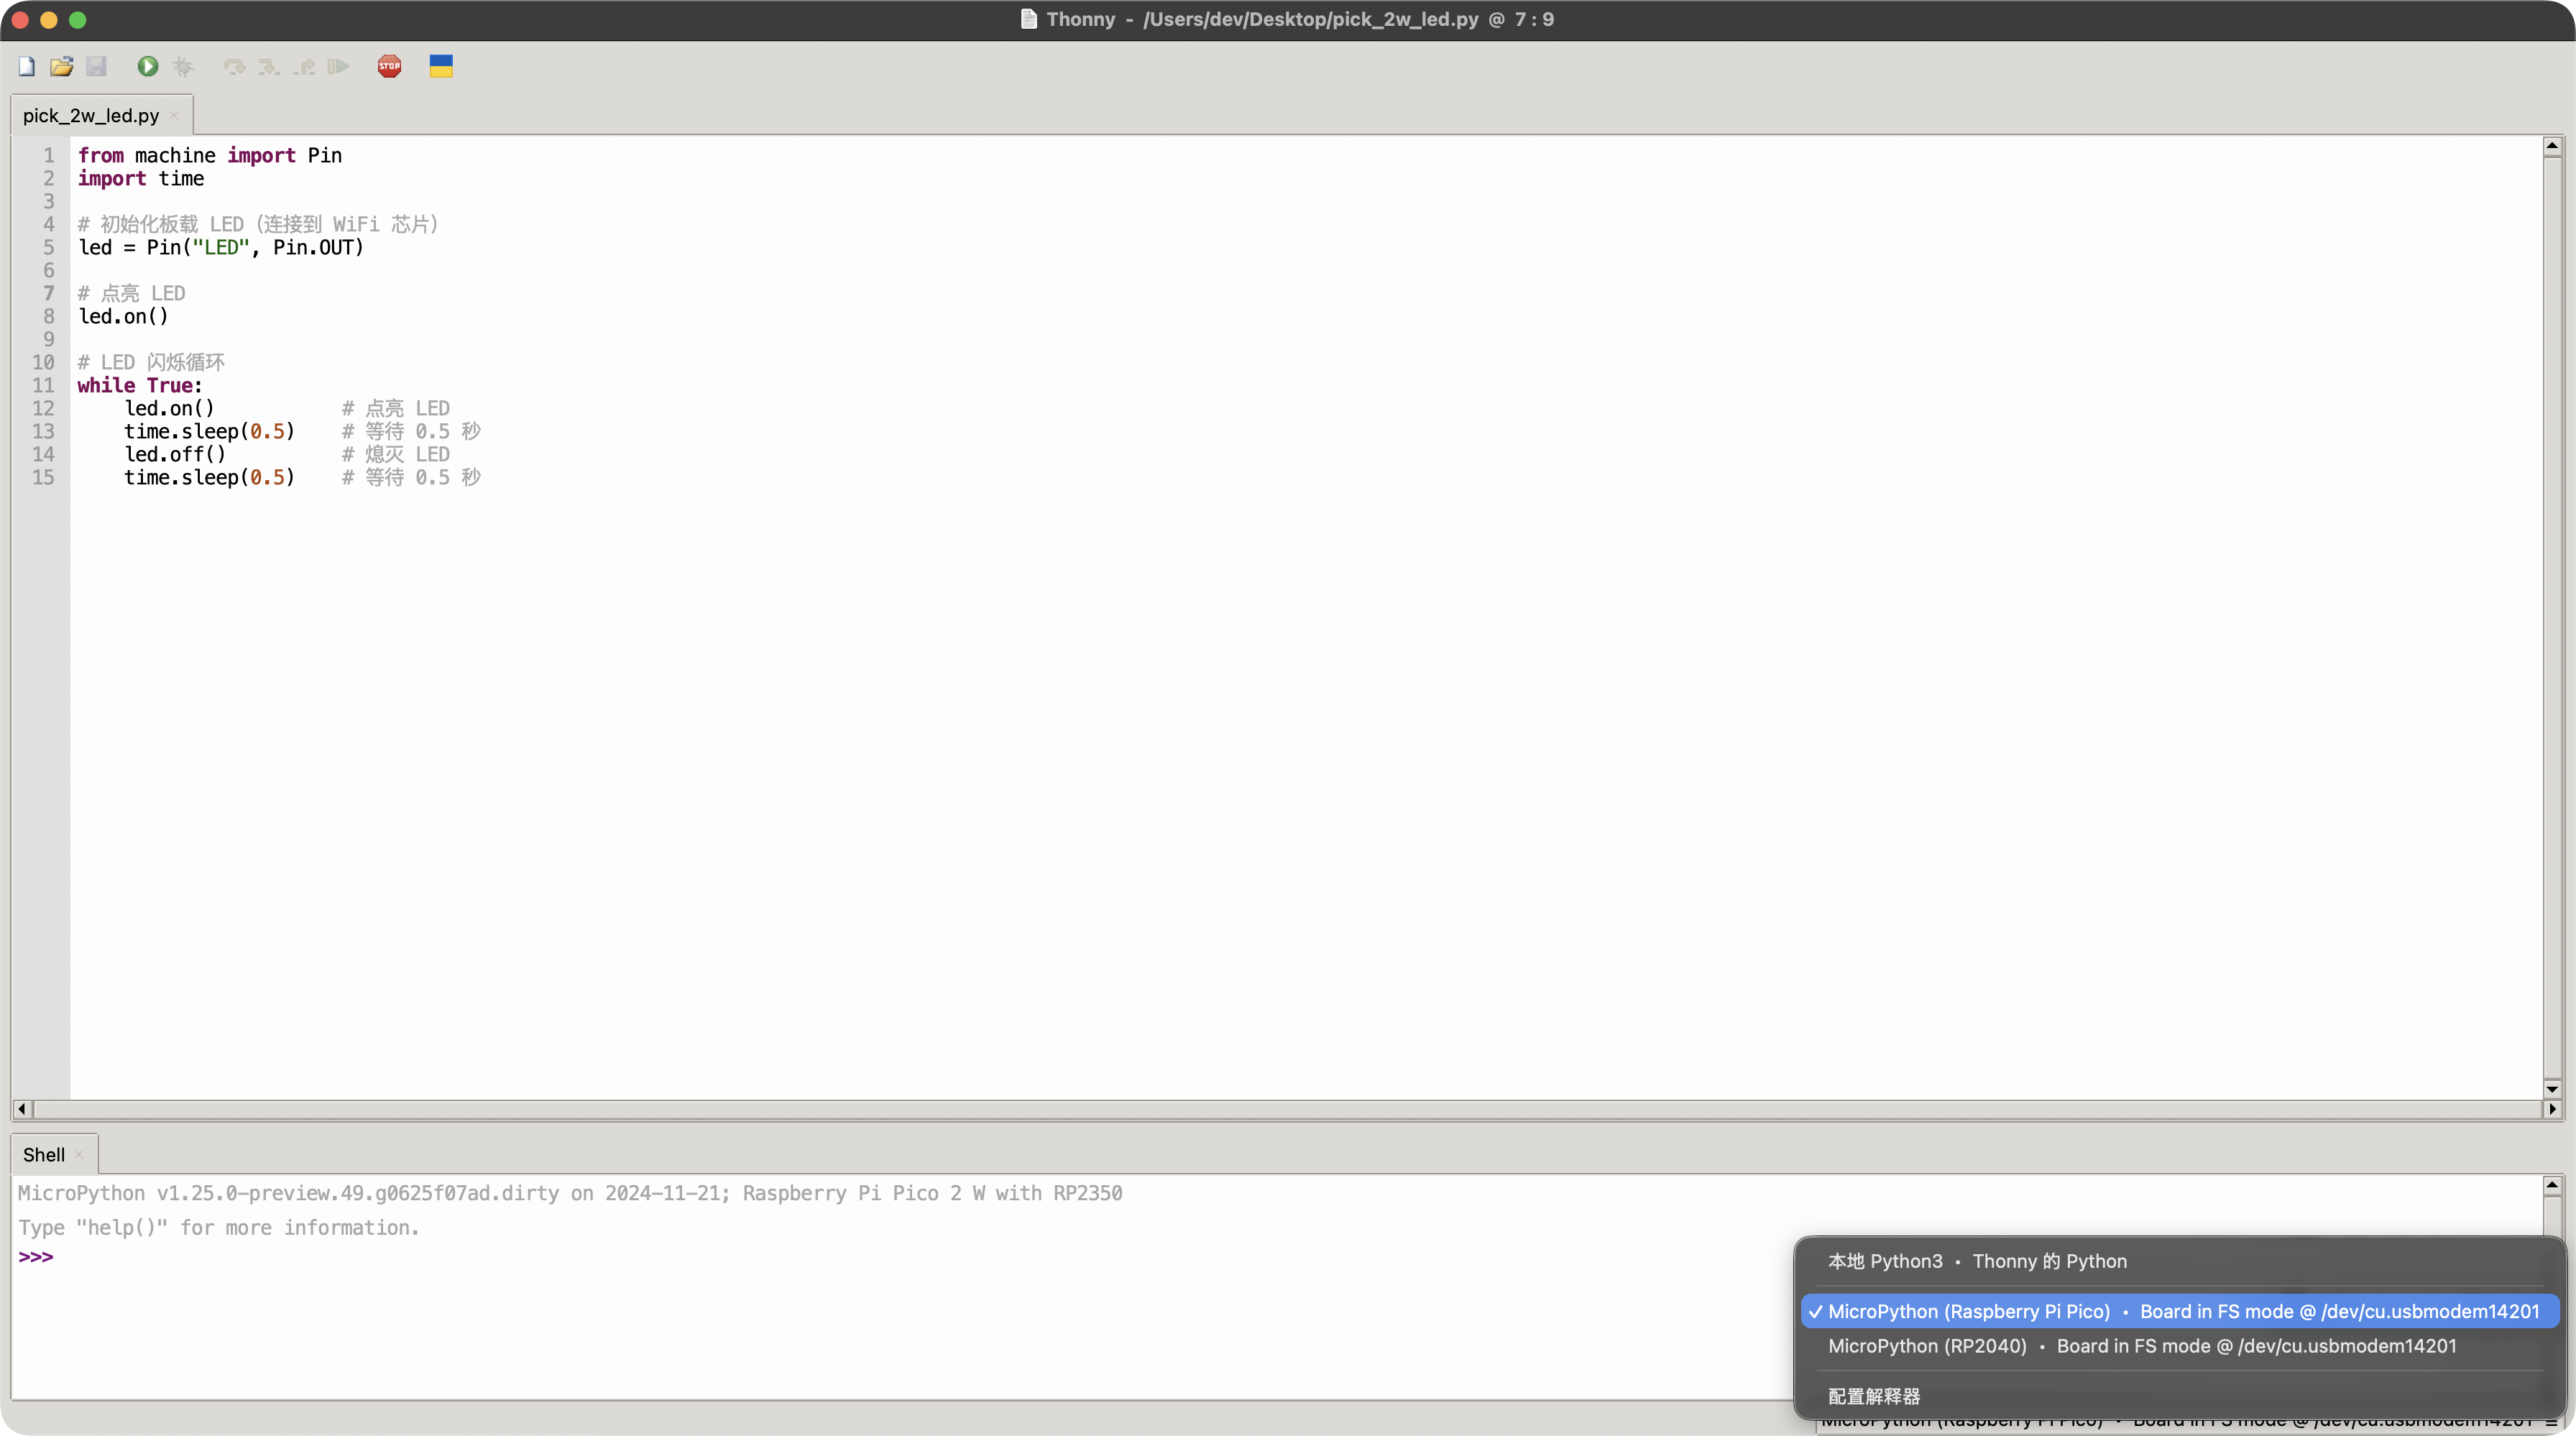
在ide中输入如下代码,
from machine import Pin
import time# 初始化板载 LED(连接到 WiFi 芯片)
led = Pin("LED", Pin.OUT)# 点亮 LED
led.on()# LED 闪烁循环
while True:led.on()           # 点亮 LEDtime.sleep(0.5)    # 等待 0.5 秒led.off()          # 熄灭 LEDtime.sleep(0.5)    # 等待 0.5 秒
点击运行后,Raspberry Pi Pico 2 W 的LED会闪烁