Python 之监控服务器服务
web监控 nginx,keepalived ,httpd 实时状态
Python 脚本(基于 Flask 框架)来实现这个功能。
1. 系统使用的是 Python 3.x,可以安装 python3-pip
yum install python3-pip
2. 安装完 pip 之后,你可以运行以下命令安装 Flask
pip install flask
3. 用 Flask 和 Python 编写的 Web 服务监控脚本
vim service_monitor.py
# Flask:这是 Flask 框架的核心类,表示你的 Web 应用程序。你会使用它来创建应用、路由请求、运行服务器等。
# render_template_string:这是 Flask 提供的一个函数,允许你从一个字符串模板渲染 HTML。
# 通常,我们会使用 render_template 函数从一个独立的模板文件(.html 文件)渲染页面,但是在某些情况下,如果模板非常简单或是动态生成的,
# 你可以直接用 render_template_string 从一个字符串来渲染 HTML。
from flask import Flask, render_template_stringimport subprocessapp = Flask(__name__)# 服务器列表
servers = ["192.168.100.181","192.168.100.182", "192.168.100.183","192.168.100.184"]# 服务列表
services = ["nginx", "keepalived","httpd"]def check_service_status(service_name, server_ip):try:if service_name == "nginx":# 使用 ssh 远程检查 nginx 进程是否存在result = subprocess.run(["ssh", f"root@{server_ip}", "ps", "-ef", "|", "grep", "nginx", "|","grep", "-v", "grep"],stdout=subprocess.PIPE,stderr=subprocess.PIPE)if result.returncode == 0 and len(result.stdout.decode()) > 0:return "running"else:return "down"else:# 对于其他服务,继续使用 systemctl 检查result = subprocess.run(["ssh", f"root@{server_ip}", "systemctl", "is-active", service_name],stdout=subprocess.PIPE,stderr=subprocess.PIPE)if result.returncode == 0:return "running"else:return "down"except Exception as e:return "error"# Web 界面模板
HTML_TEMPLATE = """
<!DOCTYPE html>
<html lang="en">
<head><meta charset="UTF-8"><meta http-equiv="refresh" content="10"><meta name="viewport" content="width=device-width, initial-scale=1.0"><title>Service Monitor</title><style>body { font-family: Arial, sans-serif; padding: 20px; }h1 { color: #333; }table { width: 100%; border-collapse: collapse; margin-top: 20px; }th, td { padding: 10px; text-align: left; border: 1px solid #ddd; }.running { color: green; }.down { color: red; }.error { color: orange; }</style>
</head>
<body><h1>Service Status Monitor</h1><table><thead><tr><th>Server</th><th>Service Name</th><th>Status</th></tr></thead><tbody>{% for server, services_status in all_status.items() %}{% for service, status in services_status.items() %}<tr><td>{{ server }}</td><td>{{ service }}</td><td class="{{ status }}">{{ status }}</td></tr>{% endfor %}{% endfor %}</tbody></table><br><p>Last updated at: {{ time }}</p>
</body>
</html>
"""# 路由,显示服务状态
@app.route('/')
def index():all_status = {}for server in servers:service_status = {}for service in services:status = check_service_status(service, server)service_status[service] = statusall_status[server] = service_statusreturn render_template_string(HTML_TEMPLATE, all_status=all_status, time="now")if __name__ == '__main__':app.run(host="0.0.0.0", port=5000, debug=True)
4. 定期刷新 Web 页面(可选)
如果你希望 Web 页面能够定期自动刷新,可以修改 HTML 模板,添加 meta 标签来实现自动刷新:
<meta http-equiv="refresh" content="10">
5. 在 Flask 服务器上生成 SSH 密钥
ssh-keygen -t rsa
6. 将公钥复制到被监控的服务器
ssh-copy-id root@192.168.100.181
ssh-copy-id root@192.168.100.182
ssh-copy-id root@192.168.100.183
ssh-copy-id root@192.168.100.184
7. 测试无密码登录
ssh root@192.168.100.181
ssh root@192.168.100.182
ssh root@192.168.100.183
ssh root@192.168.100.184
8. 执行python 脚本
python3 service_monitor.py
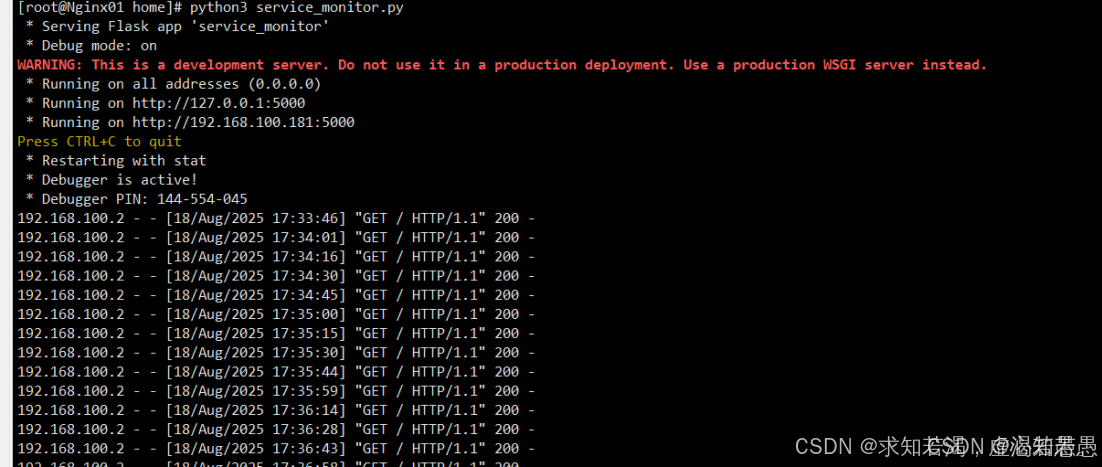
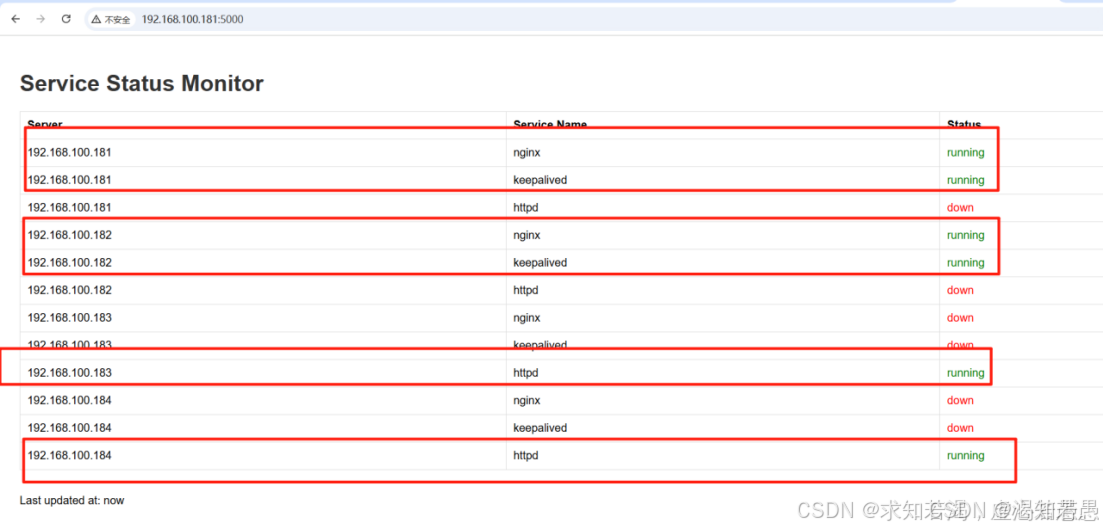
9. 在浏览器中访问 http://localhost:5000 来查看 Web 页面,实时查看服务的状态
原文地址:https://blog.csdn.net/qq_33283901/article/details/150352011