鸿蒙应用集成Push Kit 指南
相关资料
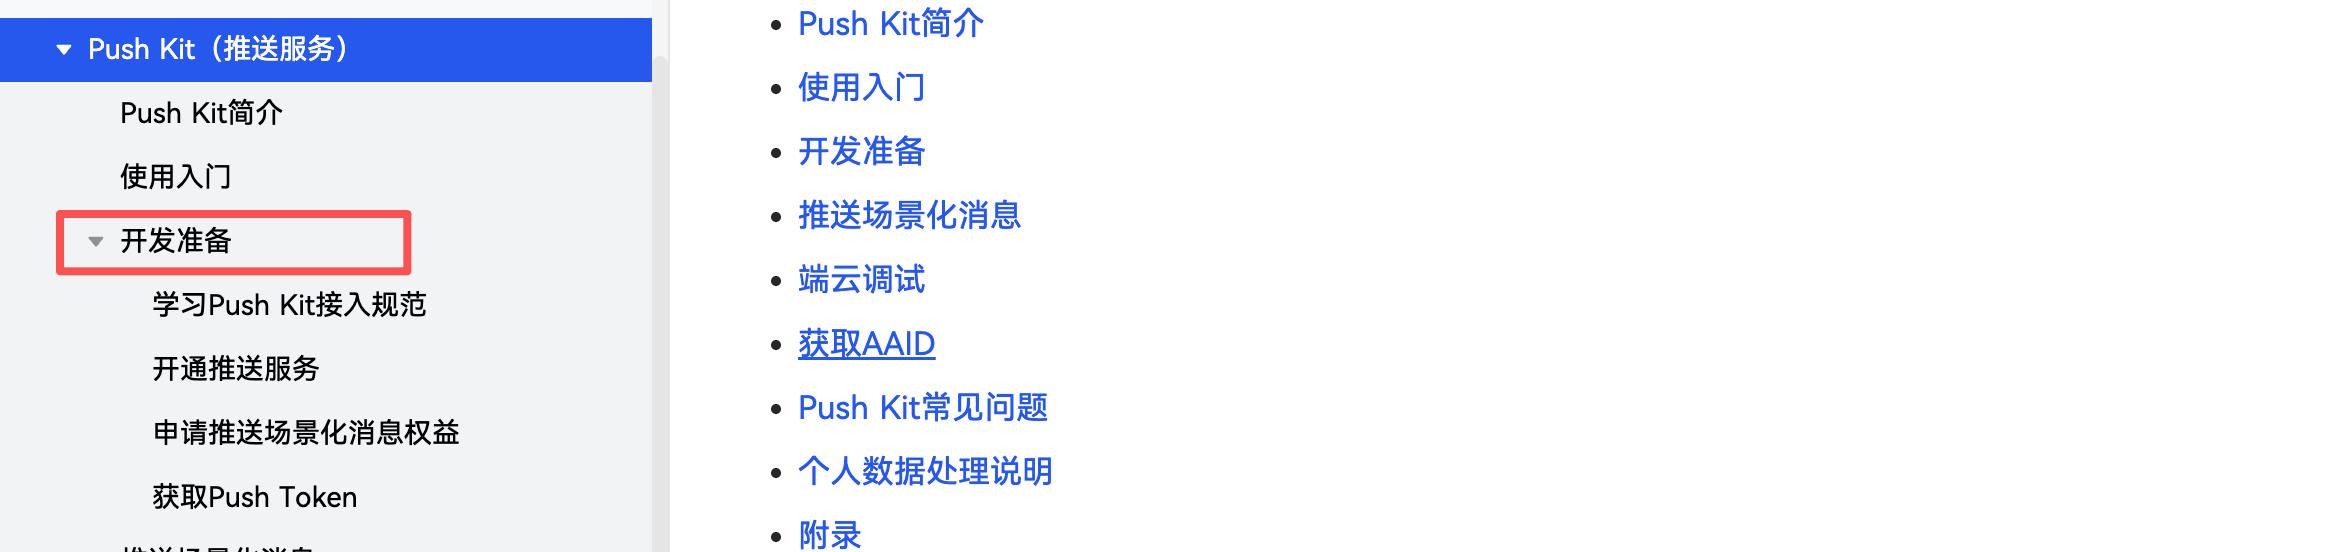
先给出Push Kit(推送服务)官方指南链接:https://developer.huawei.com/consumer/cn/doc/harmonyos-guides/push-kit-guide,把开发准备里面需要做的都做下
如果对 Push Kit 比较陌生,官方也提供了学习的视频和配套的资料,链接:https://developer.huawei.com/consumer/cn/training/course/slightMooc/C101718765607651496
接入指南
看完了前面的资料,相信你已经对Push Kit有了基本的了解了,下面就进入实战环节。
App端接入
App 端接入需要做的工作很少,主要就两个步骤:
- 获取Push Token,代码如下
import { pushService } from '@kit.PushKit';
import { hilog } from '@kit.PerformanceAnalysisKit';
import { BusinessError } from '@kit.BasicServicesKit';
import { UIAbility, AbilityConstant, Want } from '@kit.AbilityKit';export default class EntryAbility extends UIAbility {// 入参 want 与 launchParam 并未使用,为初始化项目时自带参数async onCreate(want: Want, launchParam: AbilityConstant.LaunchParam): Promise<void> {// 获取Push Tokentry {const pushToken: string = await pushService.getToken();hilog.info(0x0000, 'testTag', 'Succeeded in getting push token');} catch (err) {let e: BusinessError = err as BusinessError;hilog.error(0x0000, 'testTag', 'Failed to get push token: %{public}d %{public}s', e.code, e.message);}// 上报Push Token并上报到您的服务端}
}
- 获取通知权限,代码如下
import { BusinessError } from '@kit.BasicServicesKit';
import { UIAbility } from '@kit.AbilityKit';
import { window } from '@kit.ArkUI';
import { hilog } from '@kit.PerformanceAnalysisKit';
import { notificationManager } from '@kit.NotificationKit';class MyAbility extends UIAbility {onWindowStageCreate(windowStage: window.WindowStage) {hilog.info(0x0000, 'testTag', '%{public}s', 'Ability onWindowStageCreate');windowStage.loadContent('pages/Index', (err, data) => {if (err.code) {hilog.error(0x0000, 'testTag', 'Failed to load the content. Cause: %{public}s', JSON.stringify(err) ?? '');return;}hilog.info(0x0000, 'testTag', 'Succeeded in loading the content. Data: %{public}s', JSON.stringify(data) ?? '');notificationManager.requestEnableNotification(this.context).then(() => {hilog.info(0x0000, 'testTag', `[ANS] requestEnableNotification success`);}).catch((err: BusinessError) => {hilog.error(0x0000, 'testTag', `[ANS] requestEnableNotification failed, code is ${err.code}, message is ${err.message}`);});});}
}
做完这两步就可以收到推送的通知了。这时候点击收到的推送,打开的是 app 的首页,如果想打开其他的界面,可以参考官方文档,链接:https://developer.huawei.com/consumer/cn/doc/harmonyos-guides/push-send-alert#section697519219136
服务端接入
服务端接入也不难,重点就是生成鉴权令牌,鉴权令牌生成的方法可以参考这个链接:https://developer.huawei.com/consumer/cn/doc/harmonyos-guides/push-jwt-token#section4780149123414
以 Java 代码示例,项目中先引入需要的maven依赖
<dependency><groupId>com.fasterxml.jackson.core</groupId><artifactId>jackson-databind</artifactId><version>2.16.2</version>
</dependency>
<dependency><groupId>io.jsonwebtoken</groupId><artifactId>jjwt-api</artifactId><version>0.11.5</version>
</dependency>
<dependency><groupId>io.jsonwebtoken</groupId><artifactId>jjwt-impl</artifactId><version>0.11.5</version><scope>runtime</scope>
</dependency>
<dependency><groupId>io.jsonwebtoken</groupId><artifactId>jjwt-jackson</artifactId><version>0.11.5</version><scope>runtime</scope>
</dependency>
<dependency><groupId>org.bouncycastle</groupId><artifactId>bcprov-jdk18on</artifactId><version>1.78.1</version><scope>runtime</scope>
</dependency>
生成鉴权令牌的代码如下
import com.fasterxml.jackson.databind.JsonNode;
import com.fasterxml.jackson.databind.ObjectMapper;import io.jsonwebtoken.*;
import io.jsonwebtoken.lang.Maps;import java.io.File;
import java.io.IOException;
import java.net.URL;
import java.nio.charset.StandardCharsets;
import java.security.KeyFactory;
import java.security.NoSuchAlgorithmException;
import java.security.PrivateKey;
import java.security.interfaces.RSAPrivateKey;
import java.security.spec.InvalidKeySpecException;
import java.security.spec.PKCS8EncodedKeySpec;
import java.util.Base64;
import java.util.Map;public class JsonWebTokenFactory {// 实际开发时请将公网地址存储在配置文件或数据库private static final String AUD = "https://oauth-login.cloud.huawei.com/oauth2/v3/token";public static String createJwt() throws NoSuchAlgorithmException, InvalidKeySpecException, IOException, NullPointerException {// 读取配置文件ObjectMapper mapper = new ObjectMapper();// 上述private.json文件放置于工程的src/main/resources路径下URL url = JsonWebTokenFactory.class.getClassLoader().getResource("private.json");if (url == null) {throw new NullPointerException("File not exist");}JsonNode rootNode = mapper.readTree(new File(url.getPath()));RSAPrivateKey privateKey = (RSAPrivateKey) generatePrivateKey(rootNode.get("private_key").asText().replace("-----BEGIN PRIVATE KEY-----", "").replace("-----END PRIVATE KEY-----", "").replaceAll("\\s", ""));long iat = System.currentTimeMillis() / 1000;long exp = iat + 3600;Map<String, Object> header = Maps.<String, Object>of(JwsHeader.KEY_ID, rootNode.get("key_id").asText()).and(JwsHeader.TYPE, JwsHeader.JWT_TYPE).and(JwsHeader.ALGORITHM, SignatureAlgorithm.PS256.getValue()).build();Map<String, Object> payload = Maps.<String, Object>of(Claims.ISSUER, rootNode.get("sub_account").asText()).and(Claims.ISSUED_AT, iat).and(Claims.EXPIRATION, exp).and(Claims.AUDIENCE, AUD).build();return Jwts.builder().setHeader(header).setPayload(new ObjectMapper().writeValueAsString(payload)).signWith(privateKey, SignatureAlgorithm.PS256).compact();}private static PrivateKey generatePrivateKey(String base64Key) throws NoSuchAlgorithmException, InvalidKeySpecException {PKCS8EncodedKeySpec keySpec = new PKCS8EncodedKeySpec(Base64.getDecoder().decode(base64Key.getBytes(StandardCharsets.UTF_8)));KeyFactory keyFactory = KeyFactory.getInstance("RSA");return keyFactory.generatePrivate(keySpec);}public static void main(String[] args) {try {// 获取鉴权令牌String jwt = createJwt();} catch (NoSuchAlgorithmException e) {// 异常处理流程1} catch (InvalidKeySpecException e) {// 异常处理流程2} catch (IOException e) {// 异常处理流程3} catch (NullPointerException e) {// 异常处理流程4}}
}
需要注意⚠️的是要先下载推送服务API的服务账号密钥文件,具体的下载方法可以查看官方文档,链接为:https://developer.huawei.com/consumer/cn/doc/harmonyos-guides/push-jwt-token#section16173145352。
鉴权令牌生成后就可以进行消息的推送了,下面是我写的示例代码
 /*** 发送测试推送消息*/public boolean pushTestMessage(String token, String title, String body) {return pushMessage(List.of(token), title, body, null, true);}/*** 发送推送消息的核心方法** @param tokens     设备token列表* @param title      通知标题* @param body       通知内容* @param customData 自定义数据* @param isTest     是否为测试消息* @return 是否发送成功*/public boolean pushMessage(List<String> tokens, String title, String body, Map<String, String> customData, boolean isTest) {try {
//            String accessToken = getAccessToken();String accessToken = JsonWebTokenFactory.createJwt();return sendPushMessage(accessToken, tokens, title, body, customData, isTest);} catch (Exception e) {e.printStackTrace();return false;}}/*** 发送推送消息的核心实现*/private boolean sendPushMessage(String accessToken, List<String> tokens, String title, String body, Map<String, String> customData, boolean isTest) {try {// 构建请求头HttpHeaders headers = new HttpHeaders();headers.setContentType(new MediaType(MediaType.APPLICATION_JSON, StandardCharsets.UTF_8));headers.setBearerAuth(accessToken);headers.set("push-type", "0");  // 华为推送要求的请求头// 构建请求体Map<String, Object> requestBody = buildRequestBody(tokens, title, body, customData, isTest);HttpEntity<Map<String, Object>> request = new HttpEntity<>(requestBody, headers);// 发送请求String url = PUSH_URL.replace("{projectId}", projectId);ResponseEntity<String> response = restTemplate.postForEntity(url, request, String.class);if (response.getStatusCode() == HttpStatus.OK) {System.out.println("推送成功: " + response.getBody());return true;} else {System.err.println("推送失败: " + response.getBody());return false;}} catch (Exception e) {e.printStackTrace();return false;}}/*** 构建华为推送请求体*/private Map<String, Object> buildRequestBody(List<String> tokens, String title, String body, Map<String, String> customData, boolean isTest) {Map<String, Object> requestBody = new HashMap<>();// 构建 payloadMap<String, Object> payload = new HashMap<>();// 构建 notificationMap<String, Object> notification = new HashMap<>();notification.put("category", "MARKETING");notification.put("title", title);notification.put("body", body);notification.put("notifyId", 12345);// 构建 clickActionMap<String, Object> clickAction = new HashMap<>();clickAction.put("actionType", 0);notification.put("clickAction", clickAction);// 设置前台是否显示通知,默认true表示前后台都展示notification.put("foregroundShow", true);payload.put("notification", notification);// 如果有自定义数据,添加到payload中if (customData != null && !customData.isEmpty()) {payload.put("data", customData);}requestBody.put("payload", payload);// 构建 targetMap<String, Object> target = new HashMap<>();target.put("token", tokens);requestBody.put("target", target);// 构建 pushOptionsMap<String, Object> pushOptions = new HashMap<>();pushOptions.put("testMessage", isTest);
//        pushOptions.put("ttl", 86400);  // 消息存活时间,默认24小时requestBody.put("pushOptions", pushOptions);return requestBody;}
通过下面的方式调用就可以实现服务端推送消息到客户端了
pushTestMessage(user.getPushToken(), "记得记账哦!", "晚上好,今日是否还有收支未记录?");
结语
这篇文章只是推送普通消息的指南,目标是让你跑通基本的业务,如果你的项目中有其他的一些特殊要求,可以查看官方文档。
班级链接:https://developer.huawei.com/consumer/cn/training/classDetail/c5b52b1112fb40f38c08a09e3a6e7340?type=1?ha_source=hmosclass&ha_sourceId=89000248