购物车效果
数据层开发
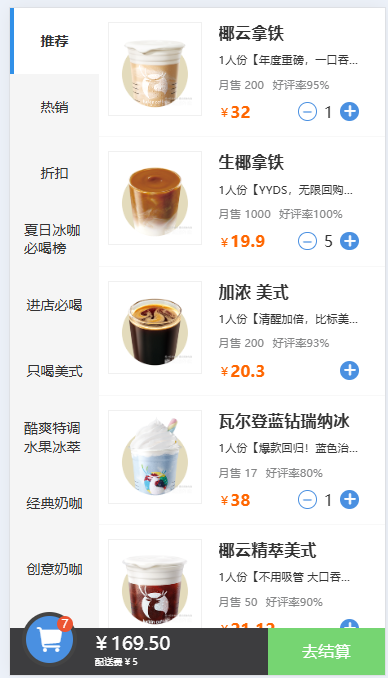
打开准备好的素材, 效果如下
根据页面的效果, 确定数据格式, 开发数据层的必要方法, 为页面层开发做支撑
/*** 开发步骤:* 1. 先搞定数据, 在搞定数据的操作* 2. 在搞定页面, 使用数据和方法完成页面的逻辑*//*** 数据层思路分析* 查看数据和页面:* 1.发现商品的基本数据有了, 但是缺少一些数据, 比如该商品的选中数量, 该商品选中的总价* 2.购物车相关的数据需要准备, 比如所有选中商品的总价, 总配送费, 起送价, 是否选中了商品* 3.所以我们要对基础数据进行二次封装, 以方便后续的开发* 4.根据一个数据生成第新的数据, 可以使用函数编程思想,也可以使用面向对象思想, 我们选择后者* 5.在JS中, 面向对象可以使用构造函数和类两种方式实现, 我们选择后者*//*** 单个商品对象* 使用构造函数创造对象* @param {*} g*/
// function UIGood(g) {
// this.data = g
// this.choose = 0
// }// // 获取总价
// // 总价可以设计为对象的一个字段, 但是会出现数据冗余, 所以这里设计为方法
// UIGood.prototype.getTotalPrice = function () {
// return this.data.price * this.choose
// }// // 是否选中了该商品
// UIGood.prototype.isChoose = function () {
// return this.choose > 0
// }// const uig = new UIGood(goods[0])
// console.log(uig);/*** 单个商品对象* 使用类创造对象*
*/
class UIGood {constructor(g) {this.data = gthis.choose = 0}// 获取总价getTotalPrice = function () {return this.data.price * this.choose}// 是否选中了该商品isChoose = function () {return this.choose > 0}// 选中数量加1add() {this.choose++}// 选中数量减1sub() {if (this.choose === 0) {return}this.choose--}
}// const uig = new UIGood(goods[0])
// console.log(uig);/*** 购物车对象*/
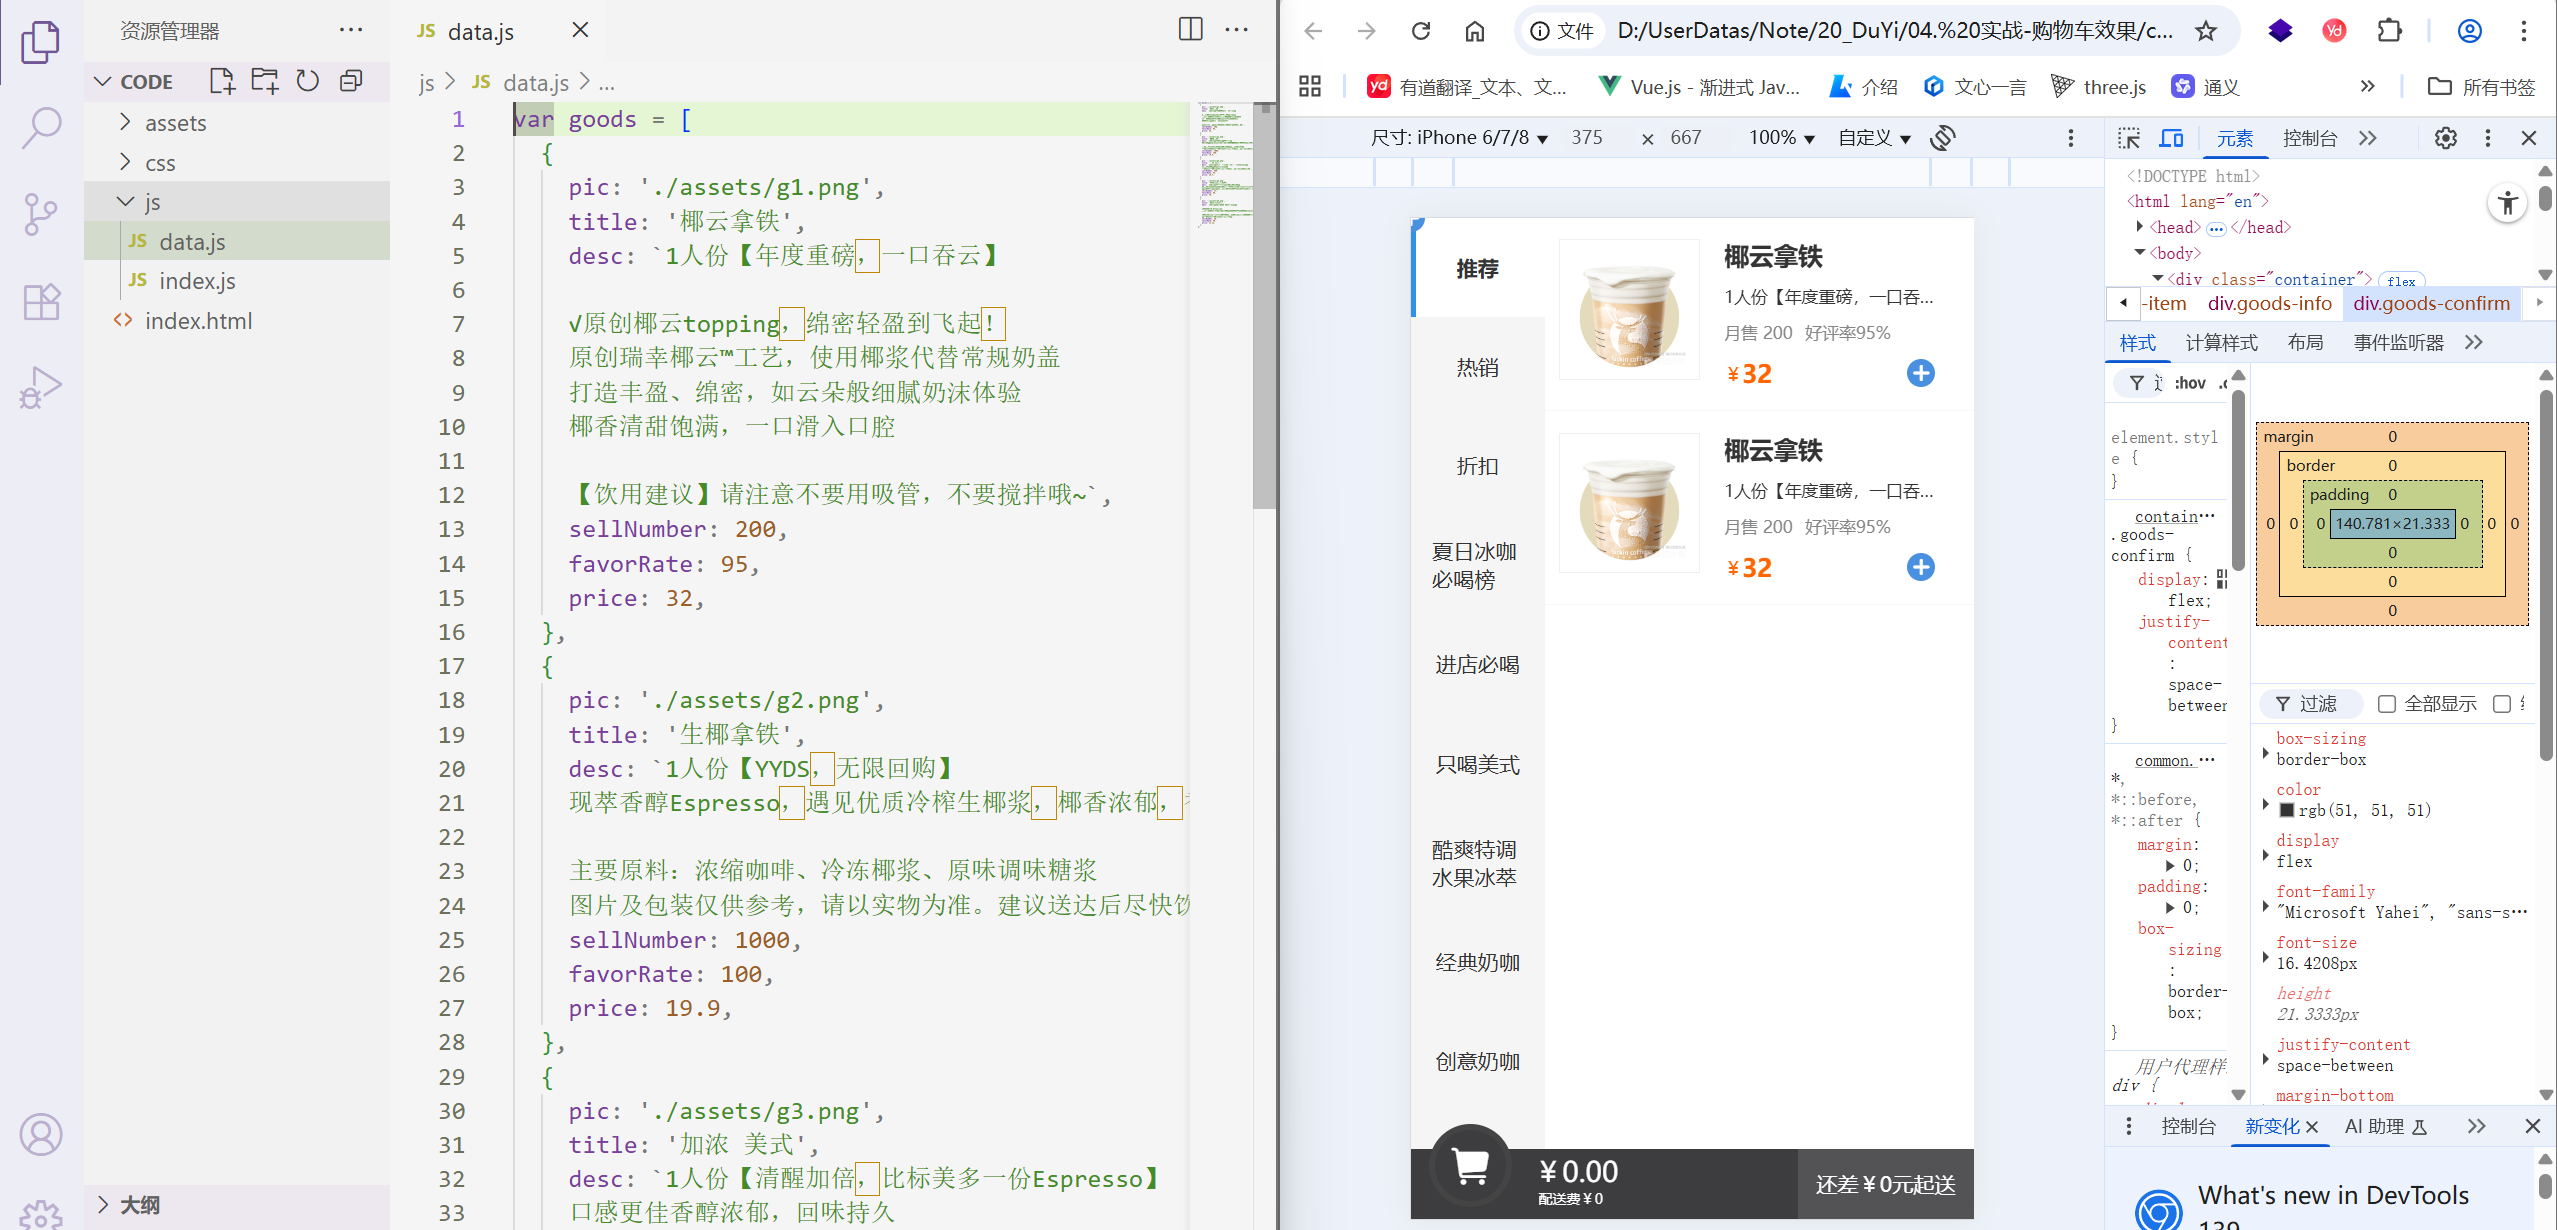
class UIDate {constructor() {let uiGoods = []goods.forEach(item => {uiGoods.push(new UIGood(item))})// 所有商品数据this.uiGoods = uiGoods;// 起送价this.deliveryThreshold = 30;// 配送费this.deliveryPrice = 5;}// 增加某件商品数量add(index) {this.uiGoods[index].add()}// 减少某件商品数量sub(index) {this.uiGoods[index].sub()}// 获取选中商品的总价getTotalPrice() {return this.uiGoods.reduce((prev, cur) => {return prev + cur.getTotalPrice()}, 0)}// 获取选中商品的数量getTotalChooseNumber() {return this.uiGoods.reduce((prev, cur) => {return prev + cur.choose}, 0)}// 购物车中有么有商品hasGoodsInCar() {return this.getTotalChooseNumber() > 0}// 是否满足配送标准isCrossDeliveryThreshold() {return this.getTotalPrice() >= this.deliveryThreshold}}const ui = new UIDate();
// console.log(ui);
- 重要的开发思想
先考虑数据, 再考虑数据逻辑, 最后关心页面和事件
- 数据与页面分离的设计原则
数据的逻辑在设计的时候要明确边界, 把该做的增删改查的事要做完, 不要做成半成品
这样在完成页面逻辑的时候就不再关心数据的逻辑, 只需调用相关的方法
- 写代码正确的感觉
一定是越写越轻松, 如果越写越累, 一定是前期的设计和规划不到位, 导致一直填坑
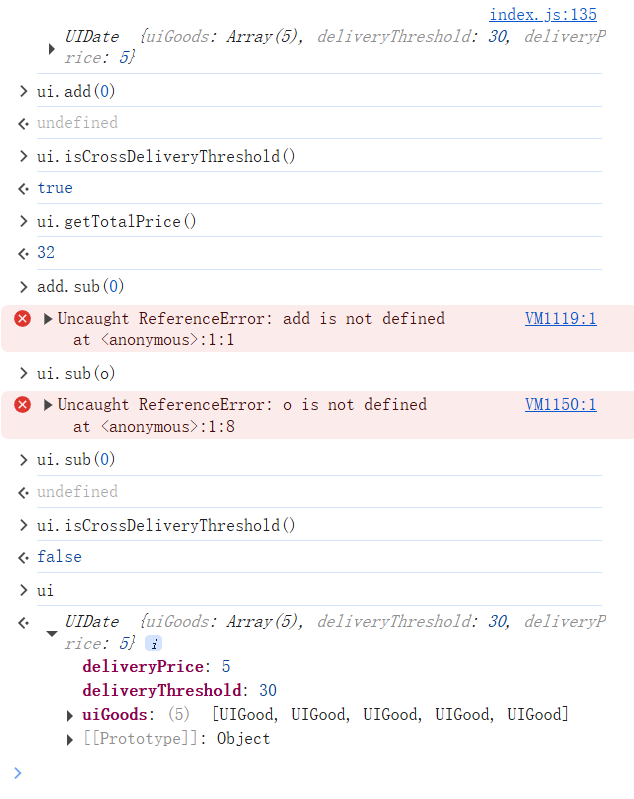
- 无头浏览器
具备浏览器的全部功能, 只是没有界面
- 一定要做测试, 才能保证每个方法都是可靠的, 这样后面就可以放心用, 开发才能轻松
列表渲染
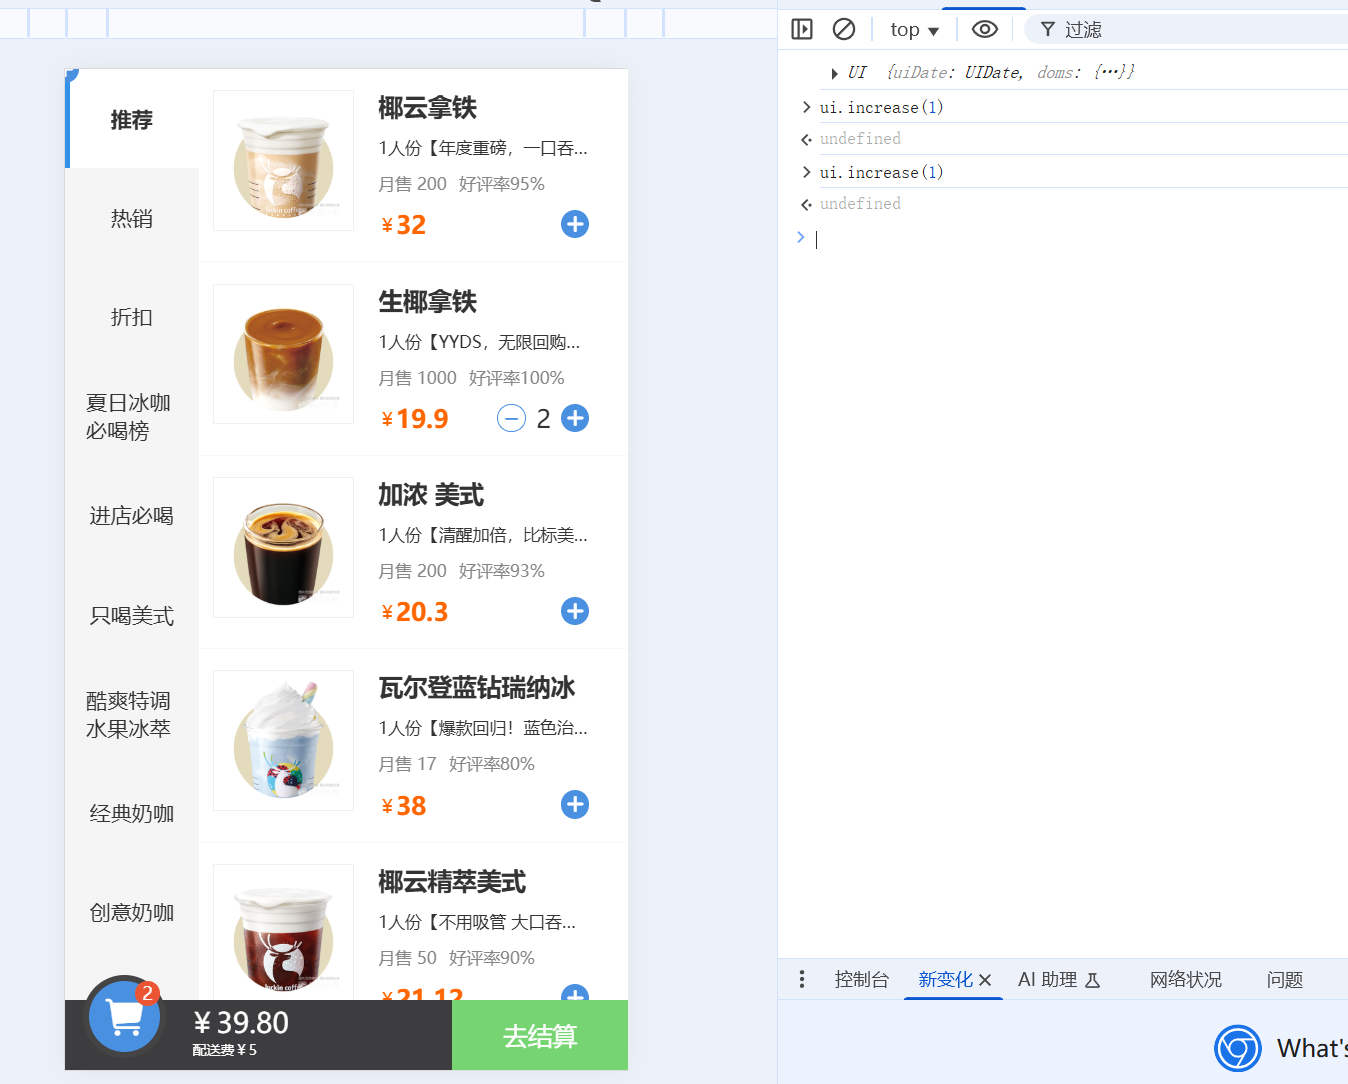
渲染商品列表, 并且增减商品后会更新UI
... .../*** 界面对象*/
class UI {constructor() {this.uiDate = new UIDate();this.doms = {goodsContainer: document.querySelector('.goods-list'),deliveryPrice: document.querySelector('.footer-car-tip')}this.cleartHTML()}// 根据商品数据创建商品列表 cleartHTML() {/*** 方案选择, 我们选择1* 1. 生成 html 字符串 (执行效率低, 开发效率高)* 2. 一个一个创建元素 (执行效率高, 开发效率低)*/let html = ""this.uiDate.uiGoods.forEach(item => {html += `<div class="goods-item"><img src="${item.data.pic}" alt="" class="goods-pic" /><div class="goods-info"><h2 class="goods-title">${item.data.title}</h2><p class="goods-desc">${item.data.desc}</p><p class="goods-sell"><span>月售 ${item.data.sellNumber}</span><span>好评率${item.data.favorRate}%</span></p><div class="goods-confirm"><p class="goods-price"><span class="goods-price-unit">¥</span><span>${item.data.price}</span></p><div class="goods-btns"><i class="iconfont i-jianhao"></i><span>${item.choose}</span><i class="iconfont i-jiajianzujianjiahao"></i></div></div></div></div>`})this.doms.goodsContainer.innerHTML = html}// 添加商品increase(index) {this.uiDate.add(index)this.updateGoodsItem(index)}// 减少商品decrease(index) {this.uiDate.sub(index)this.updateGoodsItem(index)}// 更新某个商品的显示状态updateGoodsItem(index) {const goodsDome = this.doms.goodsContainer.children[index]if (this.uiDate.isChoose(index)) {goodsDome.classList.add('active')} else {goodsDome.classList.remove('active')}const span = goodsDome.querySelector('.goods-btns span')span.textContent = this.uiDate.uiGoods[index].choose;}
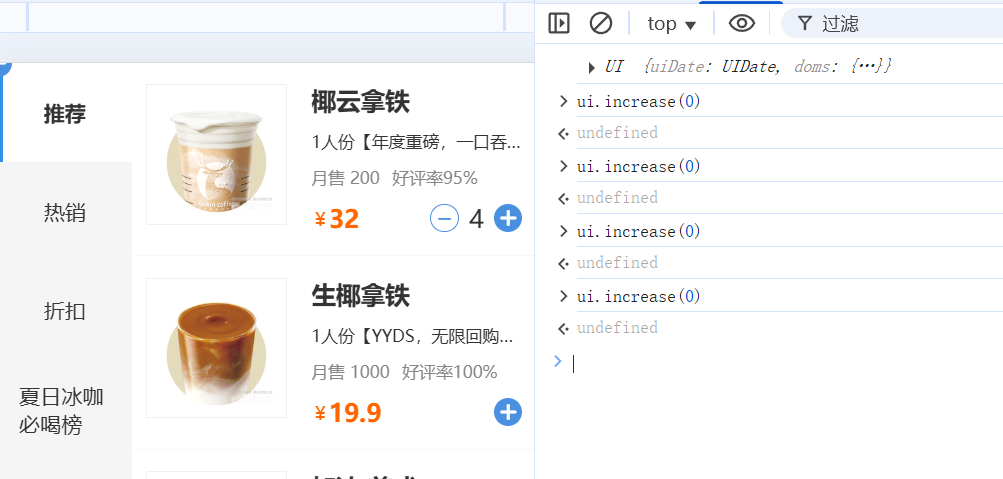
}const ui = new UI();
console.log(ui);
页脚渲染
商品数量改变时页角也需要更新
/*** 界面对象*/
class UI {constructor() {this.uiDate = new UIDate();this.doms = {goodsContainer: document.querySelector('.goods-list'),deliveryPrice: document.querySelector('.footer-car-tip'),footerPay: document.querySelector('.footer-pay'),footerPayInnerSpan: document.querySelector('.footer-pay span'),totalPrice: document.querySelector('.footer-car-total'),car: document.querySelector('.footer-car'),badge: document.querySelector('.footer-car-badge')}this.cleartHTML()this.updateFooter()}// 添加商品increase(index) {this.uiDate.add(index)this.updateGoodsItem(index)this.updateFooter()}// 减少商品decrease(index) {this.uiDate.sub(index)this.updateGoodsItem(index)this.updateFooter()}// 更新页脚updateFooter() {// 商品总价const total = this.uiDate.getTotalPrice()// 设置配送费this.doms.deliveryPrice.textContent = `配送费¥${this.uiDate.deliveryPrice}`// 设置起送费if (this.uiDate.isCrossDeliveryThreshold()) {// 到达起送点this.doms.footerPay.classList.add('active')} else {this.doms.footerPay.classList.remove('active')// 更新还差多少钱let dis = this.uiDate.deliveryThreshold - totaldis = Math.round(dis)this.doms.footerPayInnerSpan.textContent = `还差¥${dis}元起送`}// 设置总价this.doms.totalPrice.textContent = total.toFixed(2)// 设置购物车的样式状态if (this.uiDate.hasGoodsInCar()) {this.doms.car.classList.add('active')} else {this.doms.car.classList.remove('active')}// 设置购物车的数量this.doms.badge.textContent = this.uiDate.getTotalChooseNumber()}}const ui = new UI();
console.log(ui);
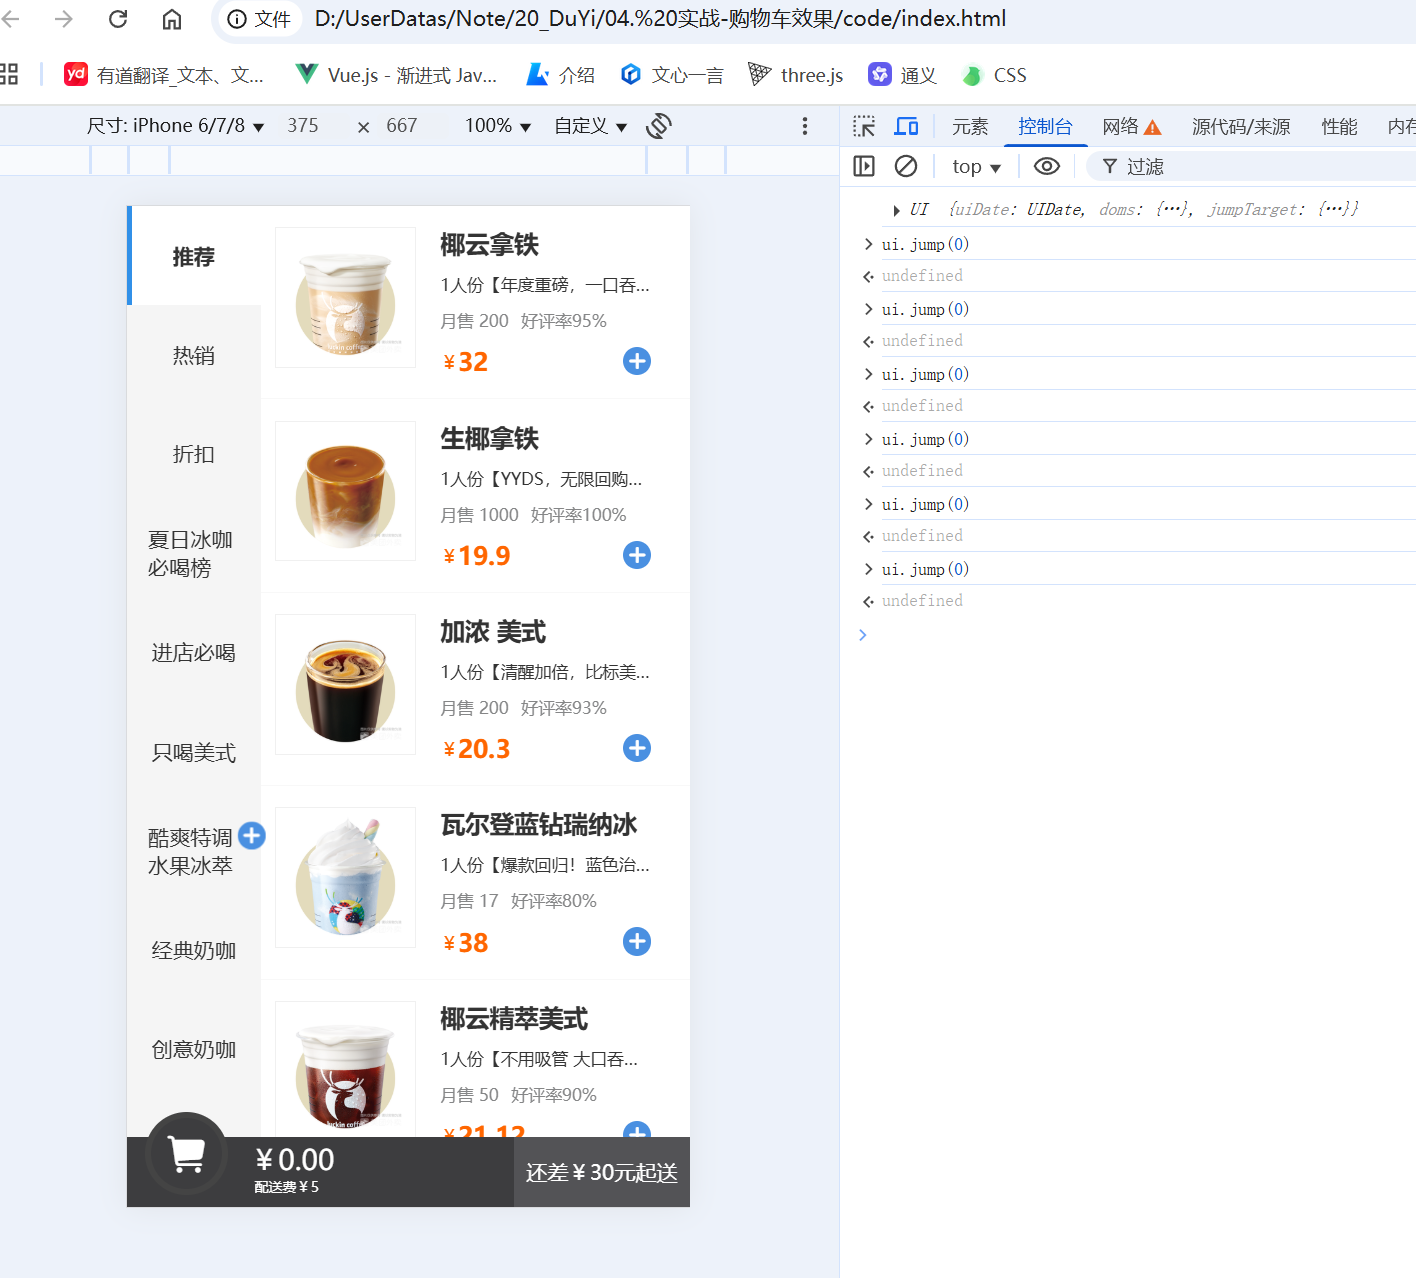
控制动画
实现添加购物车的两个动画效果: 购物车抖一抖, 加号抛物线移动到购物车
.add-to-car {position: fixed;color: #fff;font-size: 23rem;line-height: 40rem;text-align: center;z-index: 9;margin-left: -20rem;margin-top: -20rem;left: 0;top: 0;/* 1.实现抛物线效果的最简单做法: 元素横向做匀速运动 */transition: 0.6s linear;
}.add-to-car .iconfont {width: 40rem;height: 40rem;background: #4a90e1;border-radius: 50%;display: block;/* 2.内部元素横行匀速运动的同时(受外部元素影响), 纵向单独通过贝塞尔曲线设置抛物的曲线 */transition: 0.6s cubic-bezier(0.5, -0.5, 1, 1);
}
/*** 界面对象*/
class UI {constructor() {this.uiDate = new UIDate();this.doms = {goodsContainer: document.querySelector('.goods-list'),deliveryPrice: document.querySelector('.footer-car-tip'),footerPay: document.querySelector('.footer-pay'),footerPayInnerSpan: document.querySelector('.footer-pay span'),totalPrice: document.querySelector('.footer-car-total'),car: document.querySelector('.footer-car'),badge: document.querySelector('.footer-car-badge')}// 得到动画目标处的坐标(底部购物车图标)let carRect = this.doms.car.getBoundingClientRect();let jumpTarget = {x: carRect.left + carRect.width / 2,y: carRect.top + carRect.height / 5}this.jumpTarget = jumpTargetthis.cleartHTML()this.updateFooter()this.listenEvent()}// 添加商品increase(index) {this.uiDate.add(index)this.updateGoodsItem(index)this.updateFooter()this.jump(index)}// 监听各种事件listenEvent() {// 动画结束后清除类名this.doms.car.addEventListener('animationend', function () {this.classList.remove('animate')})}// 购物车动画 (购物车抖一下)carAnimate() {this.doms.car.classList.add('animate')}// 抛物线跳跃的元素jump(index) {// 找到对应商品的加号const btnAdd = this.doms.goodsContainer.children[index].querySelector('.i-jiajianzujianjiahao')const rect = btnAdd.getBoundingClientRect()const start = {x: rect.left,y: rect.top}// 动态创建元素, 页面更干净let div = document.createElement('div')div.className = 'add-to-car'let i = document.createElement('i')i.className = 'iconfont i-jiajianzujianjiahao'// 设置初始位置div.style.transform = `translateX(${start.x}px)`i.style.transform = `translateY(${start.y}px)`div.appendChild(i)document.body.appendChild(div)// 强制渲染// 更推荐使用 requestAnimationFrame, 渲染性能更高div.clientWidth;// 设置结束位置div.style.transform = `translateX(${this.jumpTarget.x}px`i.style.transform = `translateY(${this.jumpTarget.y}px)`div.addEventListener('transitionend', () => {div.remove()this.carAnimate()}, {once: true // 事件只触发一次})}}const ui = new UI();
console.log(ui);
事件绑定
使用事件代理和自定义属性完成用户增减商品的操作逻辑
/*** 界面对象*/
class UI {// 根据商品数据创建商品列表 cleartHTML() {/*** 方案选择, 我们选择1* 1. 生成 html 字符串 (执行效率低, 开发效率高)* 2. 一个一个创建元素 (执行效率高, 开发效率低)*/let html = ""this.uiDate.uiGoods.forEach((item, index) => {html += `<div class="goods-item"><img src="${item.data.pic}" alt="" class="goods-pic" /><div class="goods-info"><h2 class="goods-title">${item.data.title}</h2><p class="goods-desc">${item.data.desc}</p><p class="goods-sell"><span>月售 ${item.data.sellNumber}</span><span>好评率${item.data.favorRate}%</span></p><div class="goods-confirm"><p class="goods-price"><span class="goods-price-unit">¥</span><span>${item.data.price}</span></p><div class="goods-btns"><i index="${index}" class="iconfont i-jianhao"></i><span>${item.choose}</span><i index="${index}" class="iconfont i-jiajianzujianjiahao"></i></div></div></div></div>`})this.doms.goodsContainer.innerHTML = html}}const ui = new UI();
console.log(ui);// 绑定事件
ui.doms.goodsContainer.addEventListener('click', function (e) {if (e.target.classList.contains('i-jiajianzujianjiahao')) {const index = +e.target.getAttribute('index')ui.increase(index)} else if (e.target.classList.contains('i-jianhao')) {const index = +e.target.getAttribute('index')ui.decrease(index)}
})