如何在ubuntu下用pip安装aider,解决各种报错问题
aider中文文档网站上给出的安装说明比较简单:
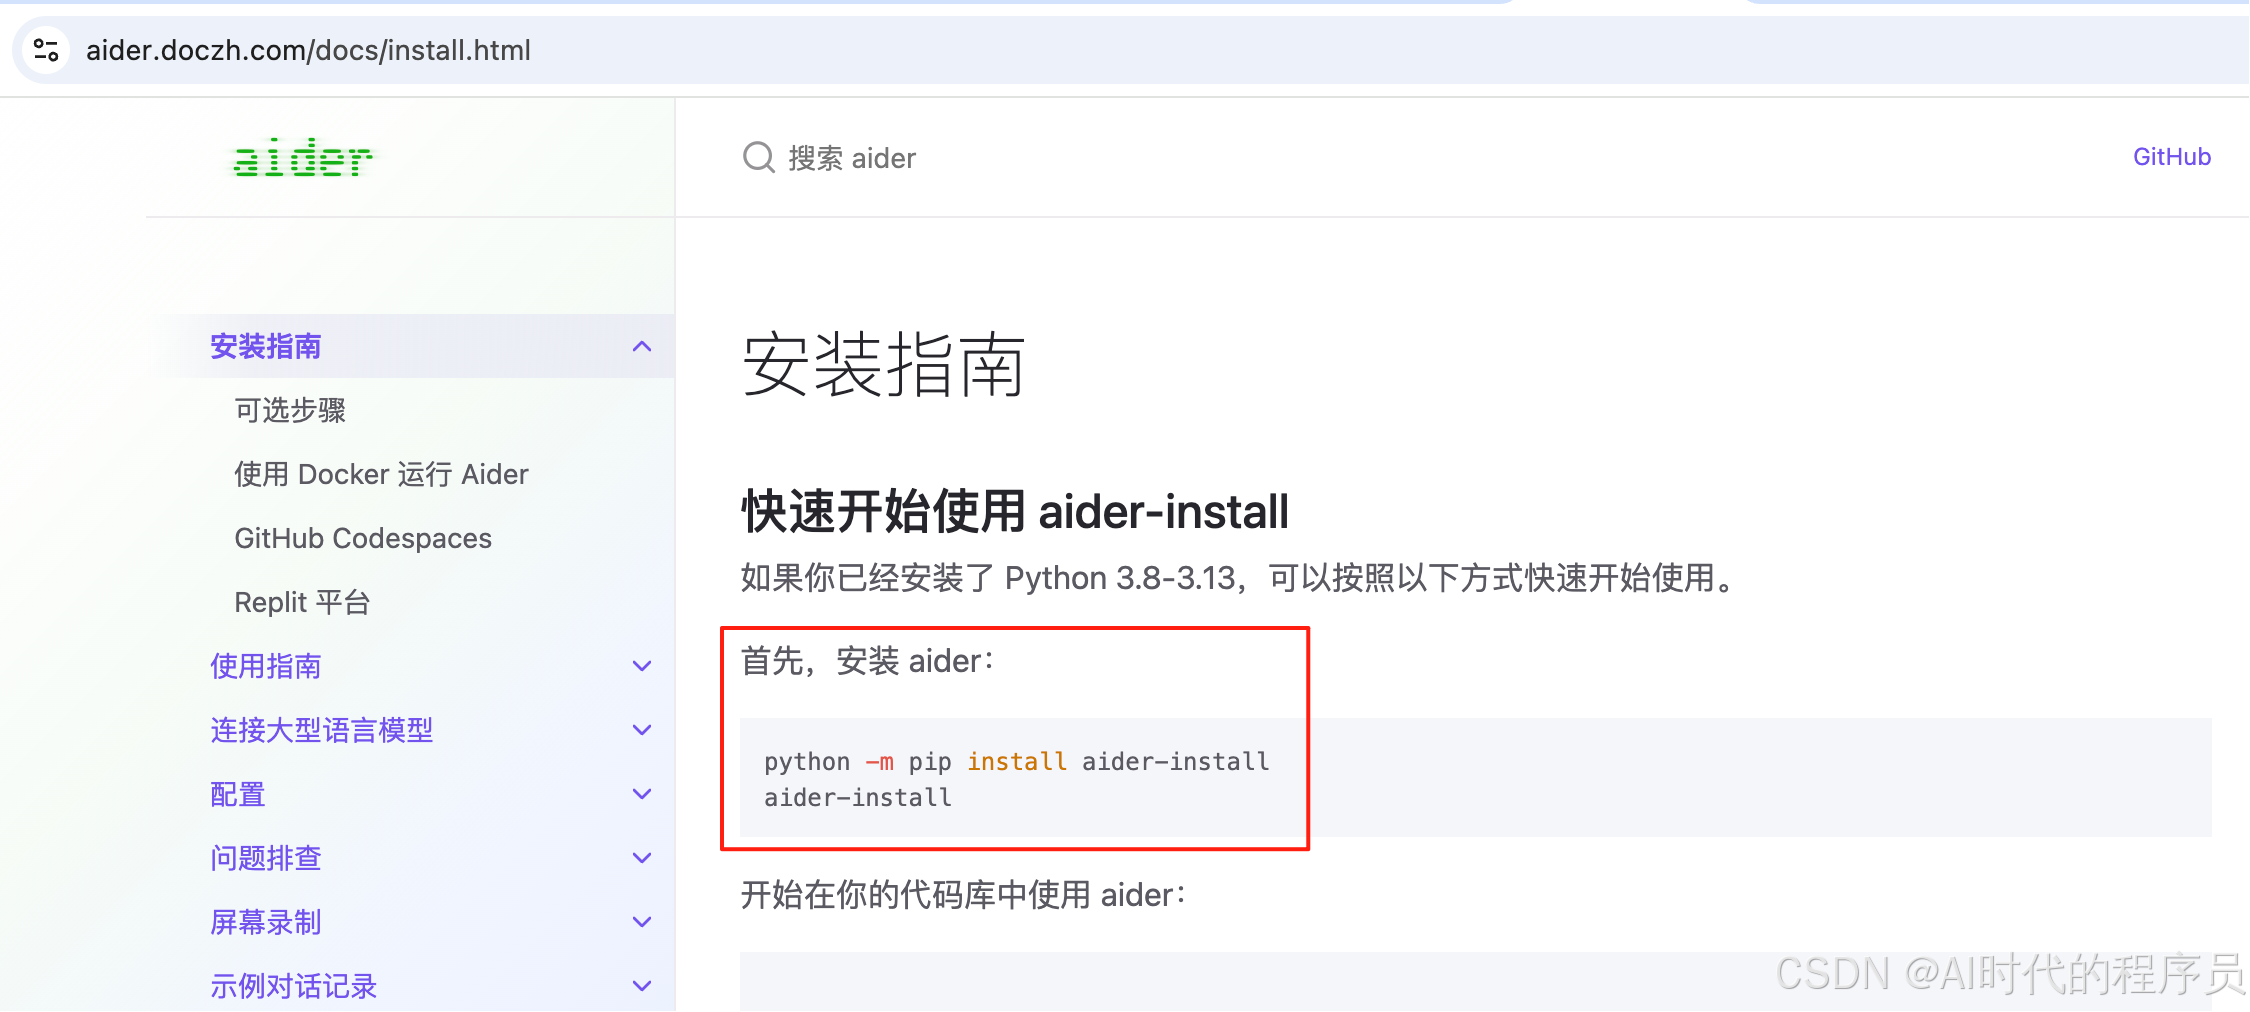 https://aider.doczh.com/docs/install.html
但是在一个干净的ubuntu环境中按文档中的命令安装时,会报错,经过一番尝试之后,解决了报错问题,成功完成了安装。
成功安装执行的命令如下,大家可以直接取用(注意,新版本的ubuntu上默认安装的是python3,而非python,所以下面命令中都是用的python3):
sudo apt install python3-pip python3.12-venvpython3 -m venv myenvsource myenv/bin/activatepip config set global.index-url https://pypi.tuna.tsinghua.edu.cn/simplepip install aider-installUV_INDEX_URL=https://pypi.tuna.tsinghua.edu.cn/simple aider-install下面是问题的解决过程,大家感兴趣的话可以参考一下,不感兴趣可以直接忽略。
按aider中文文档中的说明执行命令:
python3 -m pip install aider-install报错:
/usr/bin/python3: No module named pip很明显,是说缺少pip模块。但是用
sudo apt install python3-pip命令安装了pip后,运行前面的命令依然报错,这次报的是:
error: externally-managed-environment× This environment is externally managed
╰─> To install Python packages system-wide, try apt installpython3-xyz, where xyz is the package you are trying toinstall.If you wish to install a non-Debian-packaged Python package,create a virtual environment using python3 -m venv path/to/venv.Then use path/to/venv/bin/python and path/to/venv/bin/pip. Makesure you have python3-full installed.If you wish to install a non-Debian packaged Python application,it may be easiest to use pipx install xyz, which will manage avirtual environment for you. Make sure you have pipx installed.See /usr/share/doc/python3.12/README.venv for more information.note: If you believe this is a mistake, please contact your Python installation or OS distribution provider. You can override this, at the risk of breaking your Python installation or OS, by passing --break-system-packages.
hint: See PEP 668 for the detailed specification.
是说需要在虚拟环境中安装python包。
于是执行创建虚拟环境的命令:
python3 -m venv myenv又报错了:
The virtual environment was not created successfully because ensurepip is not
available.  On Debian/Ubuntu systems, you need to install the python3-venv
package using the following command.apt install python3.12-venvYou may need to use sudo with that command.  After installing the python3-venv
package, recreate your virtual environment.Failing command: /home/teratech/erule-web-3.0/myenv/bin/python3
是说venv模块没有安装,于是再运行
apt install python3.12-venv命令安装venv。
安装完成后,再次运行
python3 -m venv myenv命令,虚拟环境创建成功。
然后引用虚拟环境:
source myenv/bin/activate引用后,命令提示符前出现 (myenv) 标识,说明已经进入了虚拟环境。
更换pip镜像源(重要‼️,否则后续安装aider-install和用aider-install安装aider时会报超时错误):
pip config set global.index-url https://pypi.tuna.tsinghua.edu.cn/simple这时再执行安装aider的命令:
pip install aider-install安装 aider-install 成功:
Collecting aider-installDownloading aider_install-0.2.0-py3-none-any.whl.metadata (2.0 kB)
Collecting uv>=0.5.0 (from aider-install)Downloading uv-0.8.15-py3-none-manylinux_2_17_x86_64.manylinux2014_x86_64.whl.metadata (11 kB)
Downloading aider_install-0.2.0-py3-none-any.whl (6.9 kB)
Downloading uv-0.8.15-py3-none-manylinux_2_17_x86_64.manylinux2014_x86_64.whl (21.0 MB)━━━━━━━━━━━━━━━━━━━━━━━━━━━━━━━━━━━━━━━━ 21.0/21.0 MB 15.5 kB/s eta 0:00:00
Installing collected packages: uv, aider-install
Successfully installed aider-install-0.2.0 uv-0.8.15
然后运行:
UV_INDEX_URL=https://pypi.tuna.tsinghua.edu.cn/simple aider-install命令,并最终安装成功:
Installed 1 executable: aider注意:UV_INDEX_URL=https://pypi.tuna.tsinghua.edu.cn/simple 一定要加,因为aider-install命令内部是使用的是uv工具(Ultra-Violet)进行安装,而非直接调用pip。因此即使我们前面已经配置了pip的清华源,该命令仍会使用uv默认的下载通道,导致超时问题。
安装完成后,需要运行一下更新shell的命令:
. ~/.bashrc来让 .local/bin 目录被加到 PATH 中,从而让 aider 命令能被找到。
更新完shell后,运行 aider 命令,就可以使用aider了:
~$ aider
────────────────────────────────────────────────────────────────────────────────
Aider respects your privacy and never collects your code, chat messages, keys orpersonal info.
For more info: https://aider.chat/docs/more/analytics.html
Allow collection of anonymous analytics to help improve aider? (Y)es/(N)o [Yes]: