可可图片编辑 HarmonyOS(6)水印效果
可可图片编辑 HarmonyOS(6)水印效果
前言
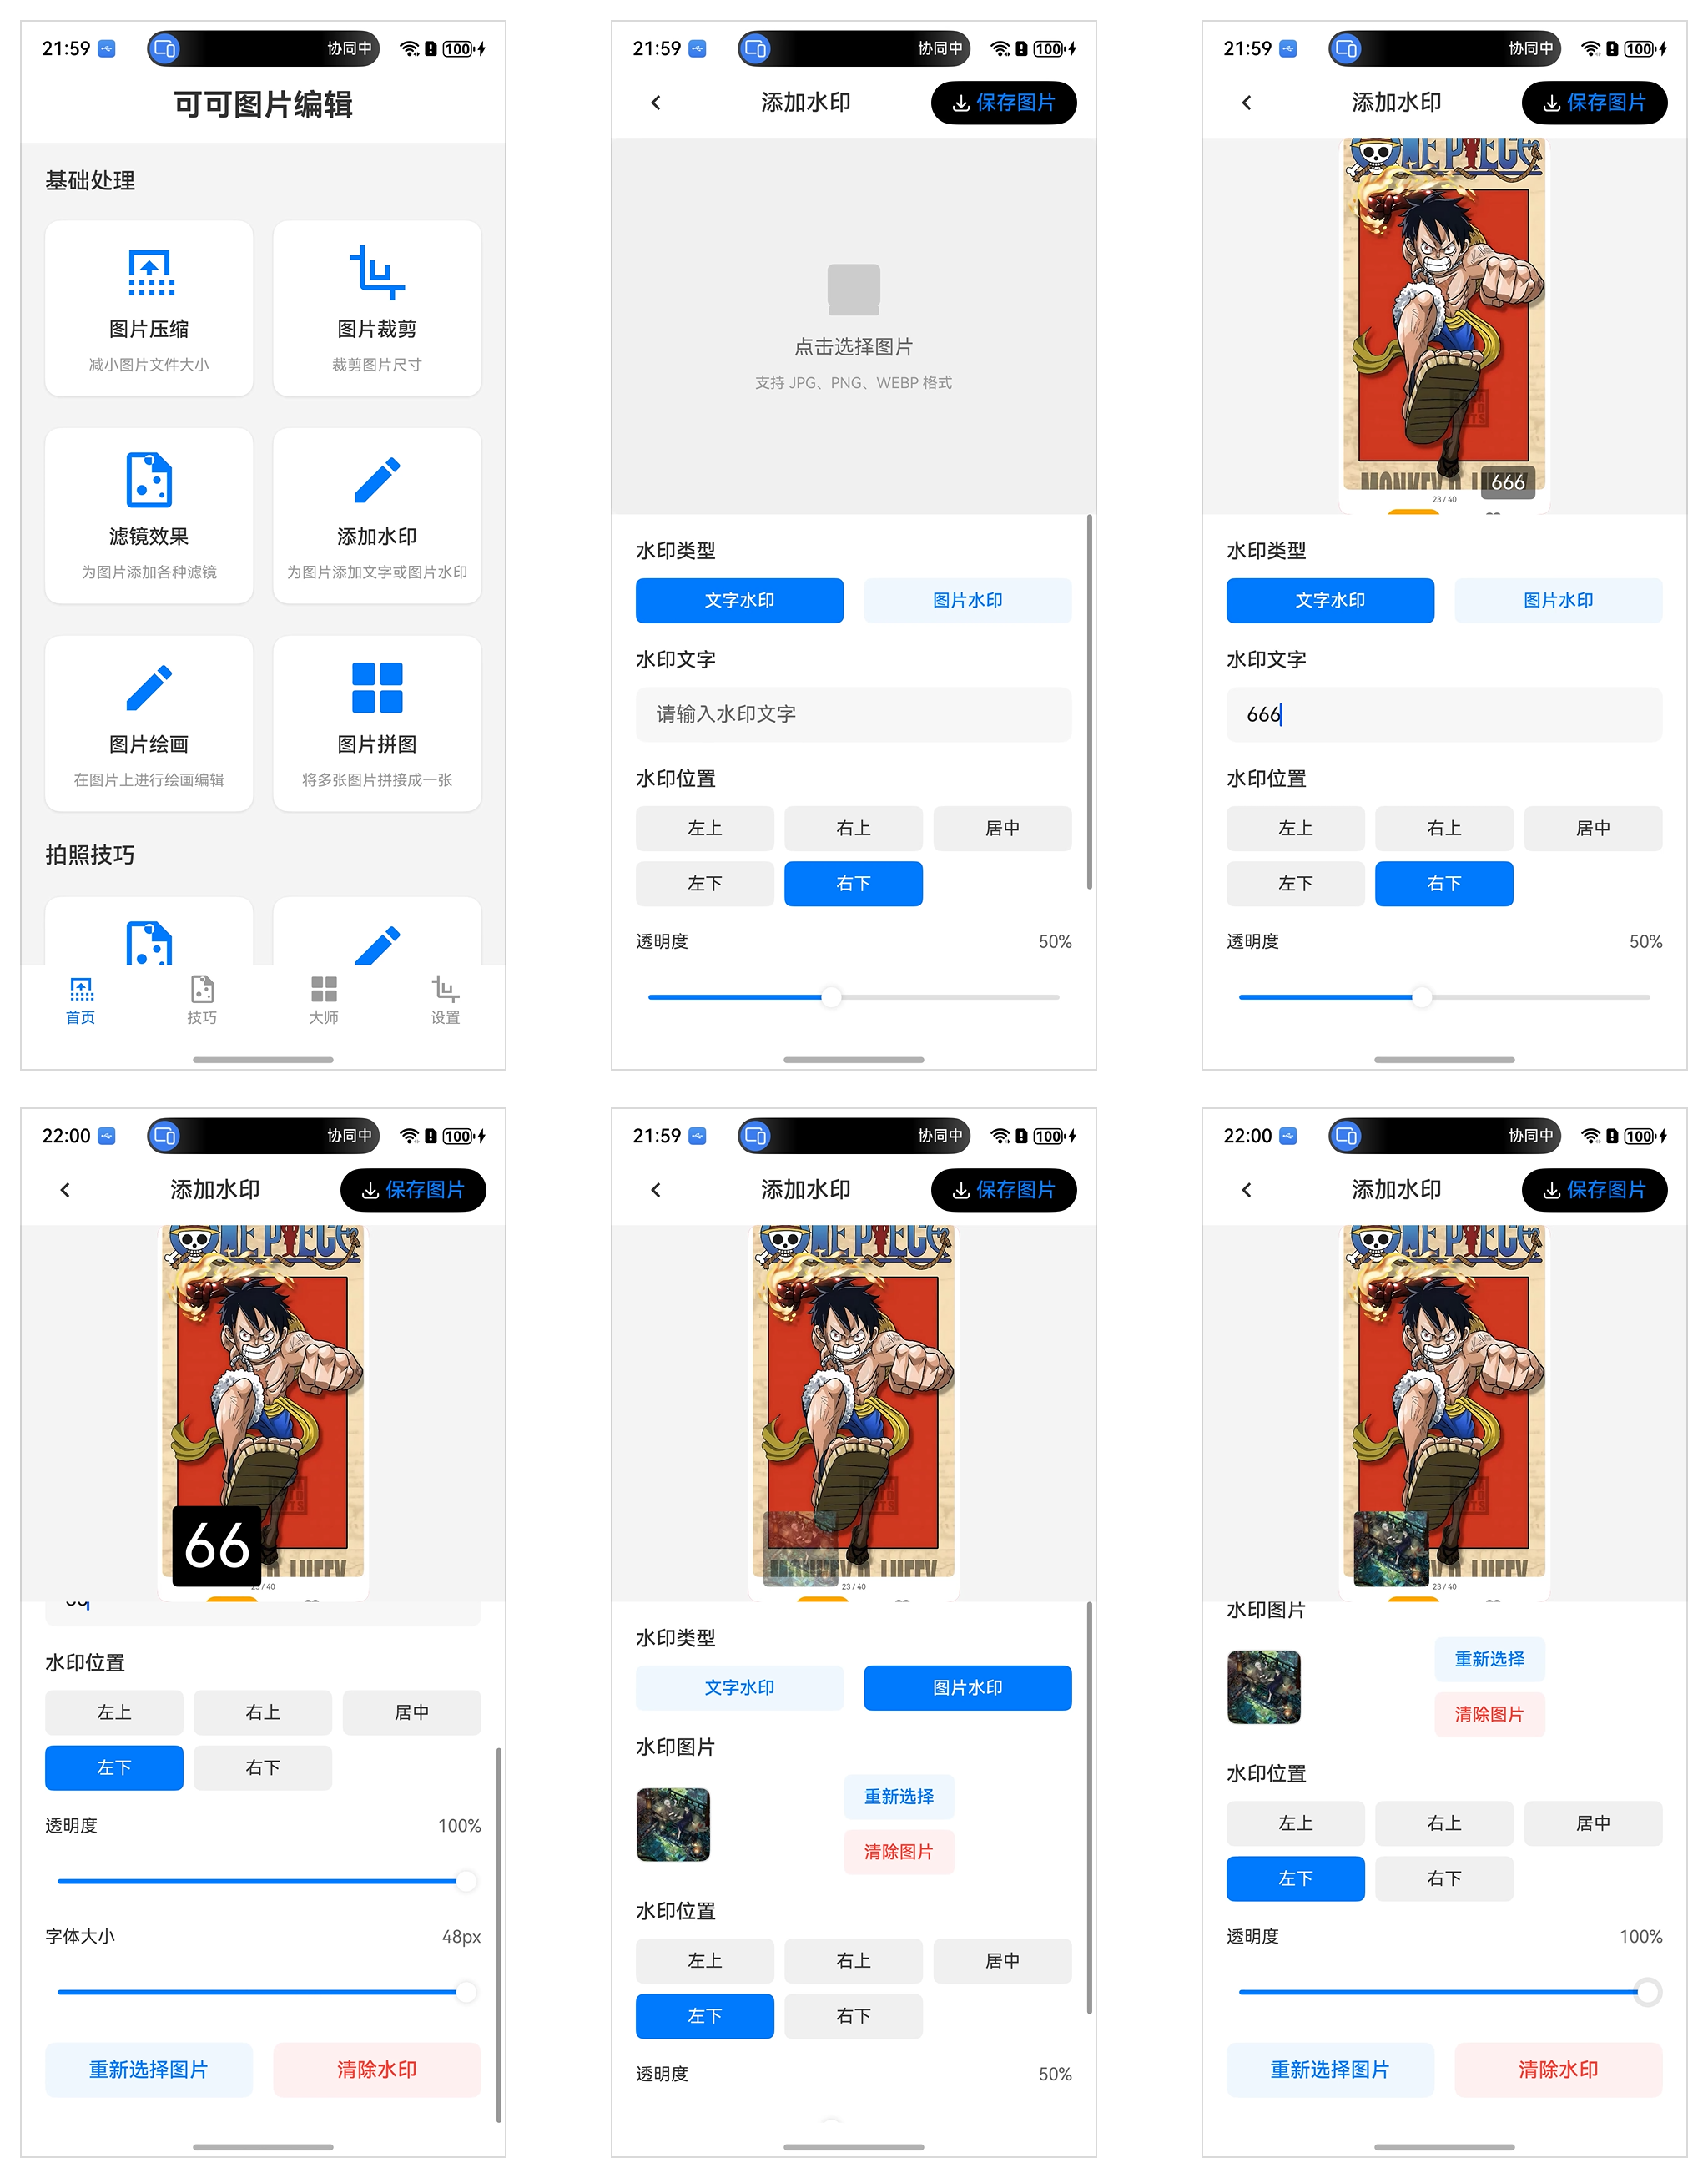
可可图片编辑 也实现了水印效果,这个功能的实现比较取巧。
在预览阶段,直接通过层叠布局来实现水印效果。
在保存图片时,使用组件截图 componentSnapshot 的知识实现保存图片。
https://developer.huawei.com/consumer/cn/doc/harmonyos-references/js-apis-arkui-componentsnapshot#componentsnapshotgetdeprecated
componentSnapshot 介绍
componentSnapshot 是 HarmonyOS提供的一个强大功能,允许开发者获取应用中组件的截图,生成 PixelMap 格式的图片数据。这对于实现分享功能、内容保存、动态生成图片等场景非常有用。
基本使用步骤
1. 准备工作:添加组件标识
首先需要为想要截图的组件添加唯一标识:
// 在build方法中为组件添加id
build() {Column() {// 需要截图的组件Column() {Text('这是要截图的内容').fontSize(20)Image($r('app.media.icon')).width(100).height(100)}.id('targetComponent') // 添加唯一标识// 其他UI组件...}
}
2. 获取截图的基本方法
方法一:异步获取(推荐)
import { image } from '@kit.ImageKit';// 在按钮点击或其他事件中
async takeScreenshot() {try {// 获取UIContextconst uiContext = this.getUIContext();// 使用componentSnapshot获取截图const pixelMap = await uiContext.getComponentSnapshot().get('targetComponent', { scale: 1.0, // 缩放比例waitUntilRenderFinished: true // 等待渲染完成});// 处理截图结果this.handleScreenshotResult(pixelMap);} catch (error) {console.error('截图失败:', error);}
}// 处理截图结果
handleScreenshotResult(pixelMap: image.PixelMap) {// 可以显示在Image组件中this.screenshotImage = pixelMap;// 或者保存到文件// this.saveToFile(pixelMap);
}
方法二:同步获取
takeScreenshotSync() {try {const uiContext = this.getUIContext();const pixelMap = uiContext.getComponentSnapshot().getSync('targetComponent', {scale: 0.8,waitUntilRenderFinished: true});this.handleScreenshotResult(pixelMap);} catch (error) {console.error('同步截图失败:', error);}
}
3. 显示截图结果
// 在build方法中显示截图
build() {Column() {// 原始内容Column() {// ...原有内容}.id('targetComponent')// 截图结果显示Image(this.screenshotImage).width(200).height(200).margin(10).visibility(this.screenshotImage ? Visibility.Visible : Visibility.None)// 截图按钮Button('截图').onClick(() => this.takeScreenshot()).margin(10)}
}
4. 完整示例代码
import { image } from '@kit.ImageKit';@Entry
@Component
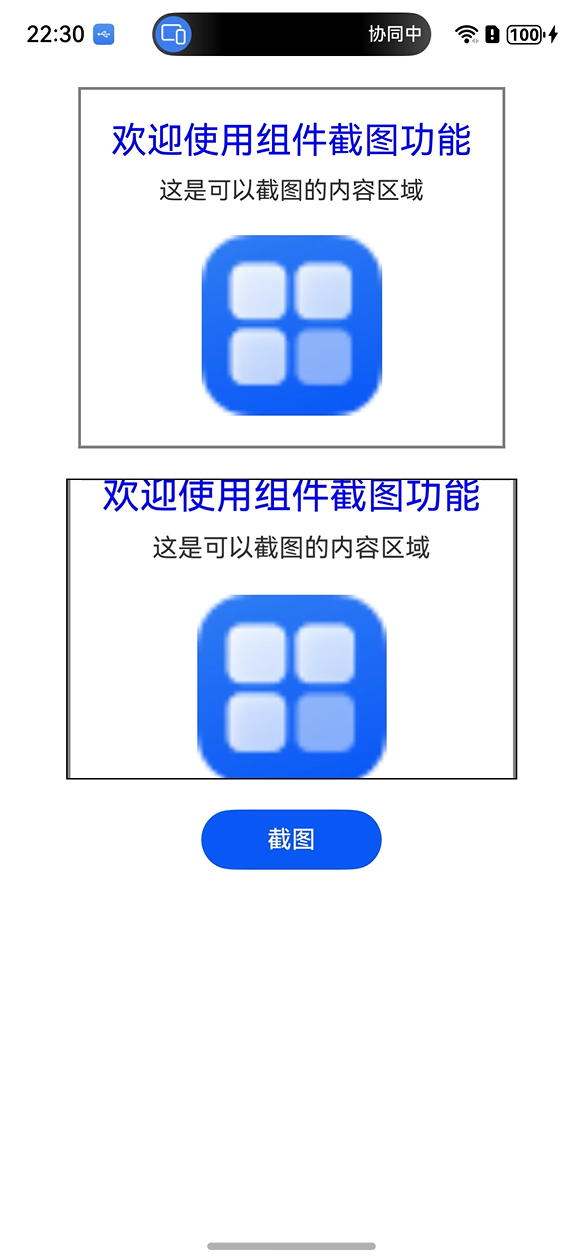
struct ScreenshotExample {@State screenshotImage: image.PixelMap | undefined = undefined;// 异步截图方法async takeScreenshot() {try {const uiContext = this.getUIContext();const pixelMap = await uiContext.getComponentSnapshot().get('contentToCapture', {scale: 1.0,waitUntilRenderFinished: true});this.screenshotImage = pixelMap;} catch (error) {console.error('截图失败:', error);}}build() {Column({ space: 20 }) {// 目标截图区域Column() {Text('欢迎使用组件截图功能').fontSize(24).fontColor(Color.Blue)Text('这是可以截图的内容区域').fontSize(16).margin({ top: 10 })Image($r('app.media.logo')).width(120).height(120).margin({ top: 20 })}.id('contentToCapture').padding(20).border({ width: 2, color: Color.Gray })// 截图结果显示if (this.screenshotImage) {Image(this.screenshotImage).width(300).height(200).border({ width: 1, color: Color.Black })}// 操作按钮Button('截图').width(120).onClick(() => this.takeScreenshot())}.width('100%').padding(20)}
}
5. SnapshotOptions 重要参数说明
配置选项:
- scale: number - 缩放比例(0.1-1.0),默认1.0
- waitUntilRenderFinished: boolean - 是否等待渲染完成(推荐设为true)
- region: Object - 指定截图区域
- start: number - 起始x坐标
- top: number - 起始y坐标
- end: number - 结束x坐标
- bottom: number - 结束y坐标
以往文章
-
我的iMaHarmonyOS 知识库接入 鸿蒙6 API20 新特性了
https://mp.weixin.qq.com/s/YsbFQyi5PsndpRUaA9h_dA?token=830743671&lang=zh_CN
-
鸿蒙创新赛 HarmonyOS 6.0.0(20) 关键特性汇总
https://mp.weixin.qq.com/s/ERmgSAIT8B8njFqtyPx9IQ
-
可可图片编辑 HarmonyOS(4)图片裁剪-canvas
https://mp.weixin.qq.com/s/2M3f_LNnt0YRo0qEnCnqpA
-
可可图片编辑 HarmonyOS(3)应用间分享图片
https://mp.weixin.qq.com/s/n8kkdougB4lqDHjYC7co8g
近期活动
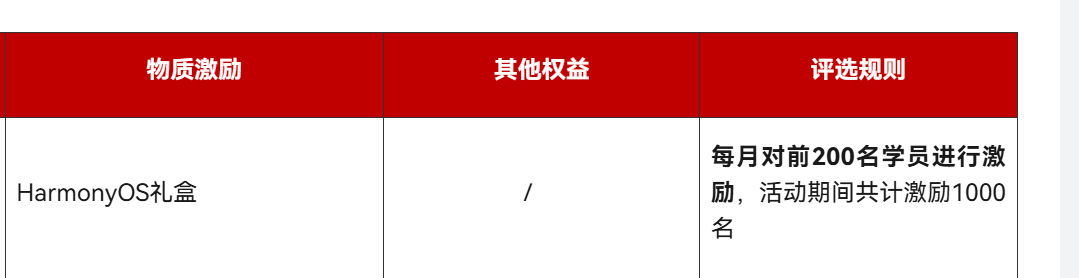
最近想要想要考取 HarmonyOS 基础或者高级证书,或者快要获取的同学都可以点击这个链接,加入我的班级,考取成功有机会获得鸿蒙礼盒一份。
https://developer.huawei.com/consumer/cn/training/classDetail/7e230b074eaa41c587c71c1d1a9a6514?type=1%3Fha_source%3Dhmosclass&ha_sourceId=89000248
联系我
带你了解更多HarmonyOS相关的资讯。
