Harbor 企业级实战:单机快速上手 × 高可用架构搭建 × HTTPS安全加固
文章目录
- 一、建立项目
- 二、命令行登录harbor(配置在客户端即可)
- 三、给本地镜像打标签并上传到harbor
- 四、下载harbor的镜像
- 五、创建自动打标签上传镜像脚本
- 六、修改harbor配置
- 七、实现harbor高可用
- 7.1 安装第二台harbor主机
- 7.2 新建目标,输入第一台harbor服务器上的主机和用户信息,并测试连接
- 7.3 第二台harbor上新建复制规则,实现到第一台的单向复制
- 7.4 在第一台harbor上重复上述2、3的操作,实现双向同步
- 7.5 确认同步成功。harbor2可以看到从harbor1同步过来的镜像
- 7.6 上传镜像,观察是否可以双高同步
- 八、实现https配置
- 8.1 实现harbor的https认证
- 8.2 用https方式访问harbor网站
- 8.3 新建项目
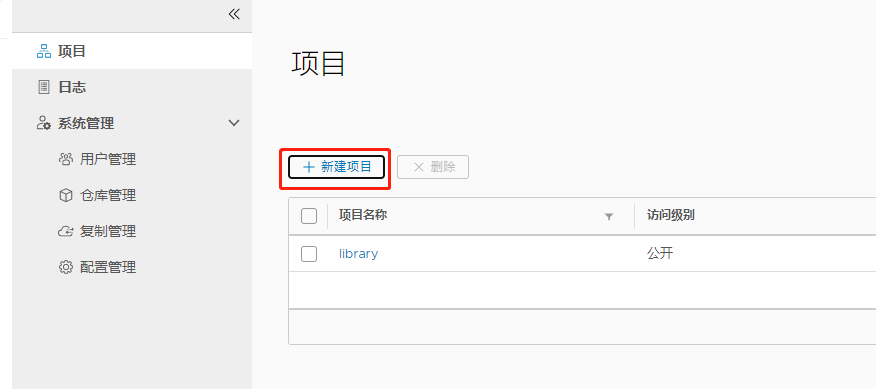
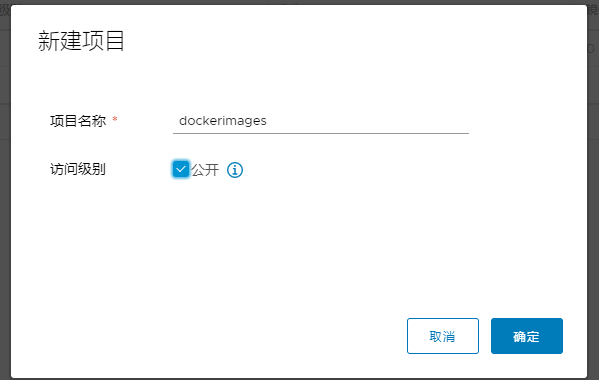
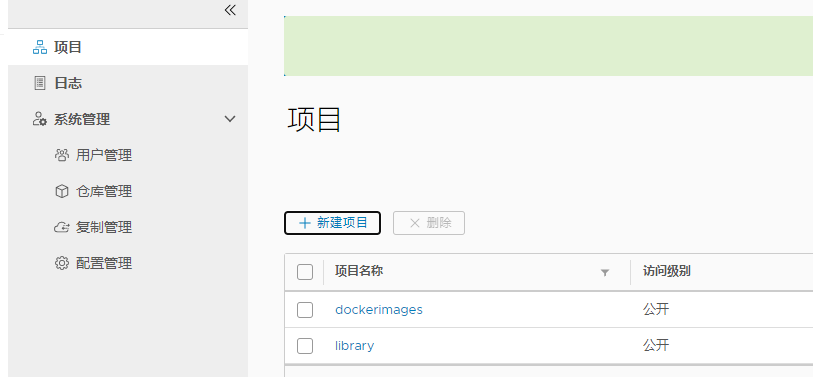
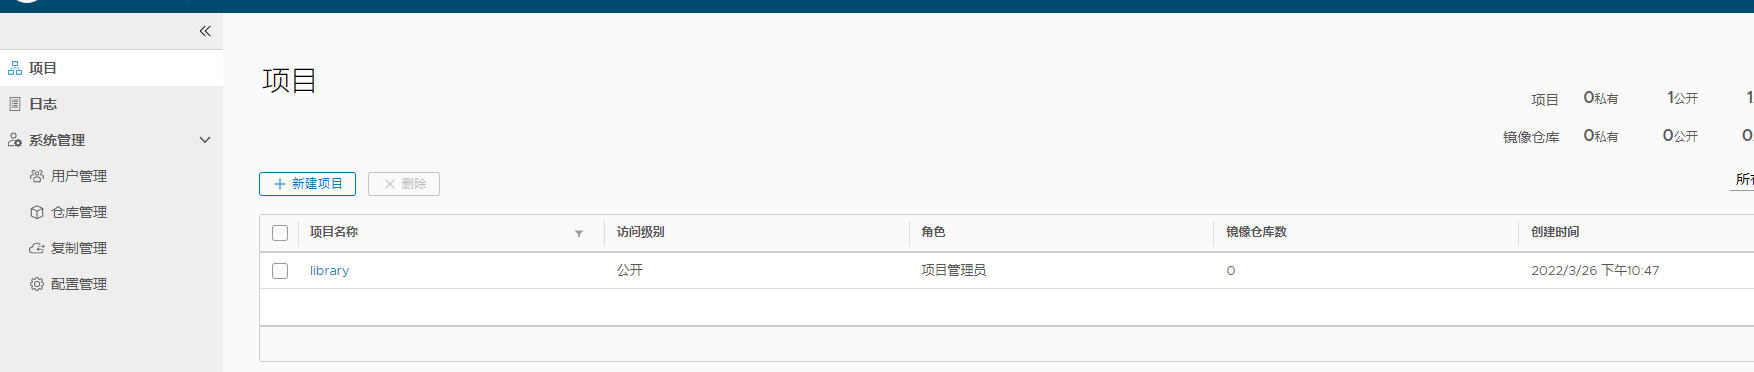
一、建立项目
harbor上必须先建项目,才能上传镜像
二、命令行登录harbor(配置在客户端即可)
[root@centos7 ~]# vim /lib/systemd/system/docker.service
ExecStart=/usr/bin/dockerd -H fd:// --containerd=/run/containerd/containerd.sock --insecure-registry 10.0.0.101[root@centos7 ~]# systemctl daemon-reload
[root@centos7 ~]# systemctl restart docker# 没有配置dns的时候需要配置hosts
[root@centos7 ~]# docker login 10.0.0.101
Username: admin
Password:
WARNING! Your password will be stored unencrypted in /root/.docker/config.json.
Configure a credential helper to remove this warning. See
https://docs.docker.com/engine/reference/commandline/login/#credentials-storeLogin Succeeded# 查看进程是否添加上面配置
[root@centos7 ~]# ps aux|grep dockerd
root      5996  1.0  0.9 1964892 80516 ?       Ssl  18:11   0:01 /usr/bin/dockerd -H fd:// --containerd=/run/containerd/containerd.sock --insecure-registry 10.0.0.101
root      8040  0.0  0.0 112832   984 pts/0    R+   18:14   0:00 grep --color=auto dockerd[root@centos7 ~]# cat .docker/config.json
{"auths": {"10.0.0.101": {"auth": "YWRtaW46MTIzNDU2"}}
}
三、给本地镜像打标签并上传到harbor
修改images的名称,不修改成指定格式无法将镜像上传到harbor仓库
格式
Harbor主机IP/项目名/image名字:版本
例:上传镜像前,必须先登录harbor
[root@centos7 ~]# docker login 10.0.0.101
[root@centos7 ~]# docker tag alpine:latest 10.0.0.101/dockerimages/alpine-base:3.11
[root@centos7 ~]# docker push 10.0.0.101/dockerimages/alpine-base:3.11
The push refers to repository [10.0.0.101/dockerimages/alpine-base]
ff768a1413ba: Pushed
3.11: digest: sha256:73c155696fe65b68696e6ea24088693546ac468b3e14542f23f0efbde289cc97 size: 528[root@centos7 ~]# docker images
[root@centos7 ~]# docker images
REPOSITORY                                       TAG               IMAGE ID       CREATED        SIZE
alpine                                           latest            9c842ac49a39   2 days ago     5.57MB
10.0.0.101/dockerimages/alpine-base   3.11              9c842ac49a39   2 days ago     5.57MB
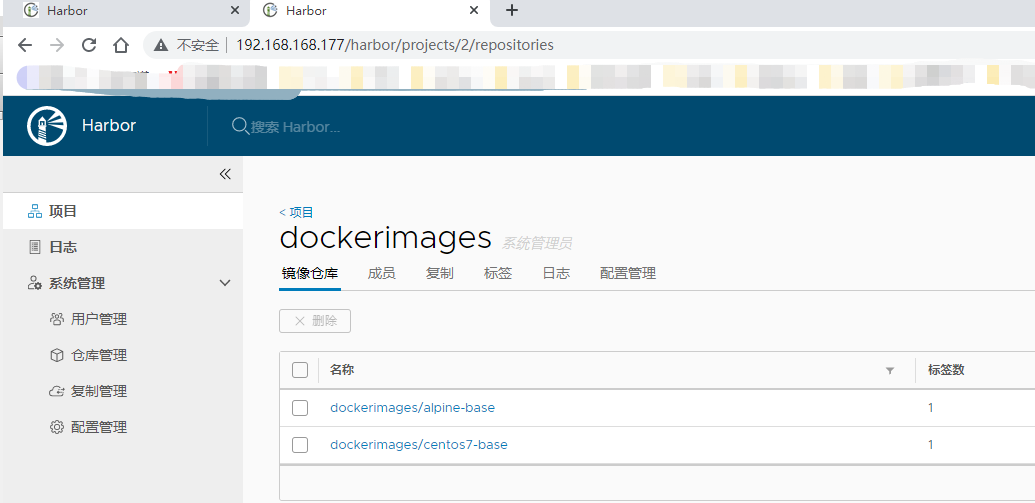
访问harbor网站验证上传镜像成功
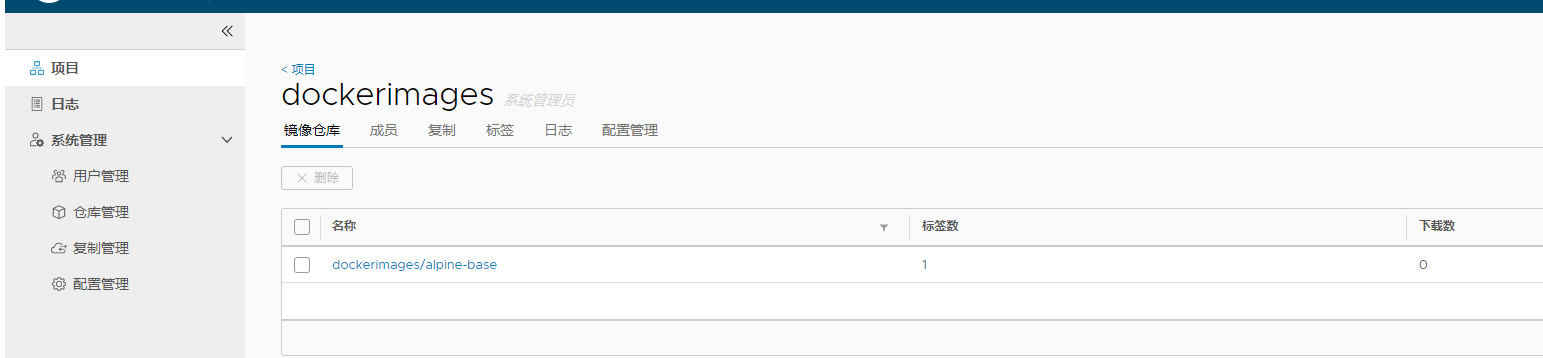
za
四、下载harbor的镜像
其他主机无需登录,即可下载镜像,下载前必须修改docker的service文件,加入harbor服务器的地址
[root@centos7-2 ~]# vim /lib/systemd/system/docker.service
ExecStart=/usr/bin/dockerd -H fd:// --containerd=/run/containerd/containerd.sock --insecure-registry 10.0.0.101[root@centos7-2 ~]# systemctl daemon-reload
[root@centos7-2 ~]# systemctl restart docker
五、创建自动打标签上传镜像脚本
[root@centos7 ~]#cd /data/dockerfile/web/nginx/1.16.1-alpine/
[rootQcentos7 1.16.1-alpine]#vim build.sh
[root@centos7 1.16.1-alpine]#cat build.sh
#/bin/bash
TAG=$1
docker build -t 10.0.0.101/example/nginx-alpine:1.16.1-${TAG}
docker push 10.0.0.101/example/nginx-alpine:1.16.1-${TAG}
docker rmi -f 10.0.0.101/example/nginx-alpine:1.16.1-${TAG}[root@centos7 1.16.1-alpine]#bash build.sh v1
六、修改harbor配置
后期如果修改harbor配置,比如修改IP地址等,可执行以下步骤生效
方法1:
[root@centos7 ~]# cd /apps/harbor/
[root@centos7 harbor]# docker-compose stop# 相关容器关闭
[root@centos7 harbor]# docker ps# 修改配置
[root@centos7 harbor]# vim harbor.cfg# 更新配置
[root@centos7 harbor]# /apps/harbor/prepare# 重新启动docker-compose
[root@centos7 harbor]# docker-compose start# 相关容器自动启动
[root@centos7 harbor]# docker ps
方法2:
[root@centos7 ~]# /apps/harbor/install.sh
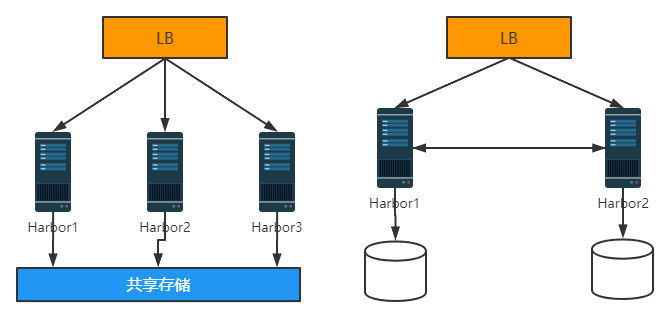
七、实现harbor高可用
Harbor支持基于策略的Docker镜像复制功能,这类似于MySQL的主从同步,其可以实现不同的数据中心、不同的运行环境之间同步镜像,并提供友好的管理界面,大大简化了实际运维中的镜像管理工作,已经有用很多互联网公司使用harbor搭建内网docker仓库的案例,并且还有实现了双向复制功能
7.1 安装第二台harbor主机
参考《Docker仓库-Harbor -3- 使用单机harbor》部署好第二台harbor,并登录系统(需要新建项目)
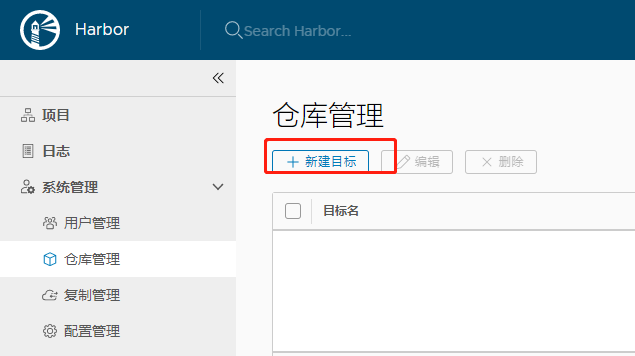
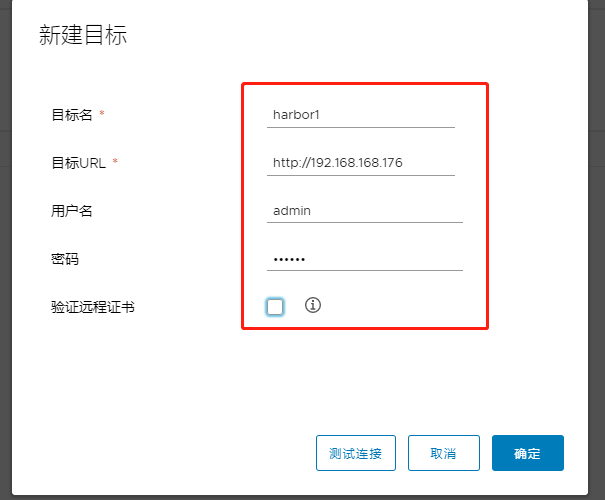
7.2 新建目标,输入第一台harbor服务器上的主机和用户信息,并测试连接

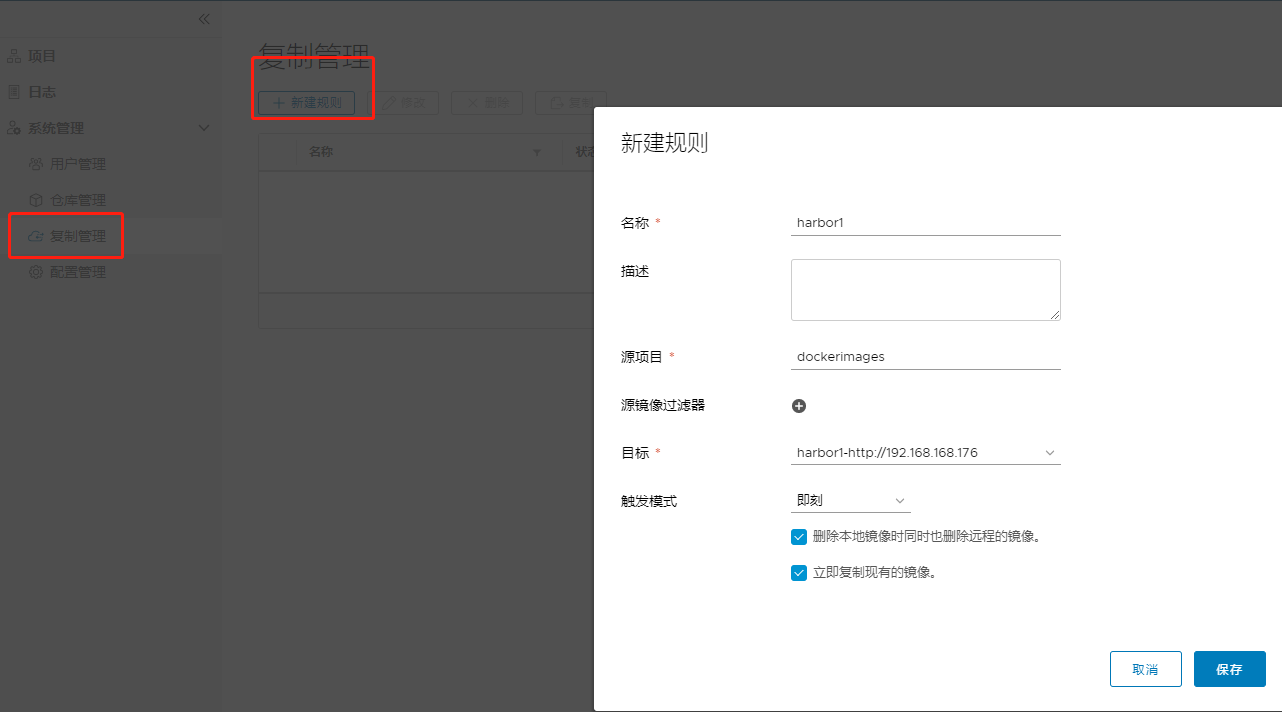
7.3 第二台harbor上新建复制规则,实现到第一台的单向复制
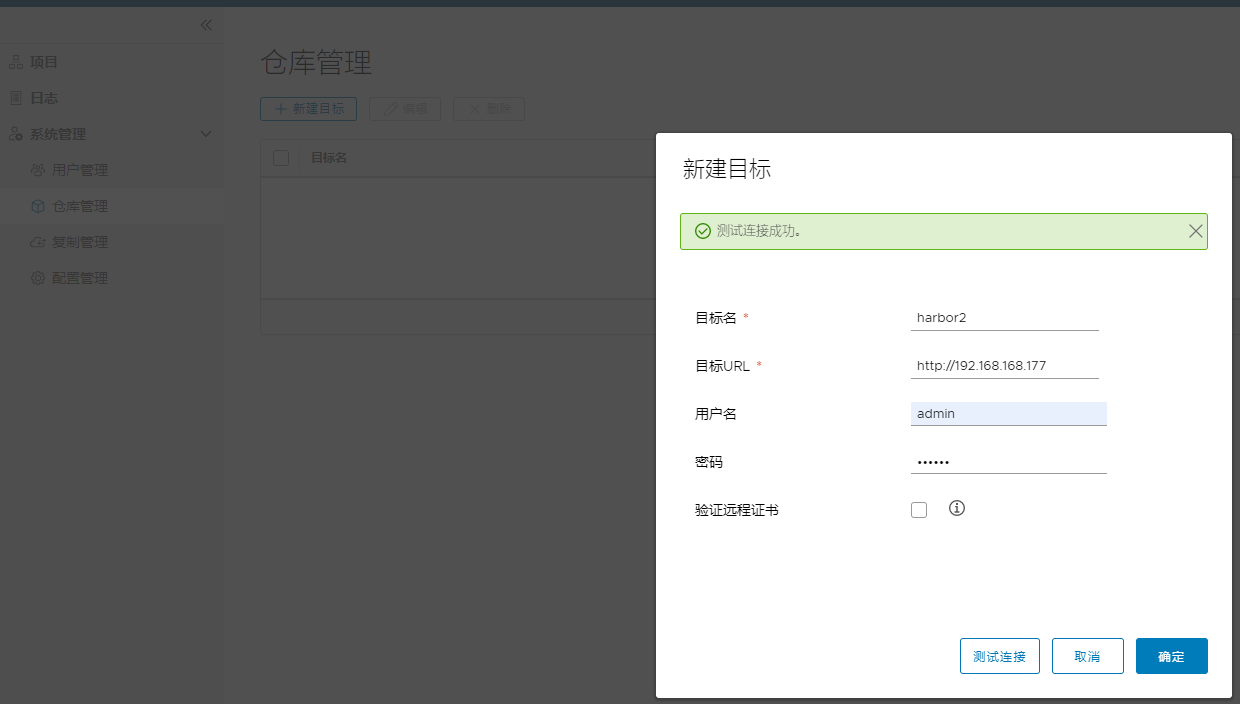
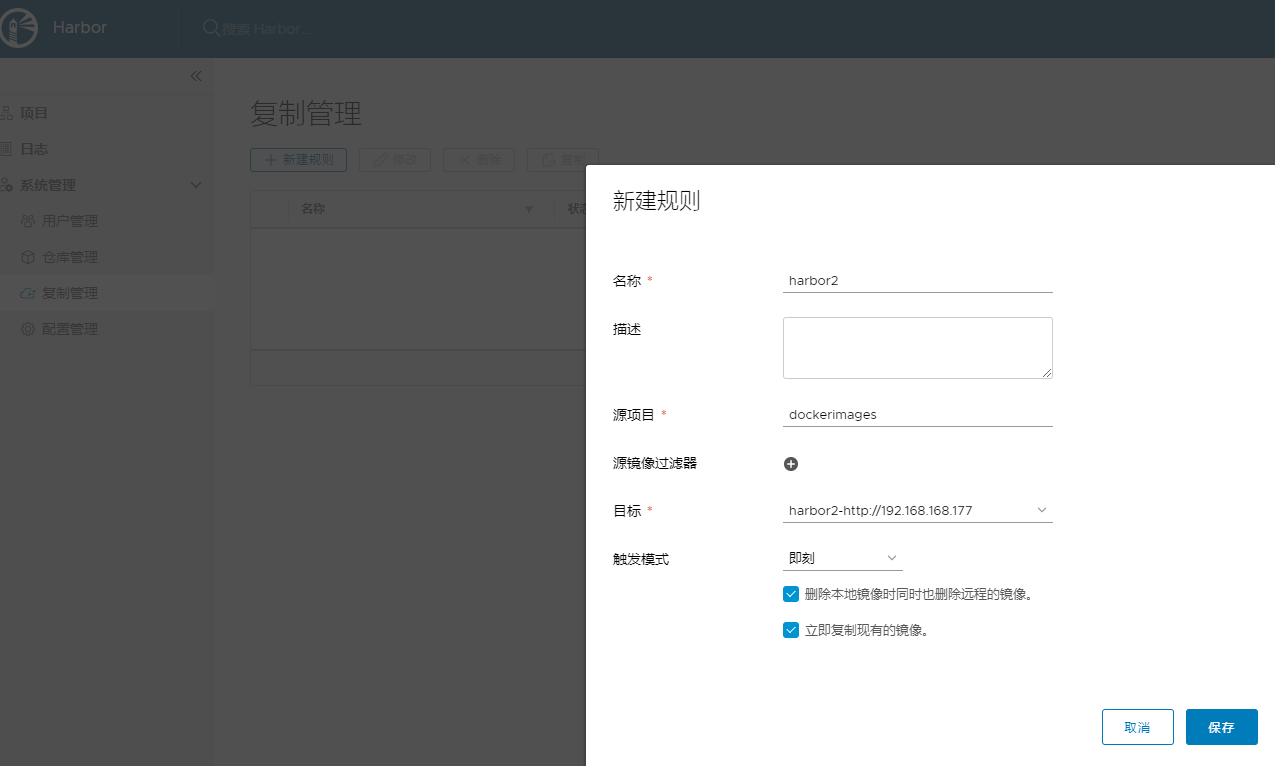
7.4 在第一台harbor上重复上述2、3的操作,实现双向同步
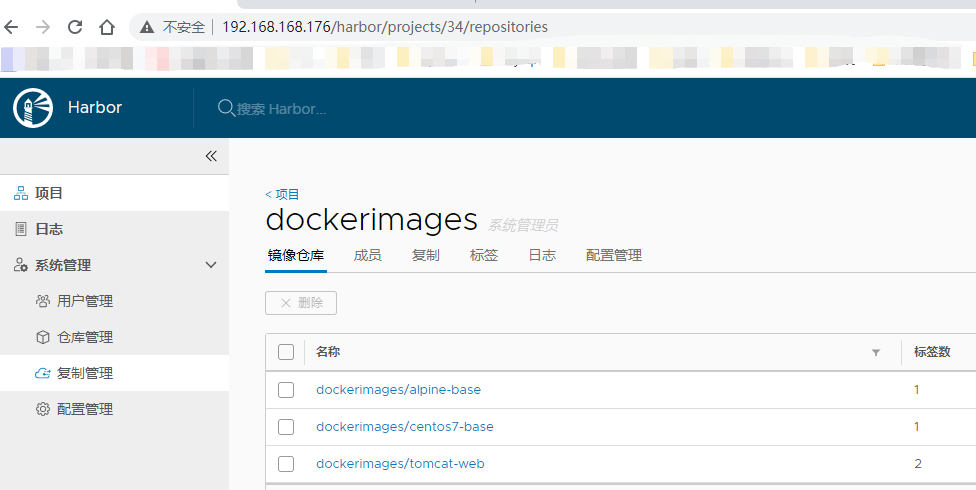
7.5 确认同步成功。harbor2可以看到从harbor1同步过来的镜像
查看同步日志

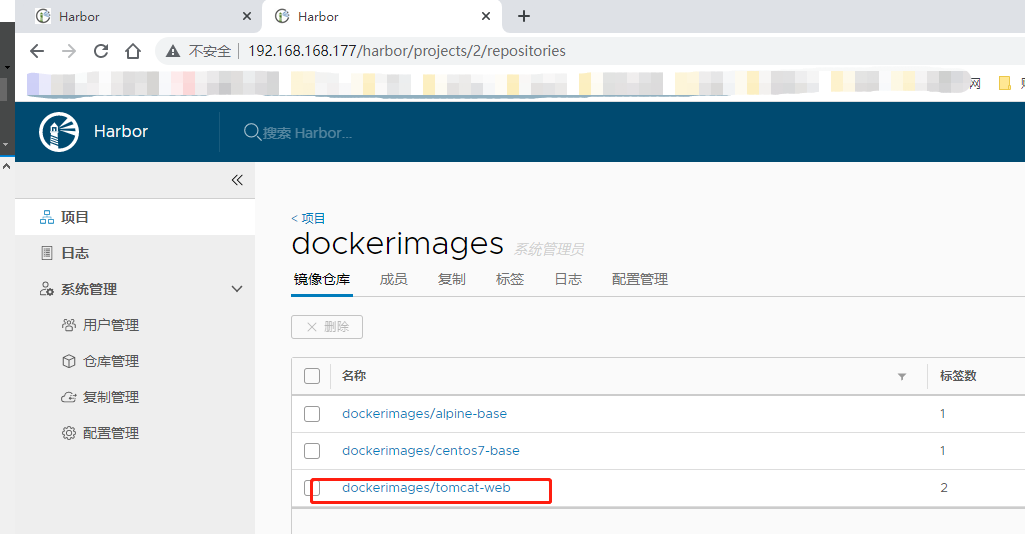
7.6 上传镜像,观察是否可以双高同步
[root@ubuntu1804 ~]# docker pull tomcat
[root@ubuntu1804 ~]# docker tag tomcat:latest 192.168.168.176/dockerimages/tomcat-web:app1
[root@ubuntu1804 ~]# docker push 192.168.168.176/dockerimages/tomcat-web:app1
[root@ubuntu1804 ~]# docker tag tomcat:latest 192.168.168.176/dockerimages/tomcat-web:app2
[root@ubuntu1804 ~]# docker push 192.168.168.176/dockerimages/tomcat-web:app2
八、实现https配置
Harbor默认使用http,为了安全,可以使用https
8.1 实现harbor的https认证
# 安装docker
[root@ubuntu1804 ~]# bash install_docker_for_ubuntu1804.sh# 安装docker compose
[root@ubuntu1804 ~]# curl -L https://github.com/docker/compose/releases/download/$DOCKER_COMPOSE_VERSION/docker-compose-`uname -s`-`uname -m` -o /usr/bin/docker-compose
[root@node2~]# chmod +x /usr/bin/docker-compose
[root@ubuntu1804 ~]# docker-compose --version# 下载harbor离线安装包且解压缩
[root@ubuntu1804 ~]# wget https://storage.googleapis.com/harbor-releases/release-1.7.0/harbor-offline-installer-v1.7.6.tgz
[root@ubuntu1804 ~]# mkdir /apps
[root@ubuntu1804 ~]# tar xf harbor-offline-installer-v$[HARBOR_VERSION].tgz -C /apps# 生成私钥和证书
[root@ubuntu1804 certs]# openssl req -newkey rsa:4096 -nodes -sha256 -keyout ca.key -x509 -subj "/CN=ca.test.org" -days 365 -out ca.crt# 生成harbor主机的证书申请
[root@ubuntu1804 certs]# openssl req -newkey rsa:4096 -nodes -sha256 -subj "/CN=harbor.test.org" -keyout harbor.test.org.key -out harbor.test.org.csr# 给harbor主机颁发证书
[root@ubuntu1804 certs]# openssl x509 -req -in harbor.test.org.csr -CA ca.crt -CAkey ca.key -CAcreateserial -out harbor.test.org.crt[root@ubuntu1804 certs]# tree /apps/harbor/certs/
/apps/harbor/certs/
├── ca.crt
├── ca.key
├── ca.srl
├── harbor.test.org.crt
├── harbor.test.org.csr
└── harbor.test.org.key0 directories, 6 files[root@ubuntu1804 certs]# vim /apps/harbor/harbor.cfg
hostname = 192.168.168.178
ui_url_protocol = https
ssl_cert = /apps/harbor/certs/harbor.test.org.crt
ssl_cert_key = /apps/harbor/certs/harbor.test.org.key
harbor_admin_password = 123456[root@ubuntu1804 ~]# yum install python
[root@ubuntu1804 ~]# /apps/harbor/install.sh
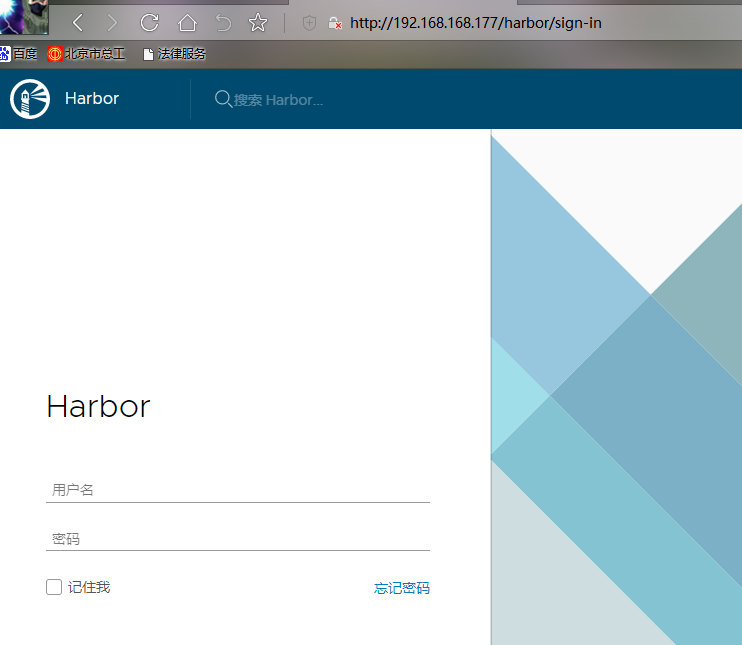
8.2 用https方式访问harbor网站
修改/etc/hosts文件
192.168.168.178 harbor.test.org

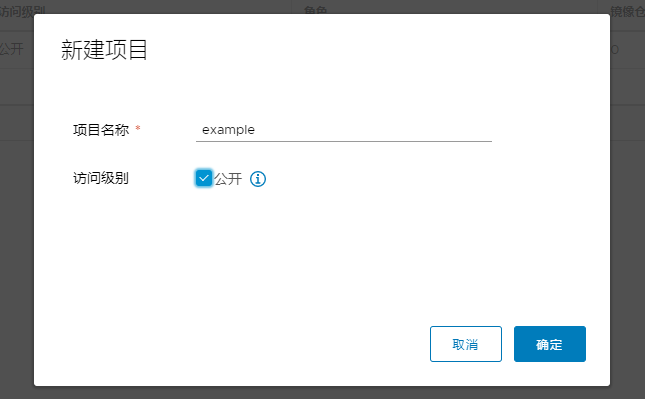
8.3 新建项目
客户端下载ca证书(直接登录和上传下载会报错)
[root@node4 ~]# mkdir -pv /etc/docker/cert.d/harbor.test.org/
[root@node4 ~]# scp -r harbor.test.org:/apps/harbor/certs/ca.crt /etc/docker/certs.d/harbor.test.org/
[root@node4 ~]# systemctl restart docker
客户端上传镜像
[root@node4 ~]# mkdir -pv /etc/docker/cert.d/harbor.test.org/
[root@node4 ~]# scp -r harbor.test.org:/apps/harbor/certs/ca.crt /etc/docker/certs.d/harbor.test.org/
请不要以此视为定论,这只是我的个人经验