ck-editor5的研究 (4):初步使用 CKEditor5 的插件功能
前言
在上一篇文章中—— ck-editor5 的研究(3):初步使用 CKEditor5 的事件系统和API ,我们已经初步了解了 CKEditor5 的工作方式
那么这篇文章,我们将初步使用 CKEditor5 的插件功能,我将会写一个自己的插件,让编辑器聚焦,并自动插入一段文本。大概的效果如下:
编写插件只需 3 步
1. 第一步:先搭建目录
仍然是先搭建目录结构:
- 新建一个 ckeditor4.ts ,使用基本的配置
- 新建一个 ck-editor4.client.vue 接入插件功能
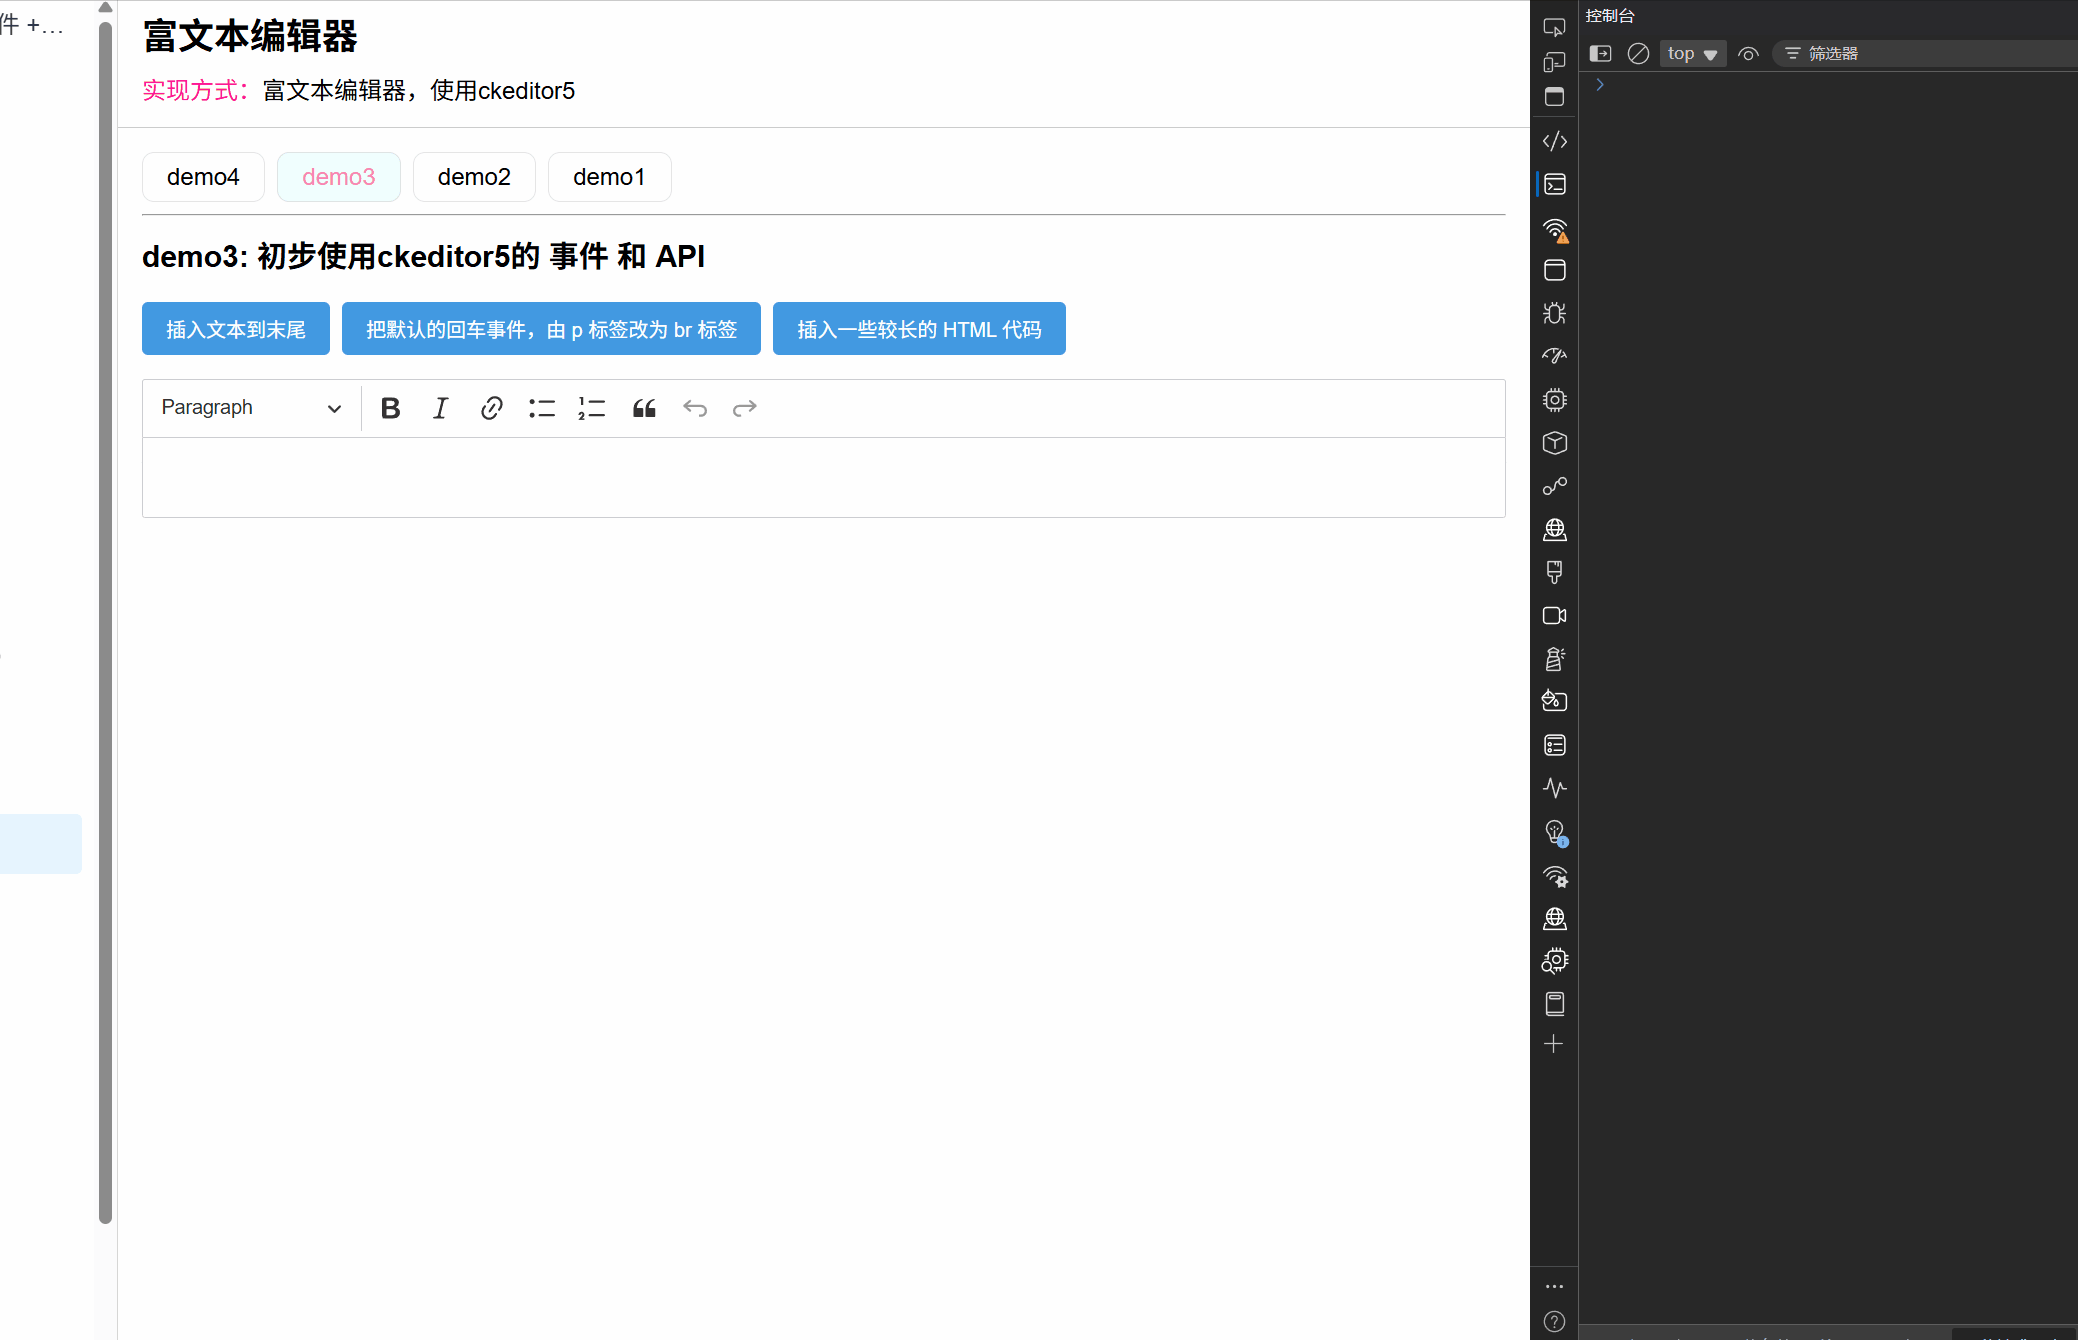
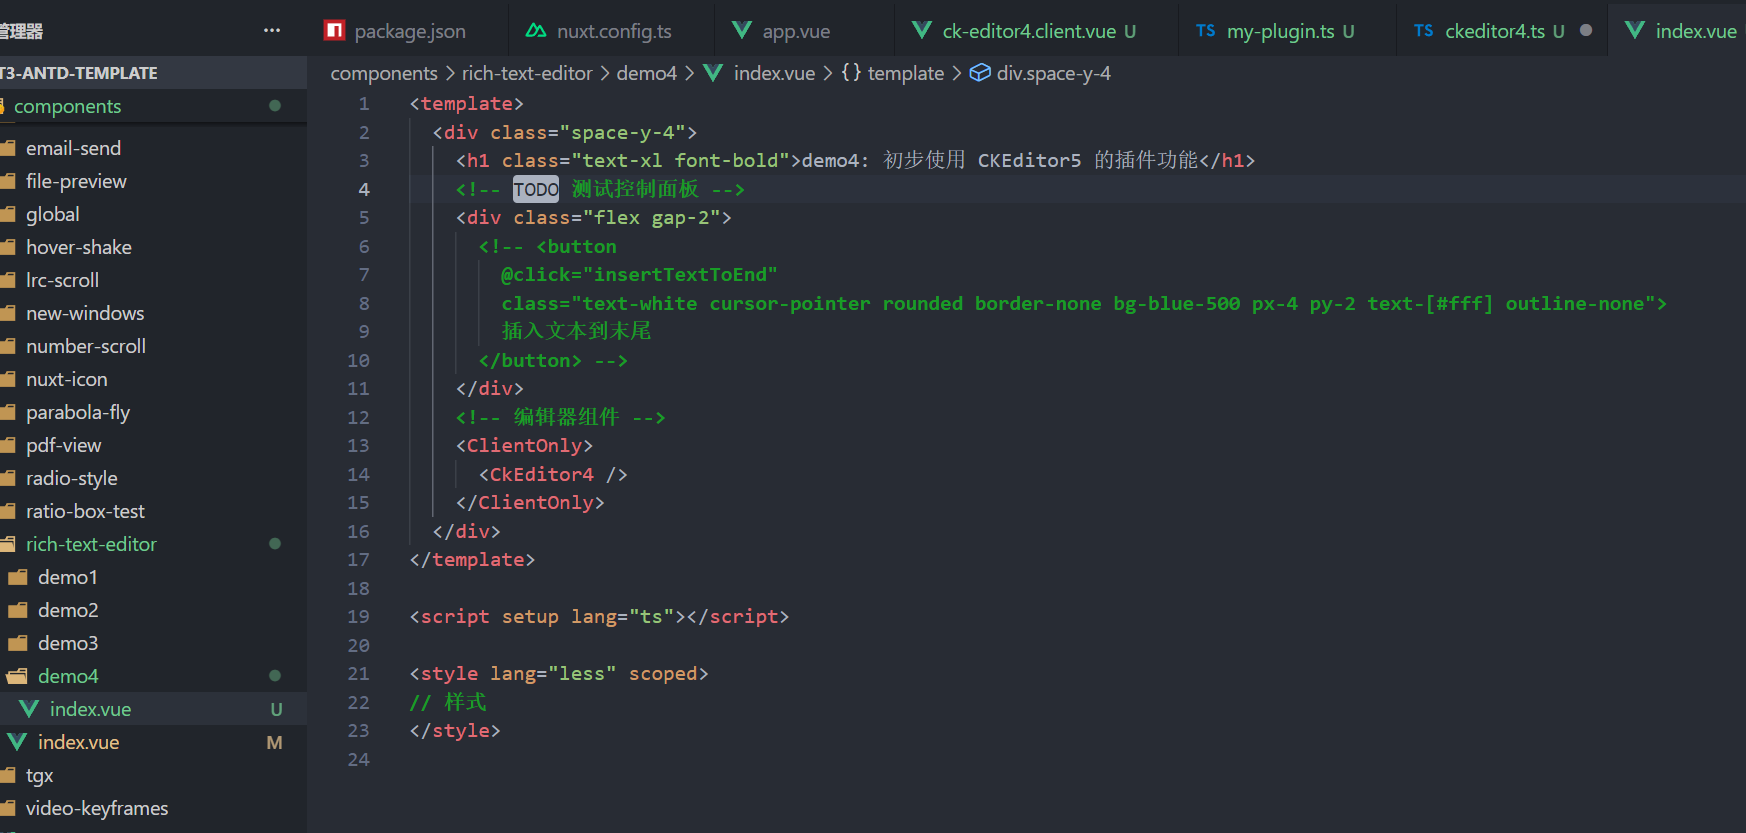
- 新建一个 demo4/index.vue 测试编辑器
- 新建一个 my-plugin.ts ,用来编写我们自己的插件
他们的代码如下:
// ckeditor4.ts
import ClassicEditor from '@ckeditor/ckeditor5-editor-classic/src/classiceditor';
import { Essentials } from '@ckeditor/ckeditor5-essentials';
import { Autoformat } from '@ckeditor/ckeditor5-autoformat';
import { Bold, Italic } from '@ckeditor/ckeditor5-basic-styles';
import { BlockQuote } from '@ckeditor/ckeditor5-block-quote';
import { Heading } from '@ckeditor/ckeditor5-heading';
import { Link } from '@ckeditor/ckeditor5-link';
import { List } from '@ckeditor/ckeditor5-list';
import { Paragraph } from '@ckeditor/ckeditor5-paragraph';export default class MyClassicEditor extends ClassicEditor {static override builtinPlugins = [Paragraph,Essentials,Autoformat,Bold,Italic,BlockQuote,Heading,Link,List,];static override defaultConfig = {toolbar: {items: ['heading', '|', 'bold', 'italic', 'link', 'bulletedList', 'numberedList', 'blockQuote', 'undo', 'redo'],},language: 'en',};
}
<template><div ref="editorRef"></div>
</template><script setup lang="ts">
import MyClassicEditor from './ckeditor4';defineOptions({ name: 'CkEditor4' });type EmitsType = {ready: [editor: MyClassicEditor];destroy: [];
};
const emit = defineEmits<EmitsType>();const editorRef = useTemplateRef('editorRef');
let instance: MyClassicEditor | null = null;async function initEditor() {try {if (!editorRef.value) {return;}instance = await MyClassicEditor.create(editorRef.value);// console.log('instance :>> ', instance);emit('ready', instance); // 暴露编辑器实例,给父组件使用} catch (error: any) {console.log('error :>> ', error.stack);}
}onMounted(() => {nextTick(initEditor);
});
onBeforeUnmount(() => {if (instance) {instance.destroy();instance = null;}emit('destroy');
});
</script>
my-plugin.ts目前还是空的,而 demo4/index.vue 测试页面如下:
表现到页面上就是这样: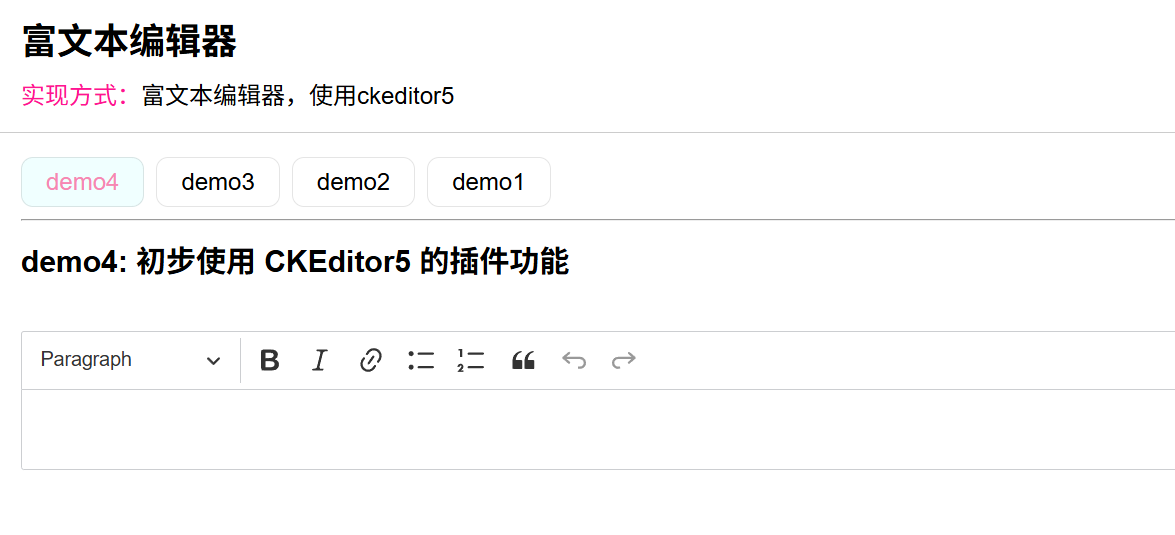
到此为止,目录结构搭建完成,接下来准备开发插件
2. 研究文档,并编写插件
先找到官方文档 扩展功能, 进行观察,我们发现,编写插件有2种方式,第一种是使用构造函数,第二种是编写一个类名:
于是我们进入到 my-plugin.ts 写2个插件,分别通过 构造函数 和 类名 的形式编写并进行导出:
值得注意的是,使用类名的方法,会有一个固定的 init 方法,它会被编辑器自动调用
import { Plugin } from '@ckeditor/ckeditor5-core';
import type { Editor } from '@ckeditor/ckeditor5-core';function MyPlugin1(editor: Editor) {console.log('MyPlugin1 初始化了');console.log('编辑器的实例对象是', editor);
}class MyPlugin2 extends Plugin {constructor(editor: Editor) {super(editor);console.log('MyPlugin2 constructor 执行了');}init() {console.log('MyPlugin2 init');console.log('编辑器的实例对象是', this.editor);}
}export { MyPlugin1, MyPlugin2 };
紧接着,在 ckeditor4.ts 中导入,并注册插件:

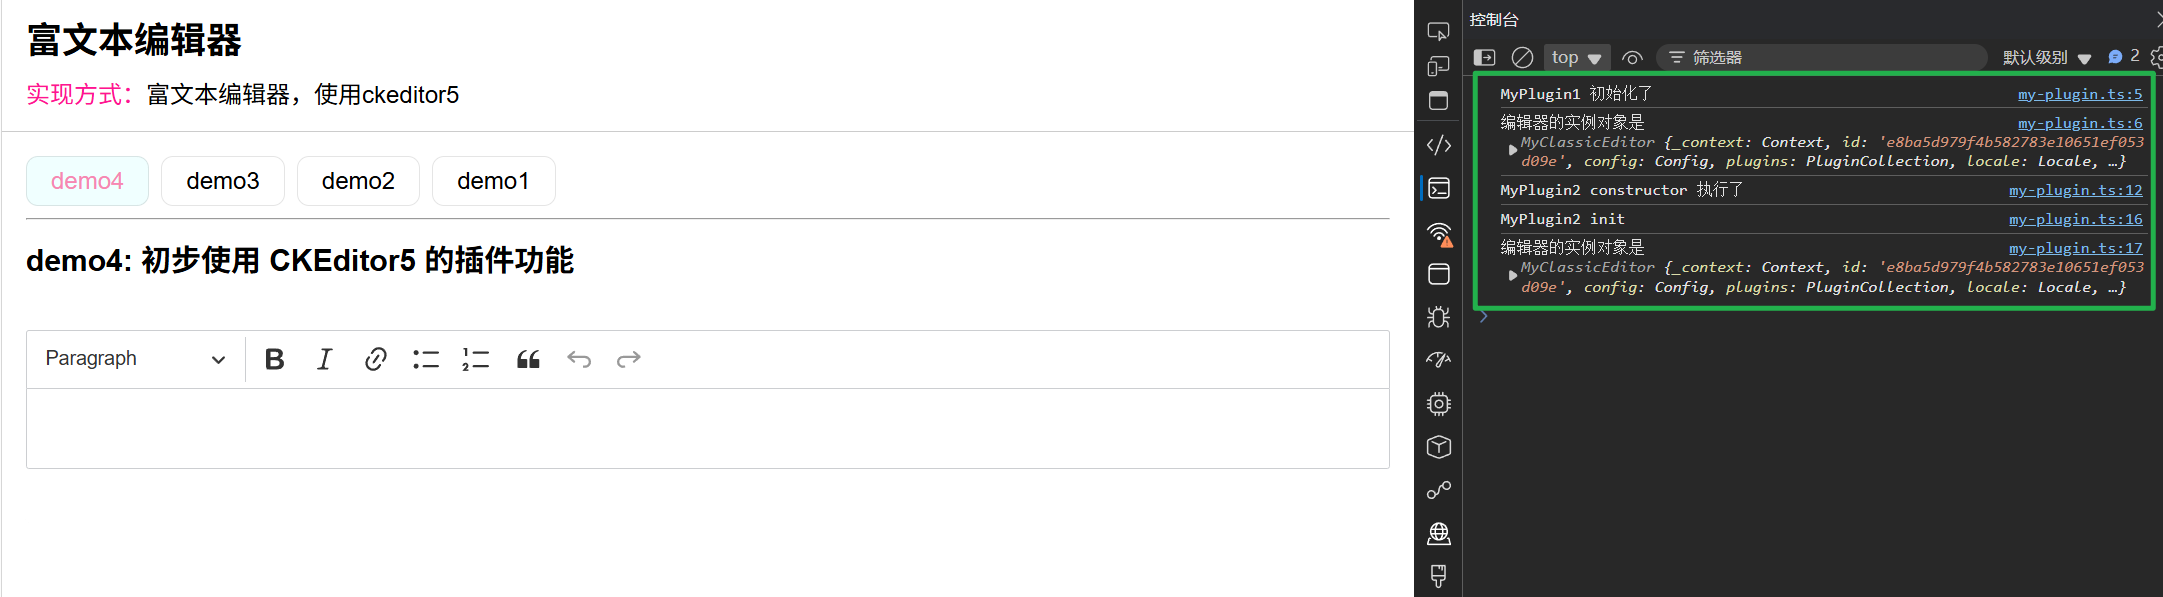
接着刷新页面,看到我们自己写的插件的确是被执行了,控制台有打印内容:
3. 在插件中添加自己的逻辑
我的现在想做一件事:初始化 2 秒之后,让编辑器聚焦,再过 2 秒后,插入一段文本,并把光标聚焦到编辑器末尾
于是对 MyPlugin2 进行改写:
class MyPlugin2 extends Plugin {constructor(editor: Editor) {super(editor);console.log('MyPlugin2 constructor 执行了');}init() {console.log('MyPlugin2 init');console.log('编辑器的实例对象是', this.editor);// 2 秒后聚焦编辑器setTimeout(() => {this.editor.focus();// 再过 2 秒后插入文本setTimeout(() => {this.editor.model.change((writer) => {const text = writer.createText('我将会在第 4 秒后被插入到编辑器中, 并且会光标被移动到编辑器的末尾');this.editor.model.insertContent(text);// 获取根节点, 并设置光标位置在末尾const root = this.editor.model.document.getRoot();if (!root) {return;}const position = writer.createPositionAt(root, 'end');writer.setSelection(position);});}, 2000);}, 2000);}
}
测试最终效果
打开 demo4/index.vue 页面,我们可以看到自己写的插件起作用了:

最后总结
回顾一下目前学的内容:
- 我们已经成功把 CKEditor5 集成到了 nuxt 中,并且封装成了一个通用的 vue 组件,可以实际在项目中使用了。
- 我们认识了 CKEditor5 的事件系统、常用API、插件编写。知道了 CKEditor5 的大致设计概念,比如 Model 和 2种View (即: Editing view + Data view),已经可以通过 js 对编辑器进行一定的操作了。
- 我们用过了好几个 Model 的方法:比如 editor.model.change((writer) => {}) 和 editor.model.document.on(‘change:data’, () => {})
- 我们也用过了 Editing view 的方法:比如 editor.editing.view.document.on(‘enter’, () => {})
- 我们也用过了 Data view 的方法:比如 editor.data.processor.toView(content) 和 editor.data.toModel(viewFragment);
而这一篇内容,我们又初步明白了 CKEditor5 的插件功能。插件有 2 中插入创建方式,一种是通过构造函数创建,另一种是定义一个 Class 类。我们更倾向于 Class 类名的形式创建。
也算是完成了一个小小的里程碑了!
看来 CKEditor5 的面纱正在被我一步步揭开,不容易啊!
之前本来打算在掘金更新的,写完之后复制过来,却意外发现 CSDN 的同学们比较热情,更加务实,专注于解决问题,并且不会吝啬自己的点赞。这也让我这种写博客的新手有动力更新。端午假期连续在家写了 4 篇内容。
相反,掘金很多文章都是凑字数、标题党,搞得太冗余繁杂了。而且大佬偏多,我发现大佬很少给别人点赞,除非那篇文章真的写得好。
后续我会继续研究 CKEditor5,并保持一颗学徒的心态,尽可能把这些经验总结出来。