深度图数据增强-形态学腐蚀操作
形态学腐蚀,膨胀的介绍,见:
图像形态学操作-腐蚀与膨胀,开运算和闭运算(含简单代码演示)-CSDN博客![]() https://blog.csdn.net/qq_54708219/article/details/148215779?spm=1001.2014.3001.5502在深度图中,有或多或少的孔洞,我们可以对孔洞进行腐蚀或膨胀操作以扩充数据集。
https://blog.csdn.net/qq_54708219/article/details/148215779?spm=1001.2014.3001.5502在深度图中,有或多或少的孔洞,我们可以对孔洞进行腐蚀或膨胀操作以扩充数据集。
首先,要用连通分量标记算法对孔洞进行标记。以下展示用scipy库进行标记的代码,其底层原理见200. 岛屿数量 - 力扣(LeetCode):
import numpy as np
from scipy.ndimage import labelregion = [[0, 0, 0, 0, 0, 0, 0, 0, 0, 0],[0, 0, 0, 0, 0, 0, 0, 0, 0, 0],[0, 0, 1, 1, 0, 0, 0, 0, 0, 0],[0, 0, 1, 1, 1, 1, 0, 0, 0, 0],[0, 0, 1, 1, 1, 1, 1, 0, 0, 0],[0, 0, 0, 1, 1, 1, 1, 0, 0, 0],[0, 0, 0, 0, 1, 1, 0, 0, 0, 0],[0, 0, 0, 0, 0, 0, 0, 0, 0, 0],[0, 1, 1, 0, 0, 0, 0, 0, 1, 1],[0, 1, 0, 0, 0, 0, 0, 0, 0, 0]
]region_np = np.array(region)
structure = np.ones((3, 3), dtype=int)
labeled_array, num_components = label(region_np, structure=structure)components = []
for i in range(1, num_components + 1):y, x = np.where(labeled_array == i)# 将 np.int64 转换为普通整数components.append([(int(y[idx]), int(x[idx])) for idx in range(len(y))])print(f"共有 {num_components} 个连通分量")
for i, comp in enumerate(components, 1):print(f"连通分量 {i} 的位置:")print(comp)'''
共有 3 个连通分量
连通分量 1 的位置:
[(2, 2), (2, 3), (3, 2), (3, 3), (3, 4), (3, 5), (4, 2), (4, 3), (4, 4), (4, 5), (4, 6), (5, 3), (5, 4), (5, 5), (5, 6), (6, 4), (6, 5)]
连通分量 2 的位置:
[(8, 1), (8, 2), (9, 1)]
连通分量 3 的位置:
[(8, 8), (8, 9)]
'''
计算出连通分量以后,我们可以对每个连通分量单独进行腐蚀操作:
import numpy as np
from scipy.ndimage import label, binary_dilationregion = [[0, 0, 0, 0, 0, 0, 0, 0, 0, 0],[0, 0, 0, 0, 0, 0, 0, 0, 0, 0],[0, 0, 1, 1, 0, 0, 0, 0, 0, 0],[0, 0, 1, 1, 1, 1, 0, 0, 0, 0],[0, 0, 1, 1, 1, 1, 1, 0, 0, 0],[0, 0, 0, 1, 1, 1, 1, 0, 0, 0],[0, 0, 0, 0, 1, 1, 0, 0, 0, 0],[0, 0, 0, 0, 0, 0, 0, 0, 0, 0],[0, 1, 1, 0, 0, 0, 0, 0, 1, 1],[0, 1, 0, 0, 0, 0, 0, 0, 0, 0]
]region_np = np.array(region)
structure = np.ones((3, 3), dtype=int)  # 8-连通结构元素# 标记连通分量
labeled, num_components = label(region_np, structure=structure)# 对每个连通分量单独膨胀,并收集结果
components = []
dilated_combined = np.zeros_like(region_np)  # 合并膨胀结果for i in range(1, num_components + 1):# 提取当前连通分量的掩膜mask = (labeled == i).astype(int)# 执行膨胀dilated = binary_dilation(mask, structure=structure).astype(int)# 记录膨胀后的坐标y, x = np.where(dilated)components.append([(int(yi), int(xi)) for yi, xi in zip(y, x)])# 合并到总结果中dilated_combined = np.logical_or(dilated_combined, dilated).astype(int)# 打印每个分量的膨胀结果
print(f"共有 {num_components} 个连通分量")
for i, coords in enumerate(components, 1):print(f"膨胀后连通分量 {i} 的坐标:")print(coords)# 打印合并后的膨胀区域
print("\n合并后的膨胀区域矩阵:")
for row in dilated_combined:print(row.tolist())# 结果
'''
共有 3 个连通分量
膨胀后连通分量 1 的坐标:
[(1, 1), (1, 2), (1, 3), (1, 4), (2, 1), (2, 2), (2, 3), (2, 4), (2, 5), (2, 6), (3, 1), (3, 2), (3, 3), (3, 4), (3, 5), (3, 6), (3, 7), (4, 1), (4, 2), (4, 3), (4, 4), (4, 5), (4, 6), (4, 7), (5, 1), (5, 2), (5, 3), (5, 4), (5, 5), (5, 6), (5, 7), (6, 2), (6, 3), (6, 4), (6, 5), (6, 6), (6, 7), (7, 3), (7, 4), (7, 5), (7, 6)]
膨胀后连通分量 2 的坐标:
[(7, 0), (7, 1), (7, 2), (7, 3), (8, 0), (8, 1), (8, 2), (8, 3), (9, 0), (9, 1), (9, 2), (9, 3)]
膨胀后连通分量 3 的坐标:
[(7, 7), (7, 8), (7, 9), (8, 7), (8, 8), (8, 9), (9, 7), (9, 8), (9, 9)]合并后的膨胀区域矩阵:
[0, 0, 0, 0, 0, 0, 0, 0, 0, 0]
[0, 1, 1, 1, 1, 0, 0, 0, 0, 0]
[0, 1, 1, 1, 1, 1, 1, 0, 0, 0]
[0, 1, 1, 1, 1, 1, 1, 1, 0, 0]
[0, 1, 1, 1, 1, 1, 1, 1, 0, 0]
[0, 1, 1, 1, 1, 1, 1, 1, 0, 0]
[0, 0, 1, 1, 1, 1, 1, 1, 0, 0]
[1, 1, 1, 1, 1, 1, 1, 1, 1, 1]
[1, 1, 1, 1, 0, 0, 0, 1, 1, 1]
[1, 1, 1, 1, 0, 0, 0, 1, 1, 1]
'''
综上,我们可以写出对图片中某个ROI区域中随机膨胀一部分空洞的过程:
# 本数据集生成的代码
# 数据增强方法:随机膨胀一部分ROI区域的空洞区域import cv2
import os
import numpy as np
import shutil
from scipy.ndimage import label, binary_dilation
import randomimage_file_dir = "C:/pyprojects/yolo11/fheiaunjk/images"
output_dir = "C:/pyprojects/yolo11/output"# 正确拼接输出路径
img_output_path = os.path.join(output_dir, "images")  # 正确写法
label_output_path = os.path.join(output_dir, "labels")  # 正确写法# 直接创建目标目录(无需使用 os.path.dirname)
os.makedirs(img_output_path, exist_ok=True)    # 创建 output/images
os.makedirs(label_output_path, exist_ok=True)  # 创建 output/labelsfor filename in os.listdir(image_file_dir):# 1. 读取原图并检查(移到外层循环,只读一次)image_file_path = os.path.join(image_file_dir, filename)image = cv2.imread(image_file_path, cv2.IMREAD_UNCHANGED)if image is None:print(f"错误:无法读取图片 {image_file_path}")continue# 2. 提前获取图像尺寸if len(image.shape) != 2:print(f"跳过非深度图:{filename}")continueorig_h, orig_w = image.shape# 3. 处理标签文件labels_dir = image_file_dir.replace("images", "labels")base_name = os.path.splitext(filename)[0]label_file_path = os.path.join(labels_dir, f"{base_name}.txt")if not os.path.exists(label_file_path):print(f"警告:标签文件 {label_file_path} 不存在")continue# 4. 读取并解析标签with open(label_file_path, 'r') as f:lines = [line.strip().split() for line in f.readlines()]# 5. 对每个检测框生成增强数据for k, line in enumerate(lines):if len(line) < 5: continue# 解析检测框坐标(添加边界保护)class_id, xc, yc, w, h = line[0], *map(float, line[1:5])x_center, y_center = xc * orig_w, yc * orig_hwidth, height = w * orig_w, h * orig_h# 计算并修正ROI边界x1 = max(0, int(x_center - width/2))y1 = max(0, int(y_center - height/2))x2 = min(orig_w, int(x_center + width/2))y2 = min(orig_h, int(y_center + height/2))# 跳过无效ROIif x1 >= x2 or y1 >= y2:print(f"跳过无效ROI:{filename} Box{k}")continue# 6. 每个ROI生成10个增强样本for m in range(10):# 创建副本避免污染原图modified_image = image.copy()# --- 处理当前ROI区域 ---roi = modified_image[y1:y2, x1:x2]# 生成掩膜及连通域mask = np.where(roi == 0, 1, 0).astype(np.uint8)labeled_array, num_components = label(mask, structure=np.ones((3,3)))if num_components == 0:dilated_combined = mask  # 无连通分量则保持原状else:# 随机选择并膨胀selected = random.sample(range(1, num_components+1), random.randint(1, num_components))dilated_combined = mask.copy()  # 基于原始mask初始化for i in selected:component = (labeled_array == i).astype(int)dilated = binary_dilation(component, structure=np.ones((3,3)))dilated_combined = np.logical_or(dilated_combined, dilated)# 应用修改到ROImodified_roi = np.where(dilated_combined, 0, roi)modified_image[y1:y2, x1:x2] = modified_roi# 7. 生成唯一文件名(添加检测框索引和增强次数)unique_id = f"{base_name}_box{k}_aug{m}"img_save_path = os.path.join(img_output_path, f"{unique_id}.png")cv2.imwrite(img_save_path, modified_image)# 8. 生成对应标签(仅保留当前检测框)label_save_path = os.path.join(label_output_path, f"{unique_id}.txt")shutil.copy2(label_file_path, label_save_path)
效果展示:

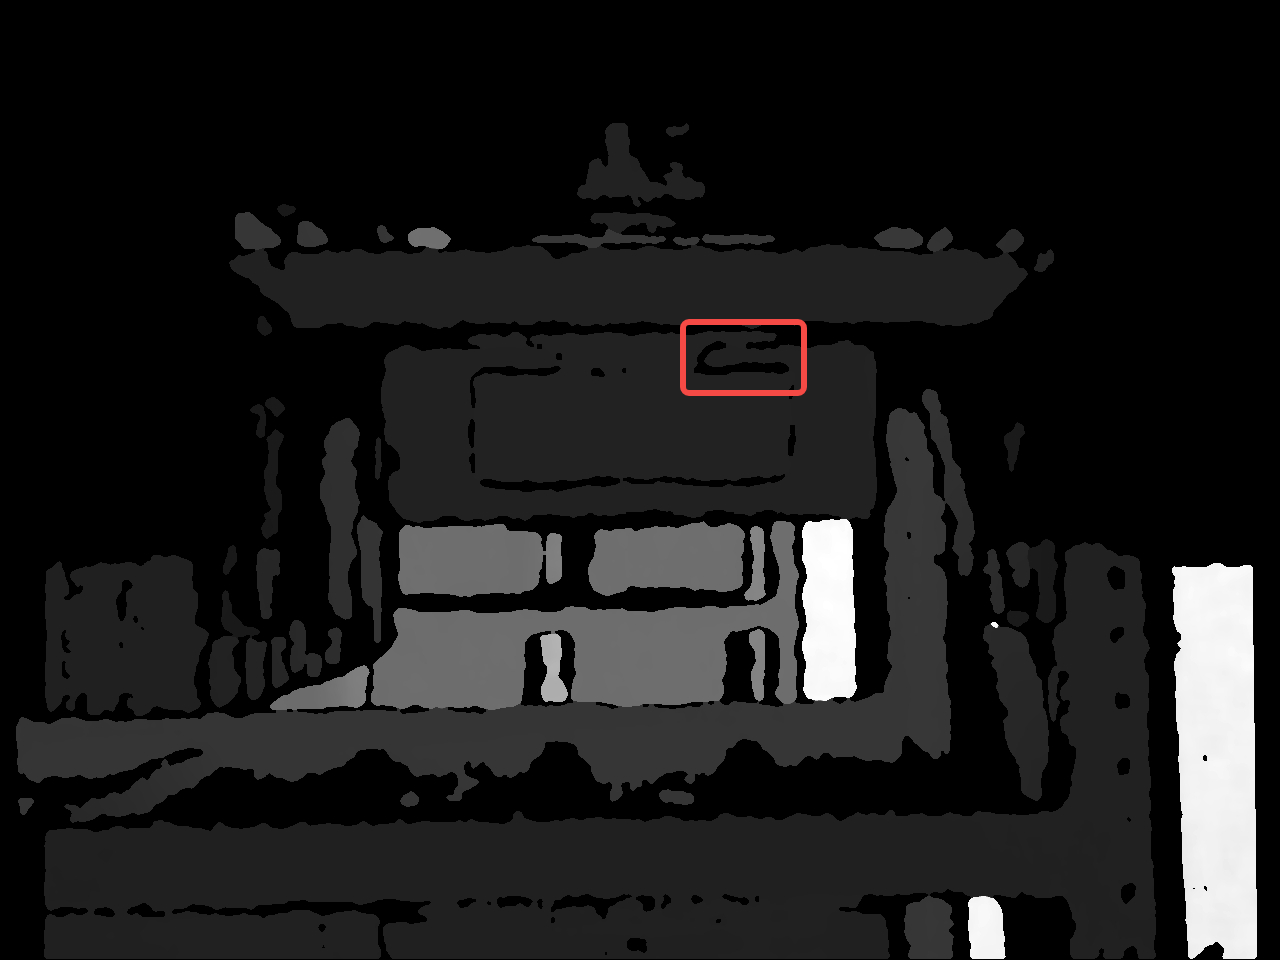
提请读者注意:本代码实现是随机选取一部分孔洞进行一次腐蚀操作,读者可尝试将腐蚀操作次数更改为多次。