Vue3 表单输入绑定
Vue3 表单输入绑定
- 1. 基本用法(v-model 语法糖)
- 1.1 input 文本框
- 1.2 textarea 多行文本
- 1.3 checkbox 复选框
- 1.3.1 单一复选框
- 1.3.1.1 基本使用方式
- 1.3.1.2 真假值自定义
- 1.3.2 多个复选框
- 1.4 radio 单选框
- 1.5 select 选择器(多选时需要按住ctrl键)
- 2. 表单修饰符
- 2.1 课外拓展(input 和 change 事件的区别)
- 2.1.1 触发时机
- 2.1.2 适用场景
- 2.2 表单修饰符的使用
1. 基本用法(v-model 语法糖)
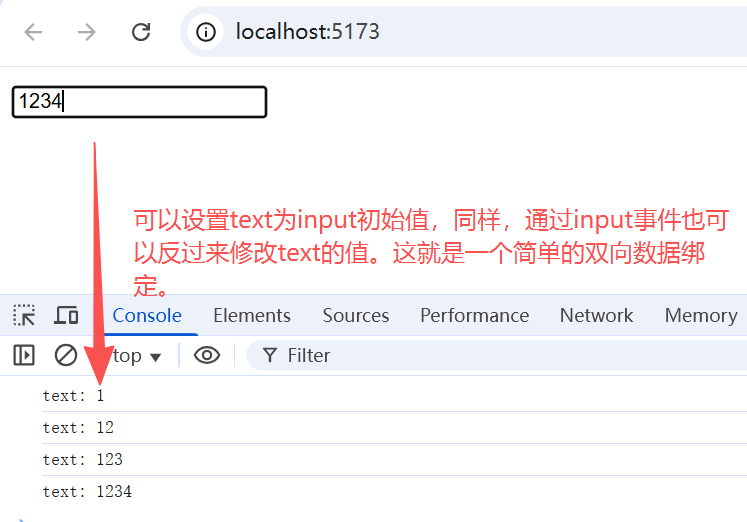
在前端处理表单时,我们常常需要将表单输入框的内容同步给 JavaScript 中相应的变量。手动连接值绑定和更改事件监听器可能会很麻烦。比如:
<template><input:value="text"@input="event => handleInput(event.target.value)">
</template><script setup>
import { ref } from 'vue';
let text = ref('')
function handleInput(newText) {text.value = newText;console.log('text:', text.value); // 用于测试数据是否发生了改变
}
</script><style scoped>
</style>
1.1 input 文本框
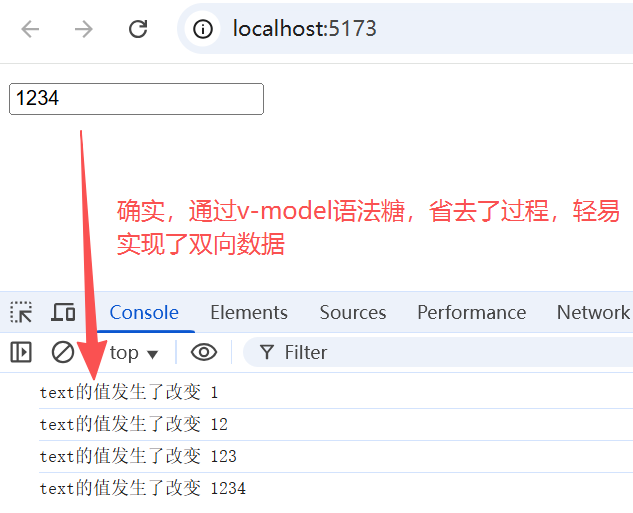
因为 Vue 中会大量使用到双向数据绑定,因此使用了 v-model 语法糖,为我们简化了这一过程:
<input v-model="text">
<template><input v-model="text" @input="changeInput">
</template><script setup>
import { ref } from 'vue';
let text = ref('')
// 不手动修改,只是监听文本框的值变化
function changeInput() {console.log('text的值发生了改变', text.value);
}
</script><style scoped>
</style>
v-model 还可以用于各种不同类型的输入,<textarea>、<select> 元素。它会根据所使用的元素自动使用对应的 DOM 属性和事件组合:
- 文本类型的
<input>和<textarea>元素会绑定value property并侦听input事件; <input type="checkbox">和<input type="radio">会绑定checked property并侦听change事件;<select>会绑定value property并侦听change事件。
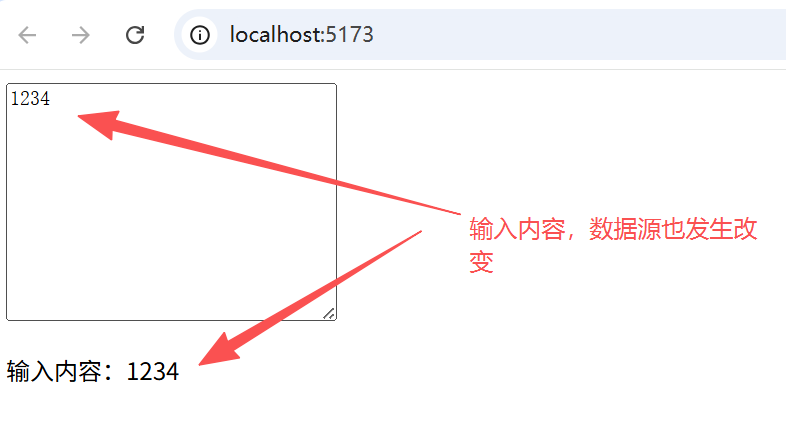
1.2 textarea 多行文本
<template><textarea cols="30" rows="10" v-model="textContent"></textarea><p>你当前输入的内容为:{{ textContent }}</p>
</template><script setup>
import { ref } from 'vue'
const textContent = ref('')
</script><style scoped></style>
1.3 checkbox 复选框
1.3.1 单一复选框
1.3.1.1 基本使用方式
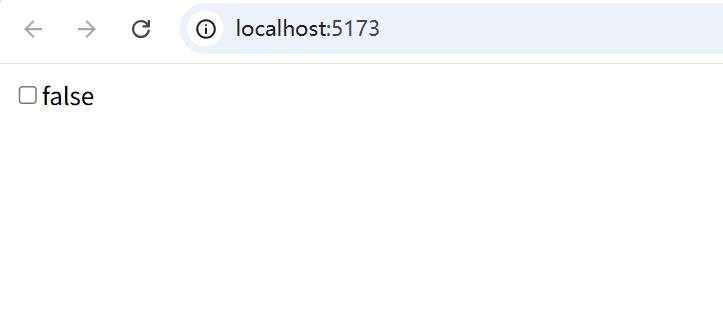
单一的复选框,绑定布尔类型值:
<template><div><input type="checkbox" v-model="checked" /><label for="checkbox">{{ checked }}</label></div>
</template><script setup>
import { ref } from 'vue'
const checked = ref(true)
</script><style scoped></style>
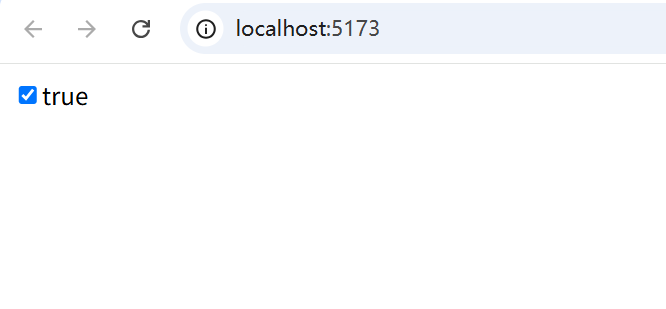
点击复选框,进行切换
1.3.1.2 真假值自定义
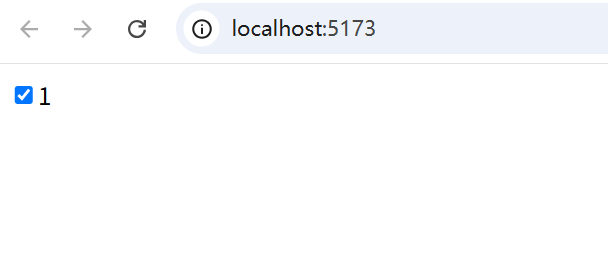
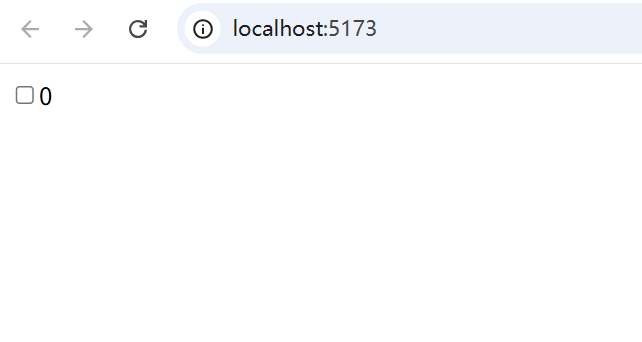
1.3.1.1 的例子中,复选框默认真假值为布尔值 true 和 false,但是这其实可以进行自定义:
<template><div><inputtype="checkbox"v-model="checked":true-value="1":false-value="0" /><!-- 这里的label通常为固定文本,修改为checked只是为了展示数据变化 --><label for="checkbox">{{ checked }}</label></div>
</template><script setup>
import { ref } from 'vue'
const checked = ref(1)
</script><style scoped></style>
1.3.2 多个复选框
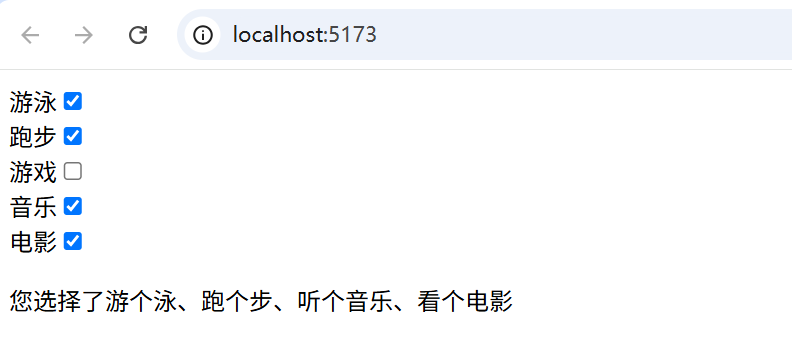
对于多个复选框,我们通常将其多个选项绑定在一个数组或者集合中,方便遍历展示:
<template><div v-for="(item, index) in arr" :key="index"><label for="item.id">{{ item.title }}</label><input type="checkbox" v-model="hobby" :id="item.id" :value="item.value" /></div><p>{{ message }}</p>
</template><script setup>
import { ref, computed } from 'vue'
const hobby = ref([])
const arr = ref([{ id: 'swim', title: '游泳', value: '游个泳' },{ id: 'run', title: '跑步', value: '跑个步' },{ id: 'game', title: '游戏', value: '玩个游戏' },{ id: 'music', title: '音乐', value: '听个音乐' },{ id: 'movie', title: '电影', value: '看个电影' }
])
const message = computed(() => {// 根据 hobby 的值进行二次计算if (hobby.value.length === 0) return '请选择爱好'else return `您选择了${hobby.value.join('、')}`
})
</script><style scoped></style>
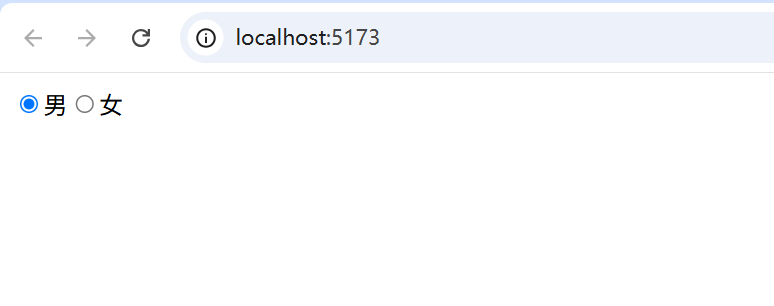
1.4 radio 单选框
<template><input type="radio" id="male" v-model="gender" value="male" /><label for="male">男</label><input type="radio" id="female" v-model="gender" value="female" /><label for="female">女</label>
</template><script setup>
import { ref } from 'vue'
const gender = ref('male')
</script><style scoped></style>
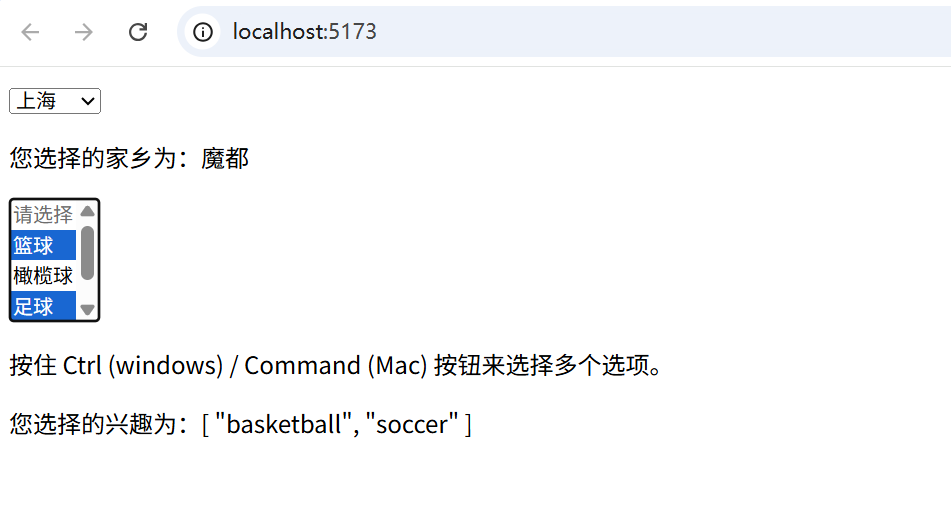
1.5 select 选择器(多选时需要按住ctrl键)
<template><!-- 下拉列表列表是单选的话,v-model 绑定的值是一个字符串,这个字符串是 option 的 value 值 --><select v-model="hometown1"><option value="" disabled>请选择</option><option v-for="(item, index) in hometownList" :key="index" :value="item.value">{{ item.label }}</option></select><p>您选择的家乡为:{{ hometown1 }}</p><!-- 如果下拉列表是多选的话,v-model 绑定的值是一个数组,这个数组是 option 的 value 值组成的数组 --><select v-model="hobbies" multiple><option label="" disabled>请选择</option><option v-for="(item, index) in hobbyList" :key="index" :value="item.value">{{ item.label }}</option></select><p>按住 Ctrl (windows) / Command (Mac) 按钮来选择多个选项。</p><p>您选择的兴趣为:{{ hobbies }}</p>
</template><script setup>
import { ref } from 'vue'
const hometown1 = ref('')
const hobbies = ref([])
const hometownList = ref([{ value: '成都', label: '四川' },{ value: '帝都', label: '北京' },{ value: '魔都', label: '上海' },{ value: '妖都', label: '广州' },{ value: '陪都', label: '重庆' }
])
const hobbyList = ref([{ value: 'basketball', label: '篮球' },{ value: 'football', label: '橄榄球' },{ value: 'soccer', label: '足球' },{ value: 'baseball', label: '排球' },
])
</script><style scoped></style>
2. 表单修饰符
2.1 课外拓展(input 和 change 事件的区别)
2.1.1 触发时机
-
input事件:用户每次输入(包括键盘输入、粘贴、语音输入等)或通过脚本修改值时实时触发。
-
change事件:元素失去焦点且内容发生变化时触发(如点击其他区域、选择下拉框等),不会因输入过程中频繁触发。
2.1.2 适用场景
- input事件:适合需要实时反馈的场景,如搜索联想、密码强度检测、字数统计等。
- change事件:通常用于表单提交前的最终验证,或需要离开输入框后才能确认数据有效性的场景。
2.2 表单修饰符的使用
.lazy:默认情况下,v-model会在每次 input 事件触发时就更新数据,lazy修饰符可以改为change事件触发后才更新数据;.number:将用户输入的内容从字符串转为number类型;.trim:默认自动去除用户输入内容中两端的空格。
<template><!-- lazy修饰符演示 --><input type="text" v-model.lazy="mess1" /><p>你输入的是:{{ mess1 }}</p><p>类型为{{ typeof mess1 }}</p><p>长度为{{ mess1.length }}</p><!-- number修饰符演示 --><input type="text" v-model.number="mess2" /><p>你输入的是:{{ mess2 }}</p><p>类型为{{ typeof mess2 }}</p><p>长度为{{ mess2.length }}</p><!-- trim修饰符演示 --><input type="text" v-model.trim="mess3" /><p>你输入的是:{{ mess3 }}</p><p>类型为{{ typeof mess3 }}</p><p>长度为{{ mess3.length }}</p>
</template><script setup>
import { ref } from 'vue'
const mess1 = ref('')
const mess2 = ref('')
const mess3 = ref('')
</script><style scoped></style>
上一章 《Vue3 事件处理》