Spring Cloud Consul
Spring Cloud Consul
- 一.Consul介绍
- 二.Consul 安装
- 1.下载Consul
- 2.安装Consul
- 三.服务注册/服务发现
- 1.添加依赖
- 2.添加配置
- 3.添加注解 @EnableDiscoveryClient
- 4.启动服务
- 四.服务配置和刷新
- 1.初始化配置
- 2.项⽬配置
- 3.配置⽂件
- 4.测试
- 5.动态刷新
- 6.其他配置
- 五.Consul配置持久化
一.Consul介绍
服务注册/服务发现,除了前⾯讲述的Eureka和Nacos,还有⼀个比较流行的组件,叫Consul。
Consul 是HashiCorp开发的⼀款开源的组件,主要⽤于服务发现、配置管理和分布式系统的健康检查。它的主要功能包括:
- 服务注册/发现:服务在启动时向Consul注册,并在需要时,向Consul查询其他服务的地址和状态
- 健康检查:Consul提供了健康检查机制,确保只有健康的服务实例对外提供服务,防⽌服务转发到故障的服务
- 配置管理:Consul提供了⼀个Key/Value存储系统,⽤于存储配置数据和其他需要共享的信息.
- 服务分段:Consul⽀持服务分段,允许你创建隔离的环境,例如开发,测试和⽣产环境。
Consul和Nacos区别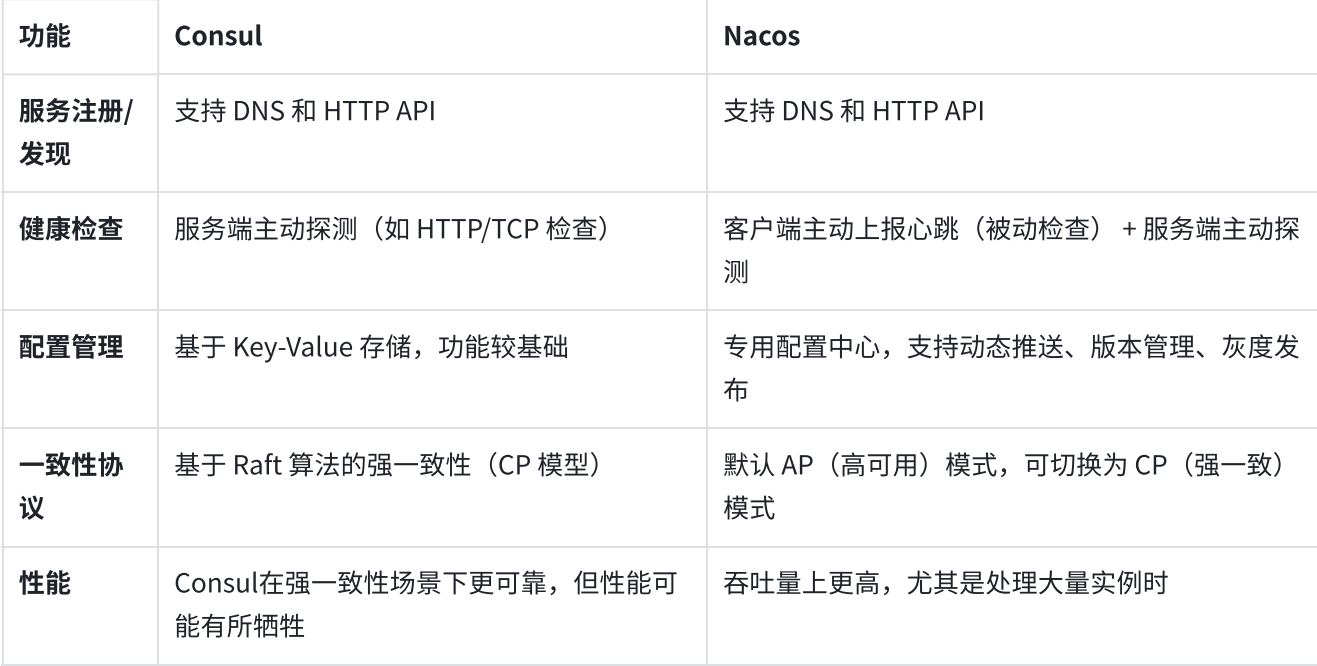
二.Consul 安装
1.下载Consul
下载地址
根据自己需求,下载相应的安装包(Linux系统不⽤下载)
2.安装Consul
Windows
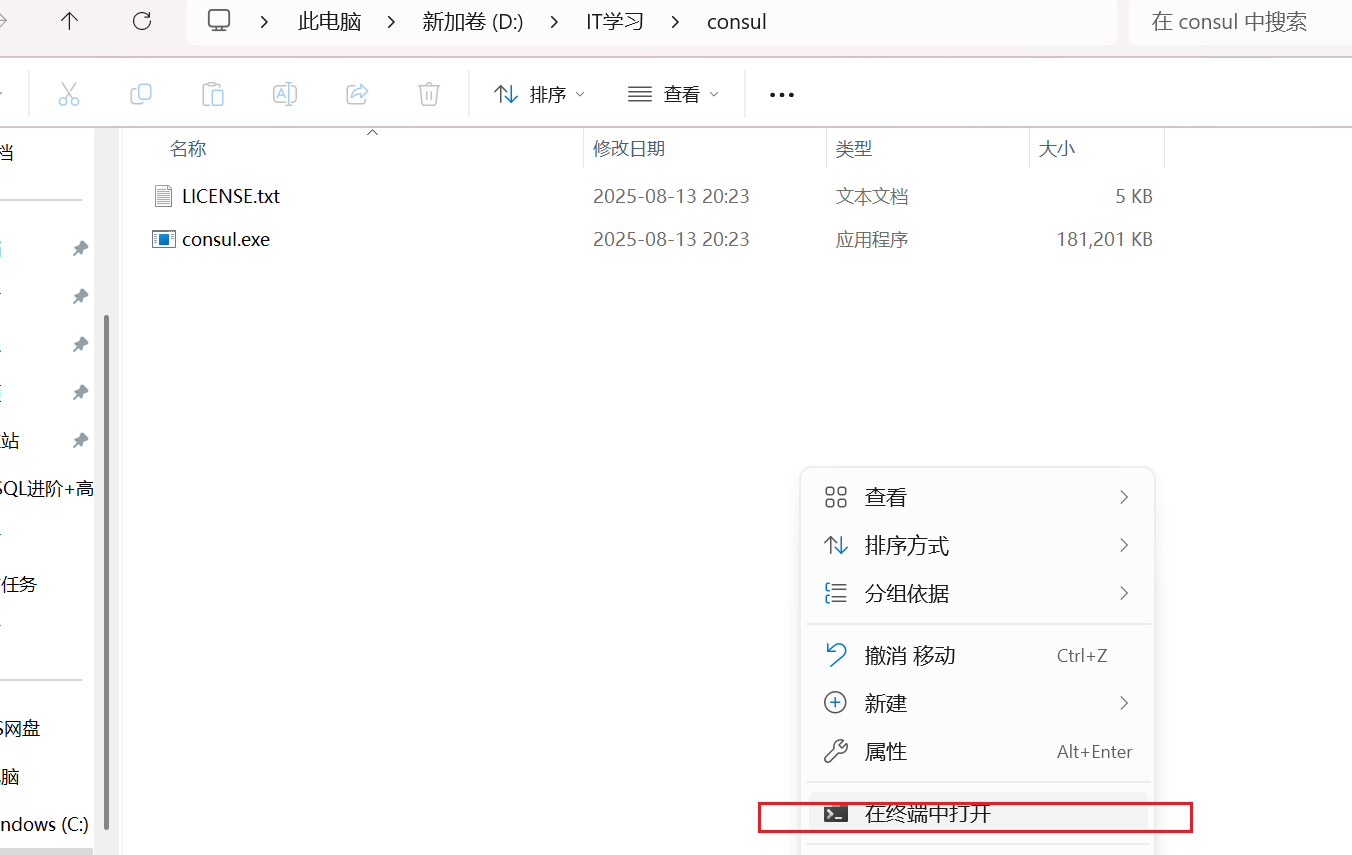
1. 解压之后,⾥⾯是⼀个exe⽂件,使⽤cmd进⼊到该⽬录 输⼊ .\consul.exe --version 如果正确显示版本,则说明下载正确

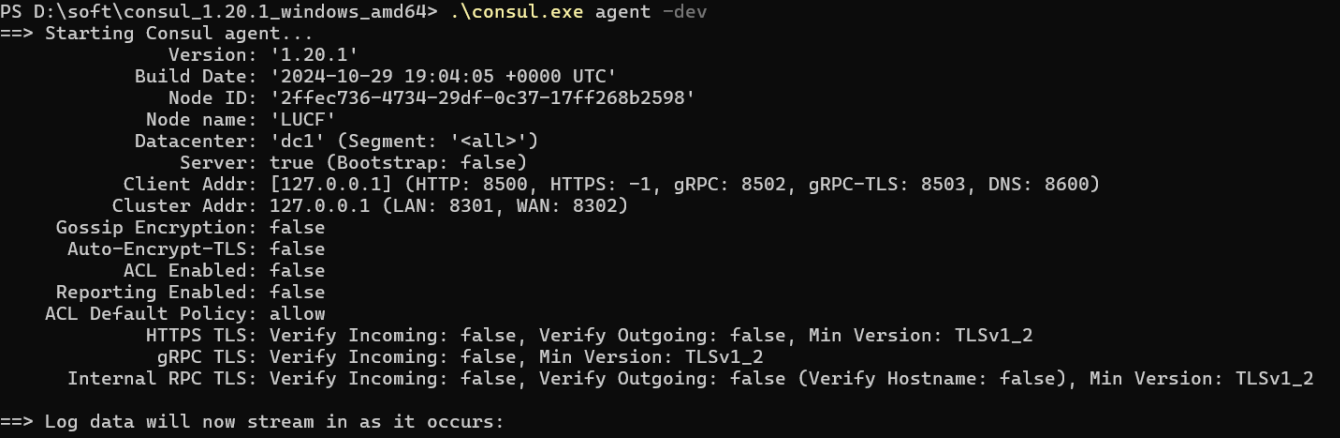
2. 启动consul
.\consul.exe agent -dev
 3. 访问Consul
http://127.0.0.1:8500/
显示如下界⾯,即表示启动成功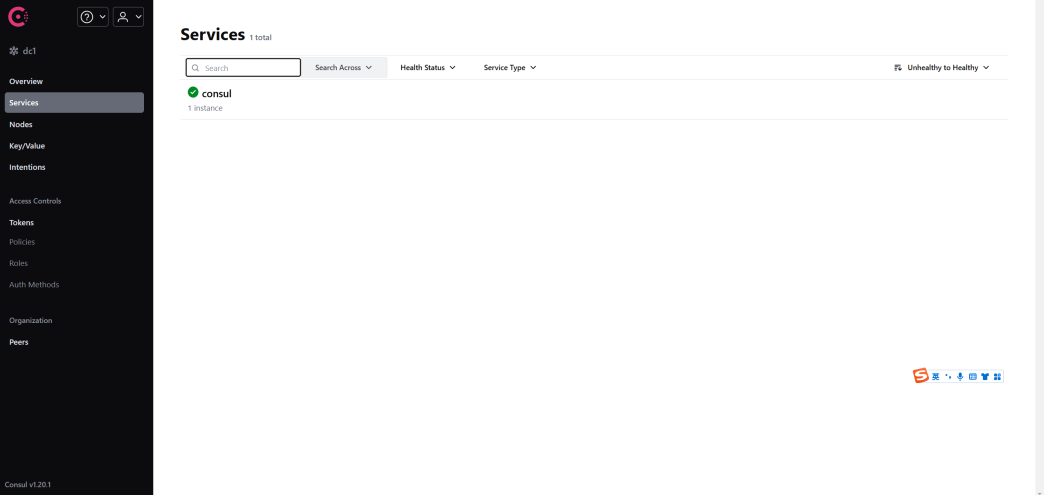
4. 配置环境变量(可选)
配置consul的环境变量,在任意位置通过cmd打开consul 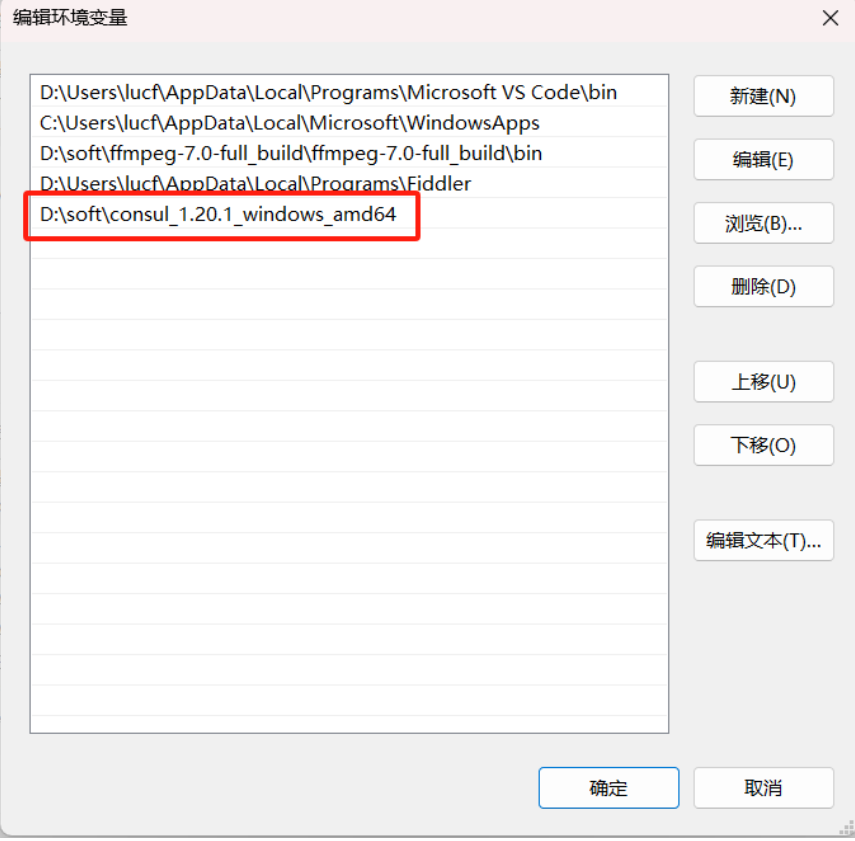 配置之后,在任意路径下就可以打开consul了
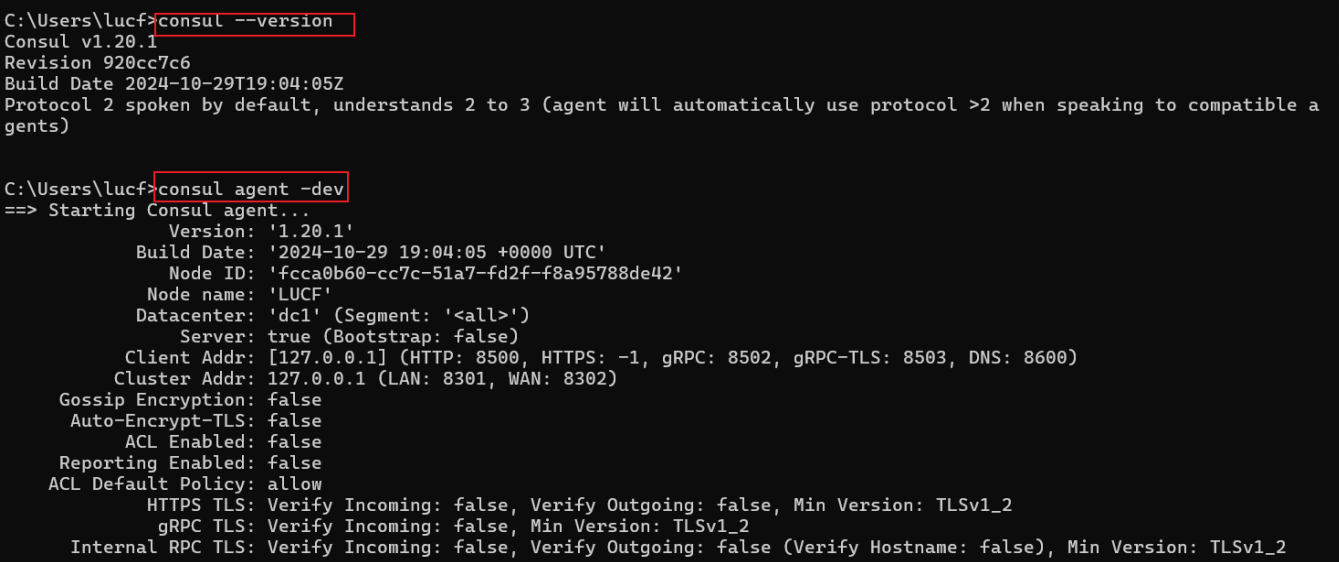
Linux
1. 选择相应的系统,以Ubuntu为例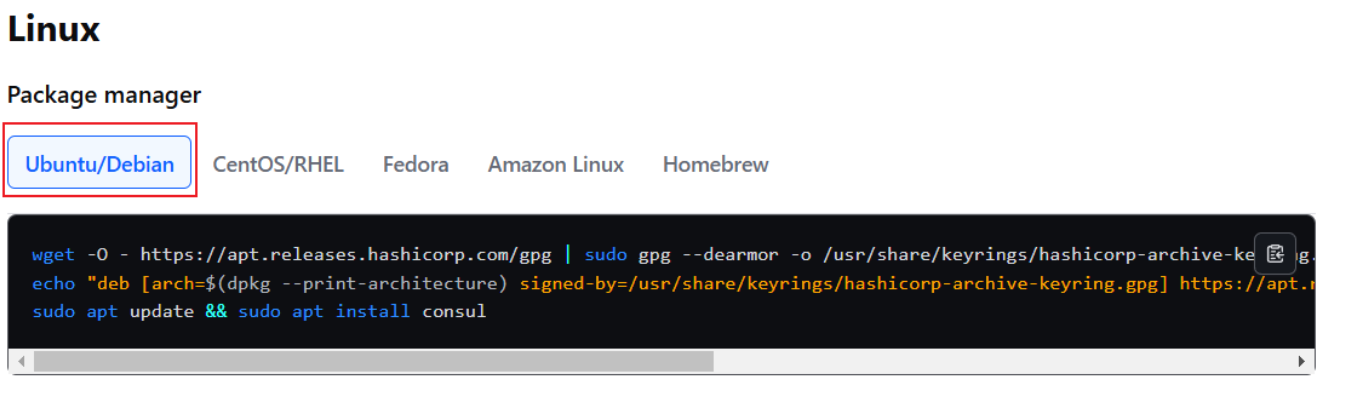
2. 分别执⾏命令
wget -O - https://apt.releases.hashicorp.com/gpg | sudo gpg --dearmor -o
/usr/share/keyrings/hashicorp-archive-keyring.gpgecho "deb [arch=$(dpkg --print-architecture) signedby=/usr/share/keyrings/hashicorp-archive-keyring.gpg]
https://apt.releases.hashicorp.com $(lsb_release -cs) main" | sudo tee
/etc/apt/sources.list.d/hashicorp.listsudo apt update && sudo apt install consul
3. 确认版本
consul -v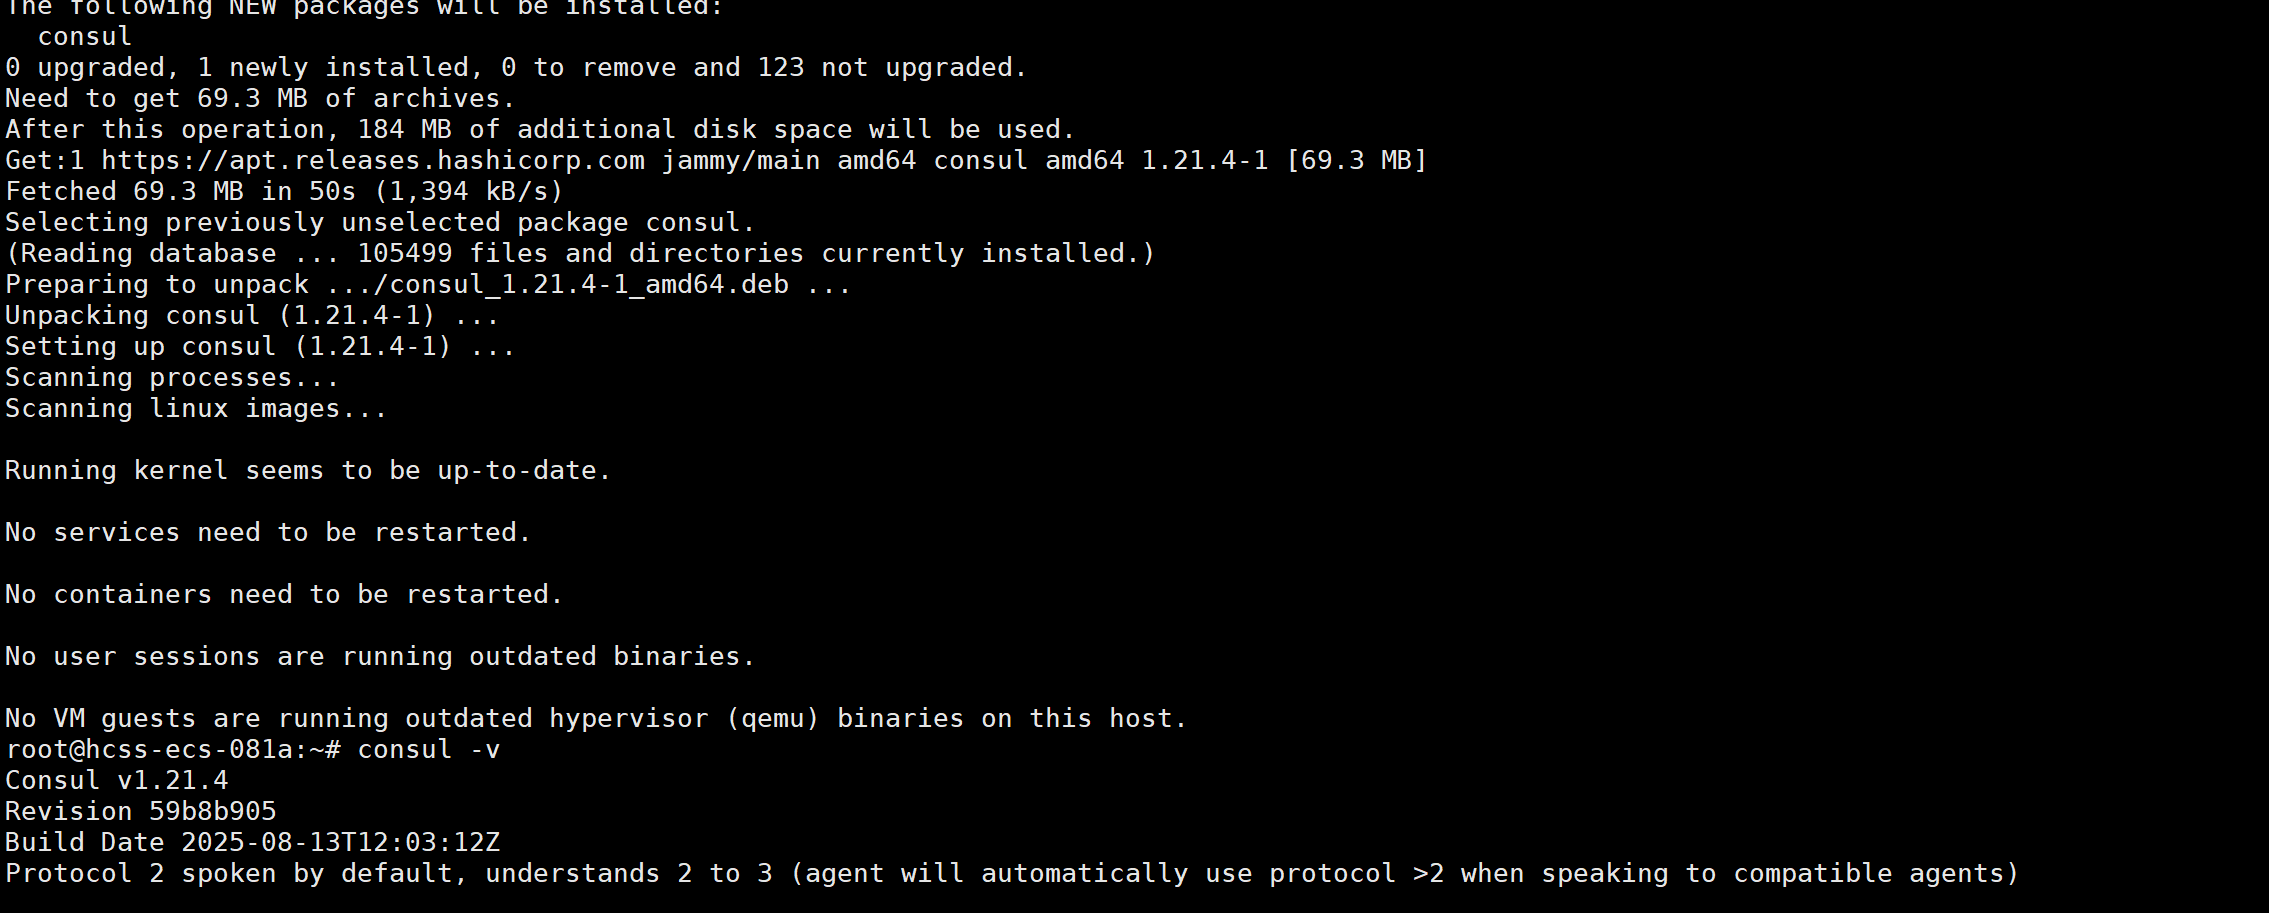
4. 启动Consul
nohup consul agent -dev -client 0.0.0.0 -ui &
5. 开通端⼝号8500,访问Consul
http://47.108.157.13:8500/
6. 其他命令
#停⽌consul服务
consul leave#卸载consul软件包
sudo apt-get remove consul
sudo apt-get autoremove consul#清理残留⽂件
sudo apt-get autoclean
三.服务注册/服务发现
Consul提供了服务注册和服务发现的功能。还是以之前的订单服务和商品服务代码为例。
参考:Service Discovery with Consul
1.添加依赖
Consul ⽀持健康检查,以确保只有健康的服务实例可被发现,Consul 使⽤了actuator提供服务的健康检查,所以除了consul之外,还需要引入actuator的依赖
<dependency><groupId>org.springframework.cloud</groupId><artifactId>spring-cloud-starter-consul-discovery</artifactId>
</dependency>
<dependency><groupId>org.springframework.boot</groupId><artifactId>spring-boot-starter-actuator</artifactId>
</dependency>
2.添加配置
spring:application:name: product-servicecloud:consul:host: localhostport: 8500discovery:service-name: product-service
spring.cloud.consul.discovery.service-name 可以省略,默认的服务名称为
${spring.application.name}
3.添加注解 @EnableDiscoveryClient
在主启动类添加注解 @EnableDiscoveryClient
4.启动服务
启动服务,观察Consul,发现product-service已经注册成功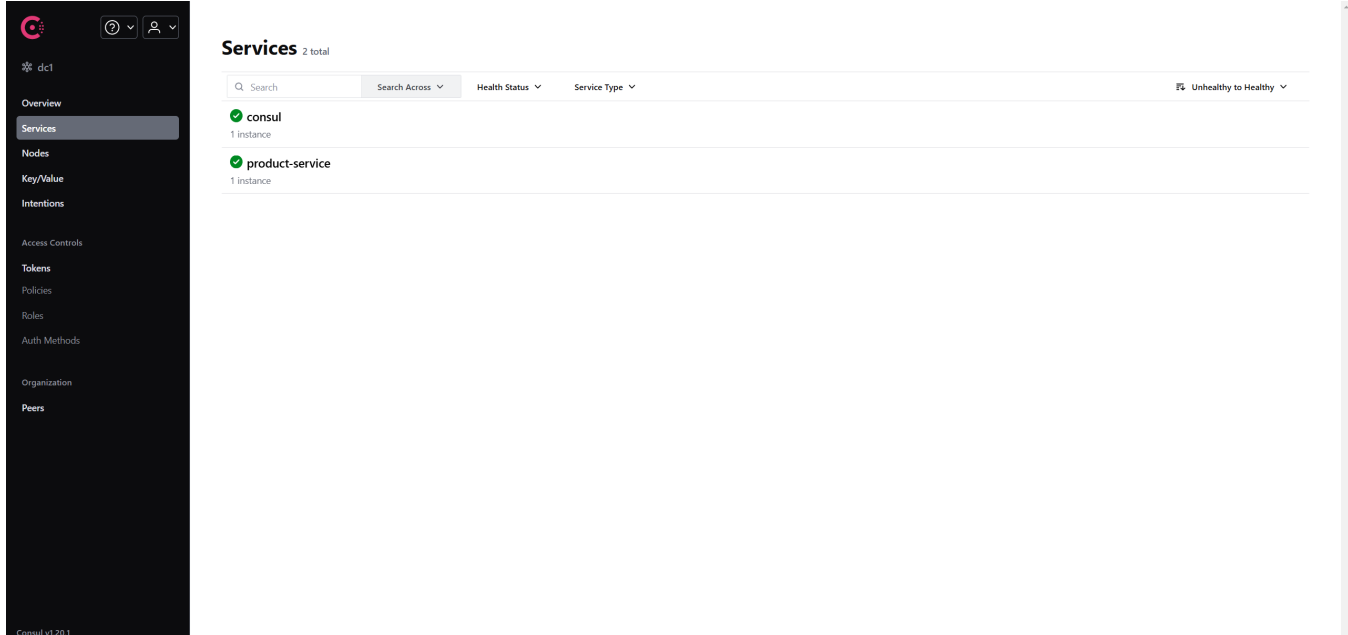
如果不添加 spring-boot-starter-actuator 依赖,界面如下显示: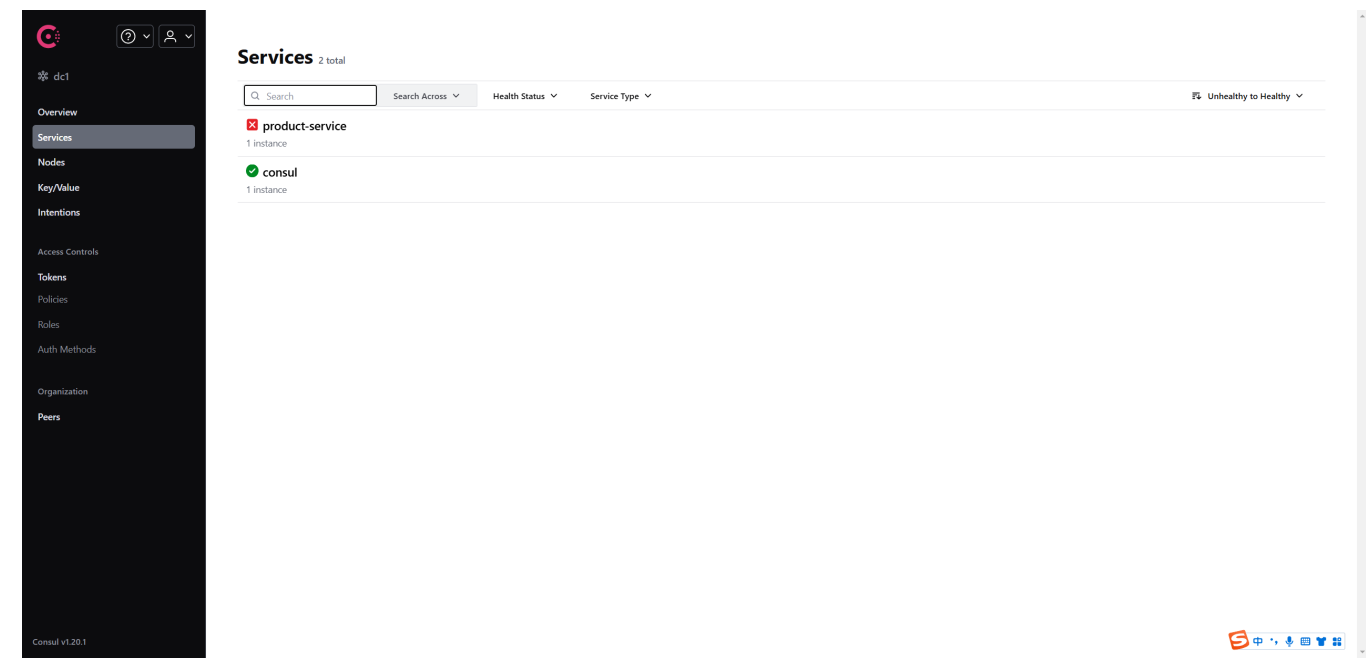
四.服务配置和刷新
Consul除了服务注册和发现之外,还可以作为配置中⼼。服务的配置信息存储在Consul中,服务从Consul获取配置信息。
Consul 提供了⼀个键值存储(KV Store)⽤于存储服务配置和其他元数据。是Spring Cloud Config的替代⽅案,在特殊的"bootstrap"阶段,配置被加载到Spring 环境中。默认情况下,配置存储在 /config ⽂件夹中。根据应⽤程序的名称和激活的配置⽂件,会创建多个 Property Source 实例。当前配置在应⽤程序启动时读取,向/refresh发送HTTP POST请求将导致配置重新加载。Config Watch也会⾃动检测变化并重
1.初始化配置
- 创建⽬录
使⽤ Consul 作为配置中⼼,我们需要创建⽬录,把配置信息存储⾄ Consul。点击菜单 Key/Value -> Create 按钮 -> 创建 config/ 基本⽬录 可以把config理解为配置⽂件所在的最外层⽂件夹(⽂件夹以 / 结尾 )。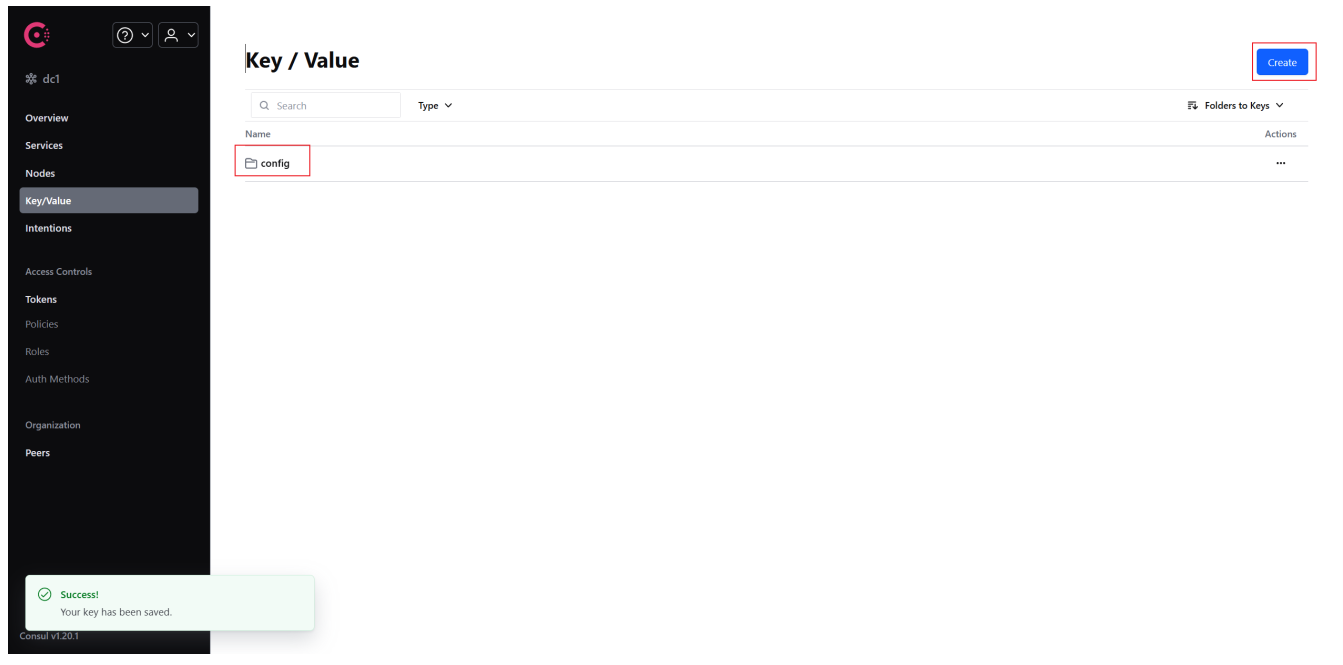
- 创建应⽤⽬录
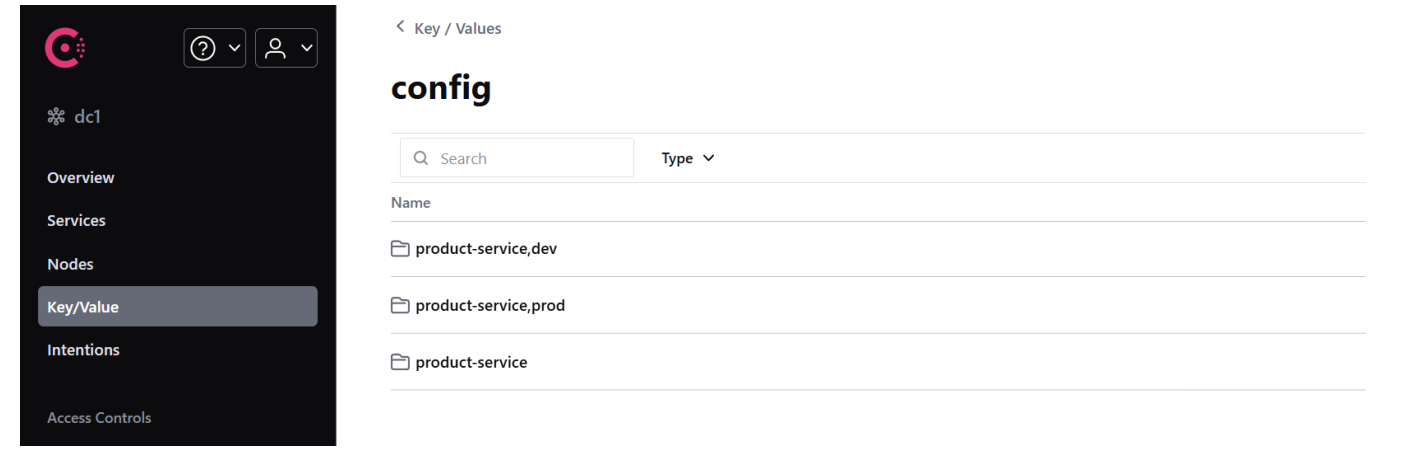
点击 config 进⼊⽂件夹,再点击 Create 按钮 ,创建 product-service/ 应⽤⽬录,存储对应微服务应⽤的 default 环境配置信息 如果我们的项⽬有多个环境;default,dev,prod,就在 config ⽬录下创建对应的多环境⽬录
- config/product-service/ 对应使⽤config前缀的,名称为 product-service 的应⽤
- config/product-service,dev/ 对应使⽤ config 前缀的,名称为 product-service,且启⽤dev profile的应⽤
- config/product-service,prod/ 对应使⽤ config 前缀的,名称为 product-service,且启
⽤prod profile 的应⽤
默认情况下,配置的路径前缀是 /config
3. 添加配置信息
在product-service下创建⽂件 填写key:data
填写value:
service-name: product-service-default
output:info: "bite-default"
同样的,依次在 config/product-service,dev/ 和 config/product-service,prod/下创建相应的⽂件,并修改配置⽂件内容。
⽐如dev:
service-name: product-service-dev
output:info: "bite-dev"
2.项⽬配置
- 添加依赖
Spring Cloud 会创建⼀个 Bootstrap Context,作为Spring 应⽤"Application Context" 的⽗上下⽂。在Spring应⽤启动的初始化阶段, Bootstrap Context 负责从外部源(如Consul)加载配置属性并解析配置。
所以除了添加 spring-cloud-starter-consul-config 依赖之外,还需要加⼊依赖 springcloud-starter-bootstrap 来实现
<dependency><groupId>org.springframework.cloud</groupId><artifactId>spring-cloud-starter-consul-config</artifactId>
</dependency>
<dependency><groupId>org.springframework.cloud</groupId><artifactId>spring-cloud-starter-bootstrap</artifactId>
</dependency>
3.配置⽂件
Bootstrap属性具有⾼优先级,也就是说在 bootstrap.yml 或 bootstrap.properties 中定义的配置会优先于 application.yml 或 application.properties 中的配置。
bootstrap.yml 主要⽤于配置应⽤启动时所需的外部依赖和环境,而 application.yml ⽤于业务逻辑相关的配置(如数据库连接等)
bootstrap.yml
spring:application:name: product-servicecloud:consul:host: 127.0.0.1port: 8500config:format: YAML
在 Spring 启动的 bootstrap 阶段会通过 Consul 去获取 key = config/product-service/data 对应的 value对应value格式为 yaml
4.测试
import org.springframework.beans.factory.annotation.Value;
import org.springframework.web.bind.annotation.RequestMapping;
import org.springframework.web.bind.annotation.RestController;
@RequestMapping("/consul")
@RestController
public class ConsulController {@Value("${service-name}")private String serviceName;@Value("${output.info}")private String outputInfo;@RequestMapping("/getConfigByConsul")public String getConfigByConsul(){return String.format("从consul获取配置, serviceName:%s, outputInfo:%s",serviceName, outputInfo);}
}
启动服务,测试接⼝:http://127.0.0.1:9090/consul/getConfigByConsul
设置 spring.profiles.active,再次观察运行结果
spring.profiles.active=dev
5.动态刷新
Consul⽀持动态刷新配置,在配置类上添加 @RefreshScope 注解,可以标记需要动态刷新的Bean。当接收到刷新事件时,这些Bean会重新加载最新的配置.
@RefreshScope
@RequestMapping("/consul")
@RestController
public class ConsulController {//...
}
尝试修改相应的配置⽂件,访问接⼝,观察配置是否得到了更新:
Consul会对配置更新进⾏检查,跟服务器上⾯的配置⽂件的版本进⾏⽐较,如果版本不⼀致,则调⽤Spring的刷新事件,触发事件刷新,否则代表配置没有变化。
默认的检查频率为 1000 单位毫秒,可以通过 spring.cloud.consul.config.watch.delay 配置。
spring:cloud:consul:host: 127.0.0.1port: 8500config:format: YAMLwatch:# 刷新频率,单位:毫秒,默认值 1000delay: 1000
Consul的动态刷新功能使得配置变更⽆需重启应⽤程序,大大提高了运维效率和系统的灵活性
6.其他配置
config/application配置
默认情况下,配置的路径前缀是 /config,不同的 application 和 profile 对应不同的配置路径,例如对应应⽤ “product-service” 和 “dev” profile 的配置,会涉及以下路径 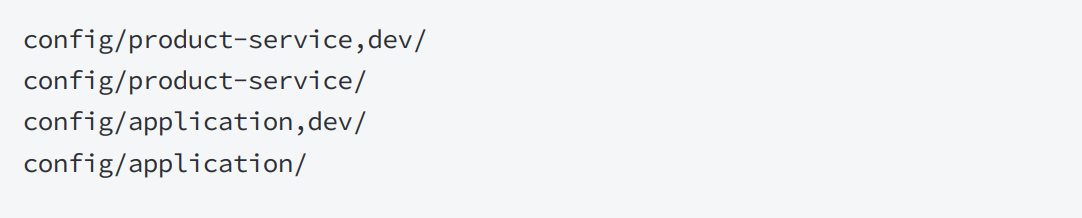
这个列表从上往下分别对应的配置优先级从⾼到低,优先级⾼的同样配置项会覆盖优先级低的配置项.
- config/application/全局公共配置,对应使⽤ config 前缀的所有应⽤
- config/application,dev/全局dev公共配置,对应使⽤ config 前缀的所有,且启⽤ dev profile 的应⽤
- config/product-service/对应使⽤config前缀的,名称为 product-service 的应⽤
- config/product-service,dev/对应使⽤config前缀的,名称为 product-service,且启⽤devprofile的应⽤
- 添加config/application/配置
service-name: default-application
output:info: application
- 对order-service添加相应的依赖和配置
bootstrap.yml和ConsulController.java同product-service - 测试
启动order-service,访问http://127.0.0.1:8080/consul/getConfigByConsul,可以读取到
config/application/相关的配置信息
bootstrap.yml更多配置
spring:
cloud:
consul:
host: 127.0.0.1
port: 8500
config:
# 是否启⽤配置中⼼,默认值 true 开启
enabled: true
# 设置配置的基本⽂件夹,默认值 config 可以理解为配置⽂件所在的最外层⽂件夹
prefix: config
# 配置环境分隔符,默认值 "," 和 default-context 配置项搭配
# 例如应⽤ product-service 分别有环境 default, dev, prod
# 需在 config ⽂件夹下创建 product-service, product-service-dev,
product-service-prod ⽂件夹即可
profile-separator: '-'
# 指定配置格式为 yaml
format: YAML
# Consul 的 Key/Values 中的 Key, Value 对应整个配置⽂件
data-key: productConfig
# 以上配置可以理解为:加载 config/product-service/ ⽂件夹下 Key 为
productConfig 的 Value 对应的配置信息
watch:
# 是否开启⾃动刷新,默认值 true 开启
enabled: true
# 刷新频率,单位:毫秒,默认值 1000
delay: 1000
五.Consul配置持久化
通过上⾯的学习,我们了解了Consul的配置和动态刷新,但是当我们重启Consul时,会发现Consul存储的数据都会丢失了,这与我们的启动命令有关 Consul常⻅启动命令
consul agent [options]
- -dev 开发模式,关闭所有持久化选项,⽤于快速开启consul代理
- -server:以服务器模式启动 Consul 代理.
- -client:以客户端模式启动 Consul 代理.
- -ui:启⽤ Consul 的 Web ⽤户界⾯.
- -bootstrap-expect:设置期望加⼊的服务器节点数,⽤于初始化集群。
- -data-dir:指定数据存储⽬录
开发模式( -dev )主要⽤于快速启动单节点 Consul 环境,适⽤于开发和测试,不适⽤于⽣产环境,因为它不会持久化任何状态。而服务器模式(-server)和客⼾端模式(-client)则更多地⽤于⽣产环境,以构建⼀个完整的 Consul 集群。
服务器模式是 Consul 集群的核⼼,负责处理集群的管理和数据存储。客户端模式更轻量级,主要⽤于服务发现和健康检查,不参与集群的管理和数据存储。
学习了这些命令之后,我们可以指定Consul数据的存储⽬录
consul agent -server -bootstrap-expect 1 -ui -datadir=D:\soft\consul_data\mydata
使⽤上述命令启动Consul,会发现数据进⾏了持久化.