OpenEuler安装gitlab,部署gitlab-runner
目录
一、安装gitlab
二、安装部署docker设置源
三、下载部署runner
编辑
四、构建CI/CD
一、安装gitlab
1.查看OpenEuler版本
[root@localhost ~]#  cat /etc/os-release
NAME="openEuler"
VERSION="24.03 (LTS-SP1)"
ID="openEuler"
VERSION_ID="24.03"
PRETTY_NAME="openEuler 24.03 (LTS-SP1)"
ANSI_COLOR="0;31"
2.安装基础环境
sudo yum update -y
sudo yum install -y curl policycoreutils-python-utils openssh-server perl wget
3.下载gitlab安装包, RPM 包
curl -LOS https://packages.gitlab.cn/repository/el/8/gitlab-jh-17.7.0-jh.0.el8.x86_64.rpm

4.安装并配置
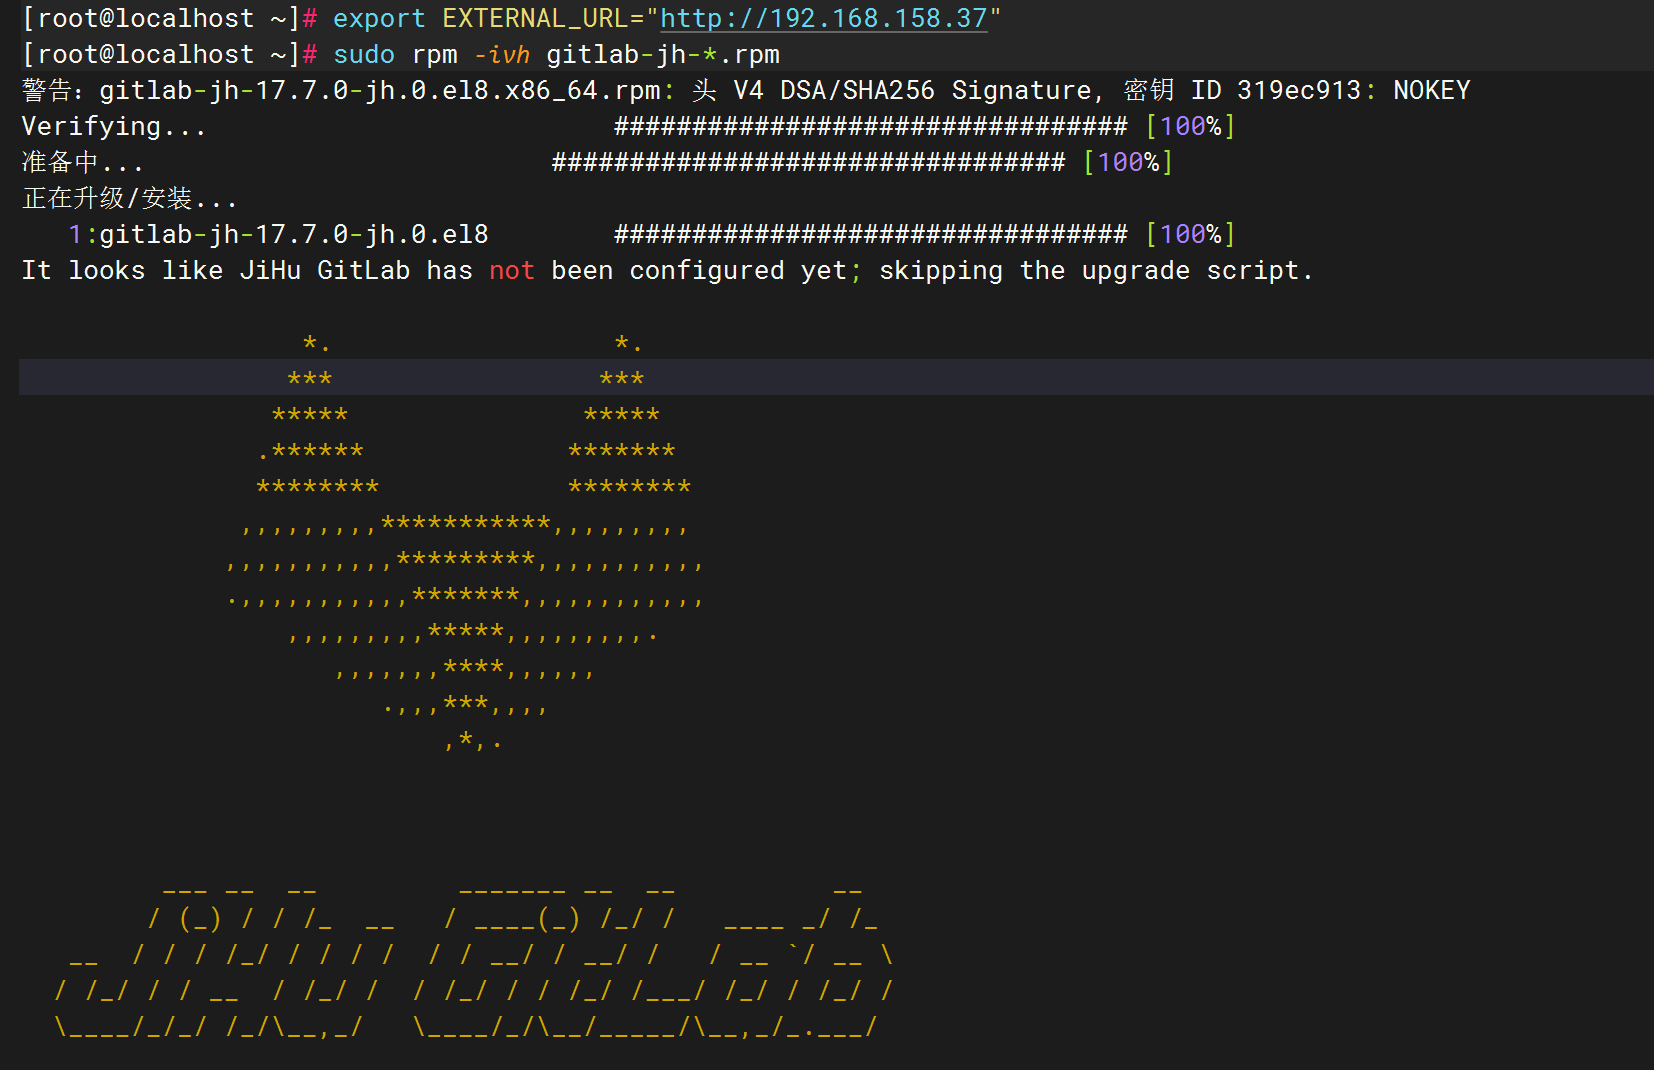
[root@localhost ~]# export EXTERNAL_URL="http://192.168.158.37"
[root@localhost ~]# sudo rpm -ivh gitlab-jh-*.rpm
警告:gitlab-jh-17.7.0-jh.0.el8.x86_64.rpm: 头 V4 DSA/SHA256 Signature, 密钥 ID 319ec913: NOKEY
Verifying...                          ################################# [100%]
准备中...                          ################################# [100%]
正在升级/安装...1:gitlab-jh-17.7.0-jh.0.el8        ################################# [100%]
It looks like JiHu GitLab has not been configured yet; skipping the upgrade script.*.                  *.***                 ********               *****.******             ***************            ********,,,,,,,,,***********,,,,,,,,,,,,,,,,,,,,*********,,,,,,,,,,,.,,,,,,,,,,,*******,,,,,,,,,,,,,,,,,,,,,*****,,,,,,,,,.,,,,,,,****,,,,,,.,,,***,,,,,*,.___ __  __         _______ __  __          __/ (_) / / /_  __   / ____(_) /_/ /   ____ _/ /___  / / / /_/ / / / /  / / __/ / __/ /   / __ `/ __ \/ /_/ / / __  / /_/ /  / /_/ / / /_/ /___/ /_/ / /_/ /\____/_/_/ /_/\__,_/   \____/_/\__/_____/\__,_/_.___/Thank you for installing JiHu GitLab!
GitLab was unable to detect a valid hostname for your instance.
Please configure a URL for your JiHu GitLab instance by setting `external_url`
configuration in /etc/gitlab/gitlab.rb file.
Then, you can start your JiHu GitLab instance by running the following command:sudo gitlab-ctl reconfigureFor a comprehensive list of configuration options please see the Omnibus GitLab readme
https://jihulab.com/gitlab-cn/omnibus-gitlab/-/blob/main-jh/README.mdHelp us improve the installation experience, let us know how we did with a 1 minute survey:
https://wj.qq.com/s2/10068464/dc66
5.修改配置文件
vim /etc/gitlab/gitlab.rb
external_url 'http://172.16.50.23'
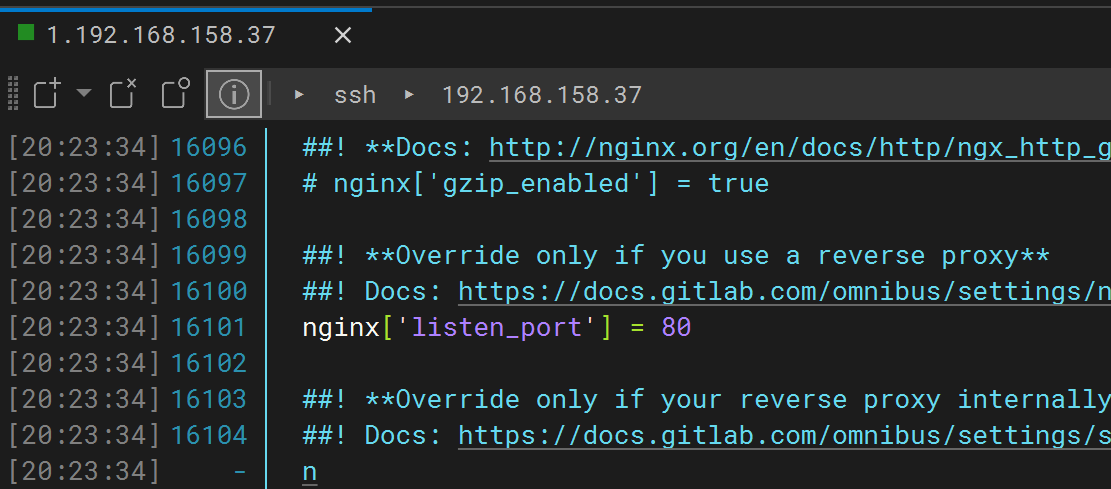
nginx['listen_port'] = 80
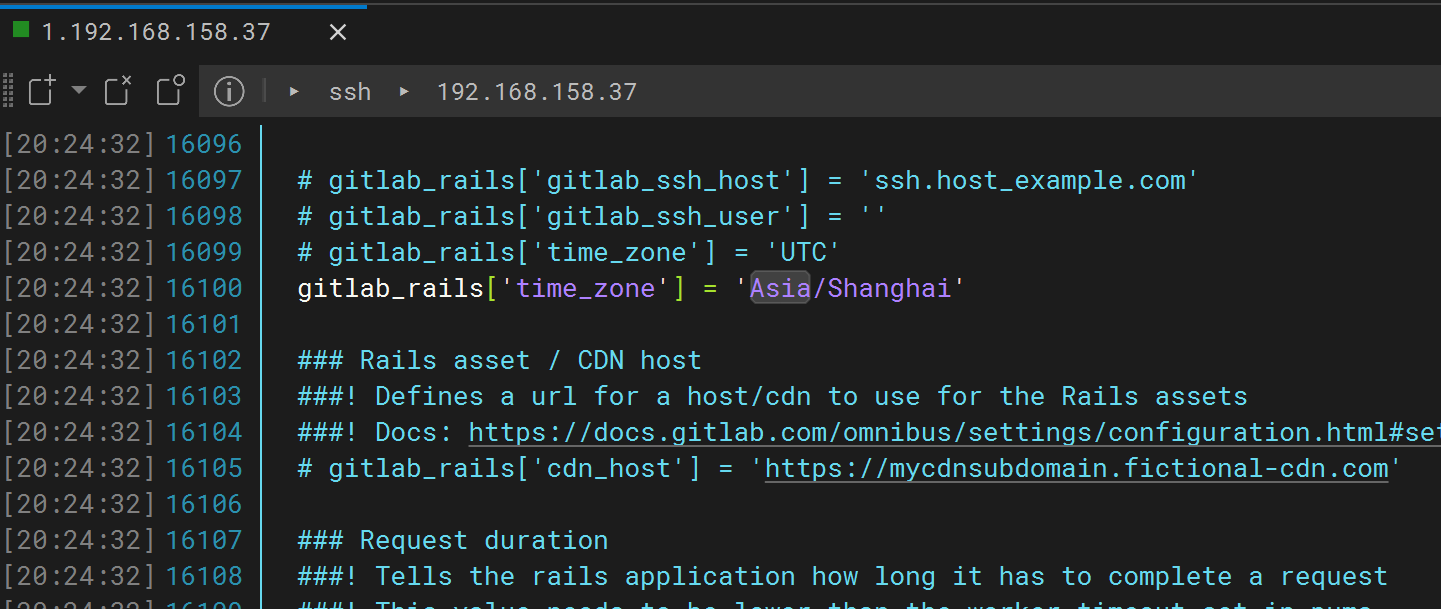
gitlab_rails['time_zone'] = 'Asia/Shanghai' 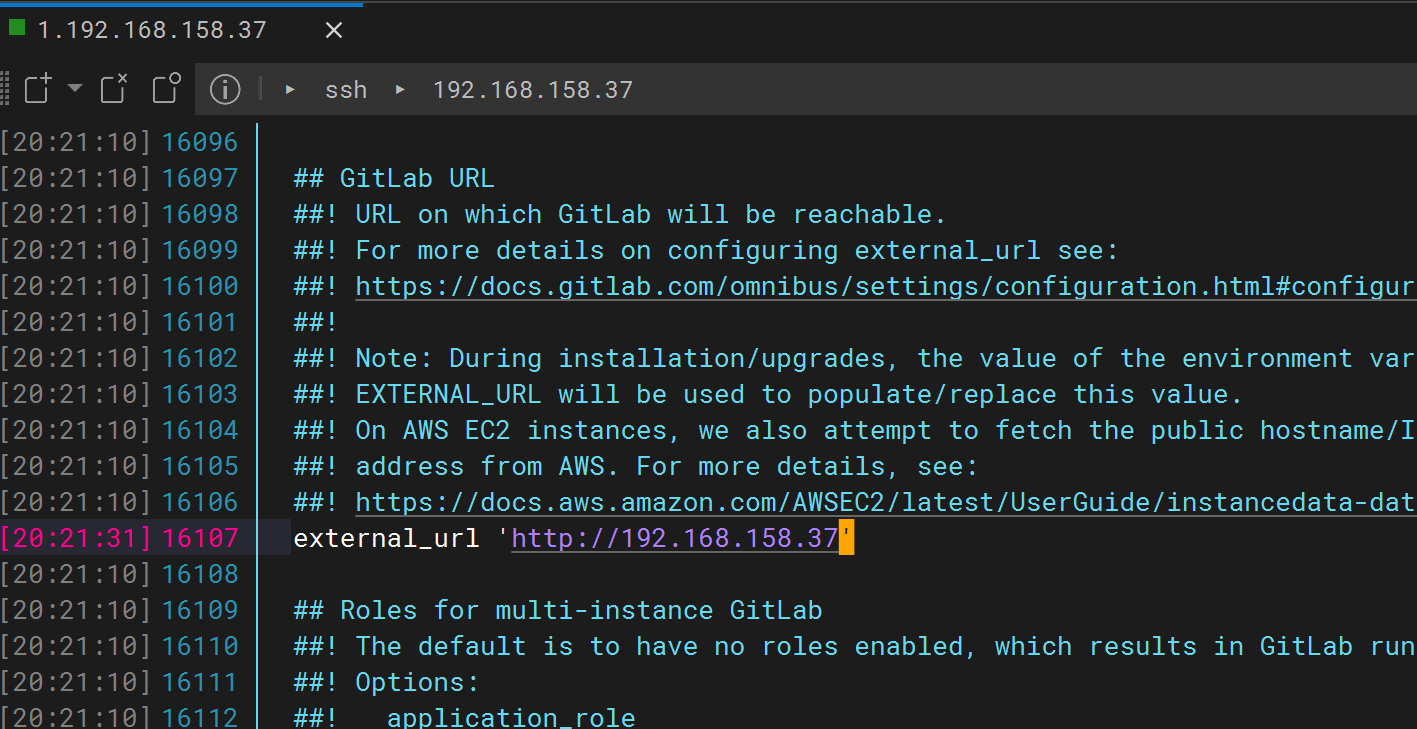
6.启动gitlab
[root@localhost ~]# sudo gitlab-ctl reconfigure
# 初始化配置(耗时较长,可能10几分钟)最后输出下面这段Notes:
Default admin account has been configured with following details:
Username: root
Password: You didn't opt-in to print initial root password to STDOUT.
Password stored to /etc/gitlab/initial_root_password. This file will be cleaned up in first reconfigure run after 24 hours.NOTE: Because these credentials might be present in your log files in plain text, it is highly recommended to reset the password following https://docs.gitlab.com/ee/security/reset_user_password.html#reset-your-root-password.gitlab Reconfigured!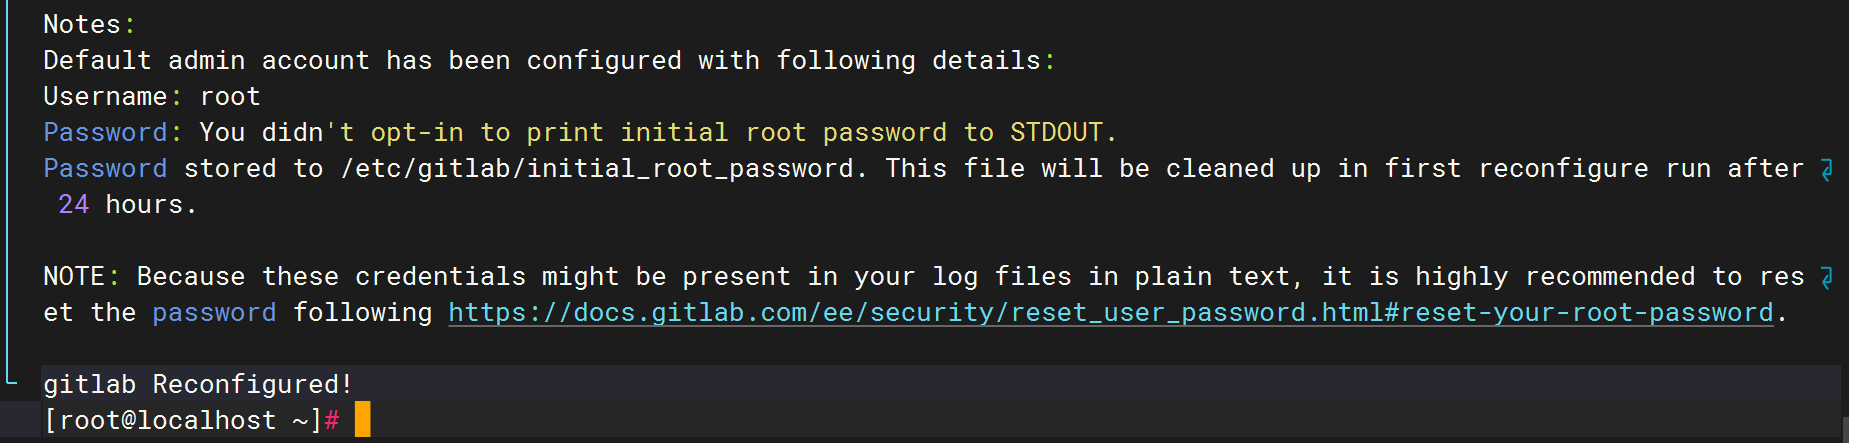
7、启动:gitlab-ctl start
8、查看: gitlab-ctl status
[root@localhost ~]# gitlab-ctl start
ok: run: alertmanager: (pid 27413) 58s
ok: run: gitaly: (pid 27322) 60s
ok: run: gitlab-exporter: (pid 27330) 60s
ok: run: gitlab-kas: (pid 26092) 202s
ok: run: gitlab-workhorse: (pid 27302) 62s
ok: run: logrotate: (pid 25695) 227s
ok: run: nginx: (pid 27783) 1s
ok: run: node-exporter: (pid 27317) 61s
ok: run: postgres-exporter: (pid 27422) 58s
ok: run: postgresql: (pid 25925) 209s
ok: run: prometheus: (pid 27341) 60s
ok: run: puma: (pid 27704) 16s
ok: run: redis: (pid 25731) 221s
ok: run: redis-exporter: (pid 27332) 60s
ok: run: sidekiq: (pid 26555) 135s
[root@localhost ~]# gitlab-ctl status
run: alertmanager: (pid 27413) 69s; run: log: (pid 27031) 106s
run: gitaly: (pid 27322) 71s; run: log: (pid 25834) 223s
run: gitlab-exporter: (pid 27330) 71s; run: log: (pid 26815) 124s
run: gitlab-kas: (pid 26092) 213s; run: log: (pid 26104) 212s
run: gitlab-workhorse: (pid 27302) 73s; run: log: (pid 26668) 139s
run: logrotate: (pid 25695) 238s; run: log: (pid 25728) 235s
run: nginx: (pid 27865) 2s; run: log: (pid 26682) 138s
run: node-exporter: (pid 27317) 72s; run: log: (pid 26743) 130s
run: postgres-exporter: (pid 27422) 69s; run: log: (pid 27116) 100s
run: postgresql: (pid 25925) 220s; run: log: (pid 25984) 217s
run: prometheus: (pid 27341) 71s; run: log: (pid 26907) 114s
run: puma: (pid 27704) 27s; run: log: (pid 26548) 149s
run: redis: (pid 25731) 232s; run: log: (pid 25804) 229s
run: redis-exporter: (pid 27332) 71s; run: log: (pid 26884) 120s
run: sidekiq: (pid 26555) 146s; run: log: (pid 26577) 143s
9、本机测试启动
[root@localhost ~]# curl http://192.168.158.37
<!DOCTYPE html PUBLIC "-//W3C//DTD XHTML 1.1//EN" "http://www.w3.org/TR/xhtml11/DTD/xhtml11.dtd">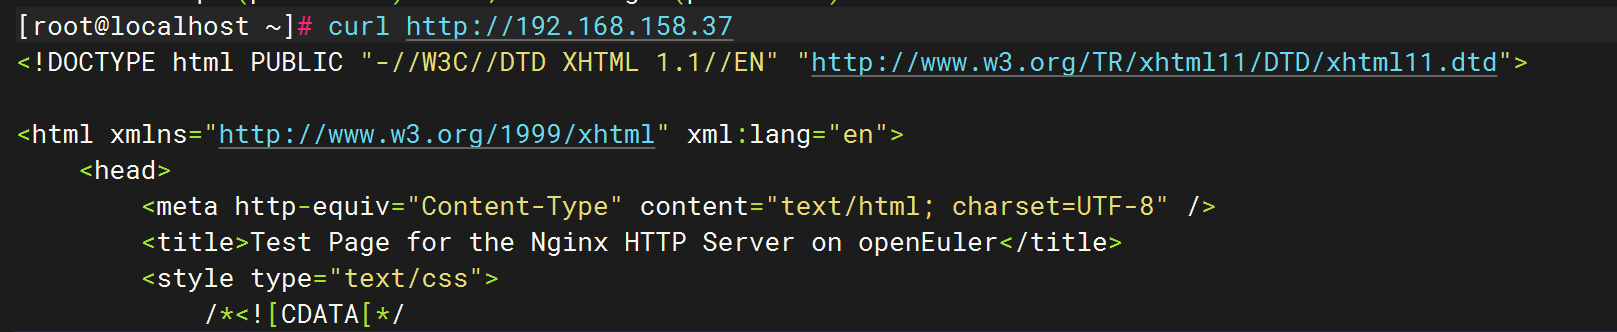
10、查看登录密码
[root@localhost ~]# cat /etc/gitlab/initial_root_password##密码是
gni16lOQMifhB2AMG5/owbdY9MIefww+vPQ+LxAhLHk=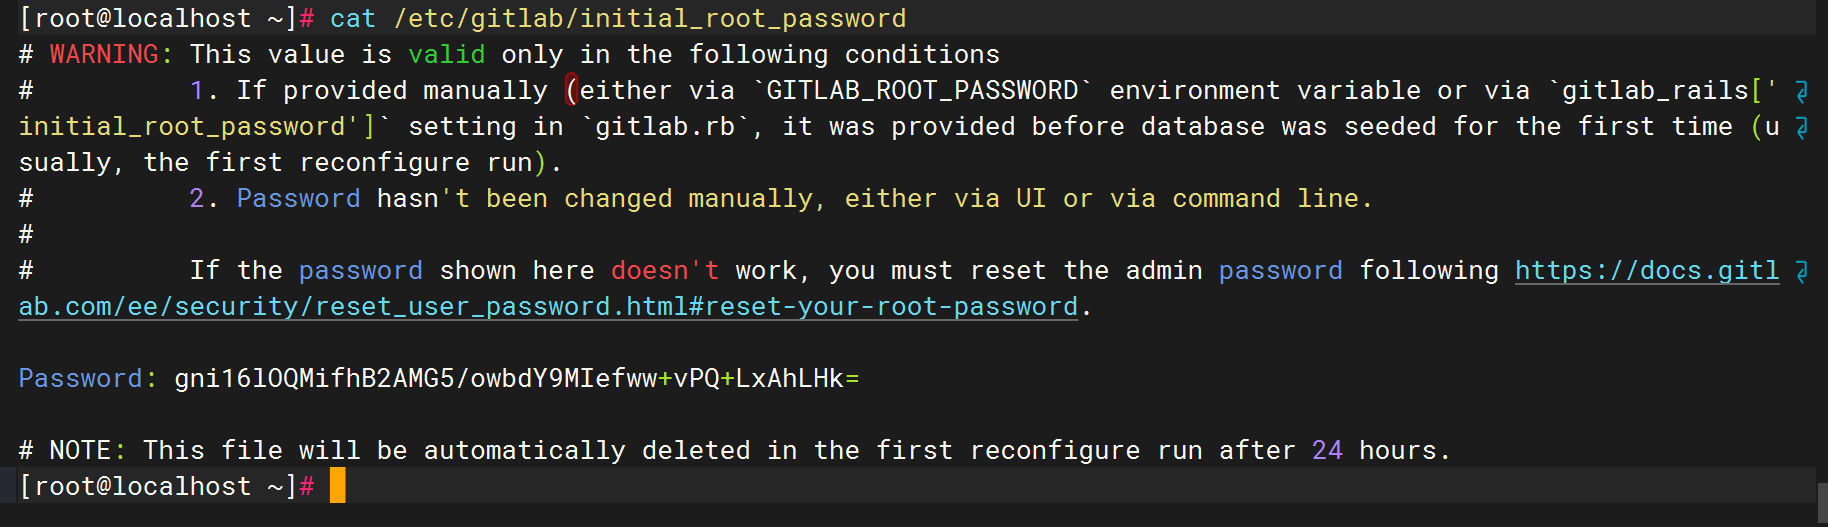
11、防火墙开通
sudo firewall-cmd --permanent --add-port={80,443}/tcp
sudo firewall-cmd --reload
12、查看端口是否正常
为了能狗正常访问,需要保证80端口和8080端口没有被占用
查看 80 端口是否被占用
[root@localhost ~]# netstat -anptu | grep nginx
tcp        0      0 0.0.0.0:8060            0.0.0.0:*               LISTEN      29768/nginx
tcp        0      0 0.0.0.0:80              0.0.0.0:*               LISTEN      3702/nginx: master
tcp        0      0 192.168.158.37:80       192.168.158.1:65094     ESTABLISHED 3707/nginx: worker
tcp        0      0 192.168.158.37:80       192.168.158.1:65093     ESTABLISHED 3707/nginx: worker
tcp6       0      0 :::80                   :::*                    LISTEN      3702/nginx: master
[root@localhost ~]# systemctl stop nginx
查看 8080 端口是否被占用
[root@localhost ~]# netstat -anptu | grep 8080
tcp 0 0 127.0.0.1:39698 127.0.0.1:8080 ESTABLISHED 27341/prometheus
tcp6 0 0 :::8080 :::* LISTEN 1110/java
tcp6 0 0 127.0.0.1:8080 127.0.0.1:39698 ESTABLISHED 1110/java
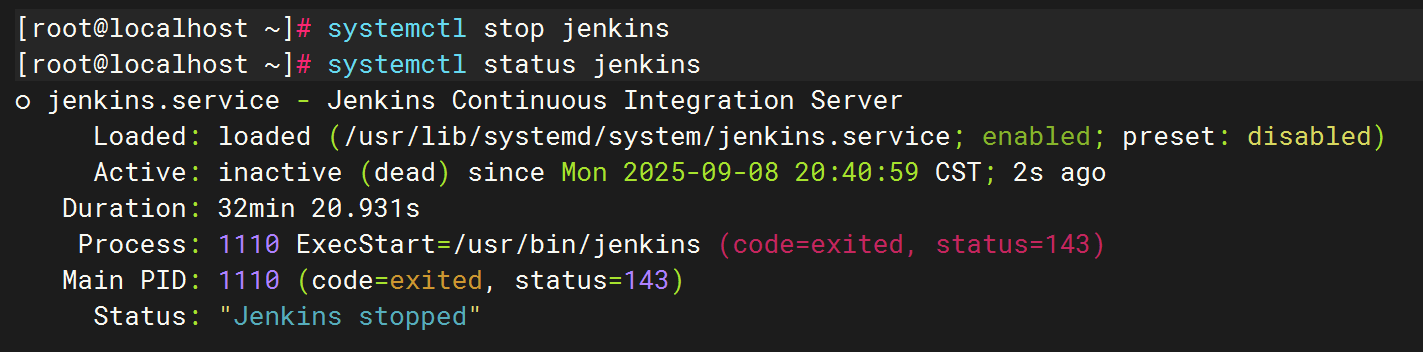
[root@localhost ~]# systemctl status jenkins
● jenkins.service - Jenkins Continuous Integration ServerLoaded: loaded (/usr/lib/systemd/system/jenkins.service; enabled; preset: disabled)Active: active (running) since Mon 2025-09-08 20:08:37 CST; 32min agoMain PID: 1110 (java)Tasks: 47 (limit: 21357)Memory: 97.5M ()CGroup: /system.slice/jenkins.service└─1110 /usr/bin/java -Djava.awt.headless=true -jar /usr/share/java/jenkins.war --webroot=/var/cache>9月 08 20:08:27 localhost jenkins[1110]: Jenkins initial setup is required. An admin user has been created and a>
9月 08 20:08:27 localhost jenkins[1110]: Please use the following password to proceed to installation:
9月 08 20:08:27 localhost jenkins[1110]: e932b96846f1479e96484a7badaed05a
9月 08 20:08:27 localhost jenkins[1110]: This may also be found at: /var/lib/jenkins/secrets/initialAdminPassword
9月 08 20:08:27 localhost jenkins[1110]: *************************************************************
9月 08 20:08:27 localhost jenkins[1110]: *************************************************************
9月 08 20:08:27 localhost jenkins[1110]: *************************************************************
9月 08 20:08:37 localhost jenkins[1110]: 2025-09-08 12:08:37.685+0000 [id=38] INFO jenkins.InitRea>
9月 08 20:08:37 localhost jenkins[1110]: 2025-09-08 12:08:37.694+0000 [id=24] INFO hudson.lifecycl>
9月 08 20:08:37 localhost systemd[1]: Started Jenkins Continuous Integration Server.[root@localhost ~]# systemctl stop jenkins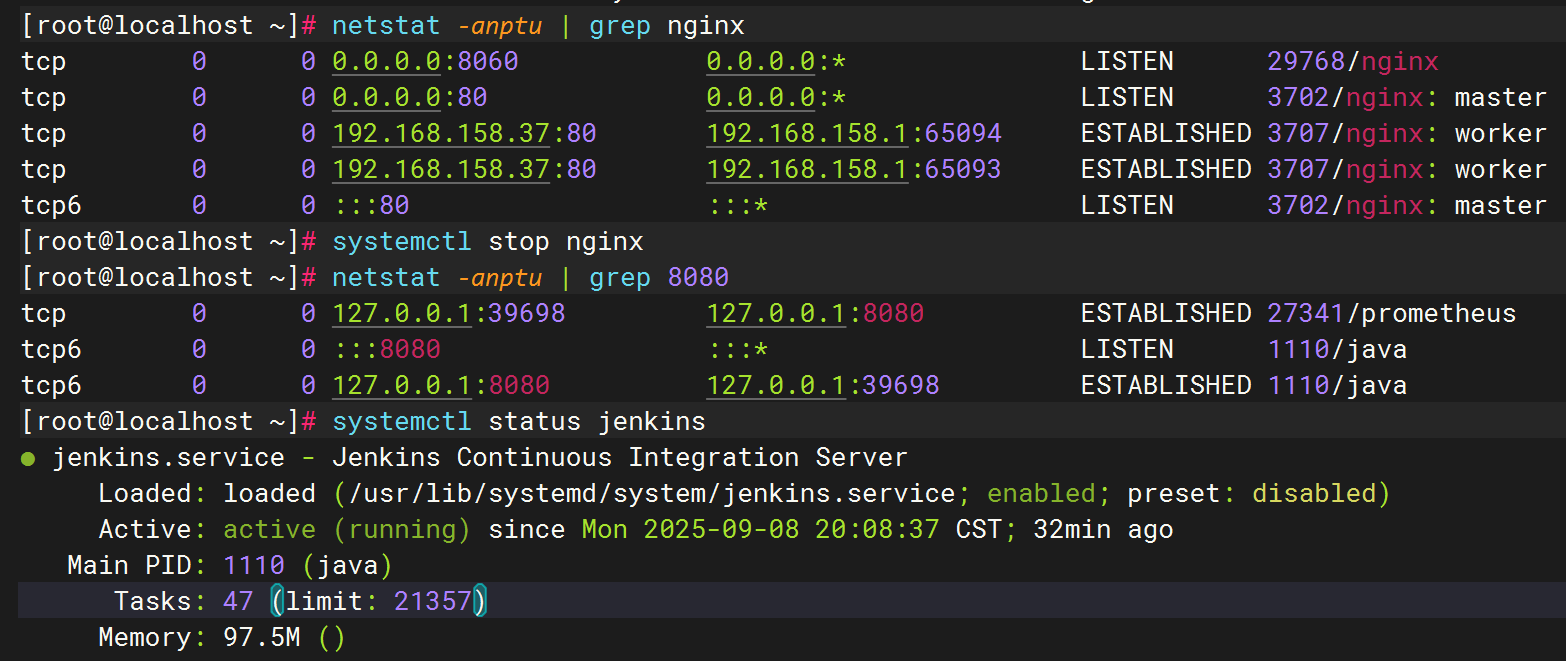
登录:http://192.168.158.37
用户名:root
查看登录密码cat /etc/gitlab/initial_root_password
gni16lOQMifhB2AMG5/owbdY9MIefww+vPQ+LxAhLHk=

设置汉化

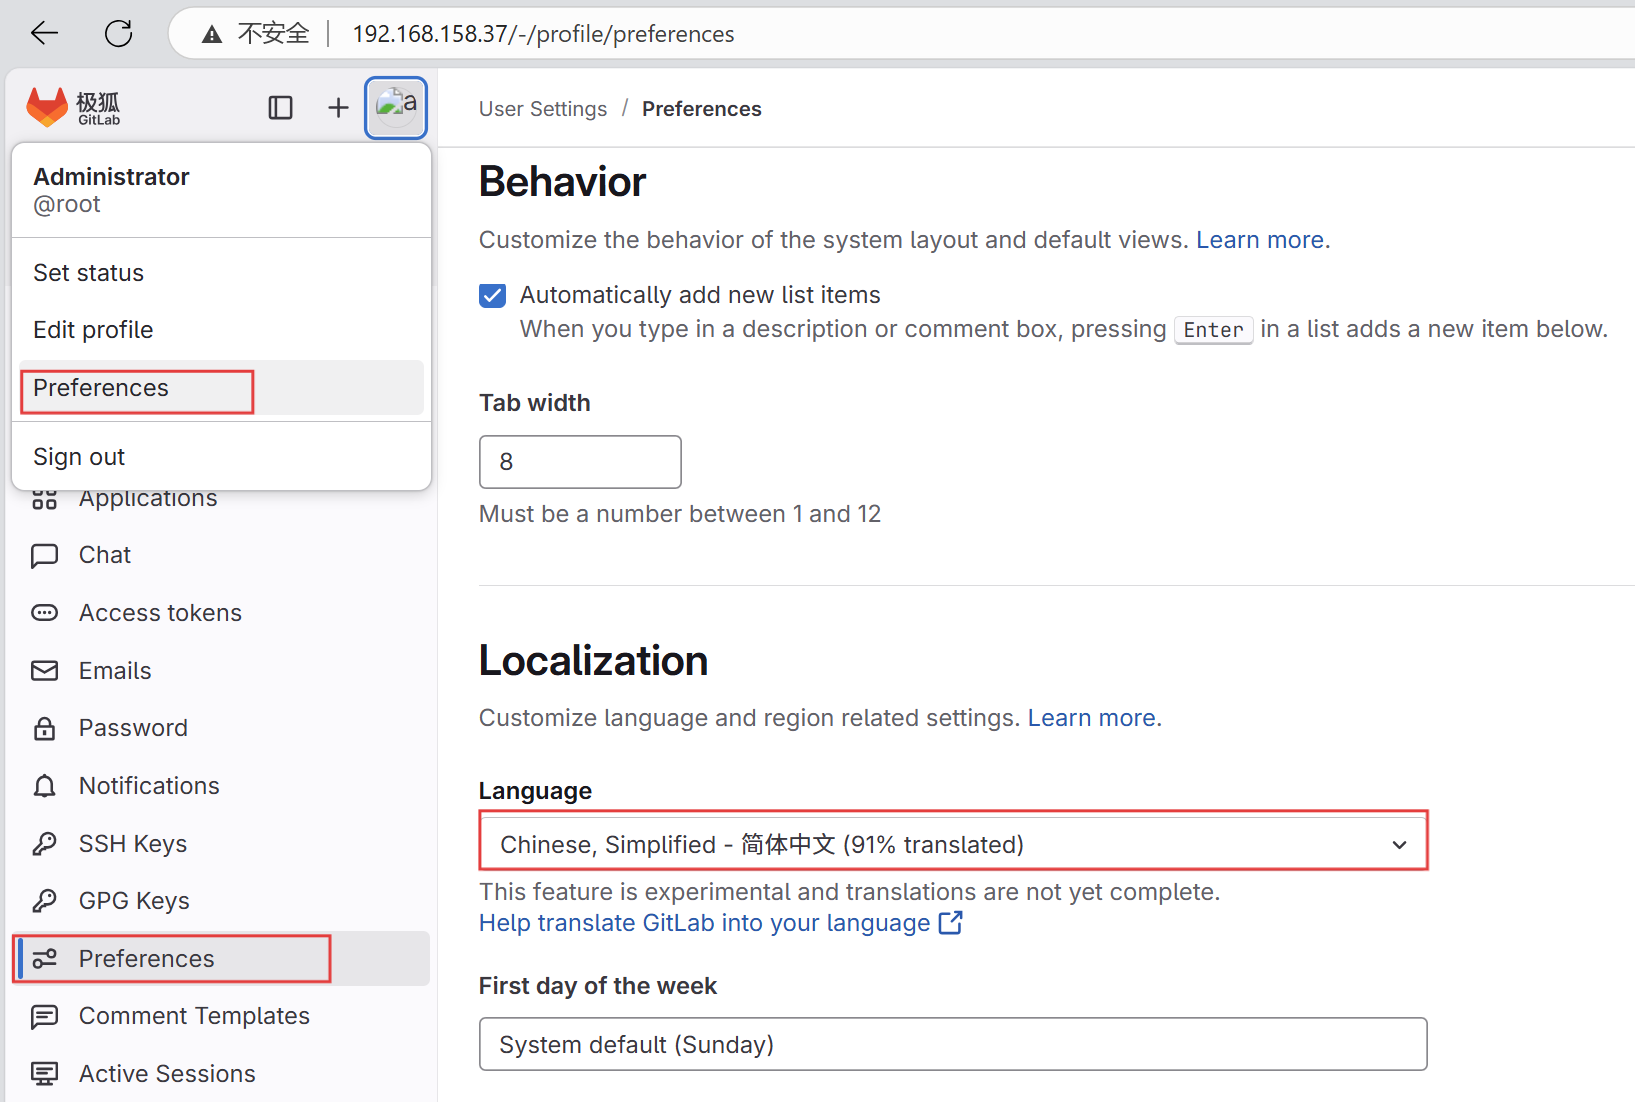
保存
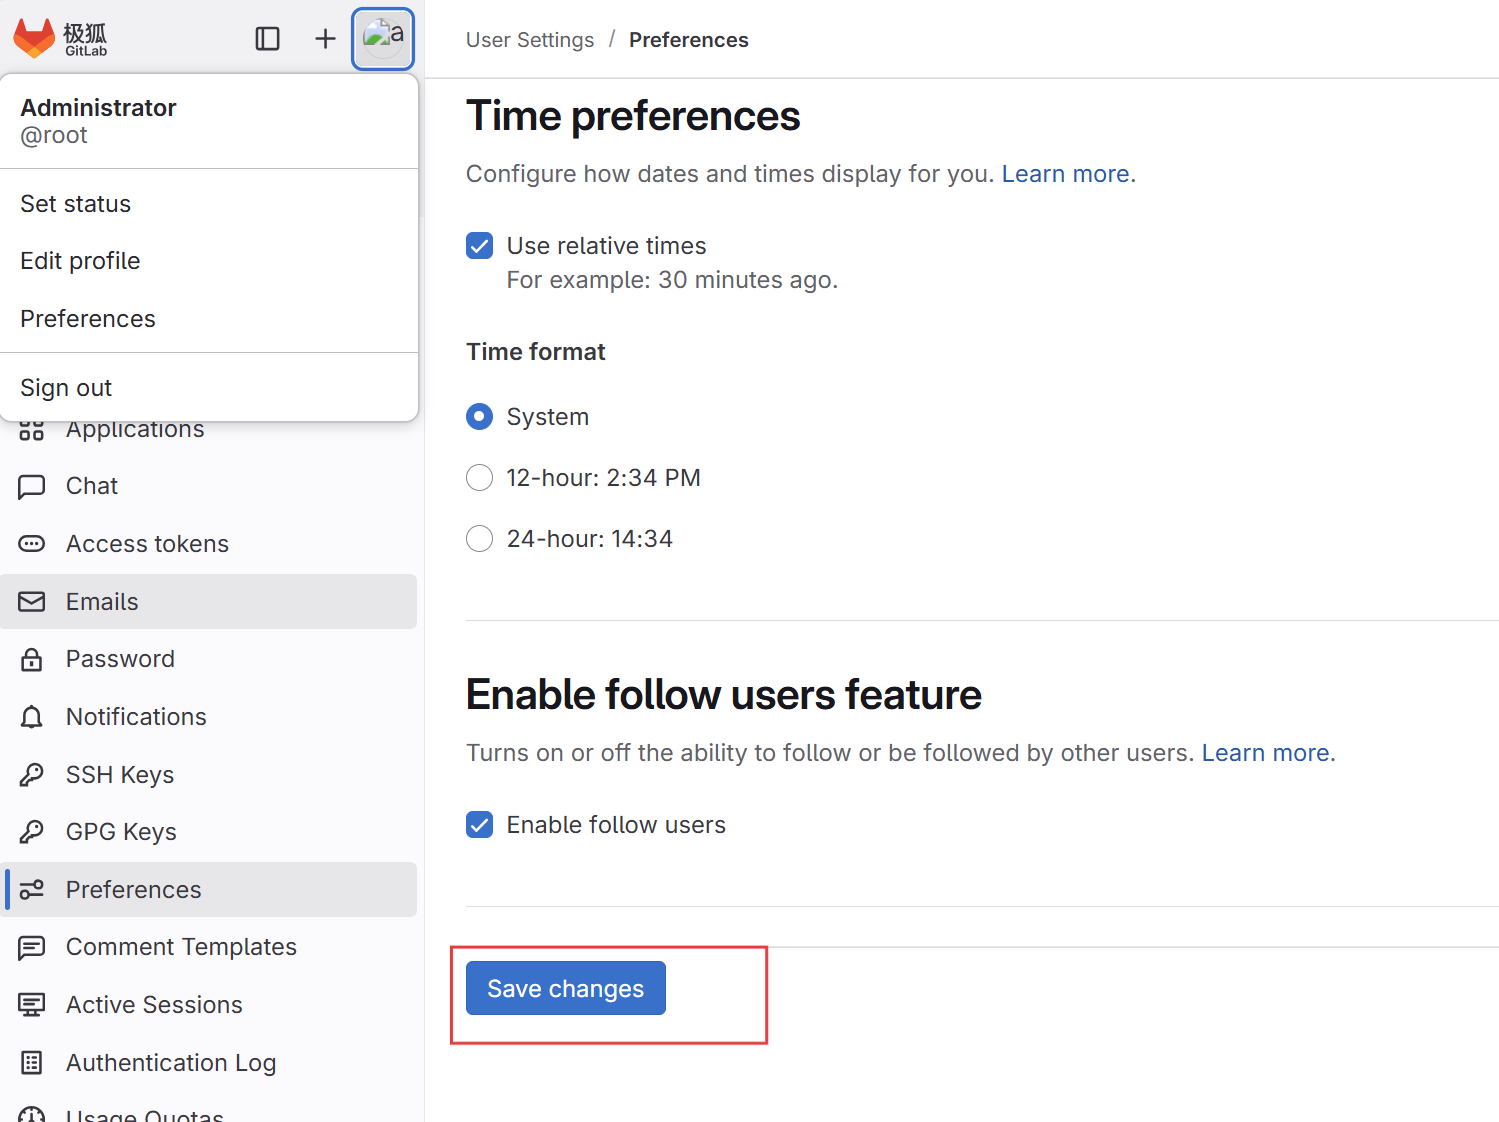
刷新页面
汉化成功

二、安装部署docker
设置源
sudo tee /etc/yum.repos.d/docker-ce.repo <<-'EOF'
[docker-ce-stable]
name=Docker CE Stable
baseurl=https://repo.huaweicloud.com/docker-ce/linux/centos/7/$basearch/stable
enabled=1
gpgcheck=1
gpgkey=https://repo.huaweicloud.com/docker-ce/linux/centos/gpg
EOF
sudo dnf install -y docker-ce docker-ce-cli containerd.io
sudo systemctl start docker
sudo systemctl enable docker
docker --version
三、下载部署runner
wget https://gitlab-runner-downloads.s3.amazonaws.com/latest/rpm/gitlab-runner_amd64.rpm
[root@localhost ~]# wget https://gitlab-runner-downloads.s3.amazonaws.com/latest/rpm/gitlab-runner_amd64.rpm
--2025-09-08 21:13:05--  https://gitlab-runner-downloads.s3.amazonaws.com/latest/rpm/gitlab-runner_amd64.rpm
正在解析主机 gitlab-runner-downloads.s3.amazonaws.com (gitlab-runner-downloads.s3.amazonaws.com)... 3.5.29.101, 3.5.6.112, 52.217.140.57, ...
正在连接 gitlab-runner-downloads.s3.amazonaws.com (gitlab-runner-downloads.s3.amazonaws.com)|3.5.29.101|:443... 已连接。
已发出 HTTP 请求,正在等待回应... 200 OK
长度:24403200 (23M) [application/x-redhat-package-manager]
正在保存至: “gitlab-runner_amd64.rpm”gitlab-runner_amd64.rpm      100%[============================================>]  23.27M  4.77MB/s  用时 7.6s    2025-09-08 21:13:14 (3.05 MB/s) - 已保存 “gitlab-runner_amd64.rpm” [24403200/24403200])
下载依赖库
sudo yum install -y curl git-core wget tar openssl shim-unsigned-x64
[root@localhost ~]# sudo yum install -y curl git-core wget tar openssl shim
Last metadata expiration check: 0:04:44 ago on 2025年09月08日 星期一 21时11分32秒.
Package curl-8.4.0-19.oe2403sp1.x86_64 is already installed.
Package git-core-2.43.0-9.oe2403sp1.x86_64 is already installed.
Package wget-1.21.4-3.oe2403sp1.x86_64 is already installed.
Package tar-2:1.35-2.oe2403sp1.x86_64 is already installed.
Package openssl-1:3.0.12-15.oe2403sp1.x86_64 is already installed.
Package shim-15.7-16.oe2403sp1.x86_64 is already installed.
安装sudo rpm -ivh --nodeps gitlab-runner_amd64.rpm
[root@localhost ~]# sudo rpm -ivh --nodeps gitlab-runner_amd64.rpm
警告:gitlab-runner_amd64.rpm: 头 V4 RSA/SHA512 Signature, 密钥 ID 6ba75a4e: NOKEY
Verifying...                          ################################# [100%]
准备中...                          ################################# [100%]
正在升级/安装...1:gitlab-runner-18.3.1-1           ################################# [100%]
GitLab Runner: creating gitlab-runner...
Home directory skeleton not used
Runtime platform                                    arch=amd64 os=linux pid=47588 revision=5a021a1c version=18.3.1
gitlab-runner: the service is not installed
Runtime platform                                    arch=amd64 os=linux pid=47598 revision=5a021a1c version=18.3.1
gitlab-ci-multi-runner: the service is not installed
Runtime platform                                    arch=amd64 os=linux pid=47626 revision=5a021a1c version=18.3.1
Runtime platform                                    arch=amd64 os=linux pid=47701 revision=5a021a1c version=18.3.1Check and remove all unused containers (both dangling and unreferenced)
-----------------------------------------------------------------------
Total reclaimed space: 0B
手动创建 systemd 服务文件
sudo tee /usr/lib/systemd/system/gitlab-runner.service > /dev/null <<'EOF'
[Unit]
Description=GitLab Runner
After=syslog.target network.target[Service]
Type=forking
ExecStart=/usr/bin/gitlab-runner run --working-directory /home/gitlab-runner --config /etc/gitlab-runner/config.toml --service gitlab-runner --syslog
ExecReload=/usr/bin/gitlab-runner restart
ExecStop=/usr/bin/gitlab-runner stop
User=gitlab-runner
Group=gitlab-runner
Restart=always[Install]
WantedBy=multi-user.target
EOF
创建用户及授权
sudo useradd --comment 'GitLab Runner' --create-home gitlab-runner --shell /bin/bash
sudo mkdir -p /home/gitlab-runner
sudo chown -R gitlab-runner:gitlab-runner /home/gitlab-runner /etc/gitlab-runner
启动服务
sudo systemctl daemon-reload
sudo systemctl enable --now gitlab-runner
sudo systemctl status gitlab-runner
获取gitlab-runner的token
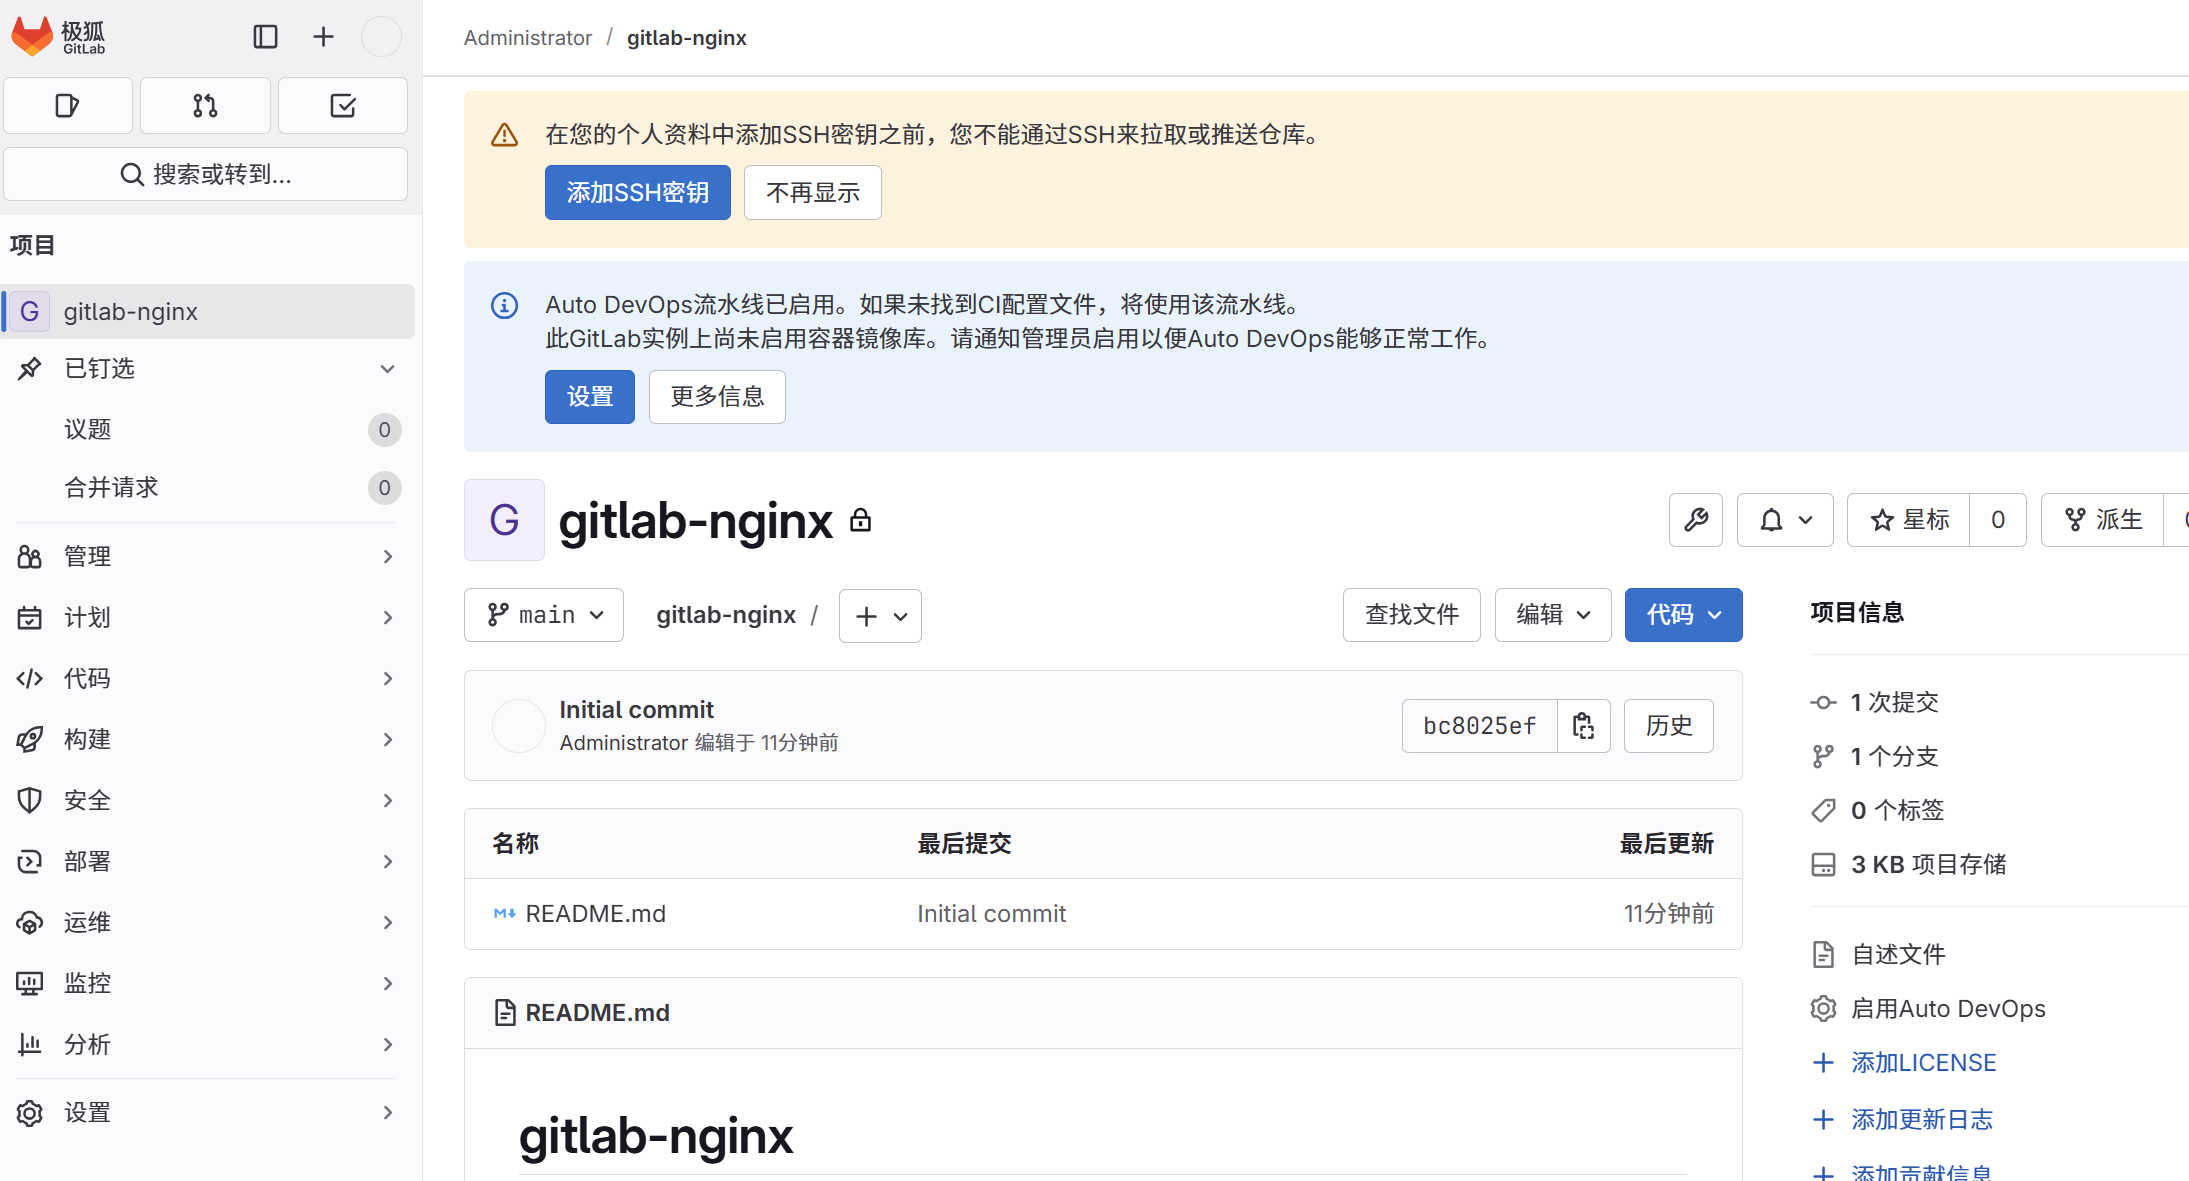
创建项目 gitlab-xiangmu
项目-设置-ci/cd-runner-复制
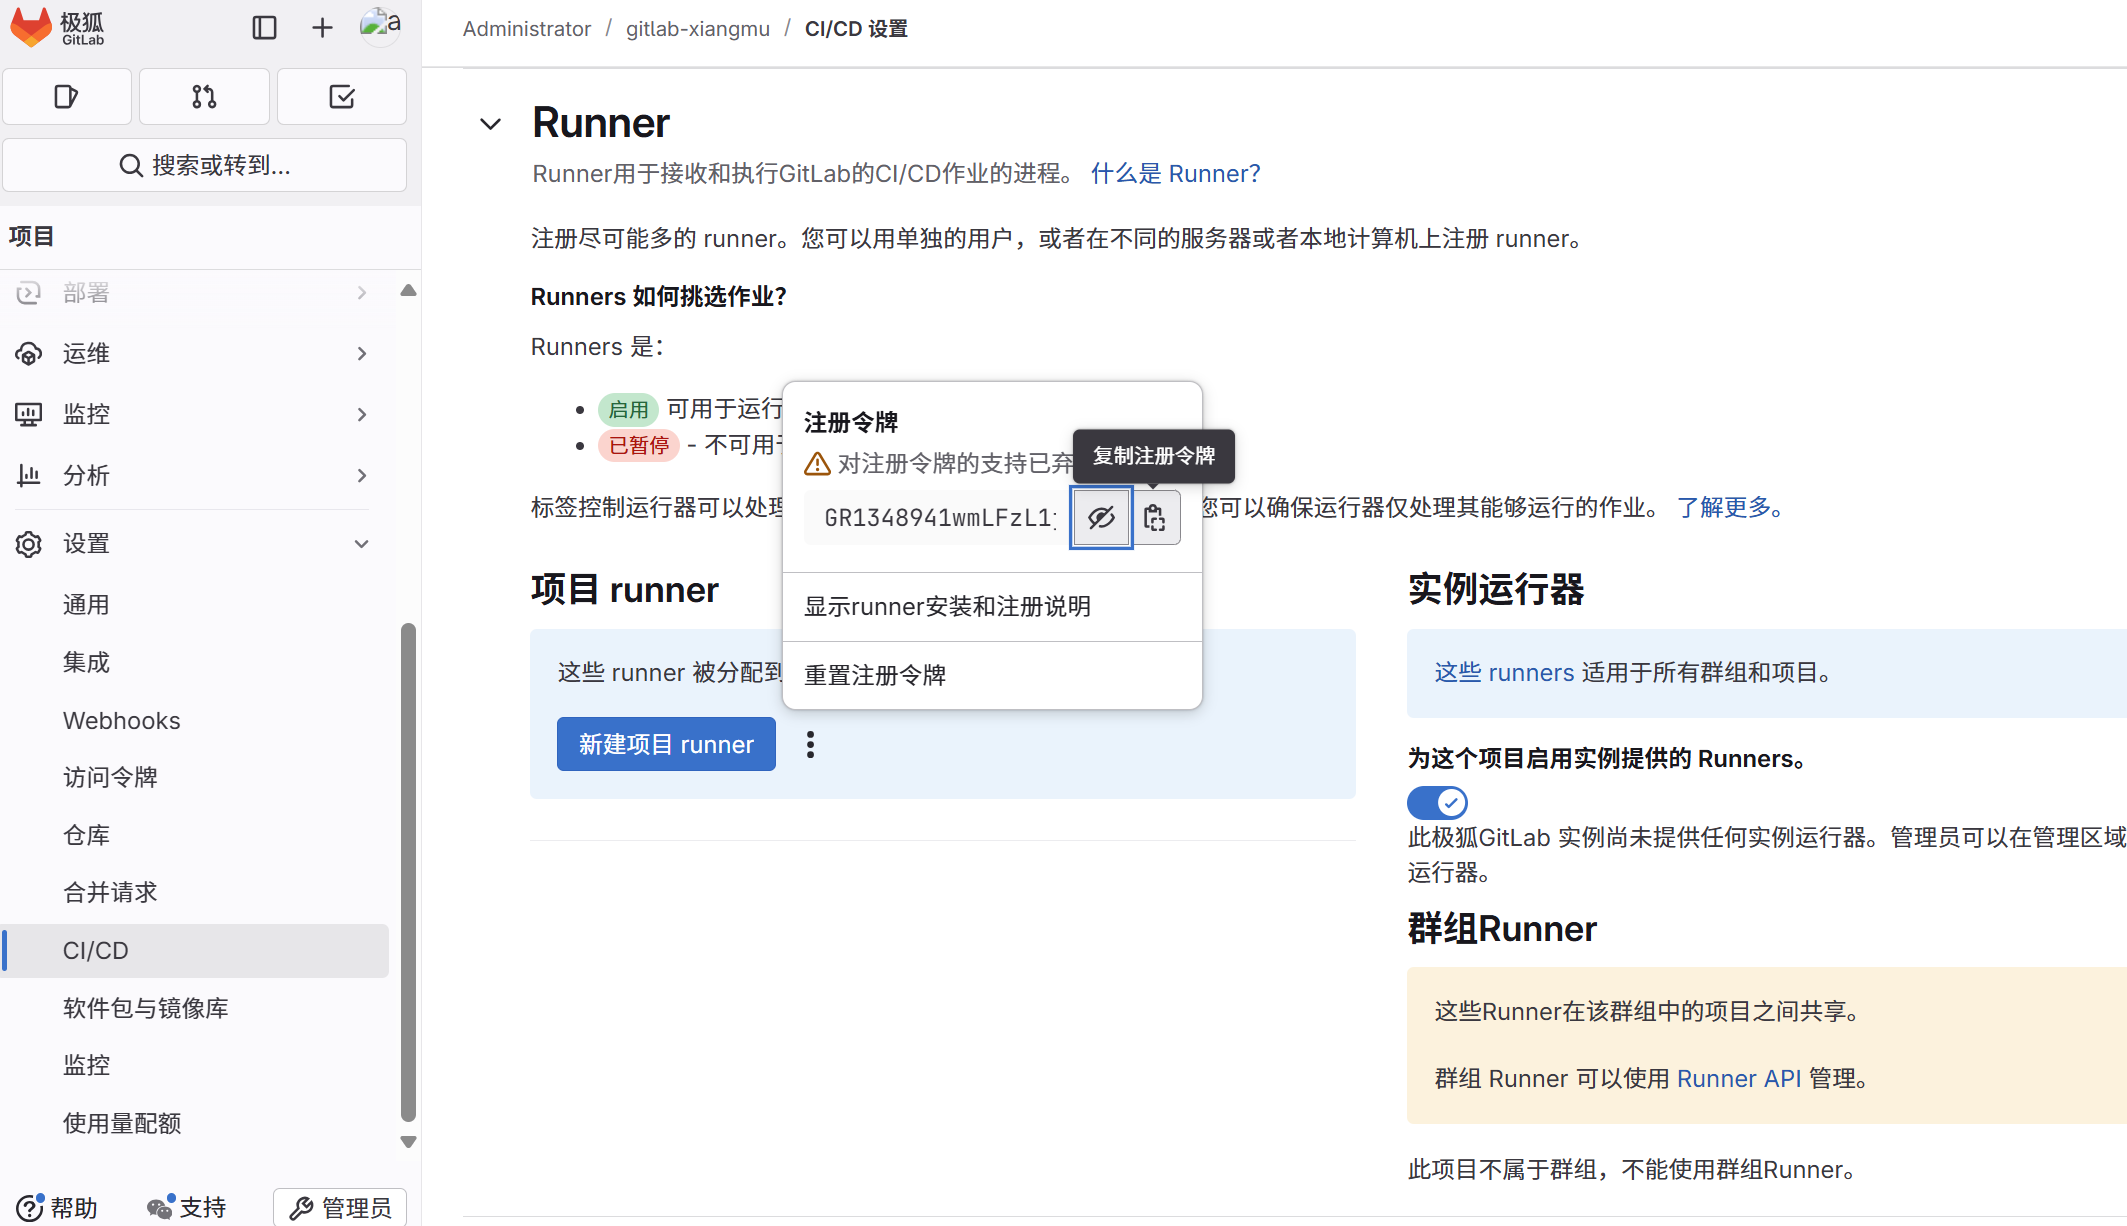
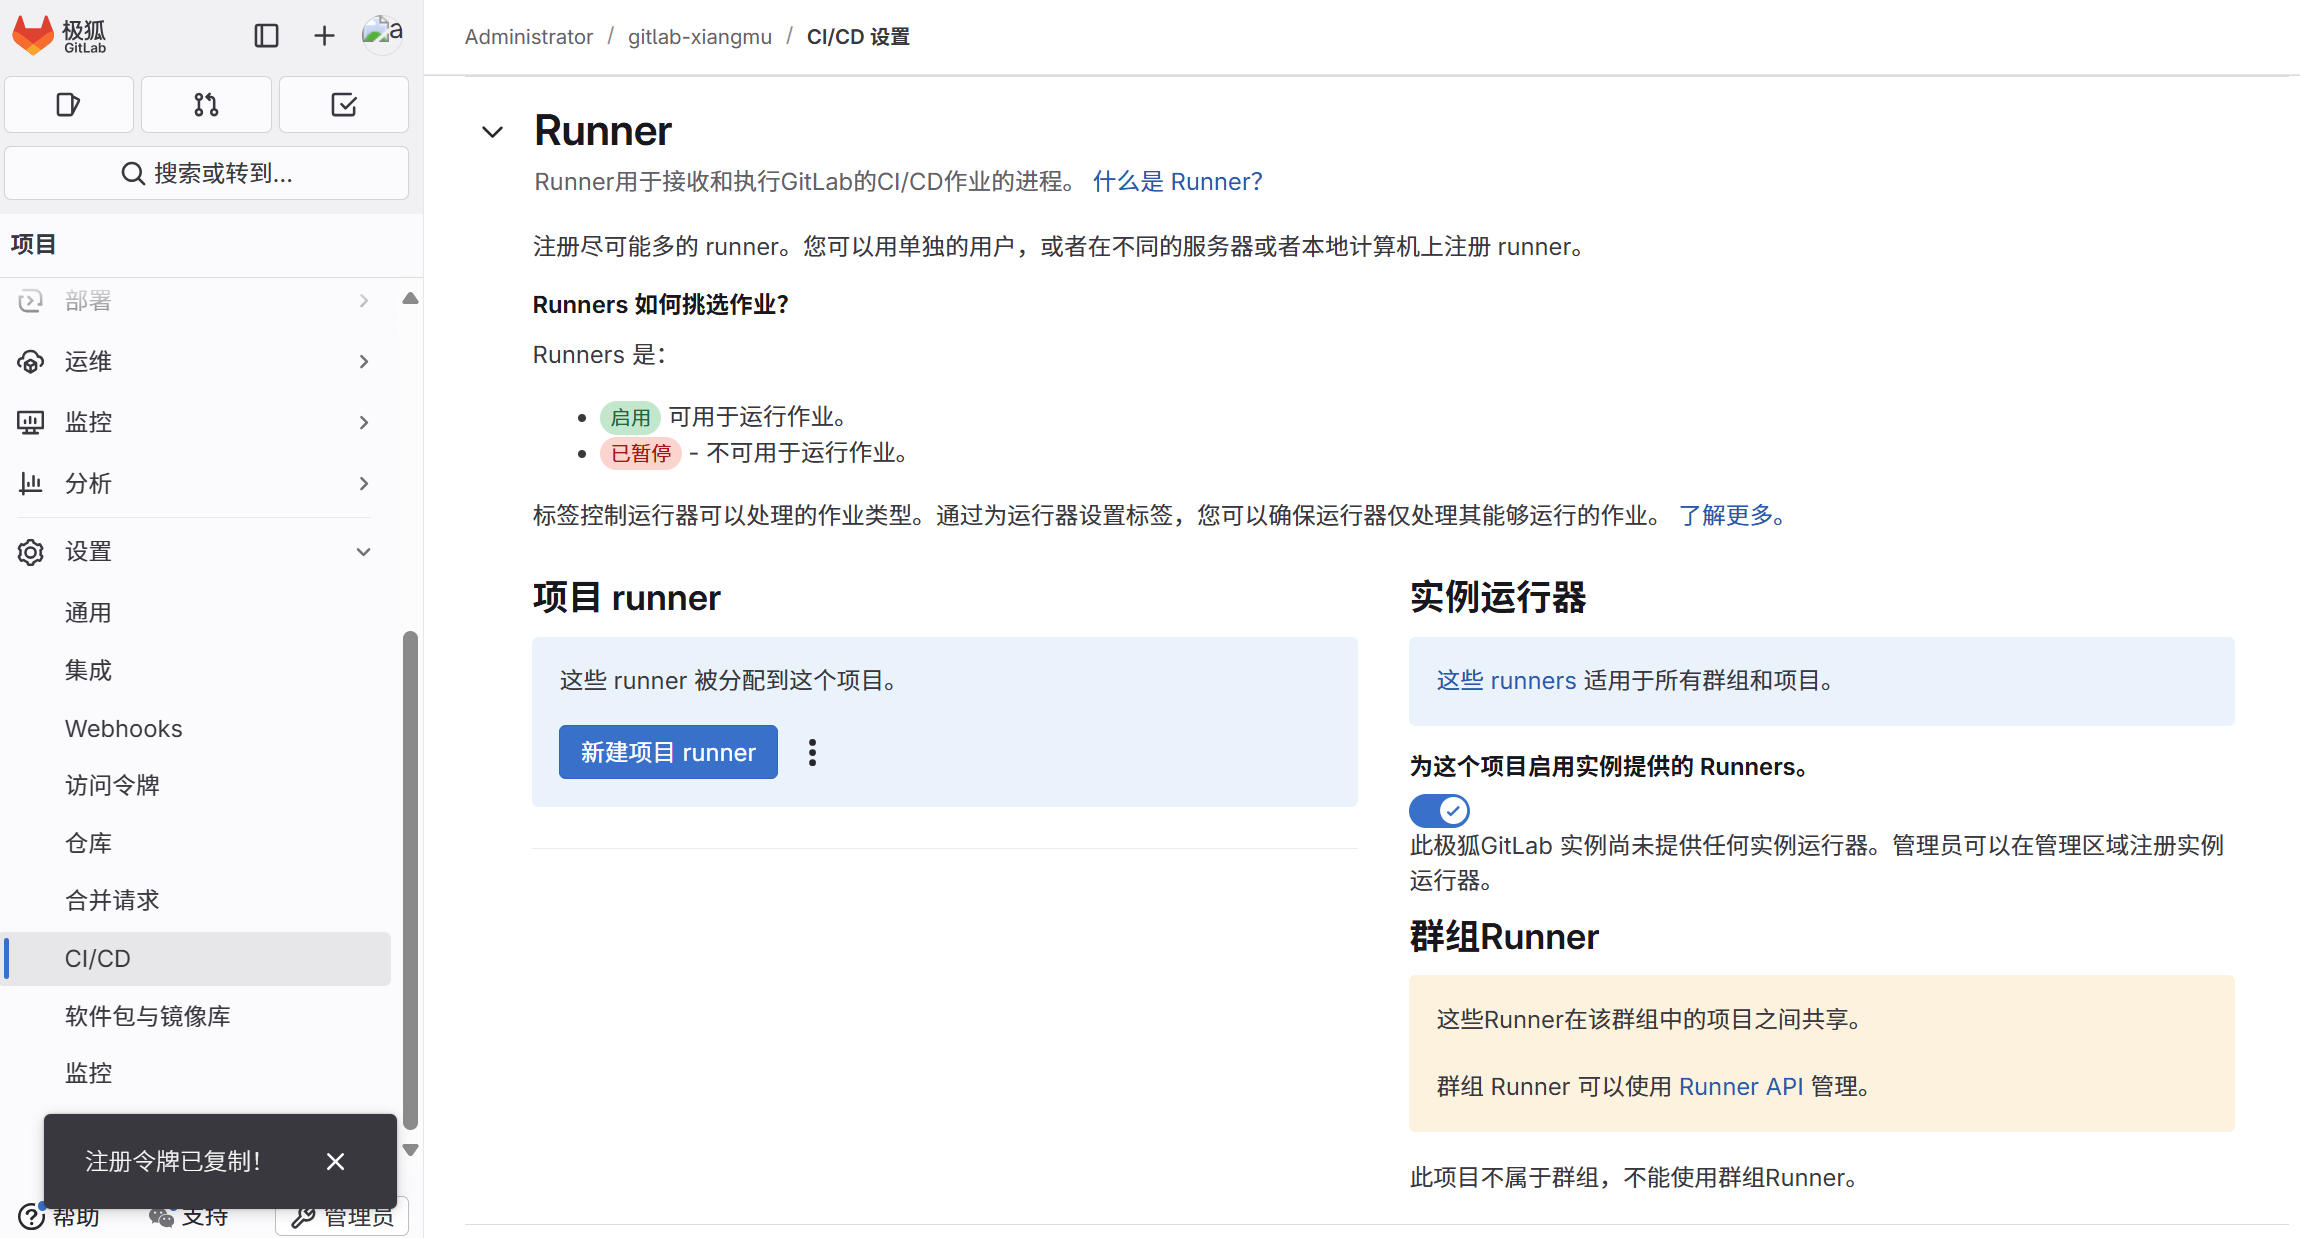
服务器注册 Runner,需修改ip,token
注册令牌是:GR1348941MDbf7bqnGsStqxh9q6Y2
sudo gitlab-runner register \--non-interactive \--url "http://192.168.158.37" \--registration-token "GR1348941MDbf7bqnGsStqxh9q6Y2" \--executor "docker" \--docker-image "nginx:latest" \--docker-volumes "/var/run/docker.sock:/var/run/docker.sock" \--docker-privileged \--description "Docker Runner" \--tag-list "docker,prod" \--run-untagged=false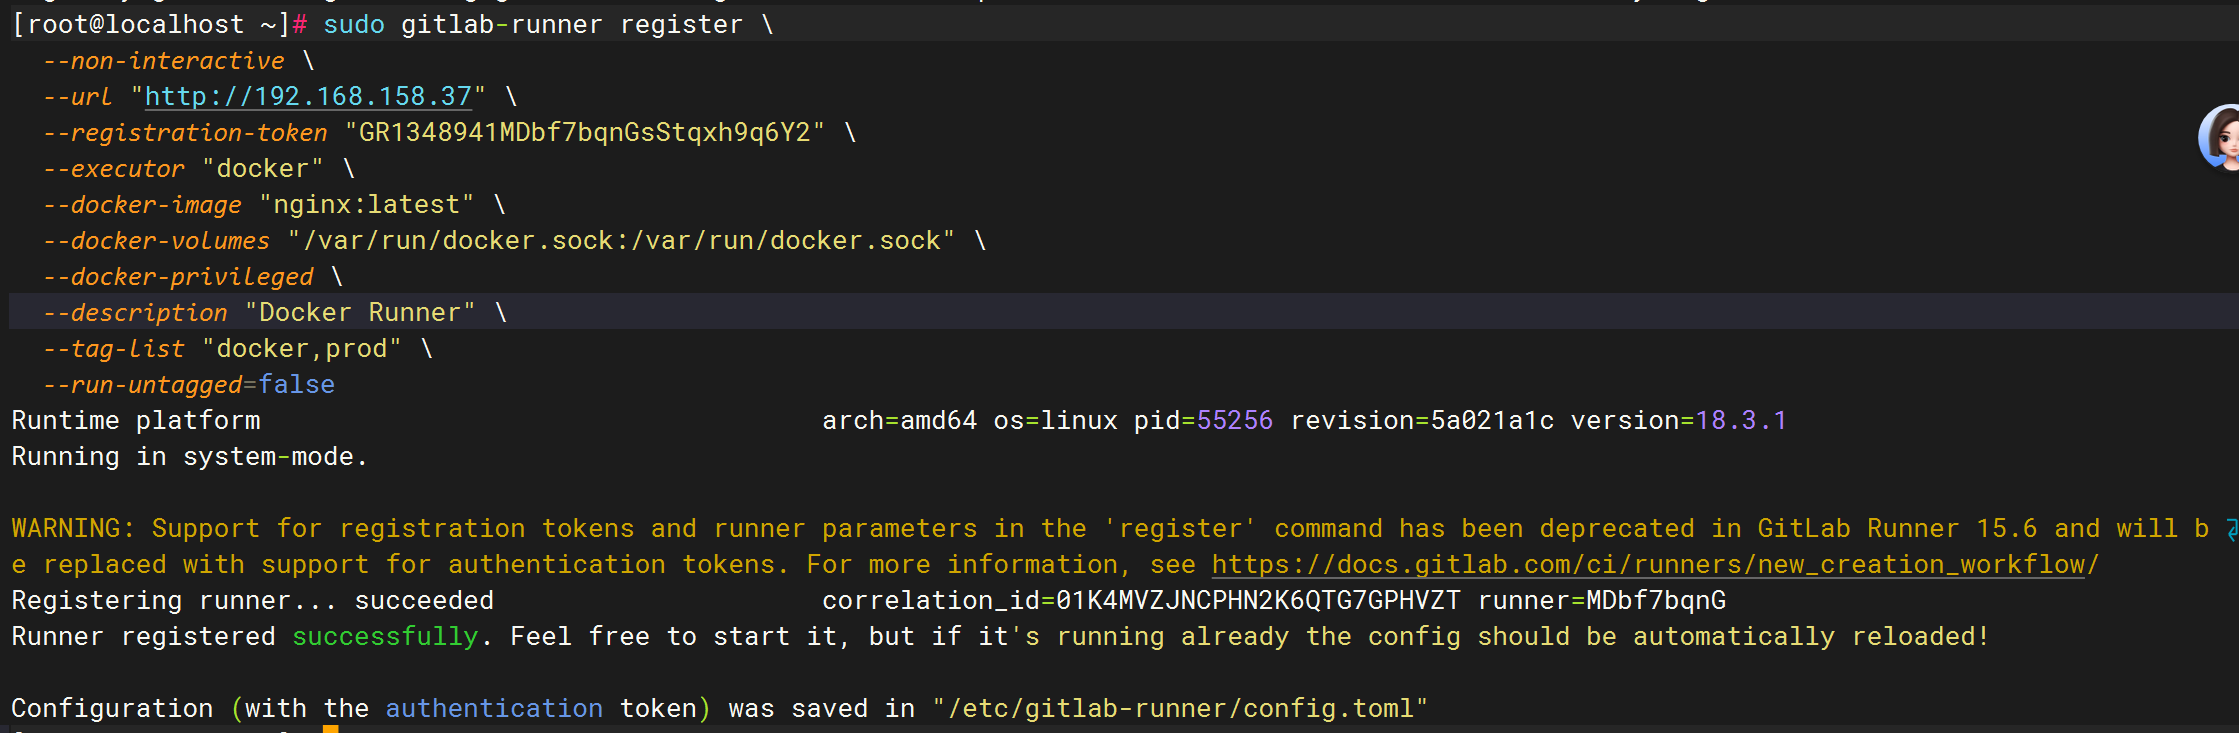
验证,测试
[root@localhost ~]# sudo systemctl restart gitlab-runner
[root@localhost ~]# sudo gitlab-runner list
Runtime platform                                    arch=amd64 os=linux pid=73207 revision=5a021a1c version=18.3.1
Listing configured runners                          ConfigFile=/etc/gitlab-runner/config.toml
Docker Runner                                       Executor=docker Token=t3_Yfq2zL_3QQxtMh6msH3i URL=http://192.168.158.37
[root@localhost ~]#  sudo gitlab-runner verify
Runtime platform                                    arch=amd64 os=linux pid=73385 revision=5a021a1c version=18.3.1
Running in system-mode.                            Verifying runner... is alive                        correlation_id=01K4MXD9FKD4Q2ZB3P8V3XRJ23 runner=Yfq2zL_3Q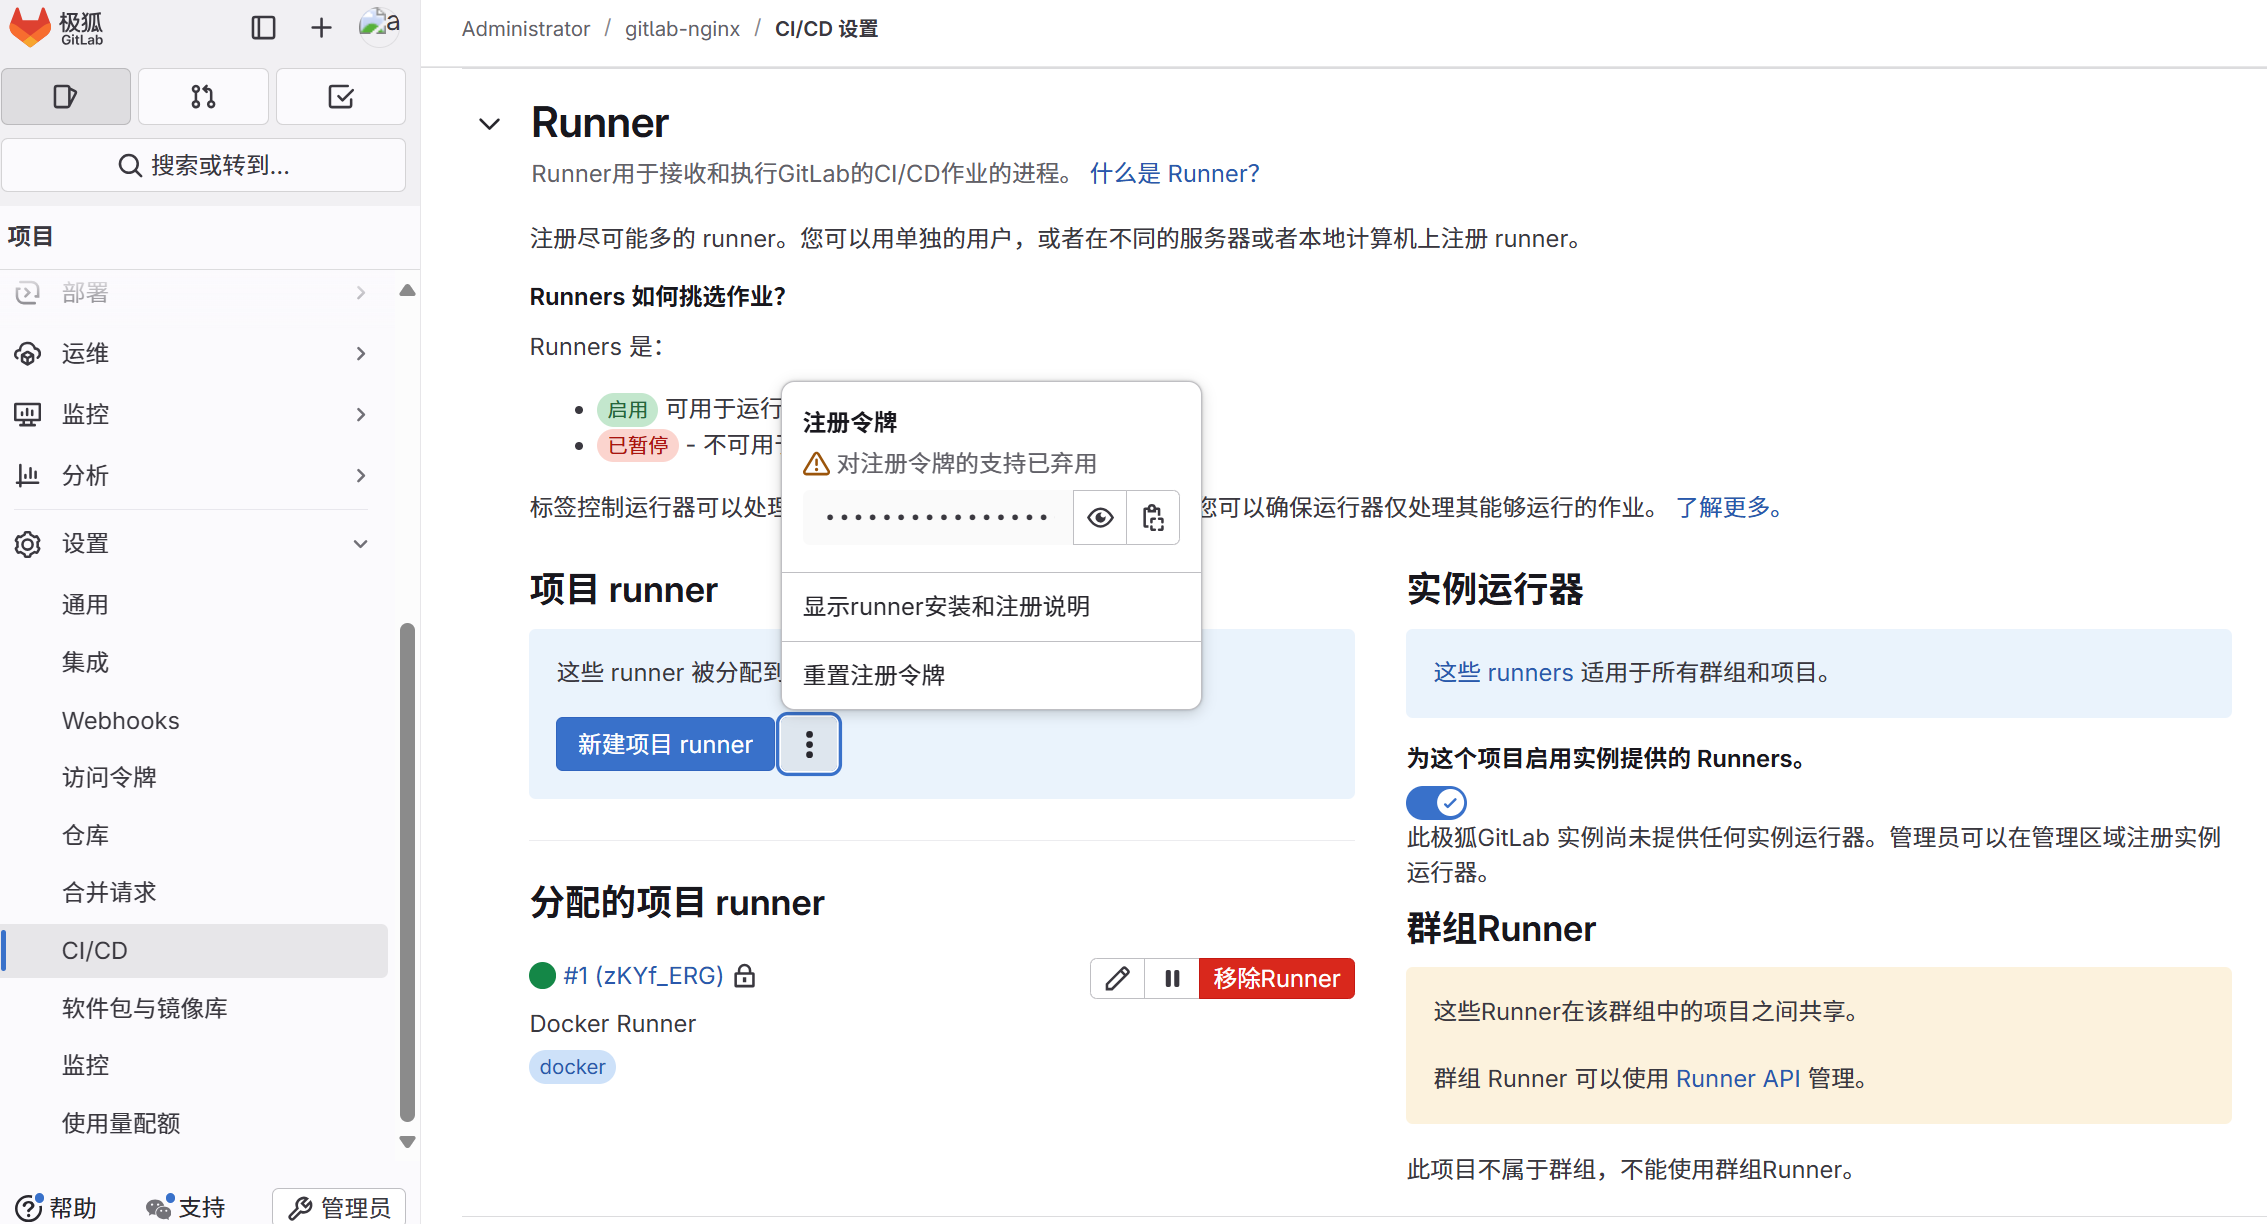
四、构建CI/CD
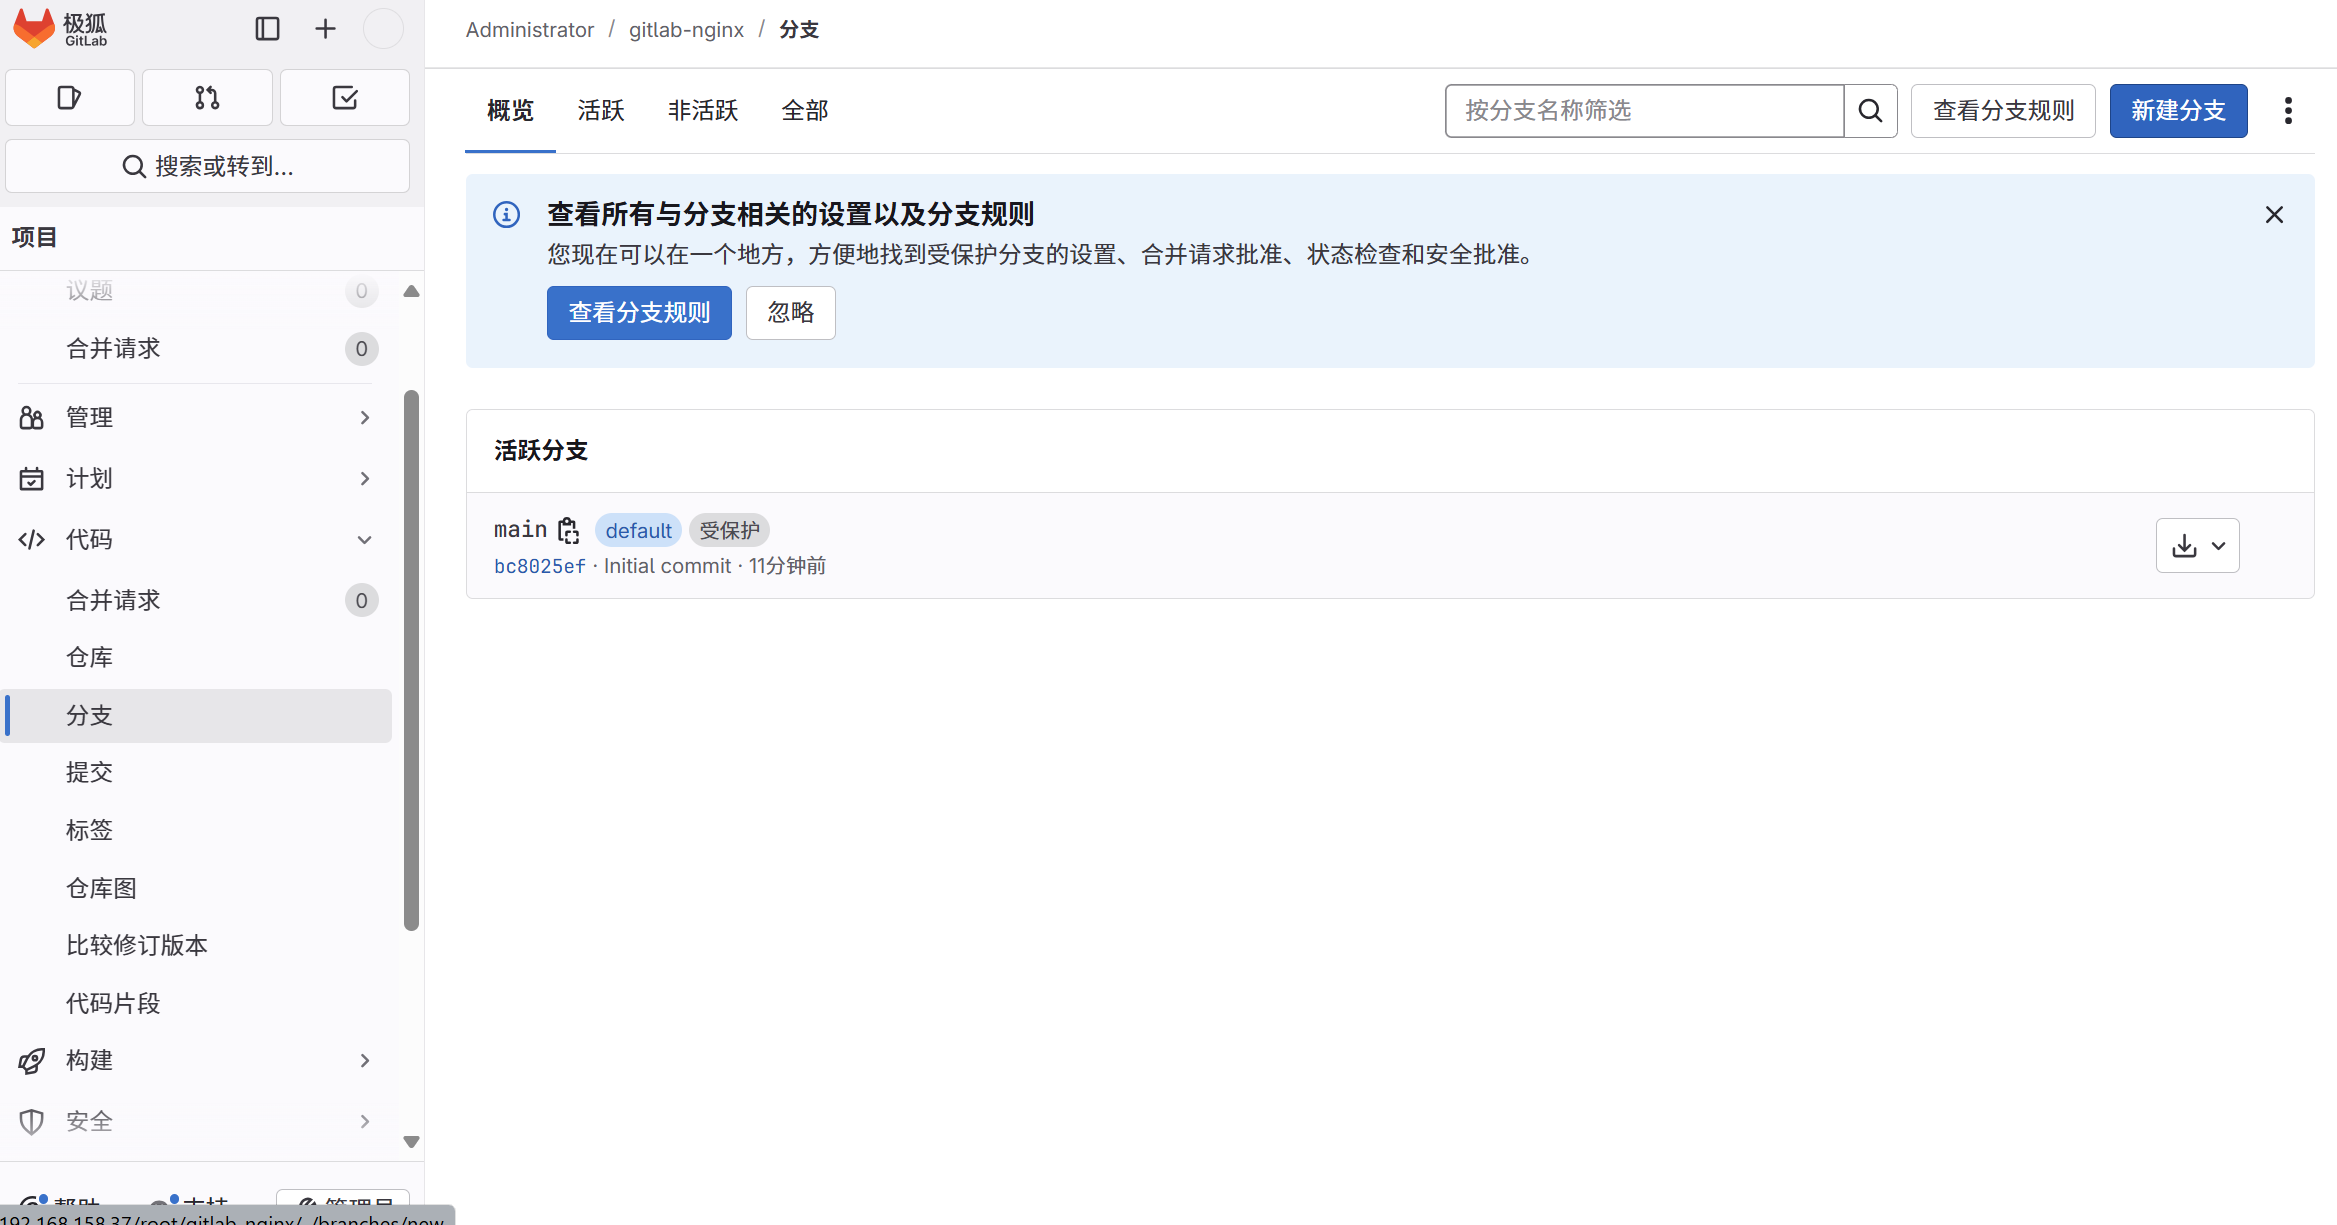
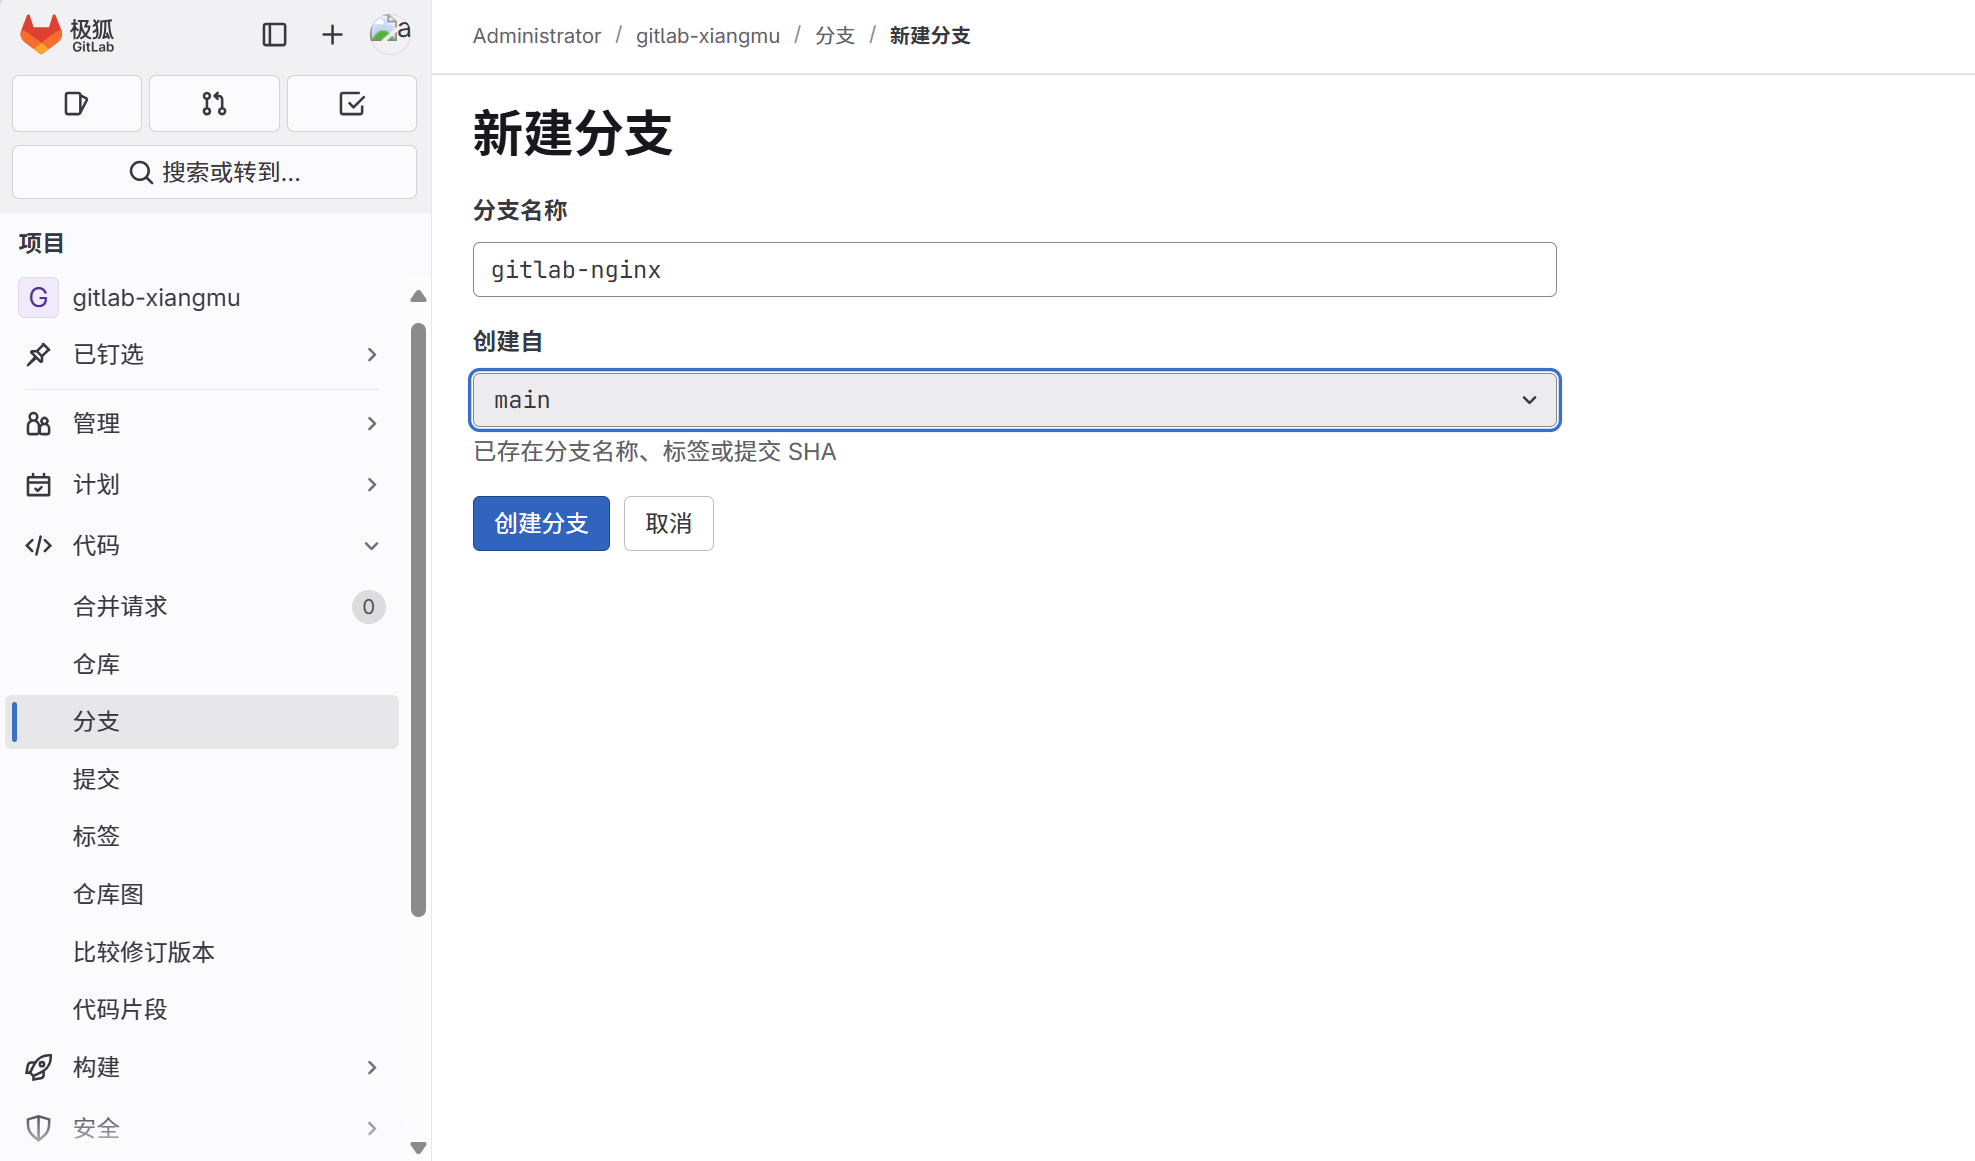
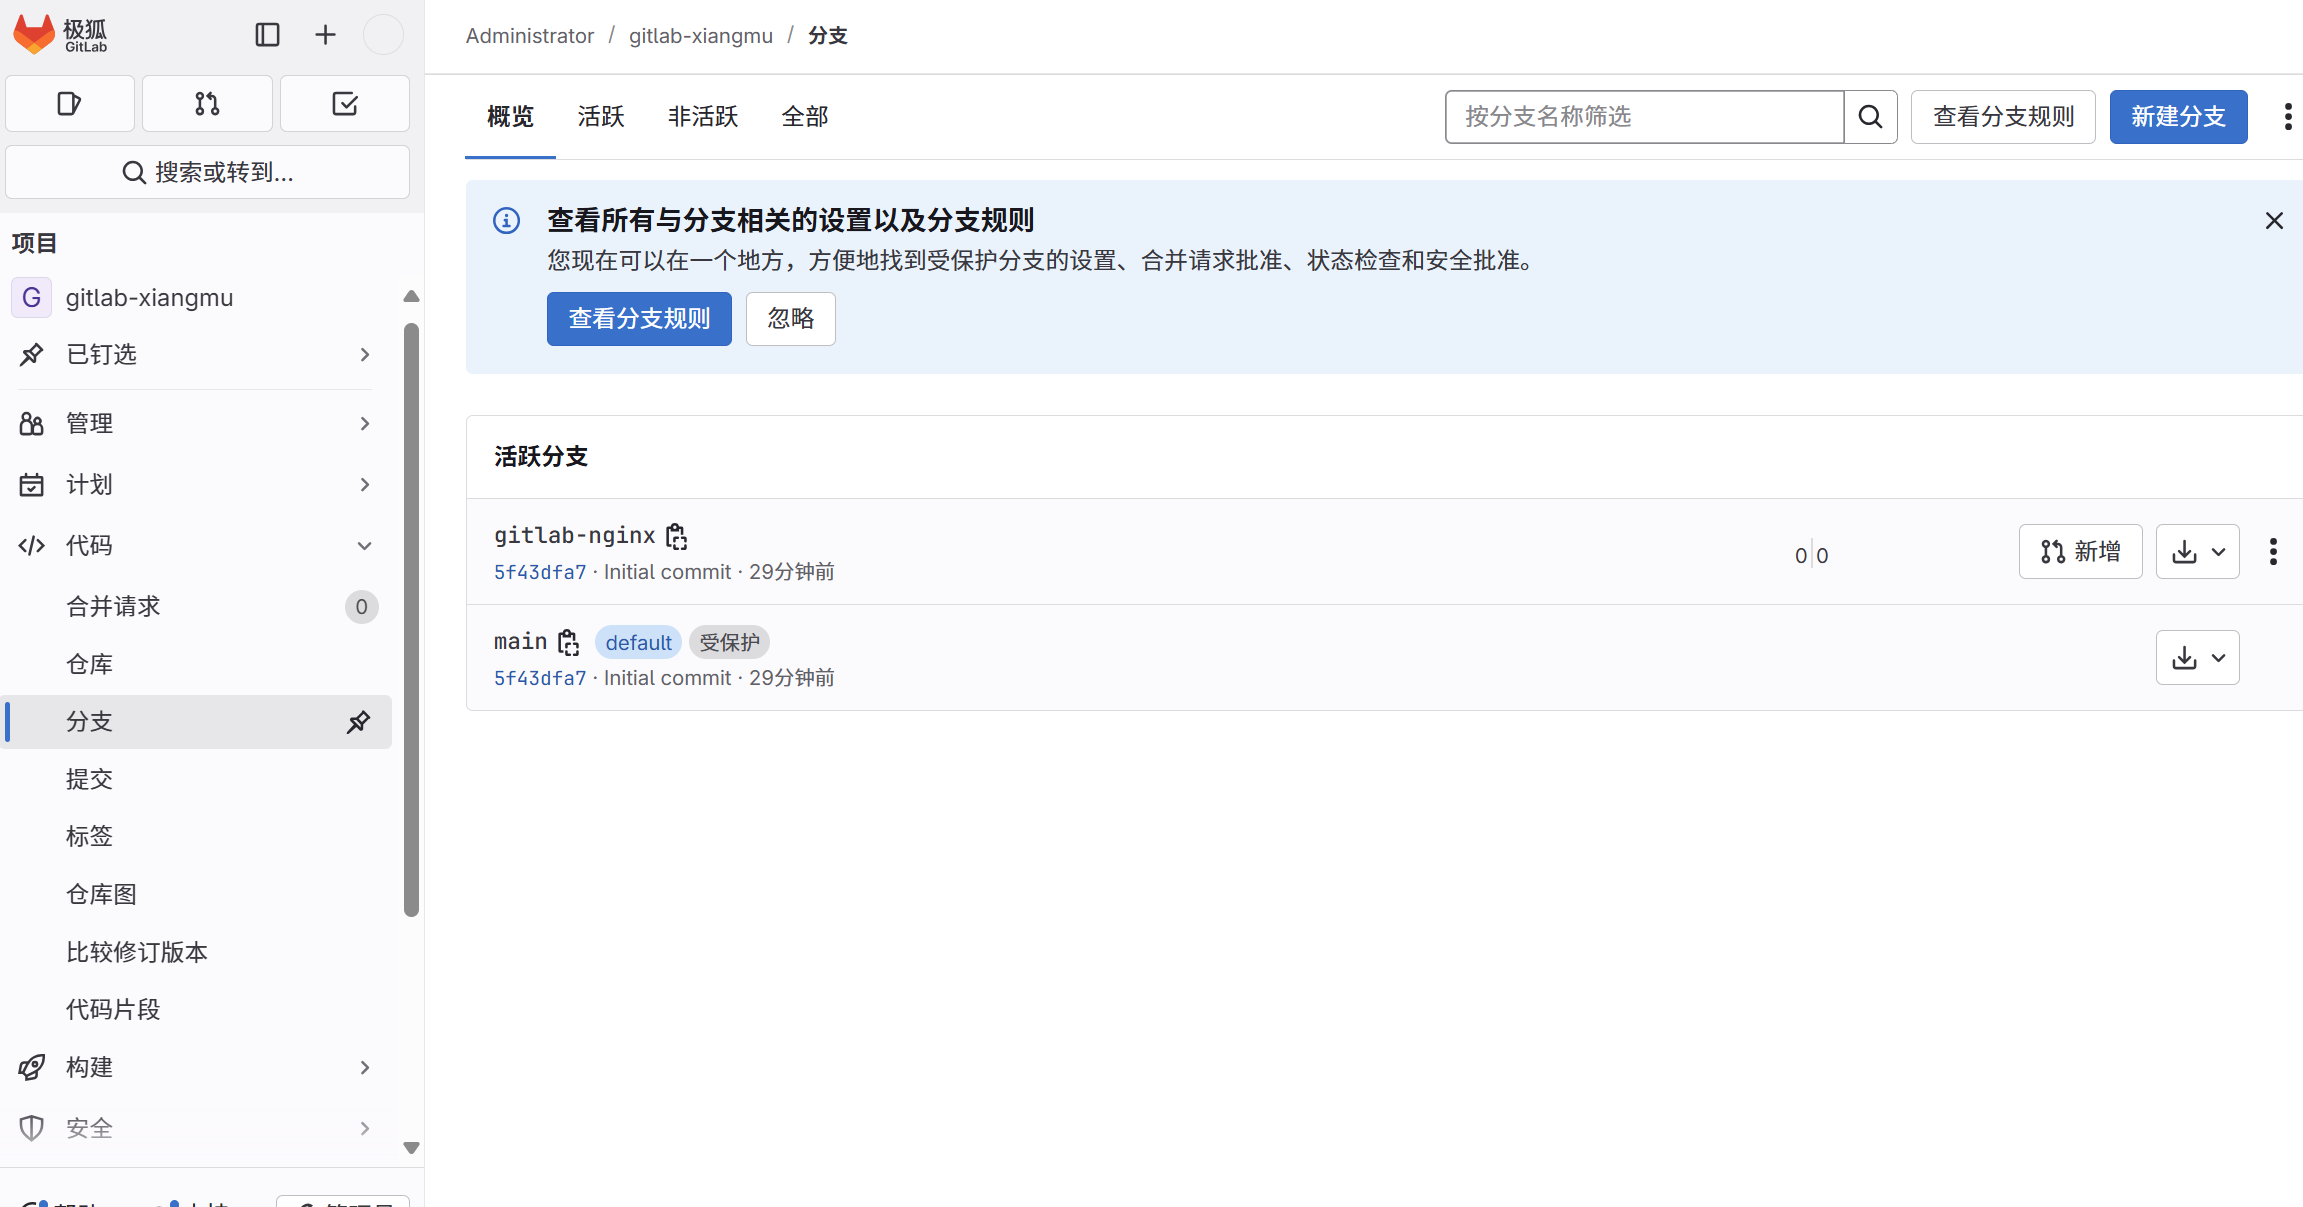
1.构建新分支
新建分支: gitlab-nginx
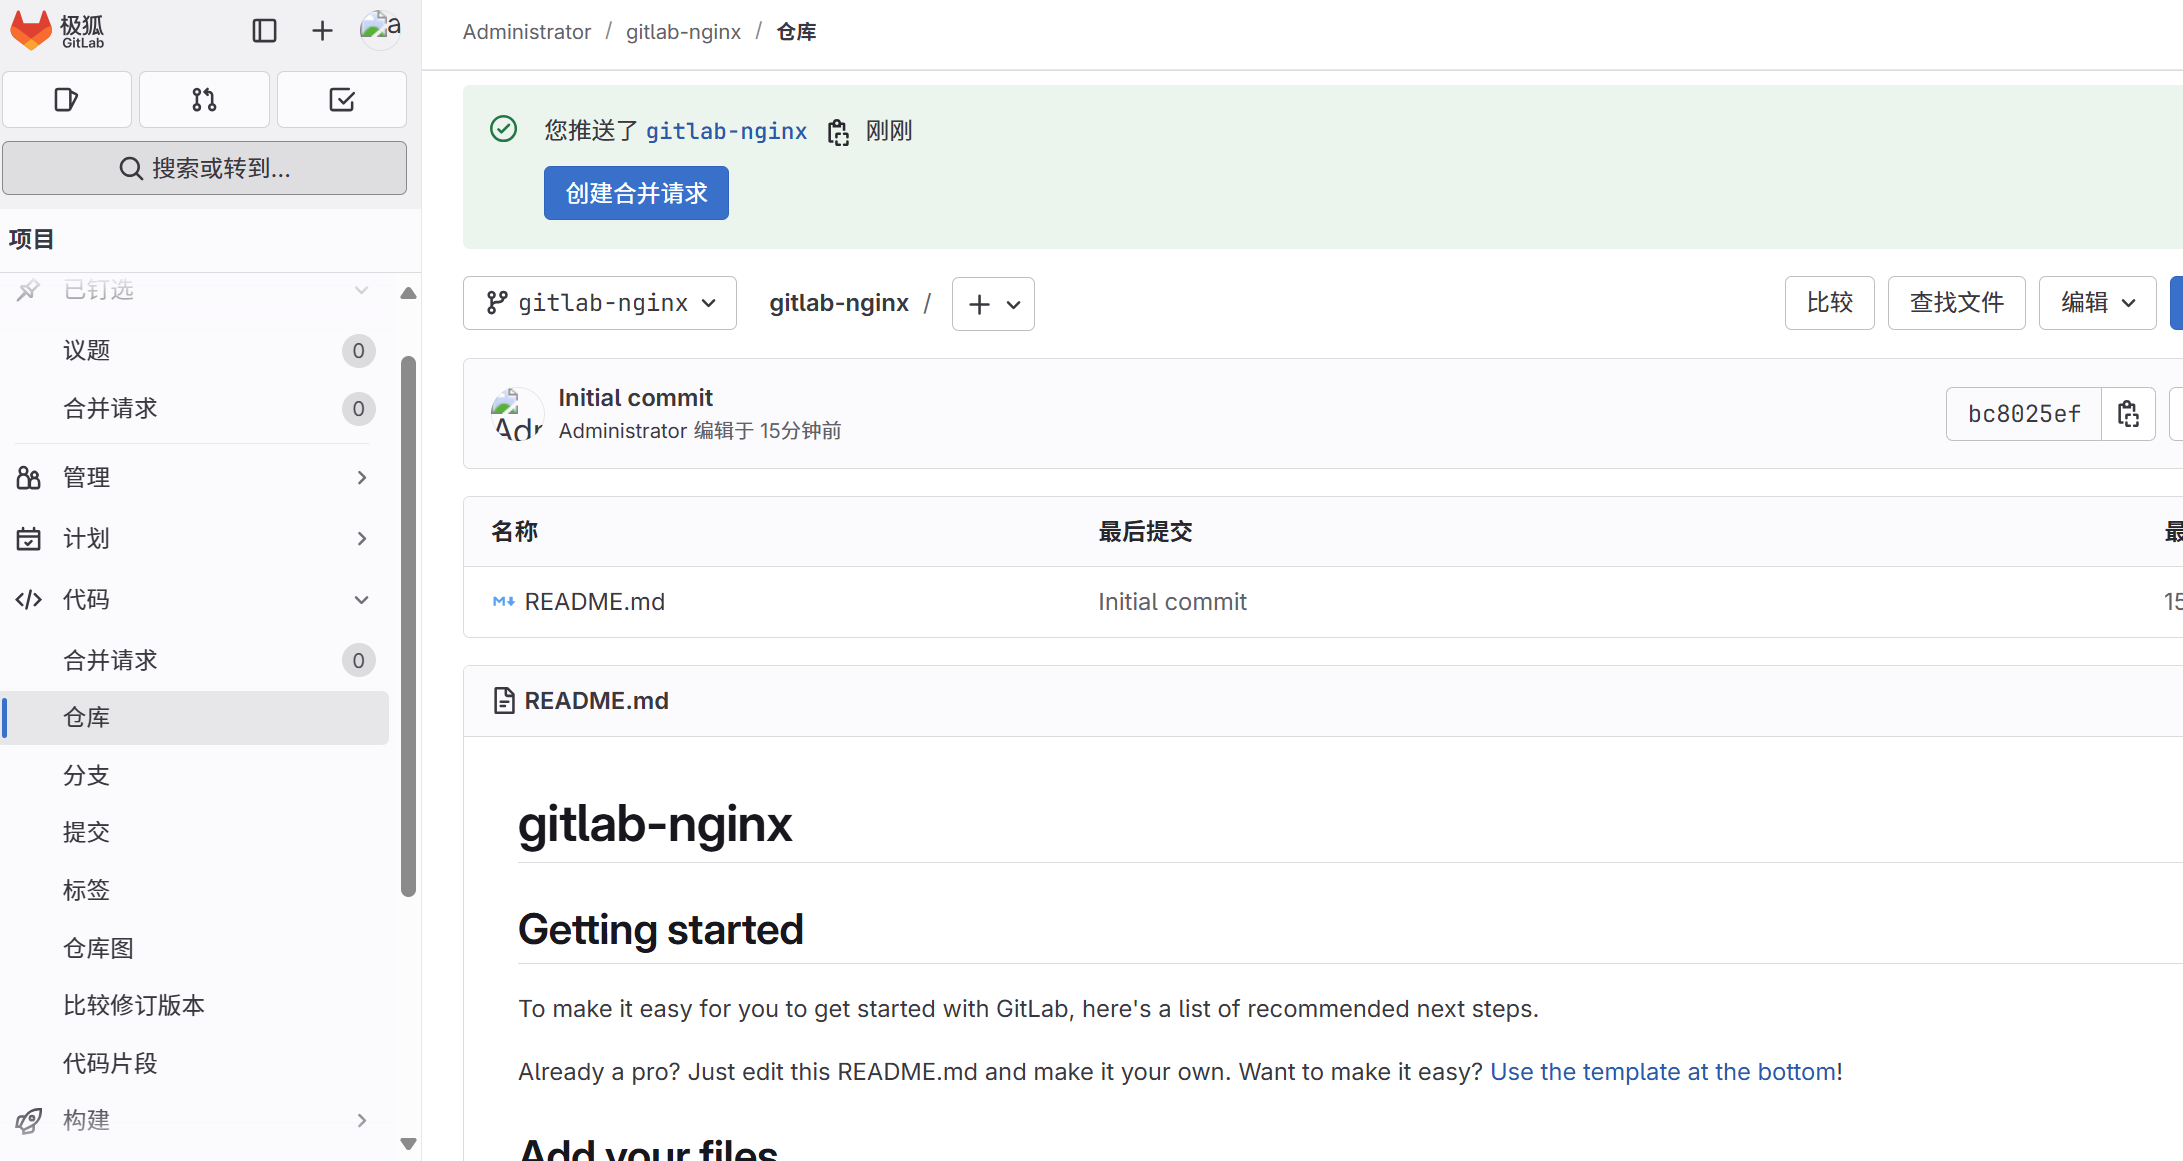
测试 Runner 是否正常工作
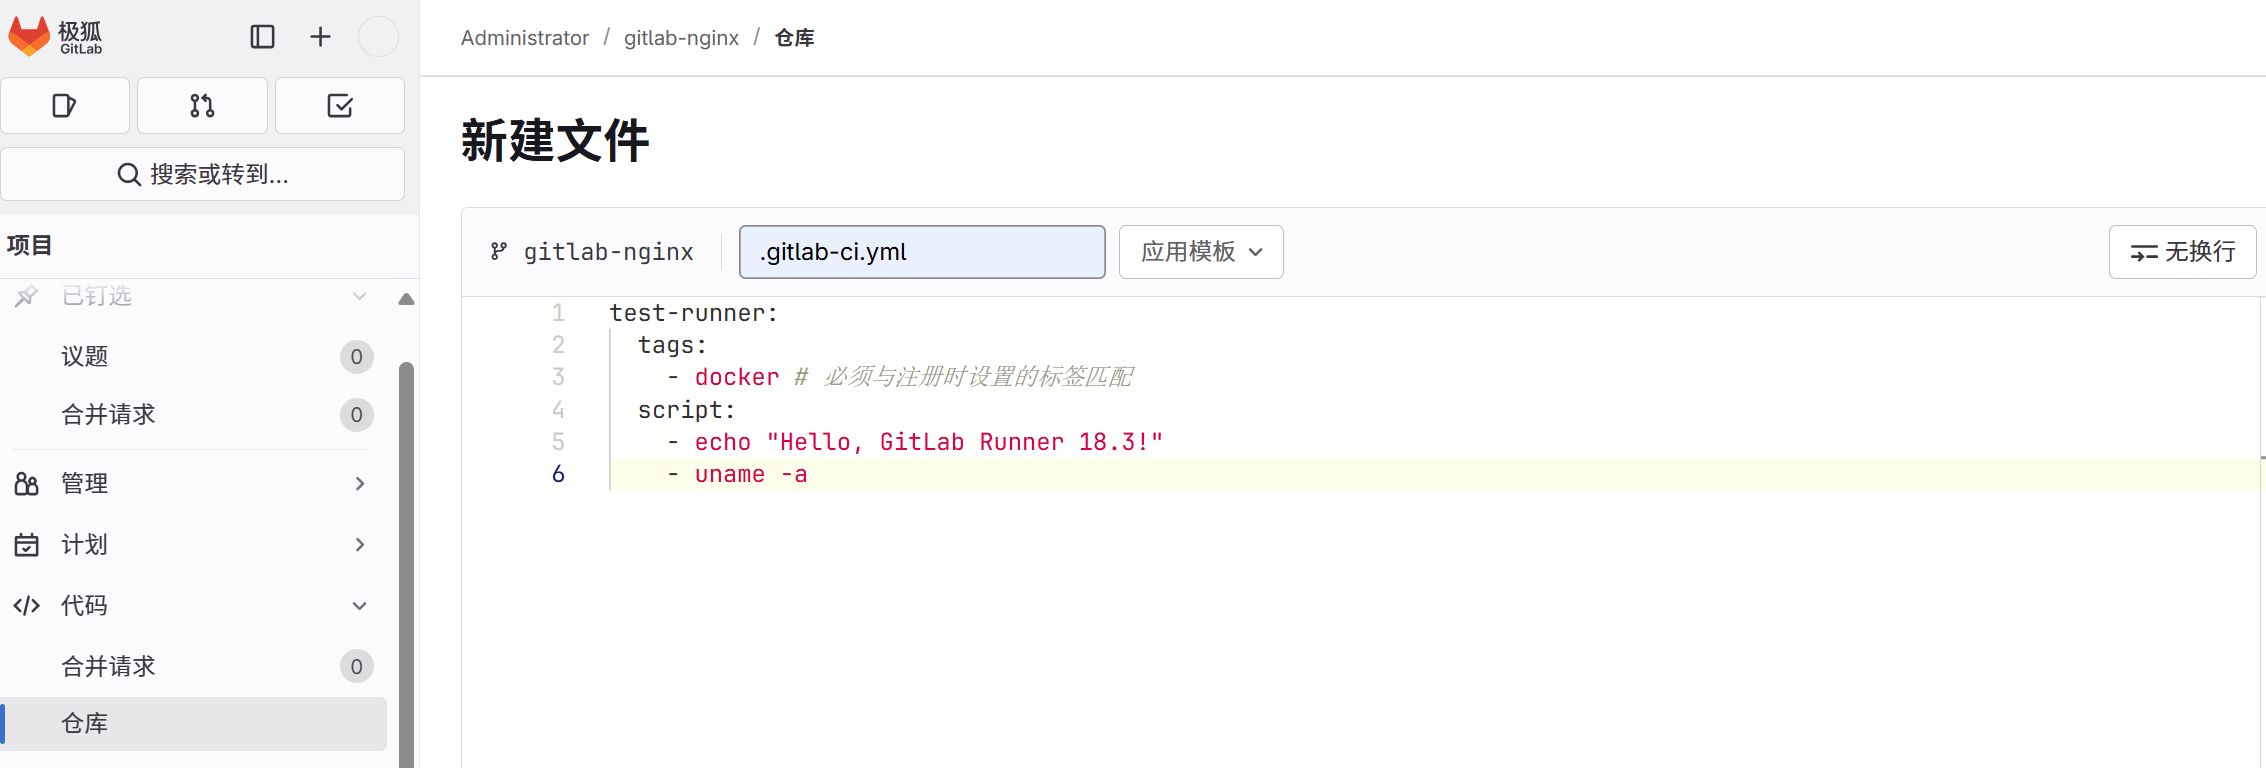
然后提交
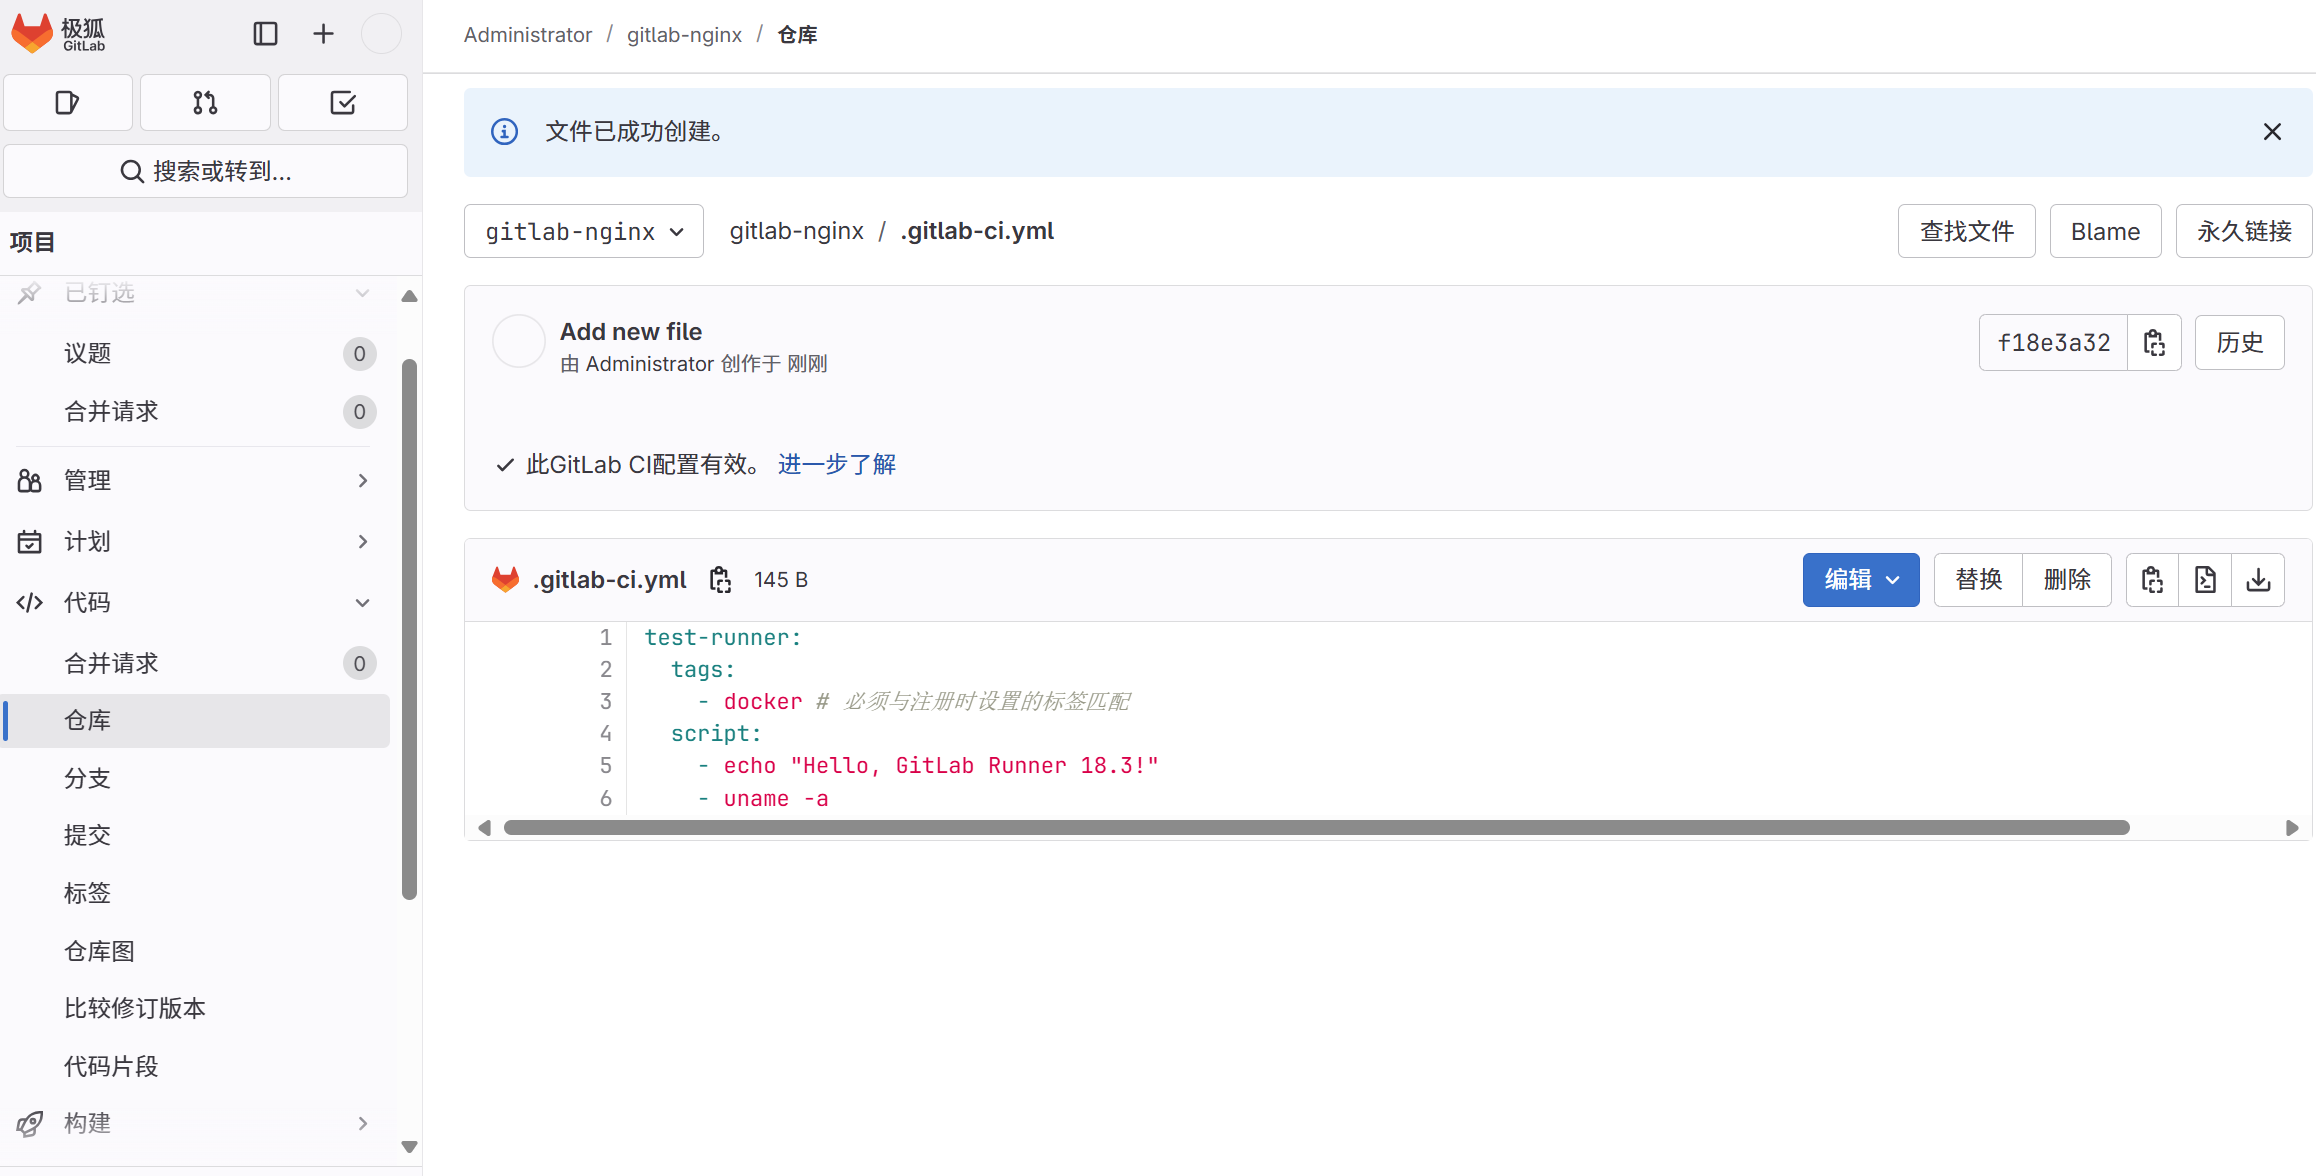
提交这个文件到项目,GitLab 会自动触发流水线。如果作业成功完成,说明 Runner 配置成功!