使用Cloudflare的AI Gateway代理Google AI Studio
1、说明
详见:详见:https://developers.cloudflare.com/ai-gateway/usage/providers/google-ai-studio
在"Google AI Studio"创建"API key"
在"Cloudflare"创建"AI Gateway"、获取"Account ID"
2、在“Google AI Studio”创建“API key”
详见:
https://aistudio.google.com
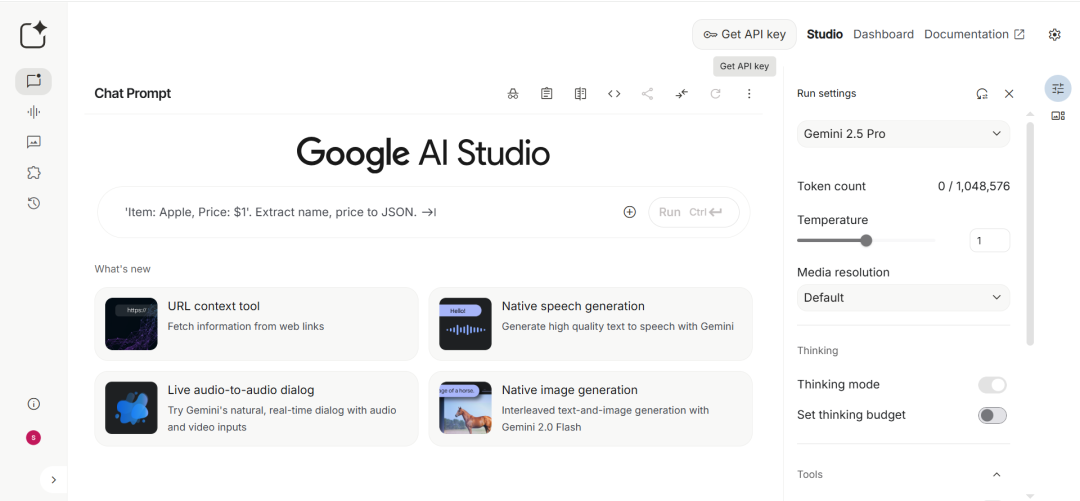
https://gemini.google.com点击“Get API key”:
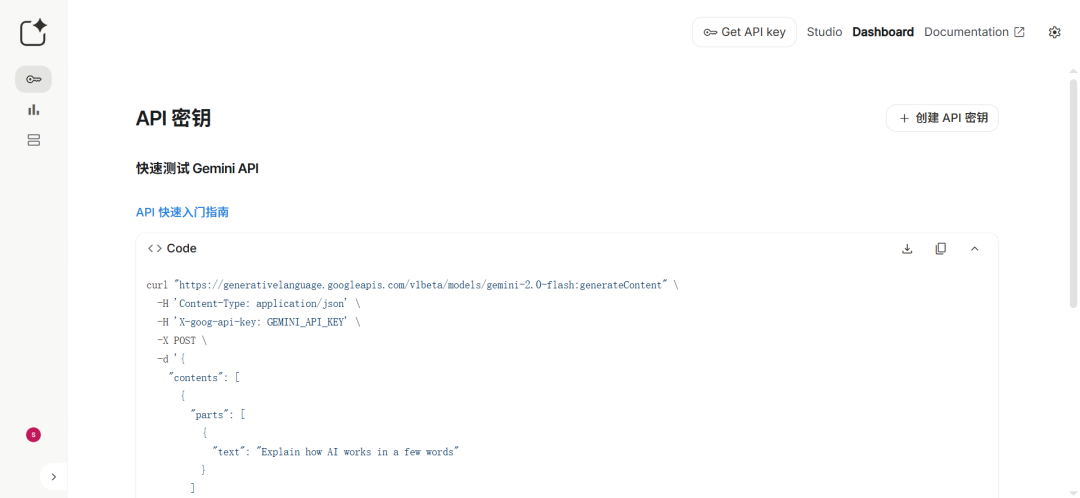
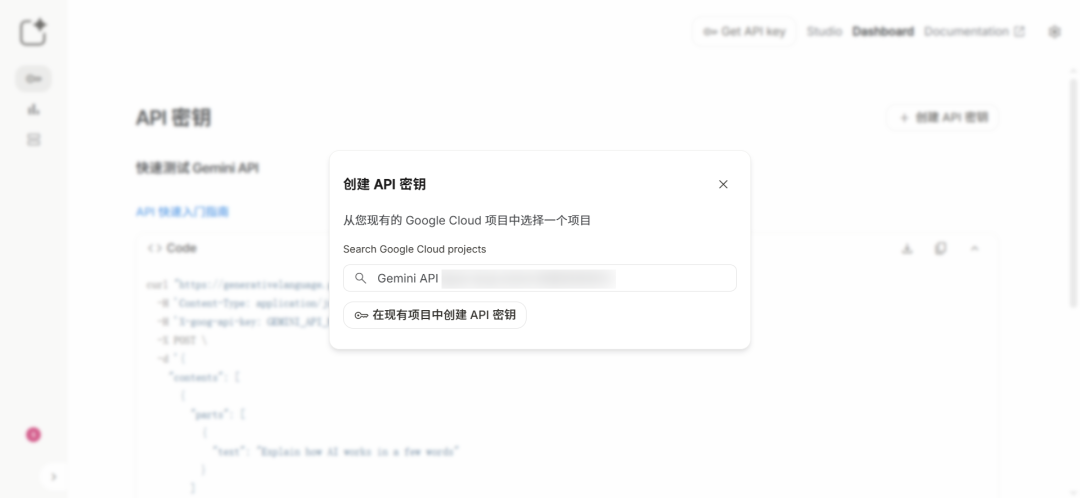
点击“创建 API 密钥”:
点击“Search Google Cloud projects”下方的搜索框:
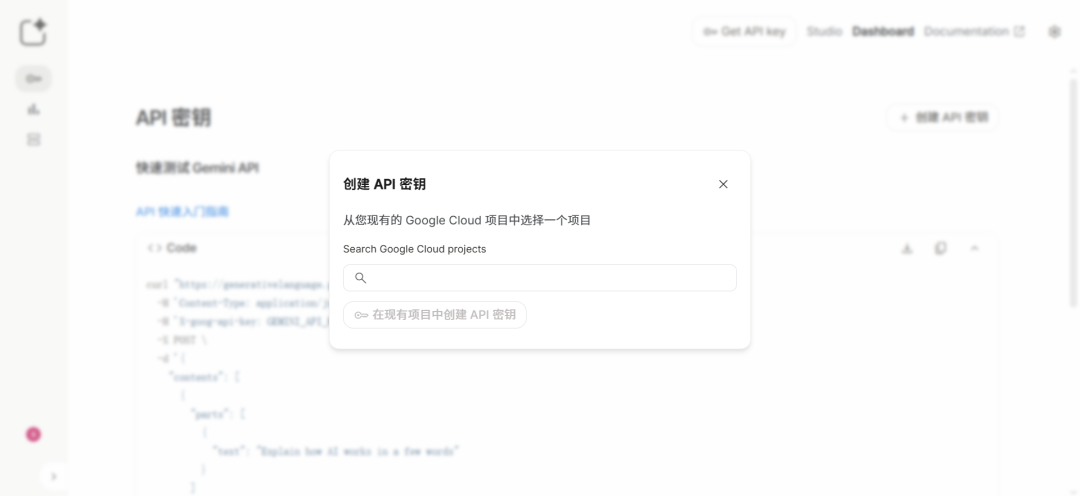
点击“在现有项目中创建 API 密钥”:
"请安全地使用 API 密钥。请勿分享这类密钥,也不要将其嵌入公众可以查看的代码中。"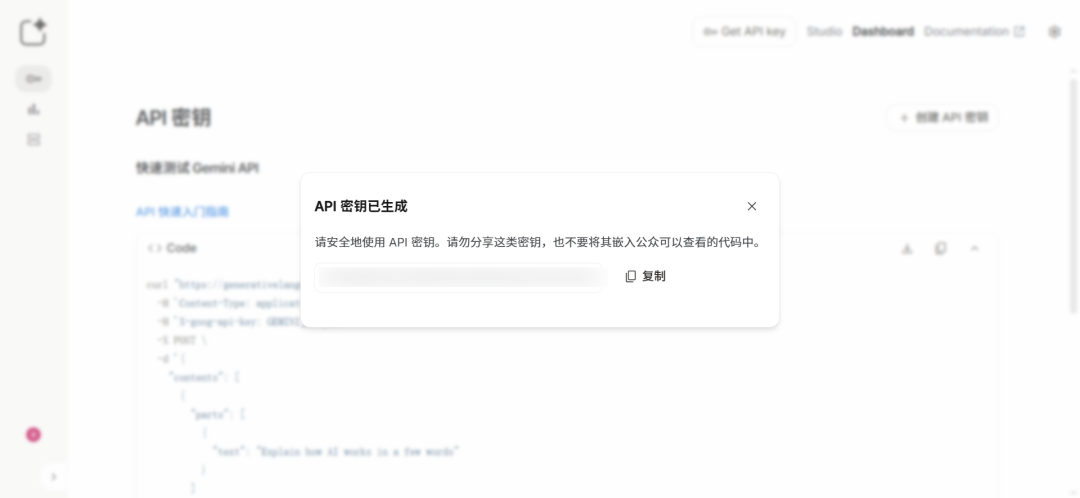
快速测试 Gemini API:
详见:https://ai.google.dev/gemini-api/docs/quickstart?lang=python
curl "https://generativelanguage.googleapis.com/v1beta/models/gemini-2.0-flash:generateContent" \-H 'Content-Type: application/json' \-H 'X-goog-api-key: GEMINI_API_KEY' \-X POST \-d '{"contents": [{"parts": [{"text": "Explain how AI works in a few words"}]}]}'3、在“Cloudflare”创建“AI Gateway”、获取“Account ID”
详见:
https://www.cloudflare.com
https://www.cloudflare-cn.com
https://dash.cloudflare.com
https://developers.cloudflare.com/ai-gateway
https://developers.cloudflare.com/ai-gateway/get-started登录管理后台:
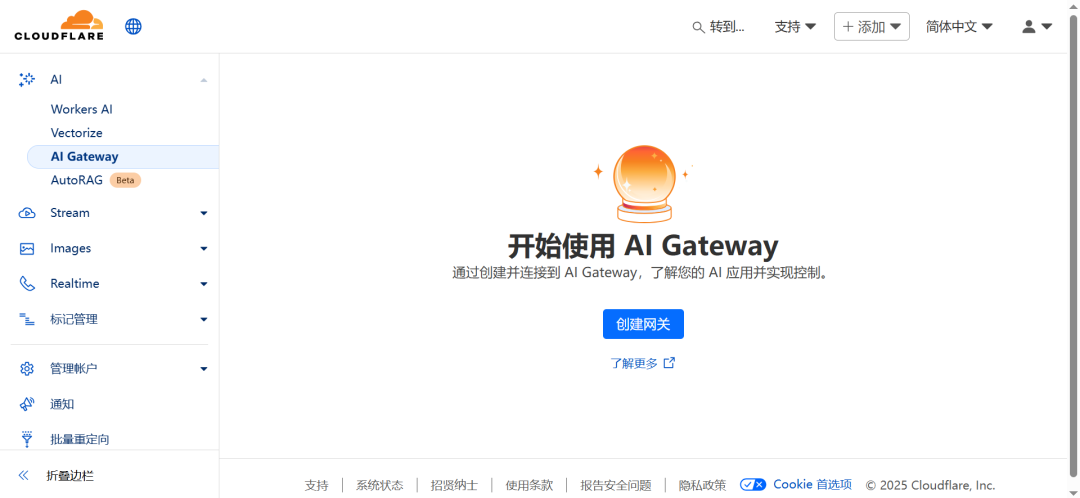
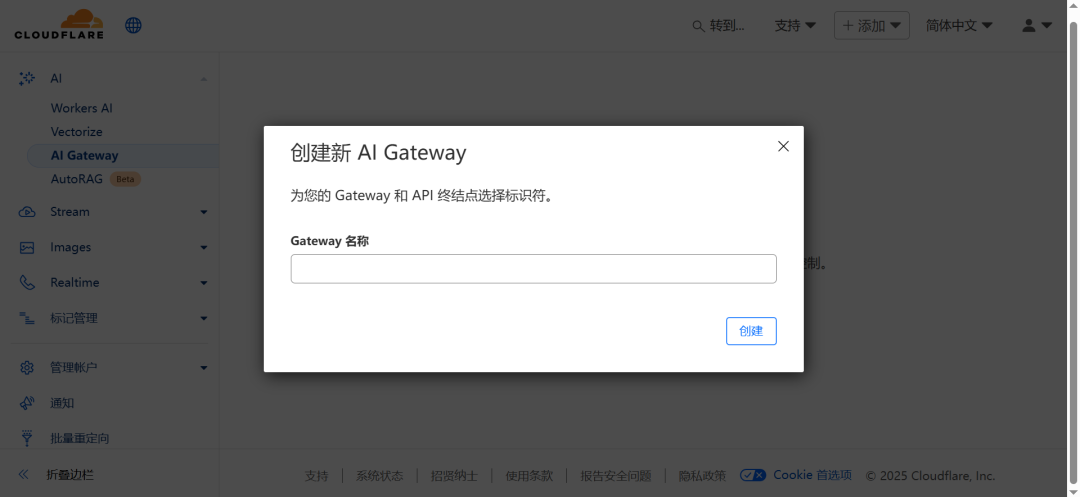
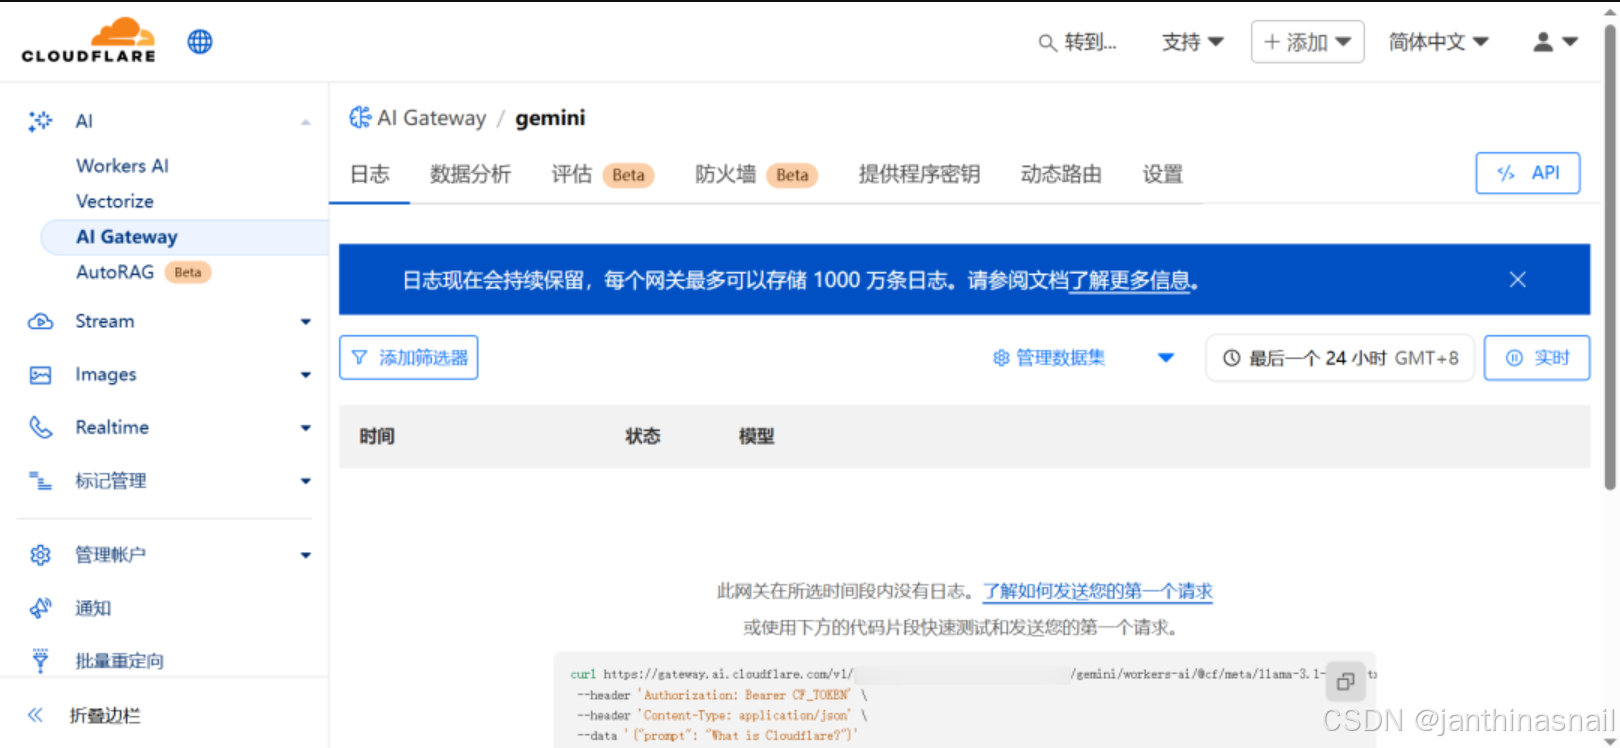
创建网关:
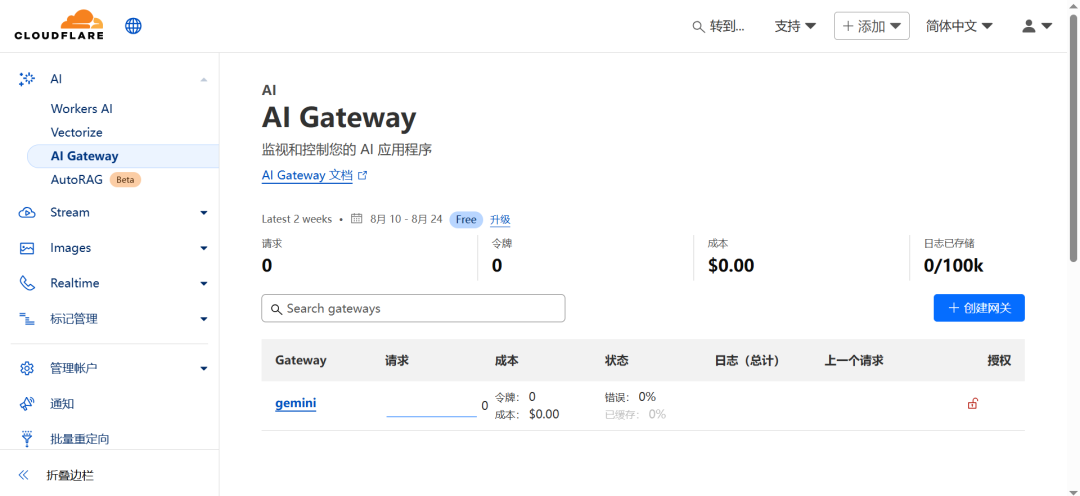
查看网关:
获取Account ID:
详见:https://developers.cloudflare.com/fundamentals/account/find-account-and-zone-ids
# 方式1:
访问"https://dash.cloudflare.com/login"
因为当前是已登录状态,访问上述链接,直接跳转到账户主页
点击"xxx's account"的后面"三个点",点击"复制账户 ID"# 方式2:
可以查看浏览器的地址栏,链接格式如:
https://dash.cloudflare.com/{account_id}/home/domains
https://dash.cloudflare.com/{account_id}/ai/ai-gateway
其中,{account_id}为账户ID# 方式3:
https://developers.cloudflare.com/fundamentals/account/find-account-and-zone-ids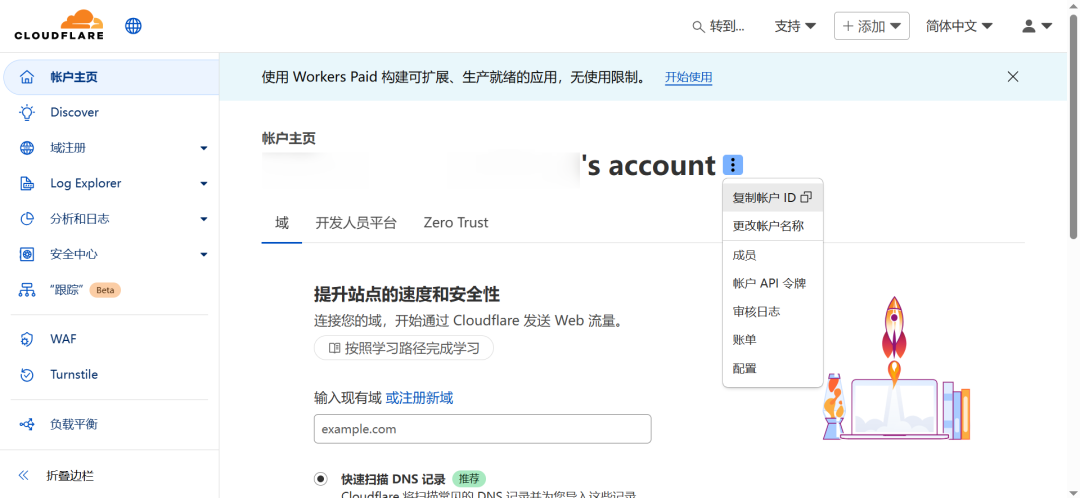
4、测试
详见:
https://developers.cloudflare.com/ai-gateway/get-started
https://developers.cloudflare.com/ai-gateway/usage/chat-completion
https://developers.cloudflare.com/ai-gateway/usage/providers/google-ai-studio
4.1、使用curl命令
# 1、参数说明
# {account_id}为 "Cloudflare"的"Account ID"
# {gateway_id}为 "Cloudflare"创建"AI Gateway",如gemini
# {GOOGLE_GENERATIVE_AI_API_KEY}为 "Google AI Studio"的"API key"# 2、执行命令
curl -X POST https://gateway.ai.cloudflare.com/v1/{account_id}/{gateway_id}/compat/chat/completions \--header 'Authorization: Bearer {GOOGLE_GENERATIVE_AI_API_KEY}' \--header 'Content-Type: application/json' \--data '{"model": "google-ai-studio/gemini-2.0-flash","messages": [{"role": "user","content": "What is Cloudflare?"}]}'
# 1、参数说明
# {account_id}为 "Cloudflare"的"Account ID"
# {gateway_name}为 "Cloudflare"创建"AI Gateway",如gemini
# {google_studio_api_key}为 "Google AI Studio"的"API key"# 2、执行命令
curl "https://gateway.ai.cloudflare.com/v1/{account_id}/{gateway_name}/google-ai-studio/v1/models/gemini-2.0-flash:generateContent" \--header 'content-type: application/json' \--header 'x-goog-api-key: {google_studio_api_key}' \--data '{"contents": [{"role":"user","parts": [{"text":"What is Cloudflare?"}]}]}'
4.2、使用Cherry Studio
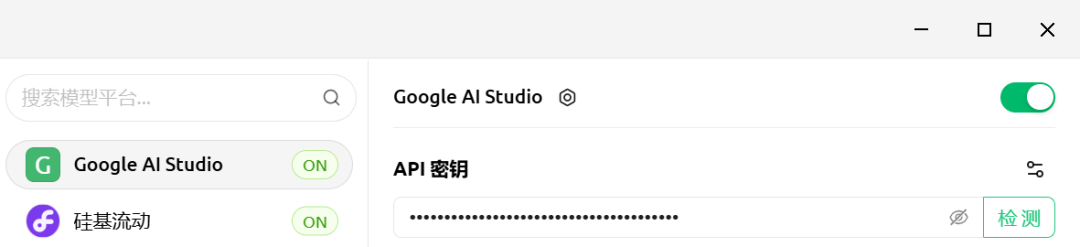
详见:https://www.cherry-ai.com设置->模型服务->Gemini:
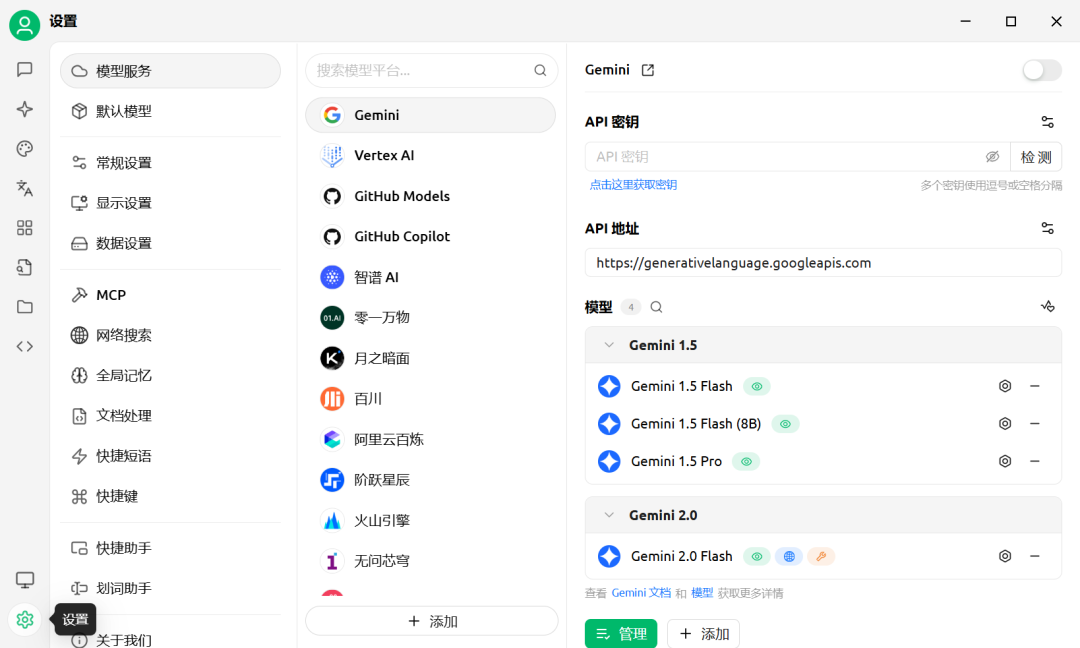
# 1、API密钥
在"Google AI Studio"创建的"API key"# 2、API地址
# {account_id}为 "Cloudflare"的"Account ID"
# {gateway_id}为 "Cloudflare"创建"AI Gateway",如gemini
https://gateway.ai.cloudflare.com/v1/{account_id}/{gateway_id}/google-ai-studio# 3、模型
gemini-2.0-flash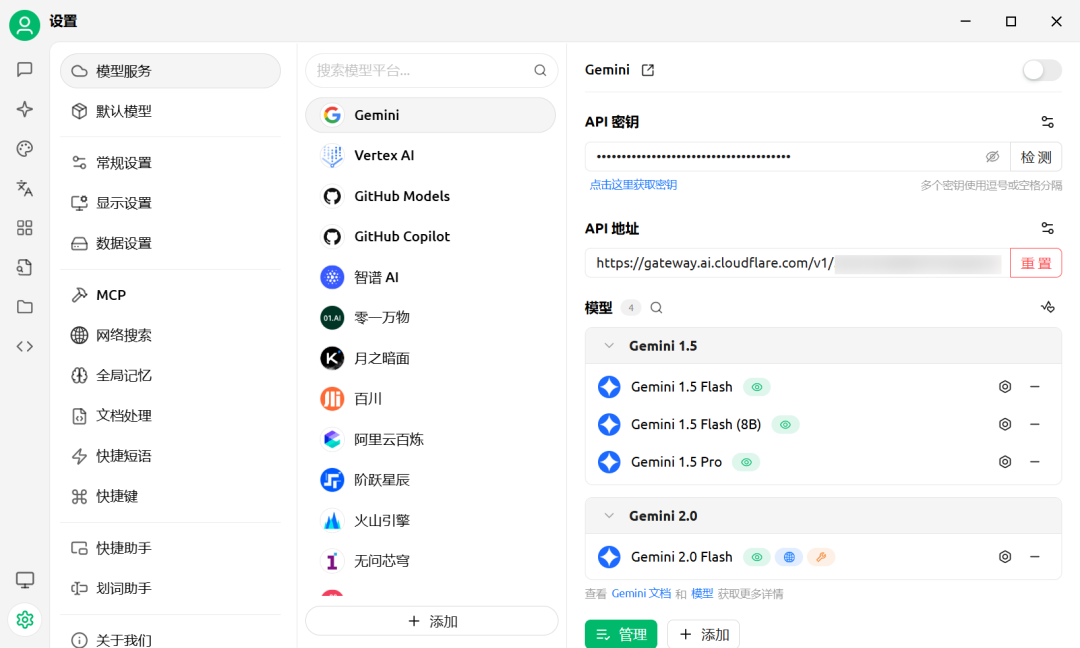
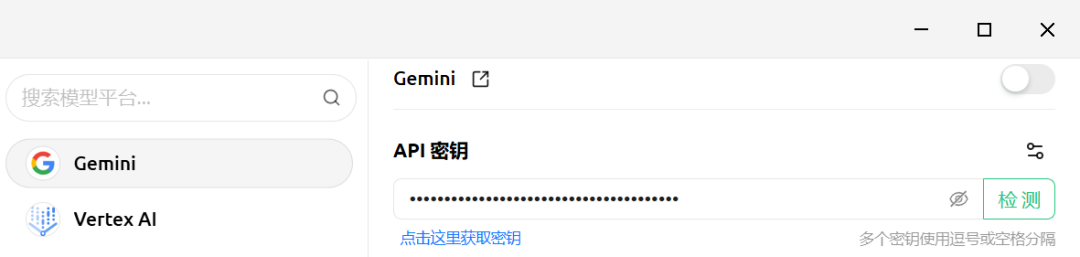
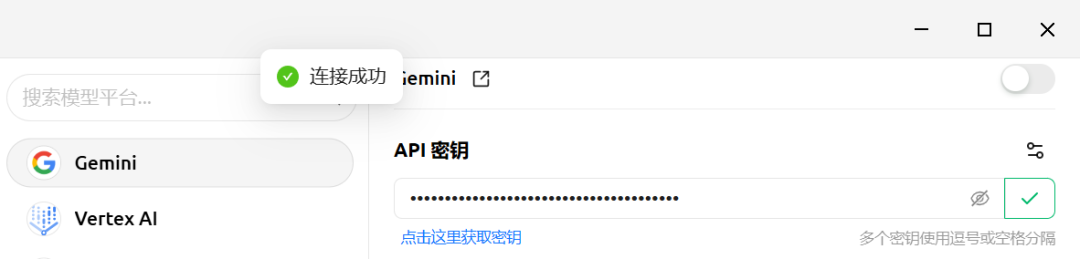
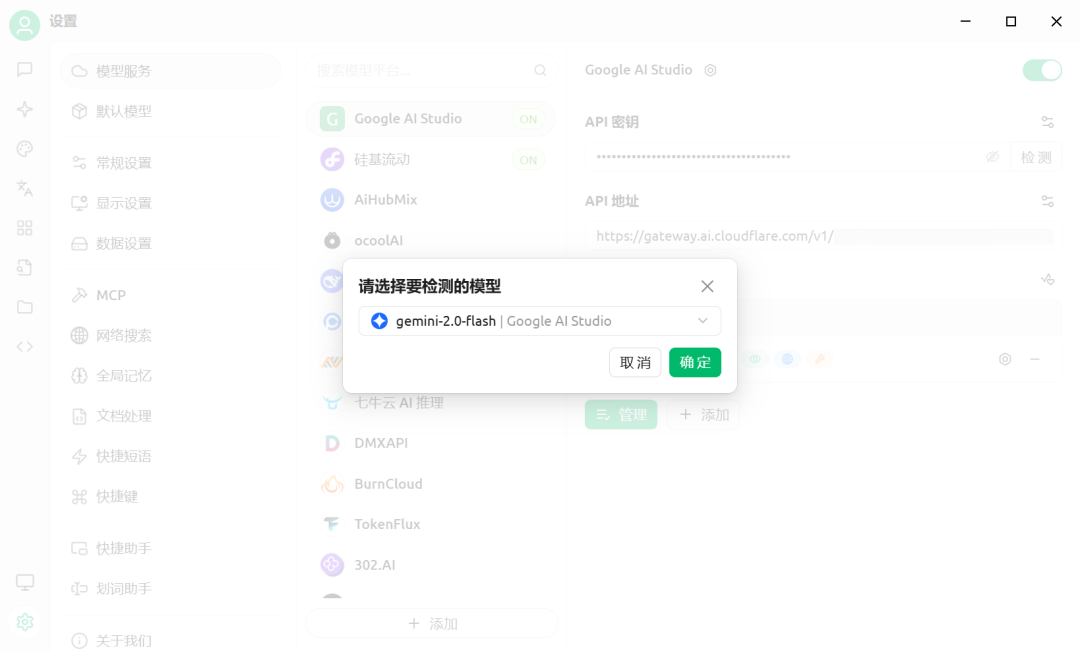
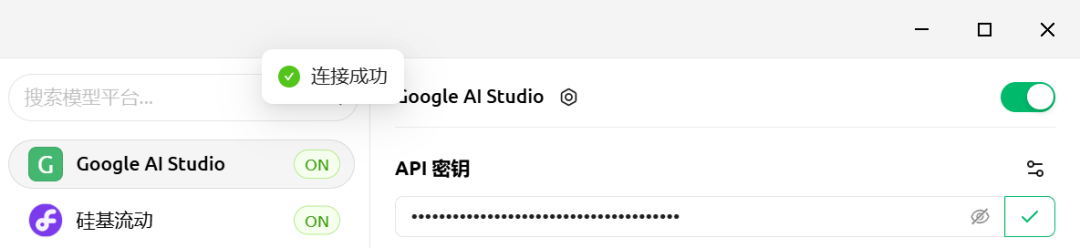
点击“检测”:
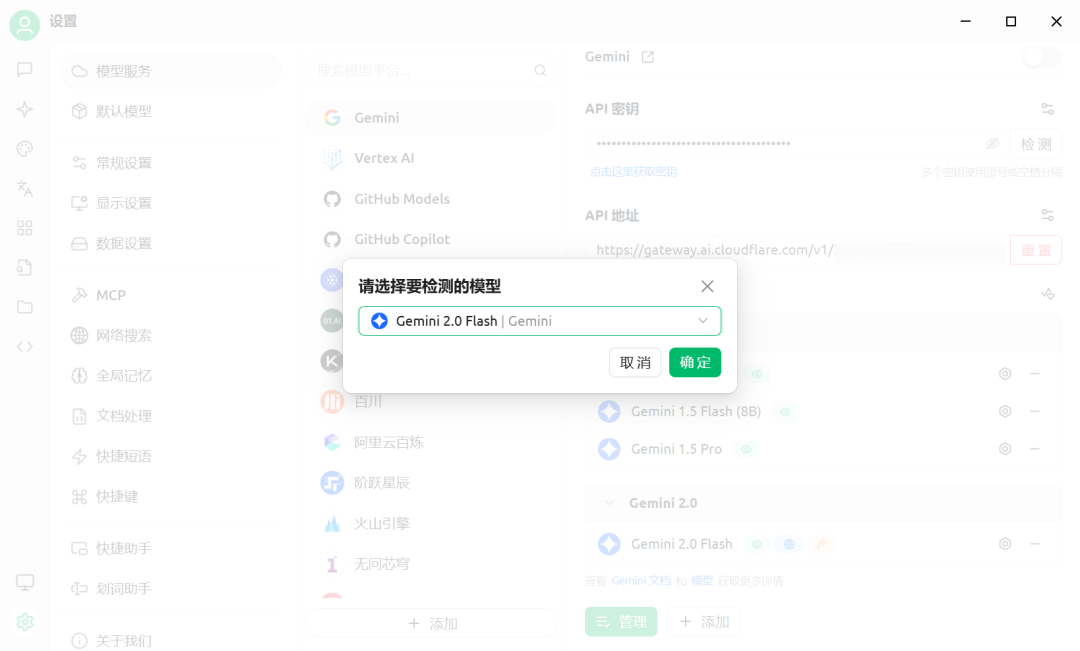
“请选择要检测的模型”,点击“确定”:
点击“是否启用开关”:
显示"绿色"为启用,"灰色"为禁用
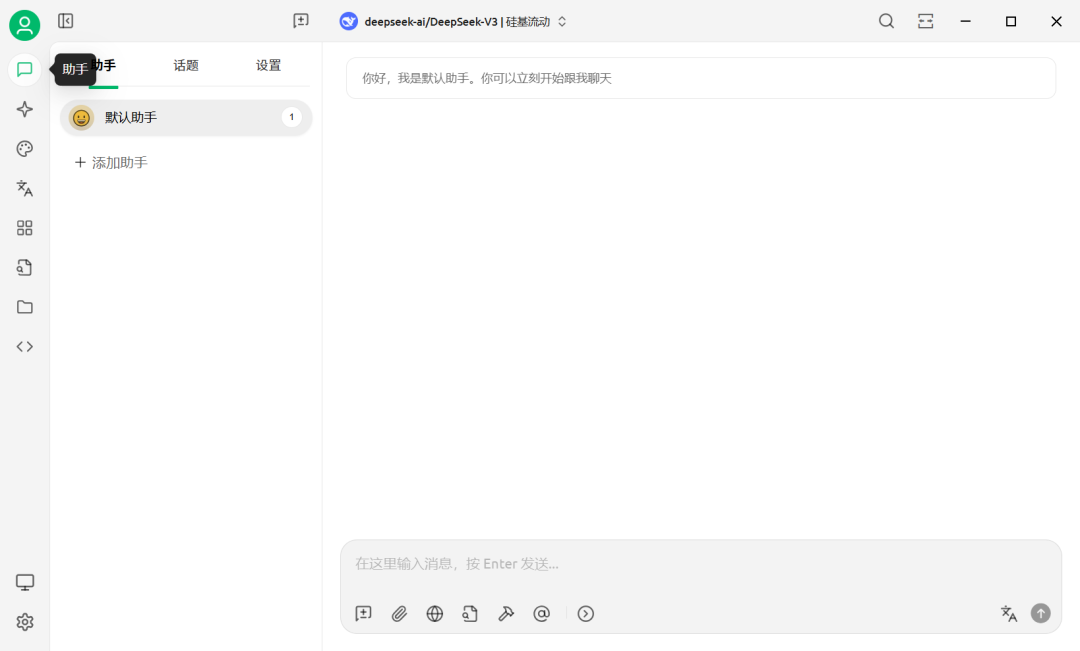
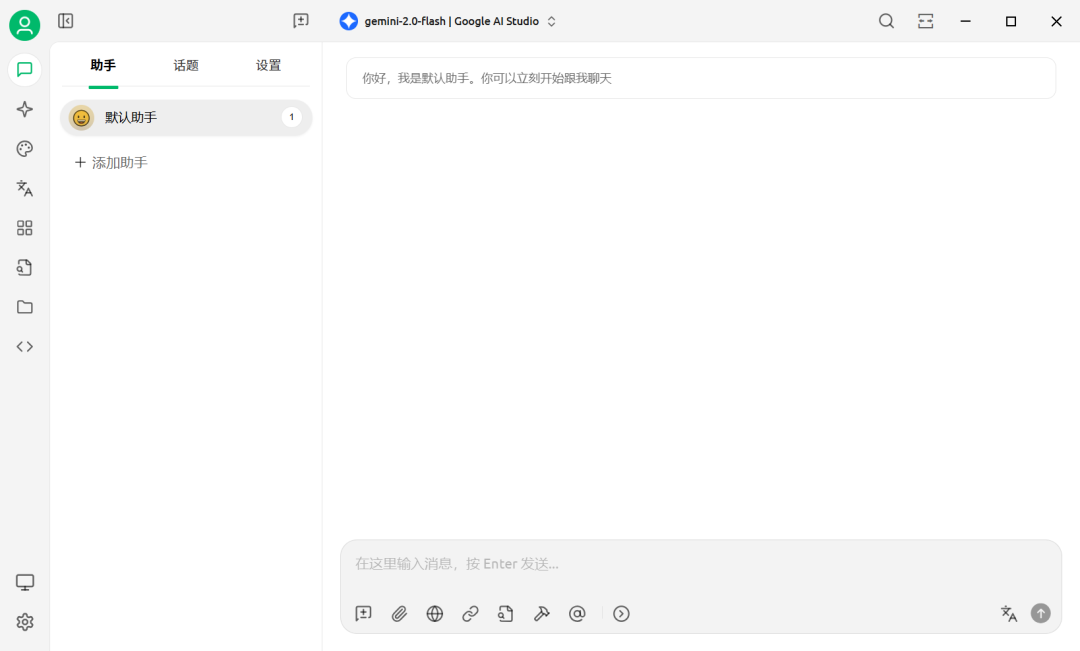
点击“助手”:
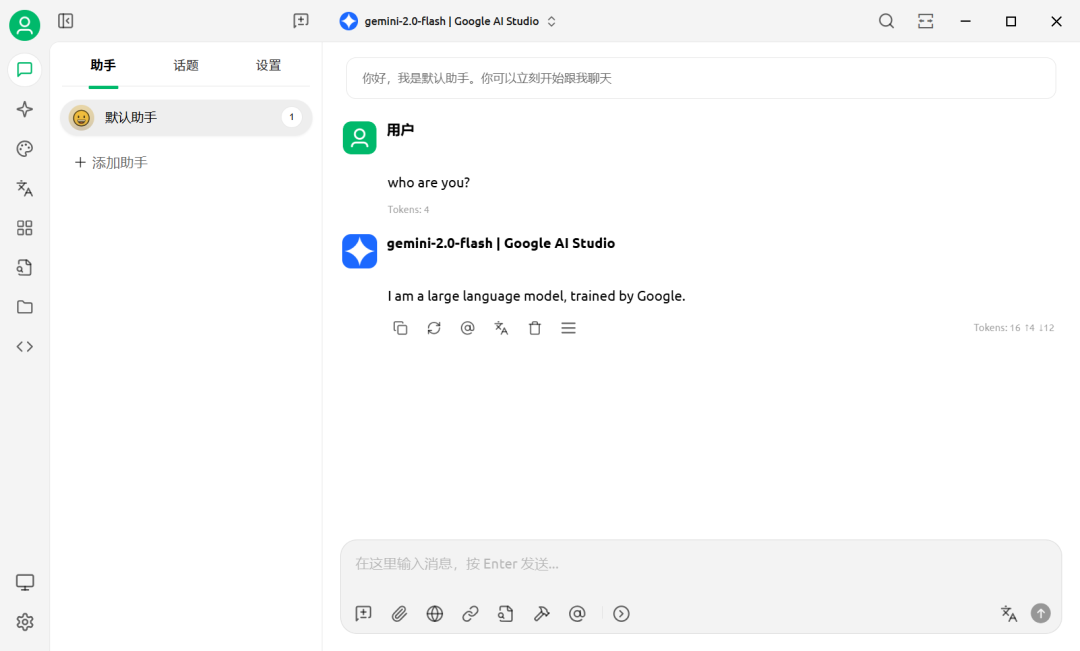
点击“deepseek-ai/DeepSeek-V3 | 硅基流动”,切换模型:
默认为:"deepseek-ai/DeepSeek-V3 | 硅基流动"
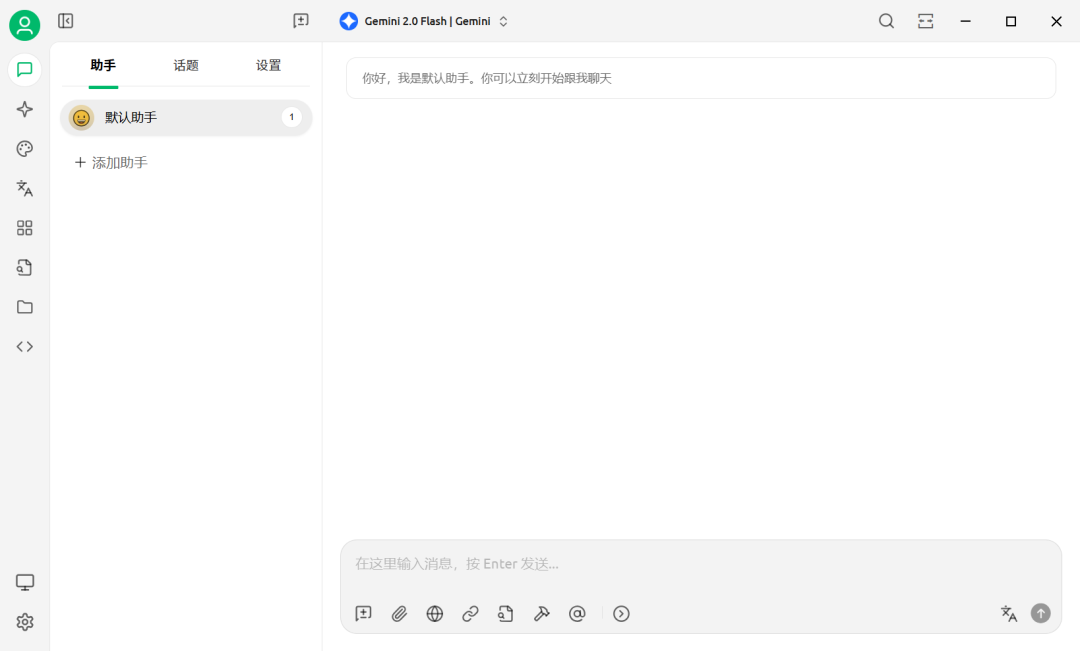
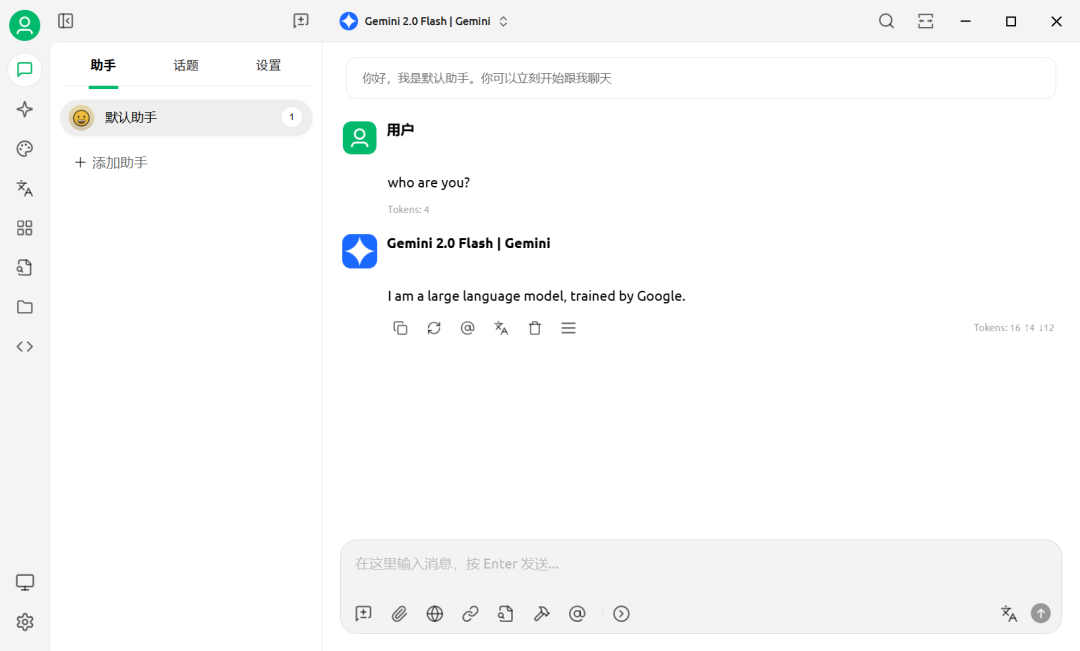
切换为:"Gemini 2.0 Flash | Gemini"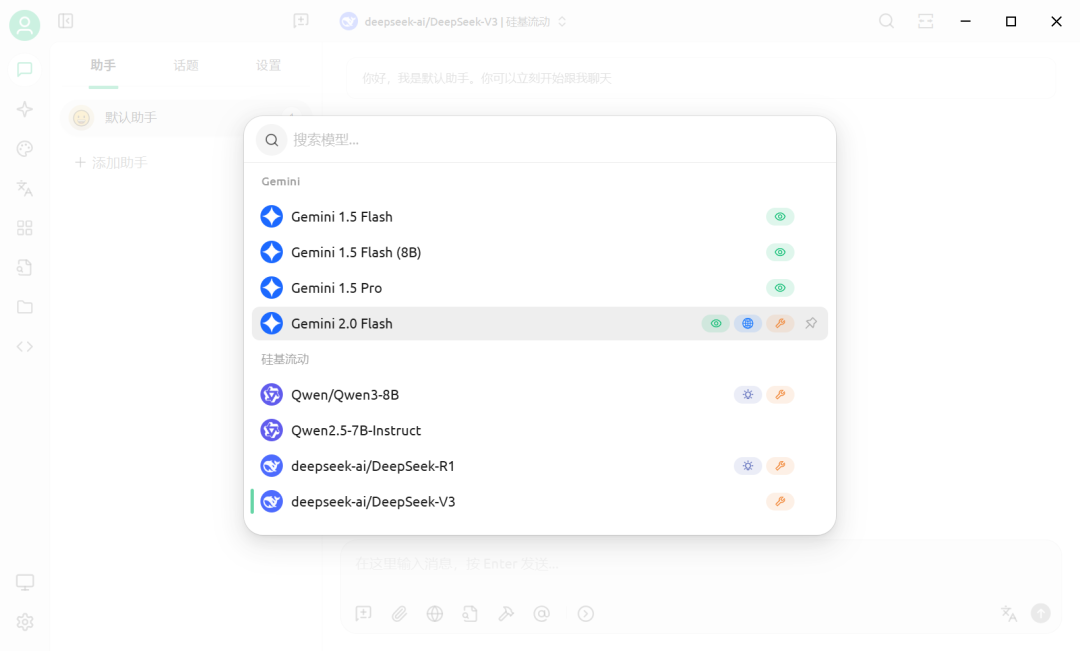
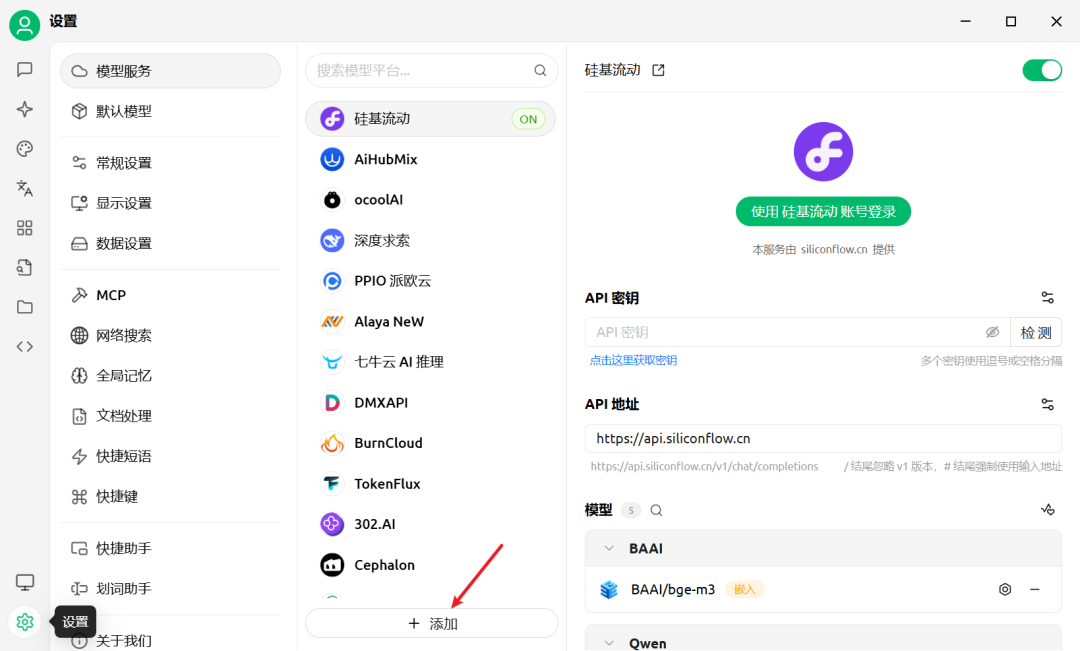
4.3、使用Cherry Studio(自定义模型服务)
设置->模型服务->添加:

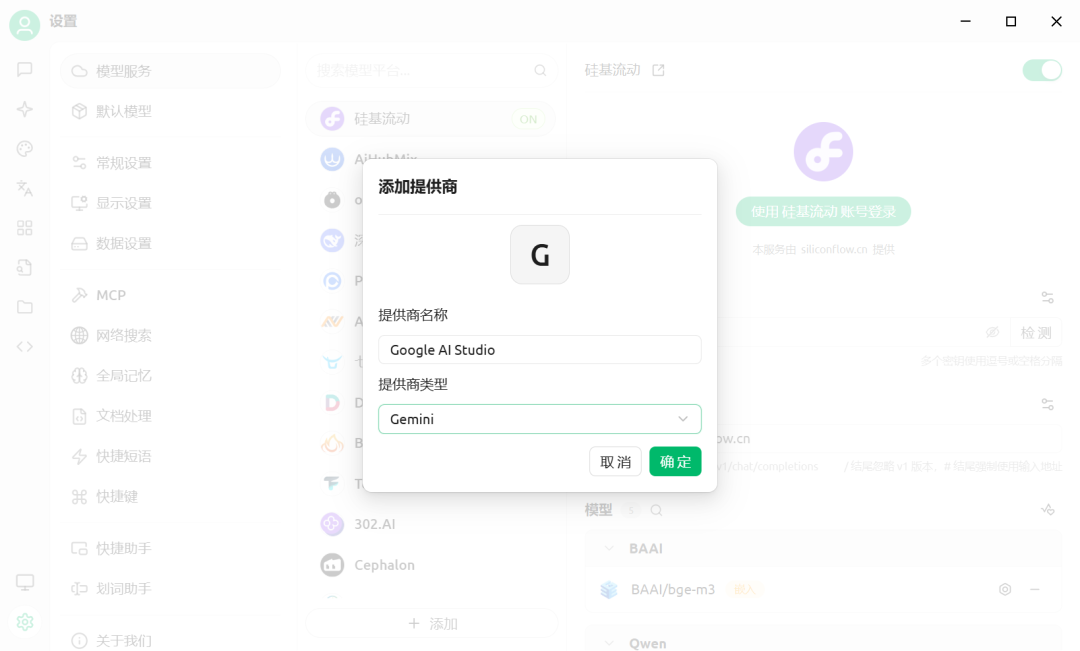
输入“提供商名称”、选择“提供商类型”,点击“确定”:
提供商名称:"Google AI Studio"
提供商类型:"Gemini"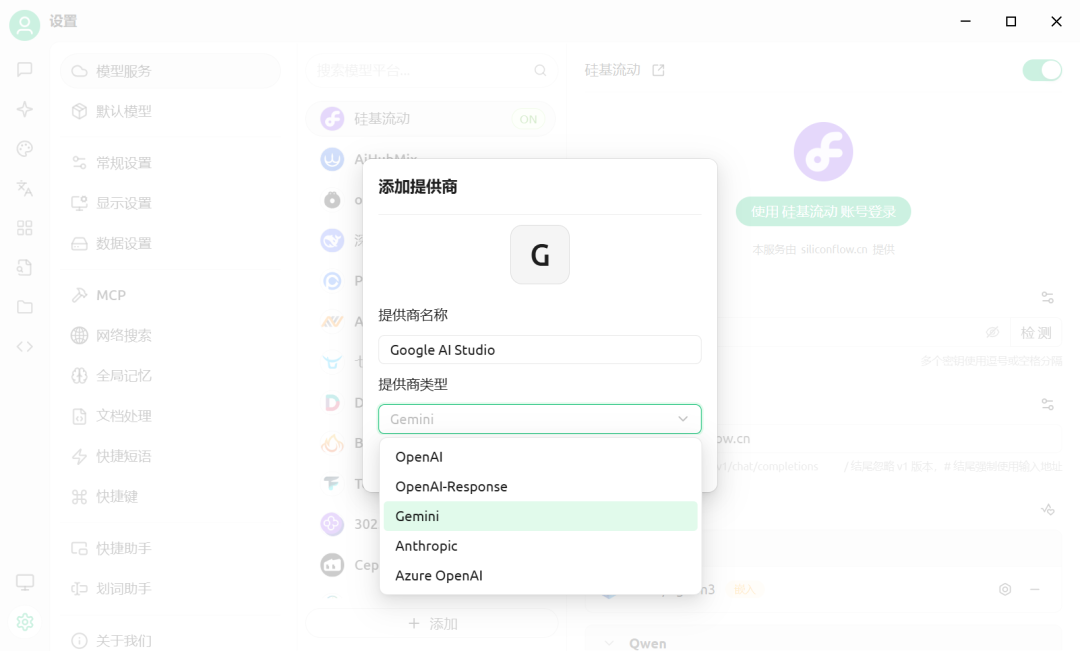
点击“+ 添加”(添加模型):
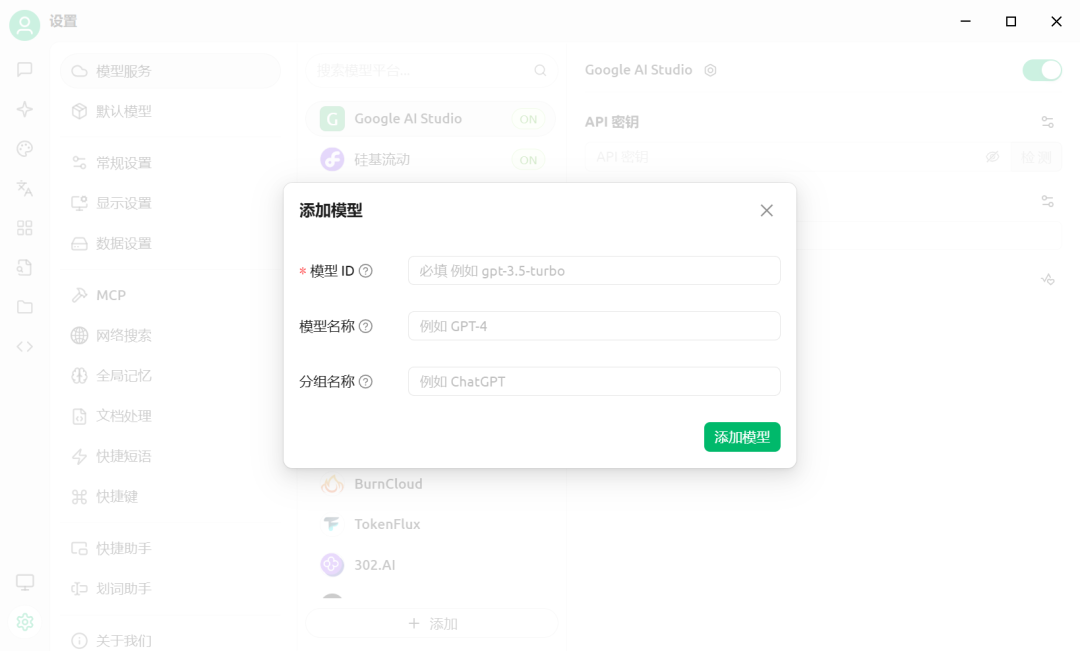
填写“模型ID”,点击“添加模型”:
在"模型ID"输入框输入"gemini-2.0-flash"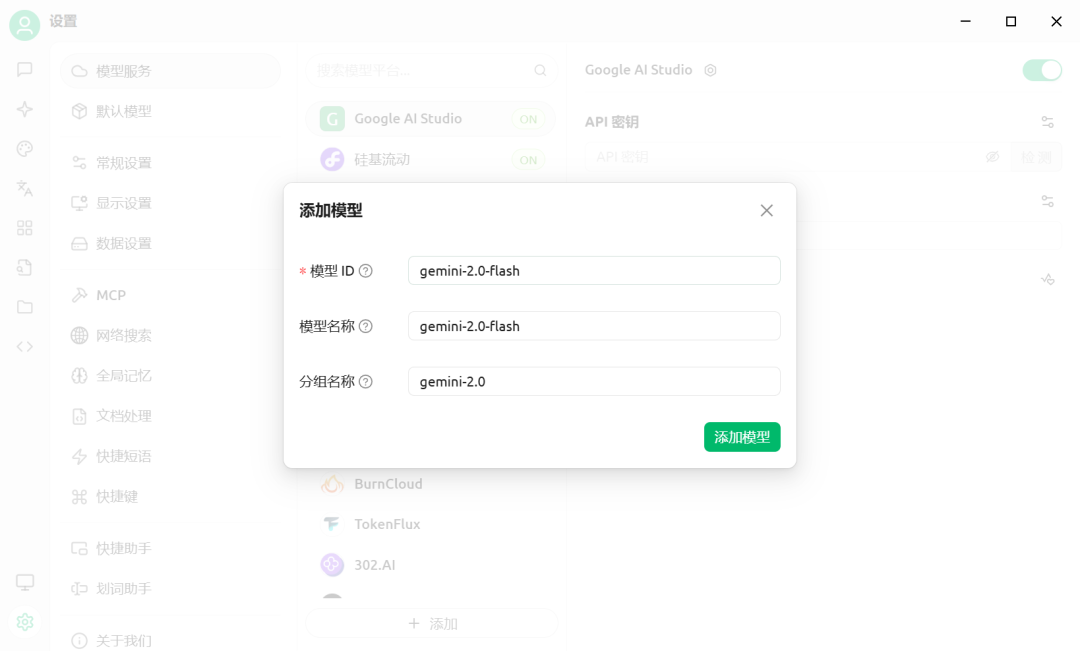
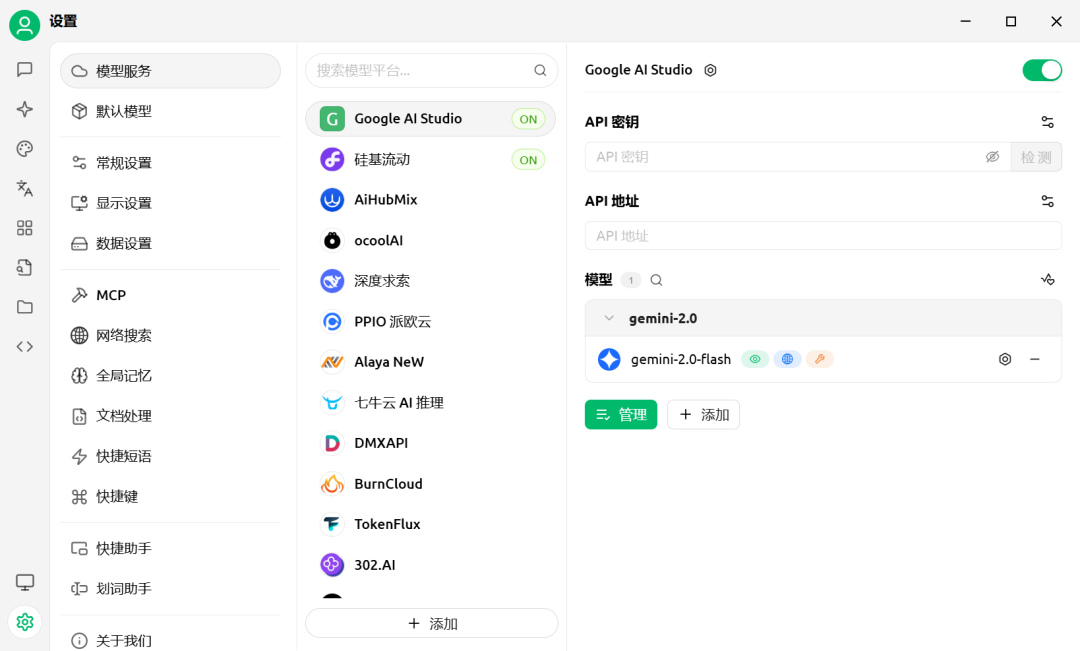
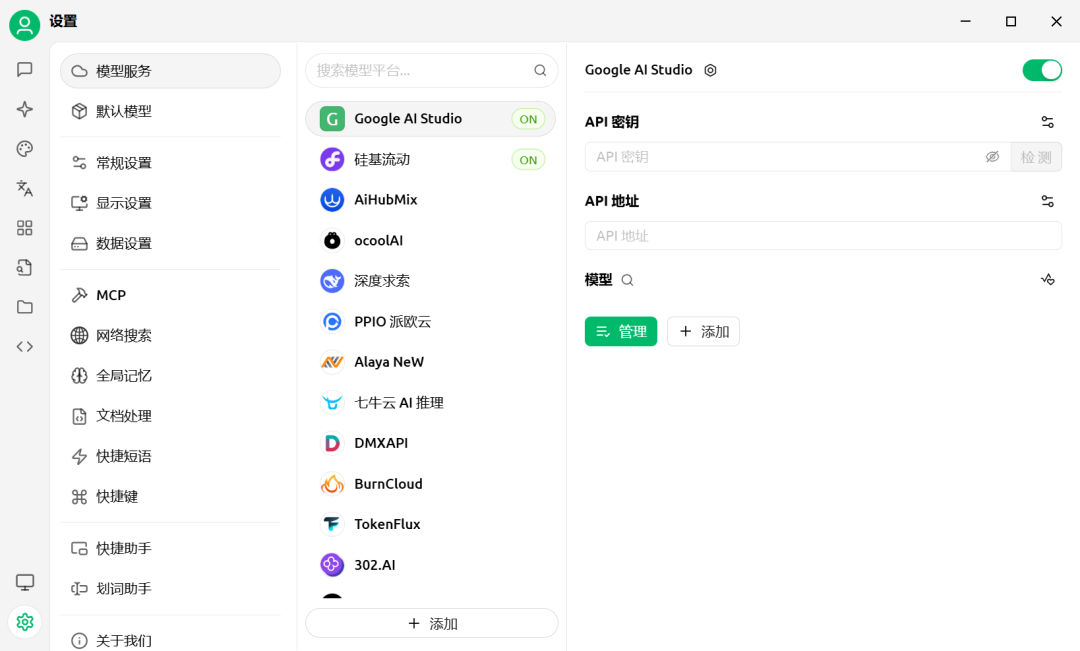
# 1、API密钥
在"Google AI Studio"创建的"API key"# 2、API地址
# {account_id}为 "Cloudflare"的"Account ID"
# {gateway_id}为 "Cloudflare"创建"AI Gateway",如gemini
https://gateway.ai.cloudflare.com/v1/{account_id}/{gateway_id}/google-ai-studio# 3、模型
gemini-2.0-flash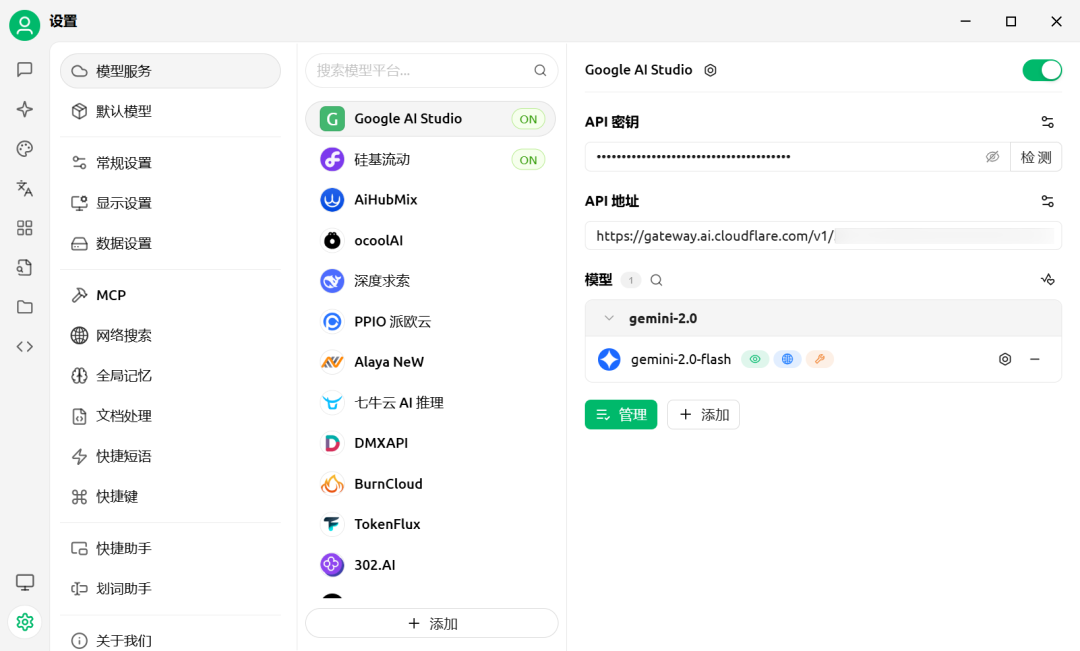
点击“检测”
“请选择要检测的模型”,点击“确定”:
点击“助手”:

点击“deepseek-ai/DeepSeek-V3 | 硅基流动”,切换模型:
默认为:"deepseek-ai/DeepSeek-V3 | 硅基流动"
切换为:"gemini-2.0-flash | Google AI Studio"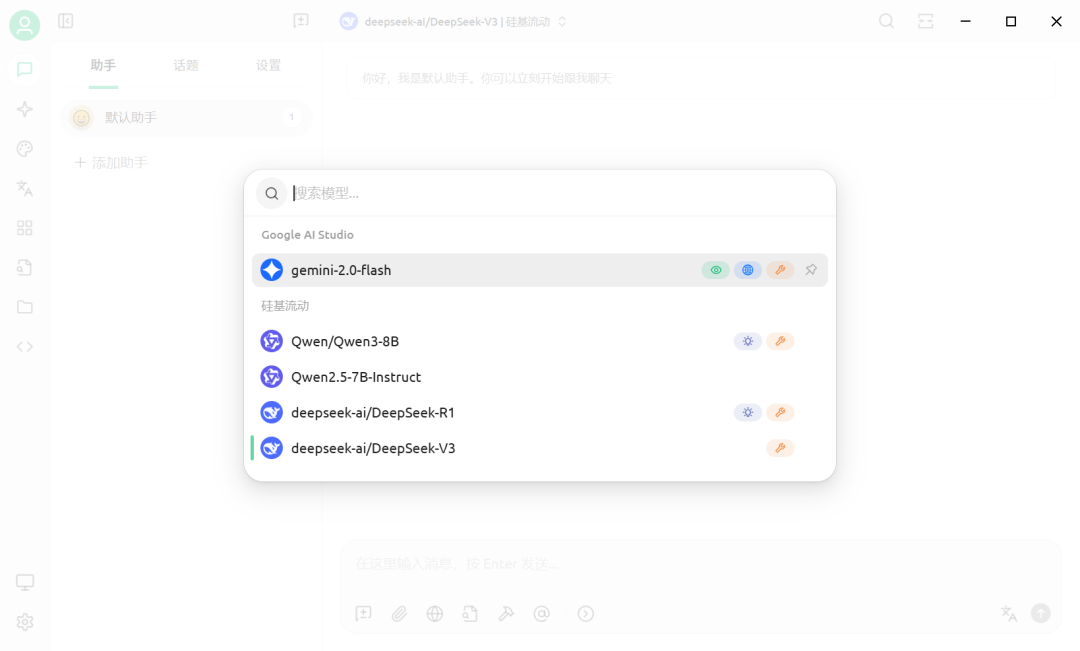
5、详见
https://aistudio.google.com
https://gemini.google.com
https://www.cloudflare.com
https://www.cloudflare-cn.com
https://dash.cloudflare.com
https://developers.cloudflare.com/ai-gateway
https://developers.cloudflare.com/ai-gateway/get-started
https://developers.cloudflare.com/ai-gateway/usage/providers/google-ai-studio
https://playground.ai.cloudflare.com
https://mp.weixin.qq.com/s/Xg7W7KJs6IpvXxPCoMWtXw