【Node.js从 0 到 1:入门实战与项目驱动】1.3 Node.js 的应用场景(附案例与代码实现)
文章目录
- 1.3 Node.js 的应用场景(附案例与代码实现)
- 1.3 Node.js 的应用场景(附案例与代码实现)
- 一、Web 服务器开发
- 二、API 开发
- 三、命令行工具(CLI)开发
- 四、实时应用开发
- 小结
1.3 Node.js 的应用场景(附案例与代码实现)
1.3 Node.js 的应用场景(附案例与代码实现)
Node.js 凭借异步非阻塞 I/O和事件驱动的特性,在多个领域展现出高效性和灵活性。以下结合具体案例和可运行代码,详细介绍其典型应用场景:
一、Web 服务器开发
Node.js 原生支持 HTTP 模块,可直接构建轻量级 Web 服务器,尤其适合处理高并发的静态资源请求(如 HTML、CSS、图片等)。
-
优势:
- 单线程模型减少内存开销,非阻塞 I/O 可同时处理 thousands 级并发连接(无需为每个请求创建新线程)。
- 配合
express等框架,可快速扩展为支持路由、中间件的完整服务器。
-
案例:静态文件服务器
- 使用 Node.js 原生
http模块和fs模块,实现一个简单的静态文件服务器,根据请求路径返回对应文件。 - server.js
// server.js const http = require('http'); const fs = require('fs'); const path = require('path'); // 创建 HTTP 服务器const server = http.createServer((req, res) => {// 解析请求路径(默认返回 index.html)const filePath = req.url === '/' ? './public/index.html' : `./public${req.url}`;const extname = path.extname(filePath); // 获取文件扩展名// 设置 Content-Type(简单处理常见类型)const contentType = {'.html': 'text/html','.css': 'text/css','.js': 'text/javascript','.png': 'image/png'} [extname] || 'text/plain';// 读取文件并返回fs.readFile(filePath, (err, data) => {if (err) {// 处理 404 错误res.writeHead(404, { 'Content-Type': 'text/html' });res.end('<h1>404 Not Found</h1>');} else {res.writeHead(200, { 'Content-Type': contentType });res.end(data); // 返回文件内容}}); });// 启动服务器const PORT = 3000; server.listen(PORT, () => {console.log(`服务器运行在 http://localhost:${PORT}`); }); - index.html
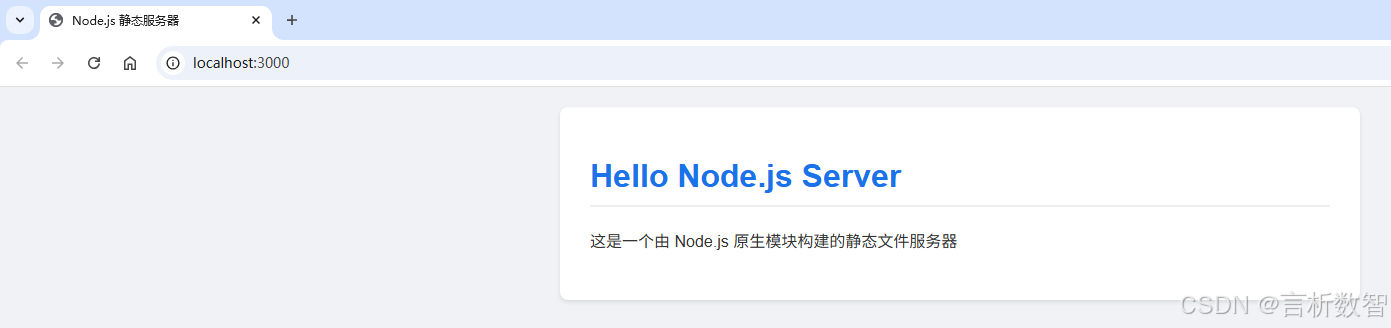
// index.html <!-- public/index.html --> <!DOCTYPE html> <html> <head><meta charset="UTF-8"> <!-- 添加这行设置字符编码为 UTF-8 --><title>Node.js 静态服务器</title><link rel="stylesheet" href="style.css"> </head> <body> <div class="container"><h1>Hello Node.js Server</h1><p>这是一个由 Node.js 原生模块构建的静态文件服务器</p> </div> </body> </html> - style.css
/* public/style.css */
body {font-family: Arial, sans-serif;max-width: 800px;margin: 0 auto;padding: 20px;background-color: #f0f2f5;
}h1 {color: #1a73e8;border-bottom: 2px solid #eee;padding-bottom: 10px;
}p {line-height: 1.6;color: #333;
}.container {background-color: white;padding: 30px;border-radius: 8px;box-shadow: 0 2px 4px rgba(0,0,0,0.1);
}
- 使用 Node.js 原生
-
运行步骤:
-
- 创建目录结构:
project/ ├── server.js └── public/├── index.html├── style.css└── image.png -
- 在
public/index.html中写入简单内容(如<h1>Hello Node.js Server</h1>)。
- 在
-
- 执行命令:
node server.js。
- 执行命令:
-
- 访问
http://localhost:3000,可看到index.html内容;访问http://localhost:3000/style.css可返回样式文件。

- 访问
-
二、API 开发
Node.js 是构建 RESTful API 或 GraphQL 接口的热门选择,尤其适合需要频繁与数据库、第三方服务交互的场景。
-
GraphQL 是一种用于 API 开发的查询语言,与传统 RESTful API 不同,它
允许客户端精确指定需要获取的数据,避免了过度获取或获取不足的问题。 -
简单说,GraphQL 让客户端 “说了算”,想要什么数据就明确告诉服务器,避免了数据浪费或不够用的问题,尤其适合前端需求多变的场景。
-
优势:
- 异步编程模型完美适配 API 中的 “等待数据返回” 操作(如数据库查询、网络请求),避免阻塞。
- 丰富的框架(如
Express、Koa)和库(如Mongoose、Sequelize)简化开发。 - 案例:RESTful 用户 API
使用Express框架和内存数组模拟数据库,实现用户信息的增删改查(CRUD)接口。 - api.js
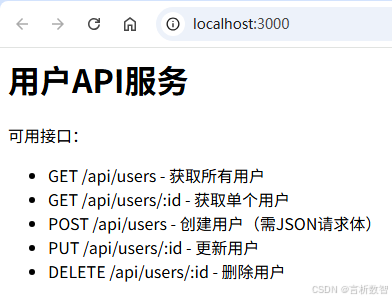
// api.js
const express = require('express');
const app = express();
app.use(express.json());// 模拟数据库(用户数组)
let users = [{ id: 1, name: 'Alice', age: 25 },{ id: 2, name: 'Bob', age: 30 }
];// 新增:处理根路径请求
app.get('/', (req, res) => {res.send(`<h1>用户API服务</h1><p>可用接口:</p><ul><li>GET /api/users - 获取所有用户</li><li>GET /api/users/:id - 获取单个用户</li><li>POST /api/users - 创建用户(需JSON请求体)</li><li>PUT /api/users/:id - 更新用户</li><li>DELETE /api/users/:id - 删除用户</li></ul>`);
});// 以下是原有的接口(保持不变)
app.get('/api/users', (req, res) => {res.json(users);
});app.get('/api/users/:id', (req, res) => {const user = users.find(u => u.id === parseInt(req.params.id));if (!user) return res.status(404).json({ message: '用户不存在' });res.json(user);
});app.post('/api/users', (req, res) => {const newUser = {id: users.length + 1,name: req.body.name,age: req.body.age};users.push(newUser);res.status(201).json(newUser);
});app.put('/api/users/:id', (req, res) => {const user = users.find(u => u.id === parseInt(req.params.id));if (!user) return res.status(404).json({ message: '用户不存在' });user.name = req.body.name || user.name;user.age = req.body.age || user.age;res.json(user);
});app.delete('/api/users/:id', (req, res) => {const userIndex = users.findIndex(u => u.id === parseInt(req.params.id));if (userIndex === -1) return res.status(404).json({ message: '用户不存在' });users.splice(userIndex, 1);res.json({ message: '用户已删除' });
});app.listen(3000, () => {console.log('API 服务器运行在 http://localhost:3000');
});
-
运行步骤:
-
- 安装依赖:
npm install express。
- 安装依赖:
-
- 执行命令:
node api.js。
- 执行命令:
-
- 使用工具(如 Postman、curl)测试接口:
- 使用工具(如 Postman、curl)测试接口:
-
-
GET ``http://localhost:3000/api/users→ 获取所有用户。

-
POST ``http://localhost:3000/api/users(请求体:{ "name": "Charlie", "age": 28 })→ 创建用户。
三、命令行工具(CLI)开发
Node.js 可开发跨平台(Windows/macOS/Linux)的命令行工具,用于自动化脚本、项目脚手架等场景。
-
优势:
- 借助
commander(命令解析)、inquirer(交互式提问)等库,快速实现命令行交互。 - 通过
npm发布后,用户可全局安装(npm install -g)并直接调用。
- 借助
-
案例:项目初始化工具
- 开发一个简单的 CLI 工具,通过命令快速创建前端项目目录(如
src、public文件夹及基础文件)。 - cli.js
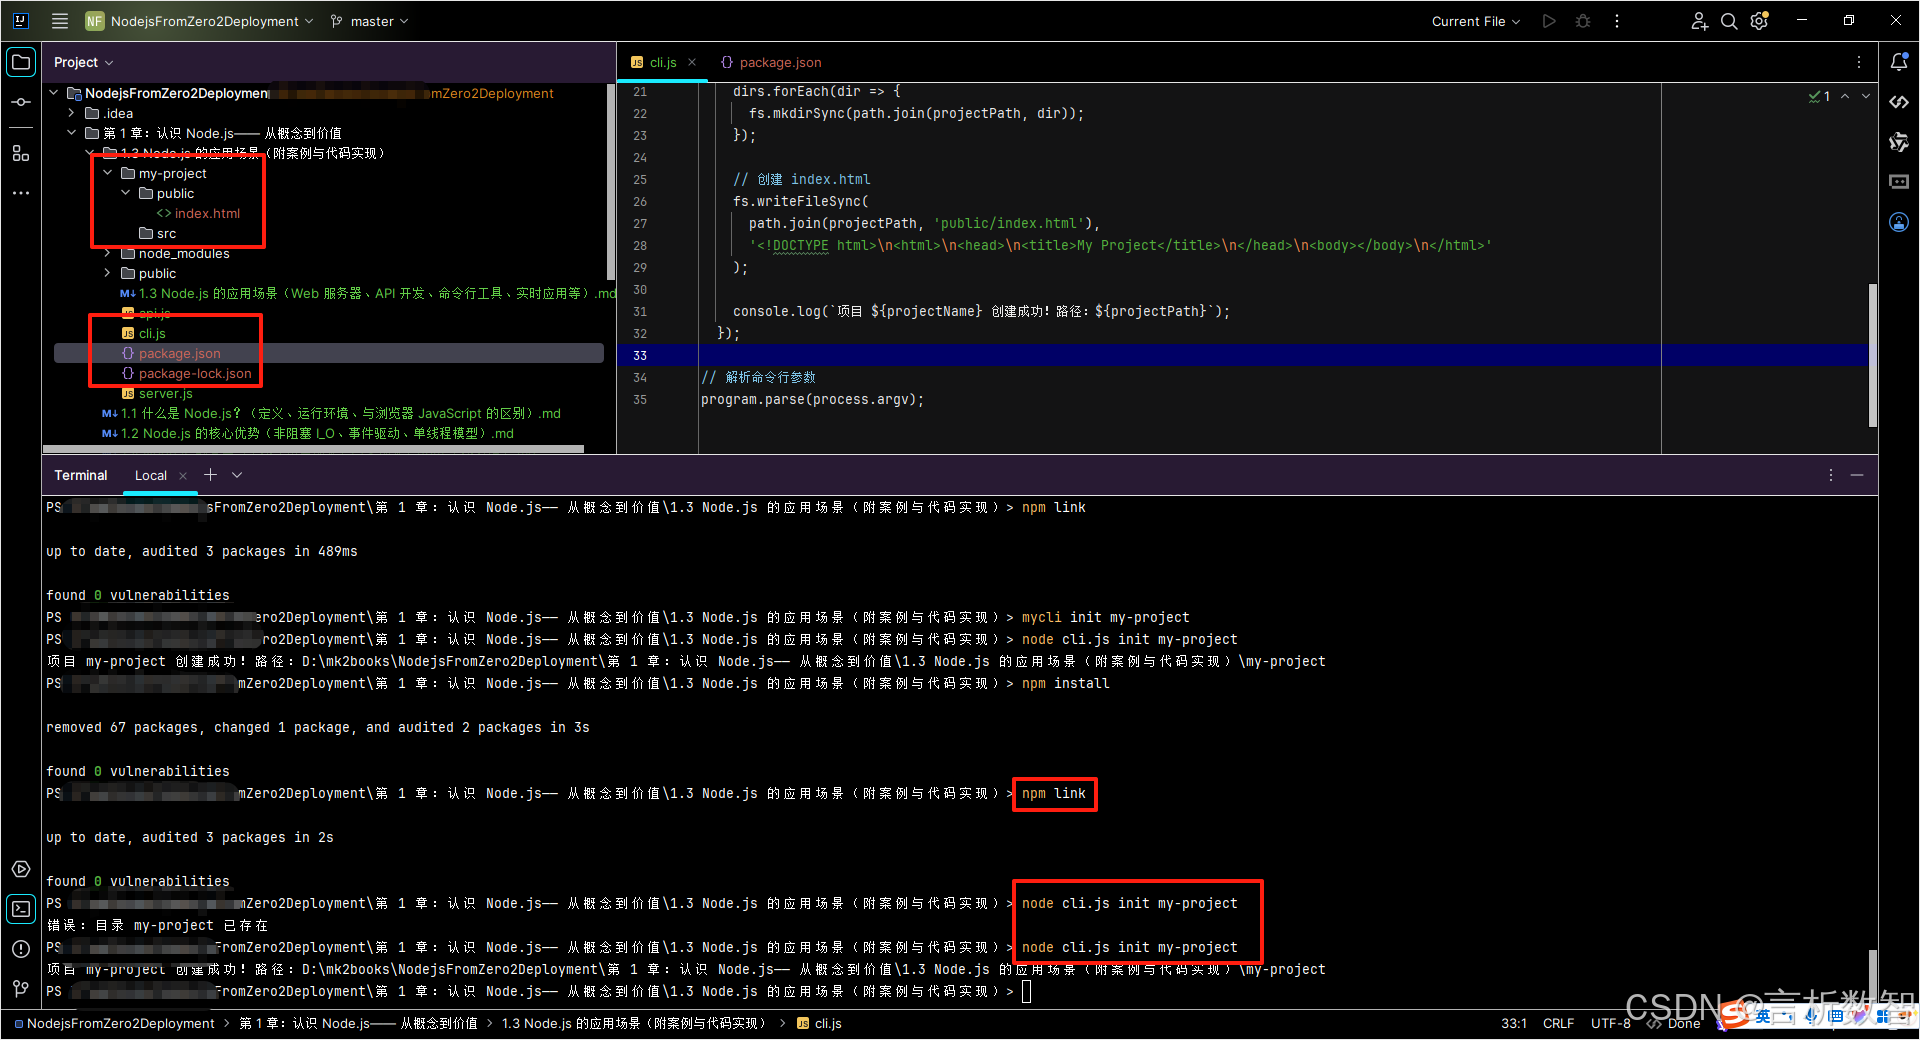
#!/usr/bin/env node  // 声明为 Node 可执行文件
const { program } = require('commander');
const fs = require('fs');
const path = require('path');// 定义命令:init <项目名>
program.command('init <projectName>').description('创建新项目').action((projectName) => {// 创建项目目录const projectPath = path.join(process.cwd(), projectName);if (fs.existsSync(projectPath)) {console.error(`错误:目录 ${projectName} 已存在`);return;}fs.mkdirSync(projectPath);// 创建子目录和文件const dirs = ['src', 'public'];dirs.forEach(dir => {fs.mkdirSync(path.join(projectPath, dir));});// 创建 index.htmlfs.writeFileSync(path.join(projectPath, 'public/index.html'),'<!DOCTYPE html>\n<html>\n<head>\n<title>My Project</title>\n</head>\n<body></body>\n</html>');console.log(`项目 ${projectName} 创建成功!路径:${projectPath}`);});// 解析命令行参数
program.parse(process.argv);
- 开发一个简单的 CLI 工具,通过命令快速创建前端项目目录(如
-
运行步骤:
-
- 安装依赖:
npm install commander。
- 安装依赖:
-
- 在
package.json中添加配置(使工具可全局调用):
{"name": "my-cli","version": "1.0.0","bin": {"mycli": "./cli.js"},"dependencies": {"commander": "^11.0.0"} } - 在
-
- 本地链接工具:
npm link(相当于全局安装)。
- 本地链接工具:
-
- 执行命令:
node cli.js init my-project→ 自动创建my-project目录及结构。
- 执行命令:
-
四、实时应用开发
Node.js 是实时通信应用的首选技术,其事件驱动模型可高效处理低延迟、高并发的双向通信(如聊天室、实时协作工具)。
-
优势:
-
基于
WebSocket协议(全双工通信),配合ws或Socket.io库,实现服务器与客户端的实时数据推送。 -
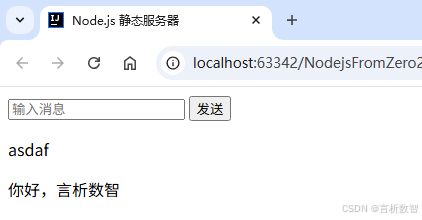
案例:简易 WebSocket 聊天室
- 使用
ws库实现一个实时聊天室,支持多用户同时发送和接收消息。
- 使用
-
websocket-server.js
// websocket-server.js const WebSocket = require('ws'); const wss = new WebSocket.Server({ port: 8080 }); // 创建 WebSocket 服务器// 存储所有连接的客户端 const clients = new Set();// 监听客户端连接 wss.on('connection', (ws) => {console.log('新客户端连接');clients.add(ws);// 监听客户端消息ws.on('message', (data) => {const message = data.toString(); // 接收消息(字符串格式)console.log(\`收到消息:\${message}\`);// 广播消息给所有客户端(包括发送者)clients.forEach(client => {if (client.readyState === WebSocket.OPEN) {client.send(message); // 转发消息}});});// 监听客户端断开连接ws.on('close', () => {console.log('客户端断开连接');clients.delete(ws);}); });console.log('WebSocket 聊天室运行在 ws://localhost:8080'); -
客户端页面(client.html):
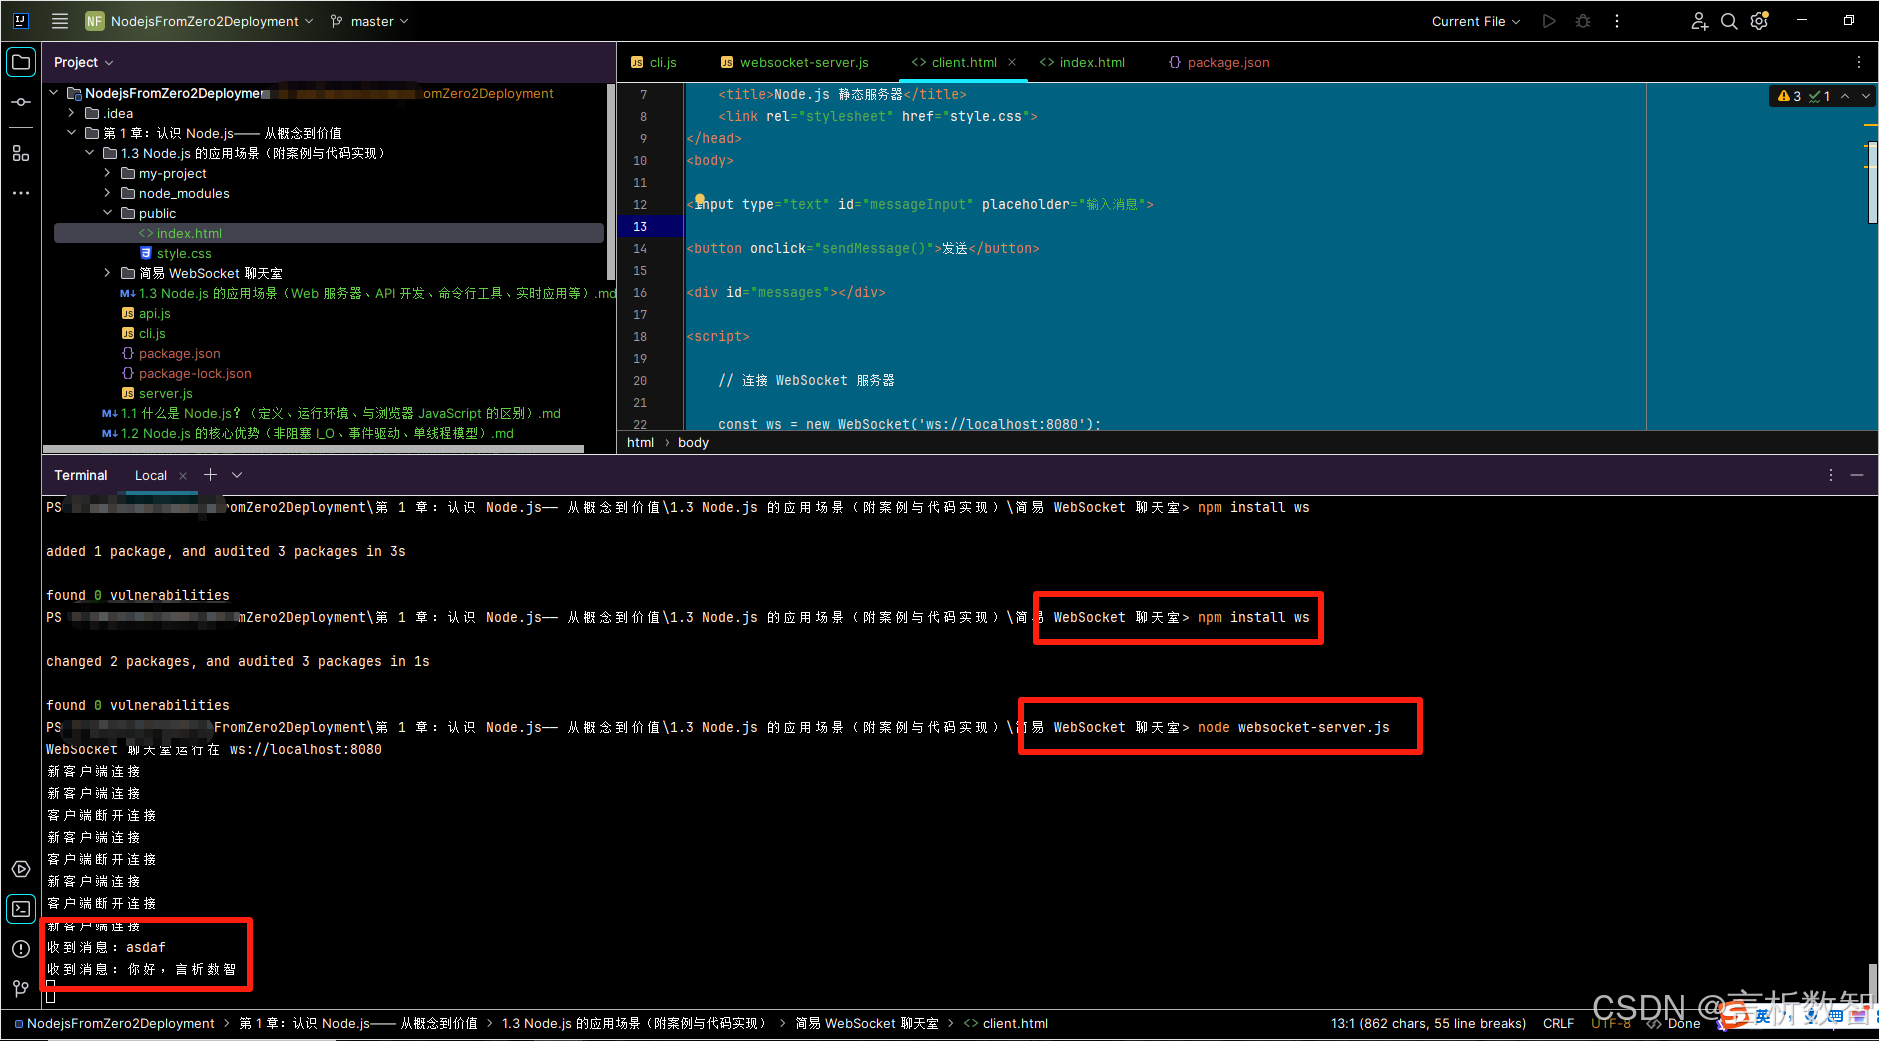
<!-- client.html --><!DOCTYPE html>
<html>
<head><meta charset="UTF-8"> <!-- 添加这行设置字符编码为 UTF-8 --><title>Node.js 静态服务器</title><link rel="stylesheet" href="style.css">
</head>
<body><input type="text" id="messageInput" placeholder="输入消息">
<button onclick="sendMessage()">发送</button>
<div id="messages"></div>
<script>// 连接 WebSocket 服务器const ws = new WebSocket('ws://localhost:8080');// 接收服务器消息ws.onmessage = (event) => {const messagesDiv = document.getElementById('messages');messagesDiv.innerHTML += `<p>${event.data}</p>`;};// 发送消息到服务器function sendMessage() {const input = document.getElementById('messageInput');const message = input.value;if (message) {ws.send(message);input.value = '';}}</script>
</body>
</html>
-
-
运行步骤:
-
- 安装依赖:
npm install ws。
- 安装依赖:
-
- 启动服务器:
node websocket-server.js。
- 启动服务器:
-
- 用浏览器打开多个
client.html页面,在输入框中发送消息,所有页面会实时显示消息内容。
- 用浏览器打开多个
-
小结
Node.js 的应用场景远不止上述几类,还包括桌面应用开发(如
Electron)、数据流处理(如日志分析)、微服务架构等。
- 其核心优势在于将 JavaScript 的灵活性与异步 I/O 结合,使开发者能高效应对各类场景,尤其是 I/O 密集型任务。
- 通过丰富的生态(npm 包、框架),Node.js 进一步降低了开发门槛,成为全栈开发的重要工具。