Cursor下利用Stagewise实现 “所见即改” 的前端开发体验~
工欲善其事,必先利其器!发现好工具一定要第一时间和大家分享!
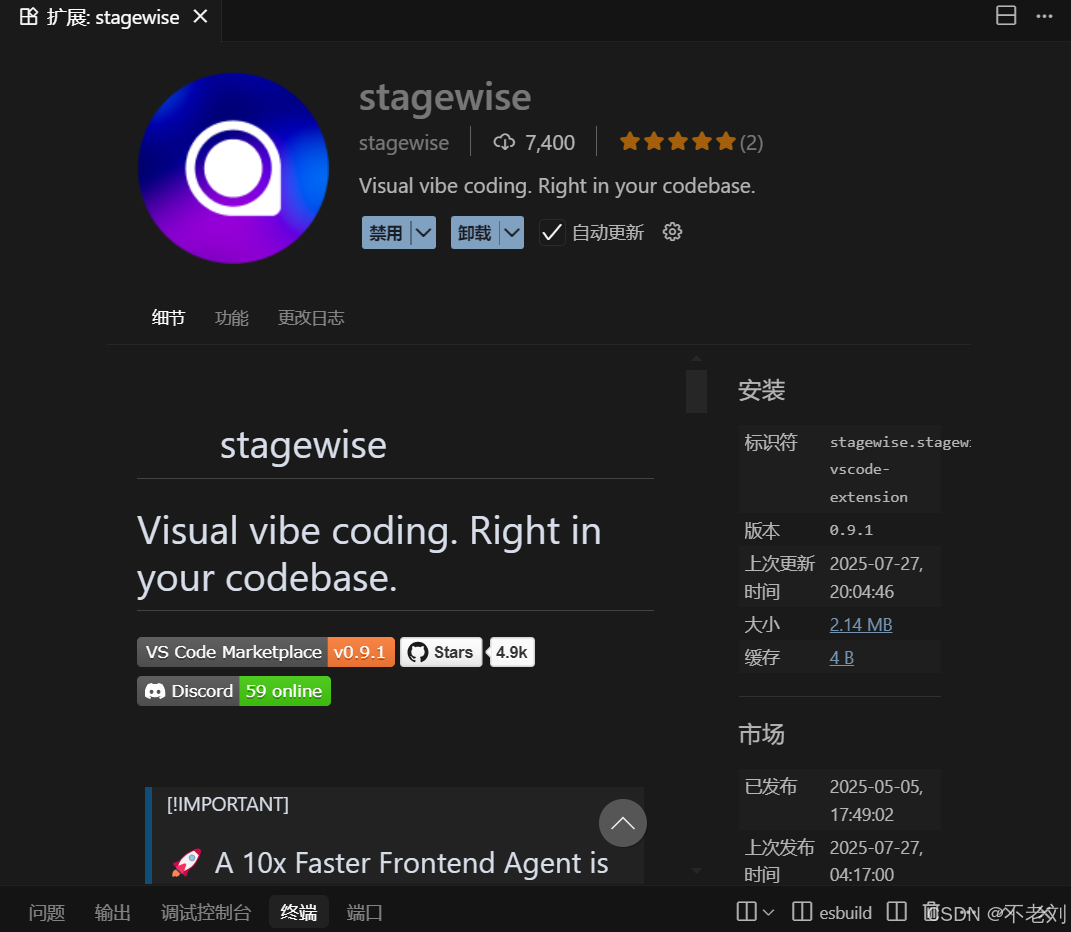
Stagewise 是一款专为前端开发者设计的 AI 辅助工具,旨在通过 可视化交互 和 精准上下文传递,提升前端开发效率。它允许开发者直接在浏览器中选择 UI 元素,并将相关信息(如 DOM 结构、样式、截图等)发送给 AI 编程助手(如 Cursor、VsCode、Trae、Windsurf),实现 “所见即改” 的开发体验。
操作步骤:
- 在IDE插件市场中 搜索安装 Stagewise 插件!
2.按下快捷键
-
Mac快捷键【command + Shift + P】 Win【ctrl + Shift + P】
-
输入setup,选中stagewise,自动安装命令会发送到右侧聊天窗口,执行即可。

- 🧩 Install the extension
Install the extension from the extension store of your code editor:
- Cursor: cursor:extension/stagewise.stagewise-vscode-extension VS
- Code: vscode:extension/stagewise.stagewise-vscode-extension Trae:
- trae:extension/stagewise.stagewise-vscode-extension Windsurf:
- windsurf:extension/stagewise.stagewise-vscode-extension
- 👨🏽💻 Install and inject the toolbar (the extension will guide you)
- In Cursor, Press CMD + Shift + P
- Enter setupToolbar
- Execute the command and the toolbar will init automatically 🦄
3.执行完成后,会自动在你的项目里引入Stagewise,再次启动项目,就会在右下角看到一个图标了。

此时鼠标移动到元素上方就可以点击选择元素。

核心功能
-
可视化元素选择
- 在浏览器中点击任意 UI 元素(按钮、表单、卡片等),自动捕获其 DOM 路径、样式、截图及元数据(如
className、id、组件名等)。 - 支持多元素选择,便于批量调整关联组件(如表单组)。
- 在浏览器中点击任意 UI 元素(按钮、表单、卡片等),自动捕获其 DOM 路径、样式、截图及元数据(如
-
AI 代码生成与修改
- 一键将选中的元素信息发送至 AI 编程助手(如 Cursor、GitHub Copilot),生成或调整代码,无需手动描述元素位置。
- 支持实时反馈,修改后自动刷新页面预览效果。
-
多框架支持
- 兼容主流前端框架(React、Vue、Next.js、SvelteKit 等),提供专用适配器,无需额外配置。
-
安全与轻量化
- 仅在开发模式生效,不影响生产环境性能。
- 数据传输加密,支持本地部署(通过 MCP 服务器)。
-
插件系统
- 允许开发者扩展功能,如集成设计系统、业务逻辑插件等。
典型使用场景
- UI 微调:快速修改按钮颜色、间距等样式,无需手动查找 CSS 类名。
- 低代码开发:在混合 UI 与逻辑的场景中,精准调整组件行为。
- 团队协作:选中问题元素并添加注释,AI 直接生成修改建议,减少沟通成本。
安装与使用
- 安装 VS Code 扩展
- 在 VS Code 市场搜索并安装 Stagewise 扩展。
- 注入浏览器工具栏
- 通过命令面板(
CMD + Shift + P)执行setupToolbar初始化。
- 通过命令面板(
- 选择元素并发送至 AI
- 在浏览器中点击目标元素,填写需求(如“增大字体”),AI 生成代码后自动应用。
技术架构
- 双向通信:基于 WebSocket 连接浏览器与编辑器,数据包包含 DOM 结构、序列化状态及视觉快照。
- 沙箱安全:仅限开发环境使用,敏感数据(如密码输入框)自动过滤。
未来发展
- 计划支持 批量修改 和 Figma 插件集成,进一步打通设计与开发流程。
- 探索 跨编辑器通用适配层,兼容更多 AI 编程工具。
Stagewise 通过 “浏览器即界面” 的交互模式,显著减少了前端开发中的手动操作,尤其适合频繁调整 UI 或使用 AI 助手的开发者。
I’ll help you implement the stagewise toolbar into your Vue.js project. Let me first examine the project structure and then implement the required changes.
Read file: package.json
Great! I can see this is a Vue.js project using npm as the package manager, and the stagewise packages are already installed. Now let me check the current App.vue file to see how to integrate the toolbar.
Read file: src/App.vue
Perfect! I can see that the stagewise toolbar is already integrated into the App.vue file. The implementation looks correct:
- ✅ The
@stagewise/toolbar-vueand@stagewise-plugins/vuepackages are installed - ✅ The
StagewiseToolbarcomponent is imported and used in the template - ✅ The
VuePluginis imported and passed to the config - ✅ The toolbar is positioned in the template
Let me also check the extensions.json file to confirm the stagewise extension is recommended:
Read file: extensions.json
Excellent! The stagewise toolbar is already properly implemented in your Vue.js project. Here’s what’s currently set up:
✅ Current Implementation Status
Package Installation:
@stagewise/toolbar-vueand@stagewise-plugins/vueare already installed
Integration:
- The
StagewiseToolbarcomponent is properly imported and used inApp.vue - The
VuePluginis correctly configured in the toolbar - The toolbar is positioned in the template
Extensions:
- The stagewise VSCode extension is already in the recommended extensions list
🎯 Expected Behavior
The stagewise toolbar should:
- ✅ Appear only in development mode (handled by the
@stagewise/toolbar-vuepackage) - ✅ Not be included in production builds
- ✅ Load once on initial browser opening
- ✅ Only execute in the browser (not SSR)
🚀 Next Steps
-
Start your development server:
npm run dev -
Look for the toolbar: It should appear in the bottom right corner of your web app
-
If the toolbar doesn’t appear: Contact the stagewise team via Discord at https://discord.gg/gkdGsDYaKA
The implementation is already complete and follows all the requirements. The stagewise toolbar should be working in your Vue.js project!