【沉浸式求职学习day41】【Servlet】
沉浸式求职学习
- Servlet
- 1.Servlet简介
- 2.HelloServlet
- Servlet原理
- 3.ServletContext
- 共享数据
- 拿到初始化信息
- 请求转发
- 读取资源文件
Servlet
1.Servlet简介
-
Servlet就是sun公司开发动态web的一门技术。
-
Sun在这些API中提供一个接口叫做:Servlet,如果你想开发一个Servlet程序,只需要完成两个小步骤:
- 编写一个类,实现Servlet接口。
- 把开发好的Java类部署到web服务器中。
-
把实现了Servlet接口的Java程序叫做,Servlet
2.HelloServlet
Serlvet接口Sun公司有两个默认的实现类:HttpServlet,GenericServlet。
接下来我们编写一个Servlet程序:

-
编写一个普通类。
-
实现Servlet接口,这里我们直接继承HttpServlet
package com.hh.servlet;import javax.servlet.ServletException;
import javax.servlet.ServletOutputStream;
import javax.servlet.http.HttpServlet;
import javax.servlet.http.HttpServletRequest;
import javax.servlet.http.HttpServletResponse;
import java.io.IOException;
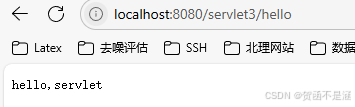
import java.io.PrintWriter;public class helloServlet extends HttpServlet {// 由于get或者Post只是请求实现的不同方式,可以相互调用,业务逻辑都一样@Overrideprotected void doGet(HttpServletRequest req, HttpServletResponse resp) throws ServletException, IOException {System.out.println("进入doGet方法");PrintWriter writer = resp.getWriter(); //响应流
// ServletOutputStream outputStream = resp.getOutputStream();writer.print("hello,servlet");}@Overrideprotected void doPost(HttpServletRequest req, HttpServletResponse resp) throws ServletException, IOException {}
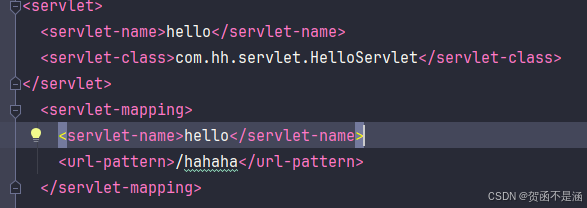
}然后编写servlet映射:
<web-app xmlns="http://xmlns.jcp.org/xml/ns/javaee"xmlns:xsi="http://www.w3.org/2001/XMLSchema-instance"xsi:schemaLocation="http://xmlns.jcp.org/xml/ns/javaeehttp://xmlns.jcp.org/xml/ns/javaee/web-app_4_0.xsd"version="4.0"metadata-complete="true">
<!--    注册Servlet--><servlet><servlet-name>hello</servlet-name><servlet-class>com.hh.servlet.helloServlet</servlet-class></servlet><!-- Servlet请求路径-->
<!--    localhost:8080/s3/hello/hello--><servlet-mapping><servlet-name>hello</servlet-name><url-pattern>/hello/hello</url-pattern></servlet-mapping><servlet-mapping><servlet-name>hello</servlet-name><url-pattern>/hello</url-pattern></servlet-mapping><!--    注册404-->
<!--    <servlet>-->
<!--        <servlet-name>error</servlet-name>-->
<!--        <servlet-class>com.hh.servlet.errorServlet</servlet-class>-->
<!--    </servlet>-->
<!--    <servlet-mapping>-->
<!--        <servlet-name>error</servlet-name>-->
<!--        <url-pattern>/*</url-pattern>-->
<!--    </servlet-mapping>--></web-app>
运行Tomcat:

Servlet原理
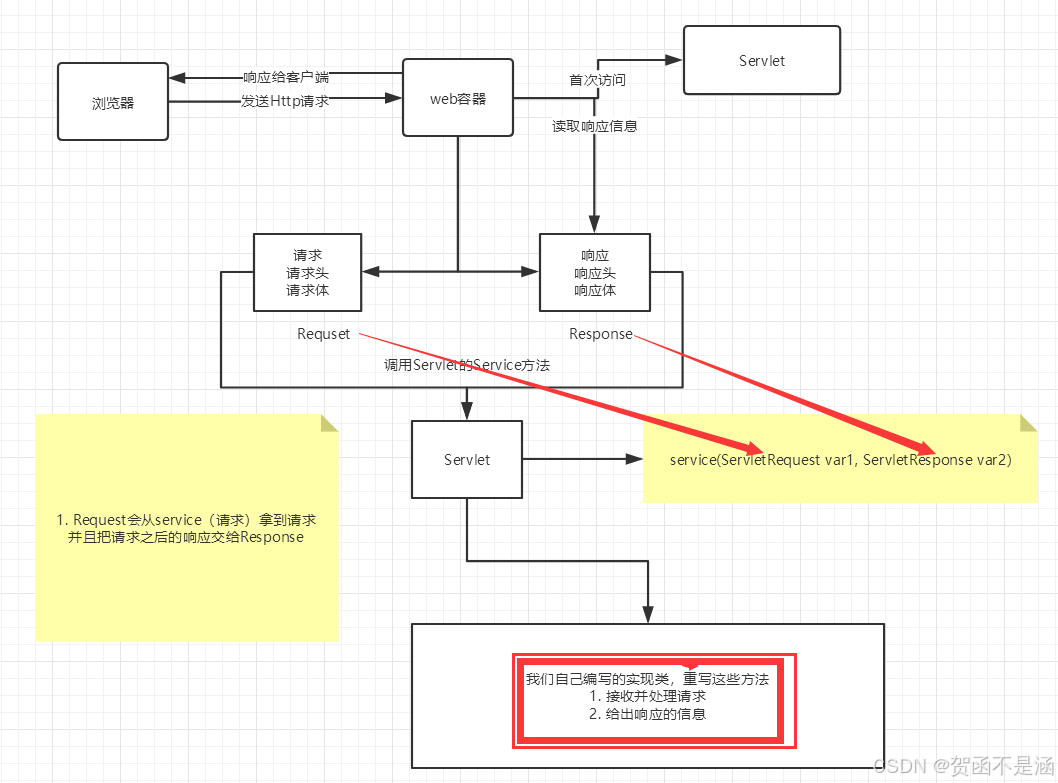
首先浏览器发送Http请求给web容器(可以理解为Tomcat)然后Requset通过Servlet去调用Service方法,产生一个Response,这个请求赋给响应体,然后在给Web容器。其中Servlet这里是我们自己取编写的实现类,并且重写这些方法,比如接受并处理请求,且给出响应的信息。
3.ServletContext
web容器在启动的时候,它会为每个web程序都创建一个对应的ServletContext对象,它代表了当前的web应用;
共享数据
在这个Servlet中保存的数据,可以在另外一个servlet中拿到;
package com.hh.servlet;import javax.servlet.ServletContext;
import javax.servlet.ServletException;
import javax.servlet.http.HttpServlet;
import javax.servlet.http.HttpServletRequest;
import javax.servlet.http.HttpServletResponse;
import java.io.IOException;public class HelloServlet extends HttpServlet {@Overrideprotected void doGet(HttpServletRequest req, HttpServletResponse resp) throws ServletException, IOException {// this.getInitParameter() 初始化参数
// this.getServletConfig(); Servlet配置
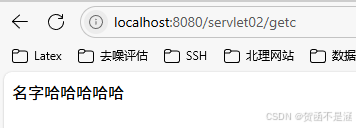
// this.getServletContext(); Servlet上下文// Web容器启动的时候,会为每个WEB程序创建一个对应的ServletContext对象,代表当前WEB应用ServletContext context = this.getServletContext();String username = "哈哈哈哈哈";context.setAttribute("username",username); // 将一个数据保存在context中System.out.println("hello");}}首先先通过setAttribute把数据保存在context中
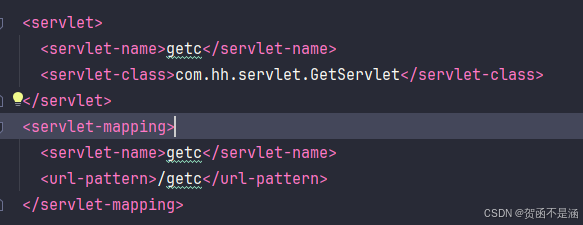
接着从另外一个Servlet中取数据:
package com.hh.servlet;import javax.servlet.ServletContext;
import javax.servlet.ServletException;
import javax.servlet.http.HttpServlet;
import javax.servlet.http.HttpServletRequest;
import javax.servlet.http.HttpServletResponse;
import java.io.IOException;public class GetServlet extends HttpServlet {@Overrideprotected void doGet(HttpServletRequest req, HttpServletResponse resp) throws ServletException, IOException {ServletContext servletContext = this.getServletContext();String username = (String) servletContext.getAttribute("username");//resp.setCharacterEncoding("utf-8");resp.setContentType("text/html");resp.getWriter().print("名字"+username);}
}
结果:
拿到初始化信息
package com.hh.servlet;import javax.servlet.ServletContext;
import javax.servlet.ServletException;
import javax.servlet.http.HttpServlet;
import javax.servlet.http.HttpServletRequest;
import javax.servlet.http.HttpServletResponse;
import java.io.IOException;
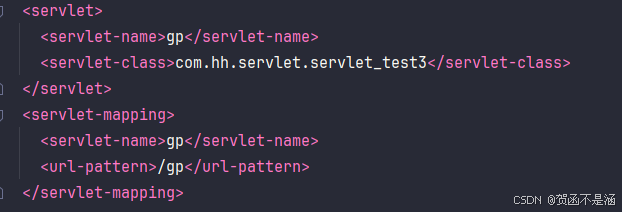
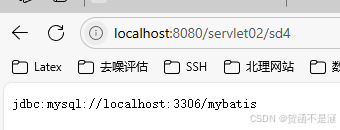
import java.util.Properties;public class servlet_test3 extends HttpServlet {@Overrideprotected void doGet(HttpServletRequest req, HttpServletResponse resp) throws ServletException, IOException {ServletContext servletContext = this.getServletContext();String url = servletContext.getInitParameter("url");resp.getWriter().print(url);Properties properties = new Properties();}@Overrideprotected void doPost(HttpServletRequest req, HttpServletResponse resp) throws ServletException, IOException {super.doPost(req, resp);}
}
结果:
请求转发
package com.hh.servlet;import javax.servlet.ServletContext;
import javax.servlet.ServletException;
import javax.servlet.http.HttpServlet;
import javax.servlet.http.HttpServletRequest;
import javax.servlet.http.HttpServletResponse;
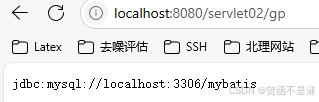
import java.io.IOException;public class servlet_test4 extends HttpServlet {@Overrideprotected void doGet(HttpServletRequest req, HttpServletResponse resp) throws ServletException, IOException {System.out.println("进入了test4");ServletContext servletContext = this.getServletContext();servletContext.getRequestDispatcher("/gp").forward(req,resp); //转发的请求路径}
}

结果:
读取资源文件
Properties
- 在java目录下新建properties
- 在resources目录下新建properties
package com.hh.servlet;import javax.servlet.ServletException;
import javax.servlet.http.HttpServletRequest;
import javax.servlet.http.HttpServletResponse;
import java.io.IOException;
import java.io.InputStream;
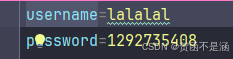
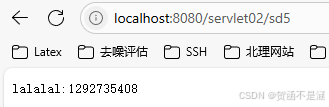
import java.util.Properties;public class PropertiesServlet extends HelloServlet{@Overrideprotected void doGet(HttpServletRequest req, HttpServletResponse resp) throws ServletException, IOException {InputStream resourceAsStream = this.getServletContext().getResourceAsStream("/WEB-INF/classes/com/hh/servlet/aa.properties");// /代表当前项目位置Properties properties = new Properties();properties.load(resourceAsStream);String username = properties.getProperty("username");String password= properties.getProperty("password");resp.getWriter().print(username+":"+password);}}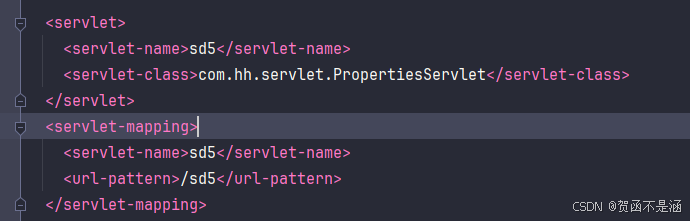
结果: