IsaacLab笔记(1)利用standalone python创建场景
IsaacSim主要有三种工作流:GUI界面,Extension以及standalone方式,对于python编程,一般使用Extension以及standalone,Extension一般依托交互界面,standalone模式直接调用IsaacSim的Core API,不依赖界面交互,更加适合平时的大规模仿真任务。
下面采用standalone的方式进行简单的场景设置
from isaacsim import SimulationApp
simulation_app = SimulationApp({"headless": False})import omni.usd
from pxr import UsdLux, Sdf, Gffrom isaacsim.core.api import World
from isaacsim.core.api.objects import DynamicCuboid
import numpy as npworld = World(stage_units_in_meters=1.0)
world.scene.add_default_ground_plane()# stage = omni.usd.get_context().get_stage()
# sun_light = UsdLux.DistantLight.Define(stage, Sdf.Path("/World/SunLight"))
# sun_light.CreateIntensityAttr(500.0)
# sun_light.CreateColorAttr(Gf.Vec3f(1.0, 1.0, 0.95))  fancy_cube = world.scene.add(DynamicCuboid(prim_path="/World/random_cube",name="fancy_cube",position=np.array([0, 0, 2.000]),scale=np.array([0.5015, 0.505, 0.5015]),size=1.0,color=np.array([0, 0, 1.0]),)
)for i in range(2000):position, orientation = fancy_cube.get_world_pose()linear_velocity = fancy_cube.get_linear_velocity()print("Cube position is : " + str(position))print("Cube's orientation is : " + str(orientation))print("Cube's linear velocity is : " + str(linear_velocity))# we have control over stepping physics and rendering in this workflow# things run in syncworld.step(render=True)  # execute one physics step and one rendering step
world.reset()
simulation_app.close()
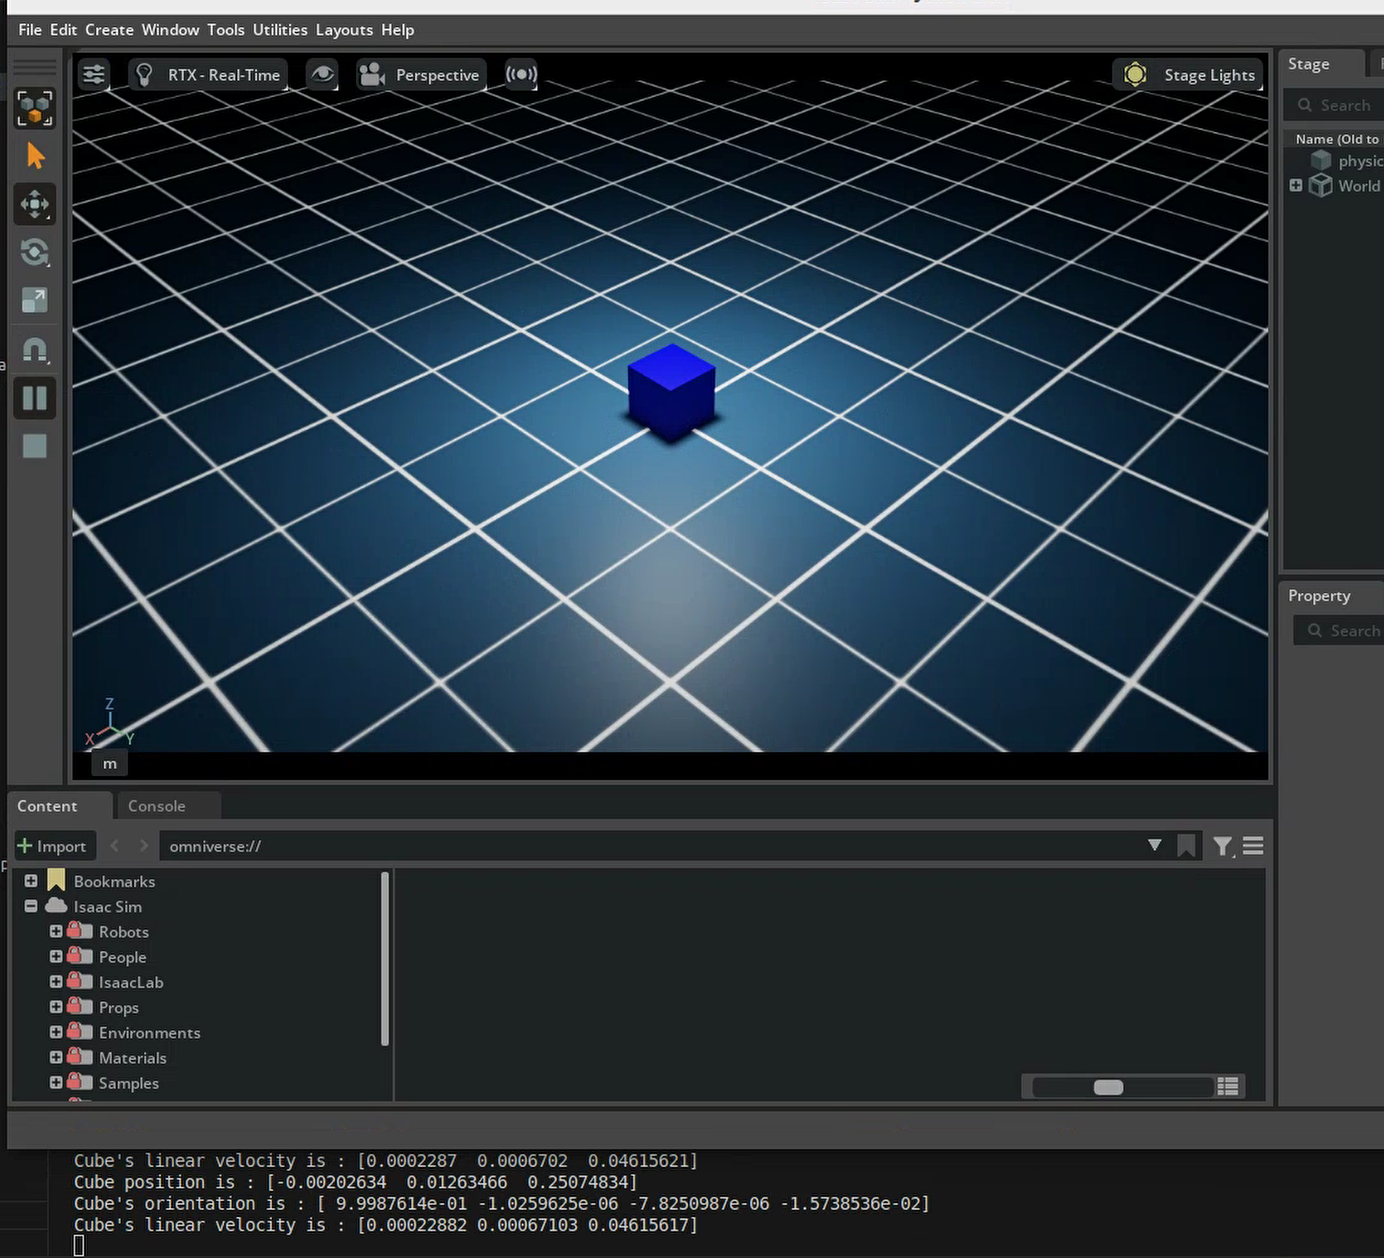
该代码通过DynamicCuboid类添加一个动态立方体,并仿真获取其位姿,速度信息。
运行一下指令,切换成你自己创建的代码路径
./python.sh /home/sun/isaac-sim/standalone_examples/api/isaacsim.aa.pick_cube/enviroment.py点击运行会发现蓝色方块掉落,终端输出信息