Python 类继承详解:深度学习神经网络架构的构建艺术
目录
一、深度学习中的继承:为何如此重要?
二、基础组件:全连接层的继承实现
1. 标准全连接层
2. 带 Dropout 的全连接层
三、卷积神经网络:模块化设计的威力
1. 基础卷积块
2. 残差块:通过继承实现架构创新
四、Transformer 架构:继承的灵活应用
1. 位置编码模块
2. Transformer 编码器层
五、继承的最佳实践与深度学习场景
1. 参数初始化策略
2. 自定义激活函数模块
3. 模型适配器模式
六、总结:深度学习继承模式的核心价值
在深度学习领域,面向对象编程的继承机制是构建复杂神经网络架构的基石。通过合理的类继承设计,我们可以创建模块化的网络组件,实现代码复用,并优雅地扩展模型功能。本文将结合 PyTorch 框架,深入探讨如何运用 Python 继承机制构建专业级的神经网络架构。
一、深度学习中的继承:为何如此重要?
在深度学习项目中,我们经常需要:
- •
创建标准化的网络层(卷积层、全连接层等)
- •
构建可复用的模型模块(残差块、注意力机制等)
- •
实现不同架构的变体(如 ResNet 的不同深度版本)
继承机制完美解决了这些问题:
- •
✅ 标准化接口:所有层继承自基础
nn.Module - •
✅ 代码复用:共享通用初始化逻辑和前向传播结构
- •
✅ 架构扩展:通过子类化轻松修改或增强现有模型
import torch
import torch.nn as nn# 基础模块:所有网络组件的父类
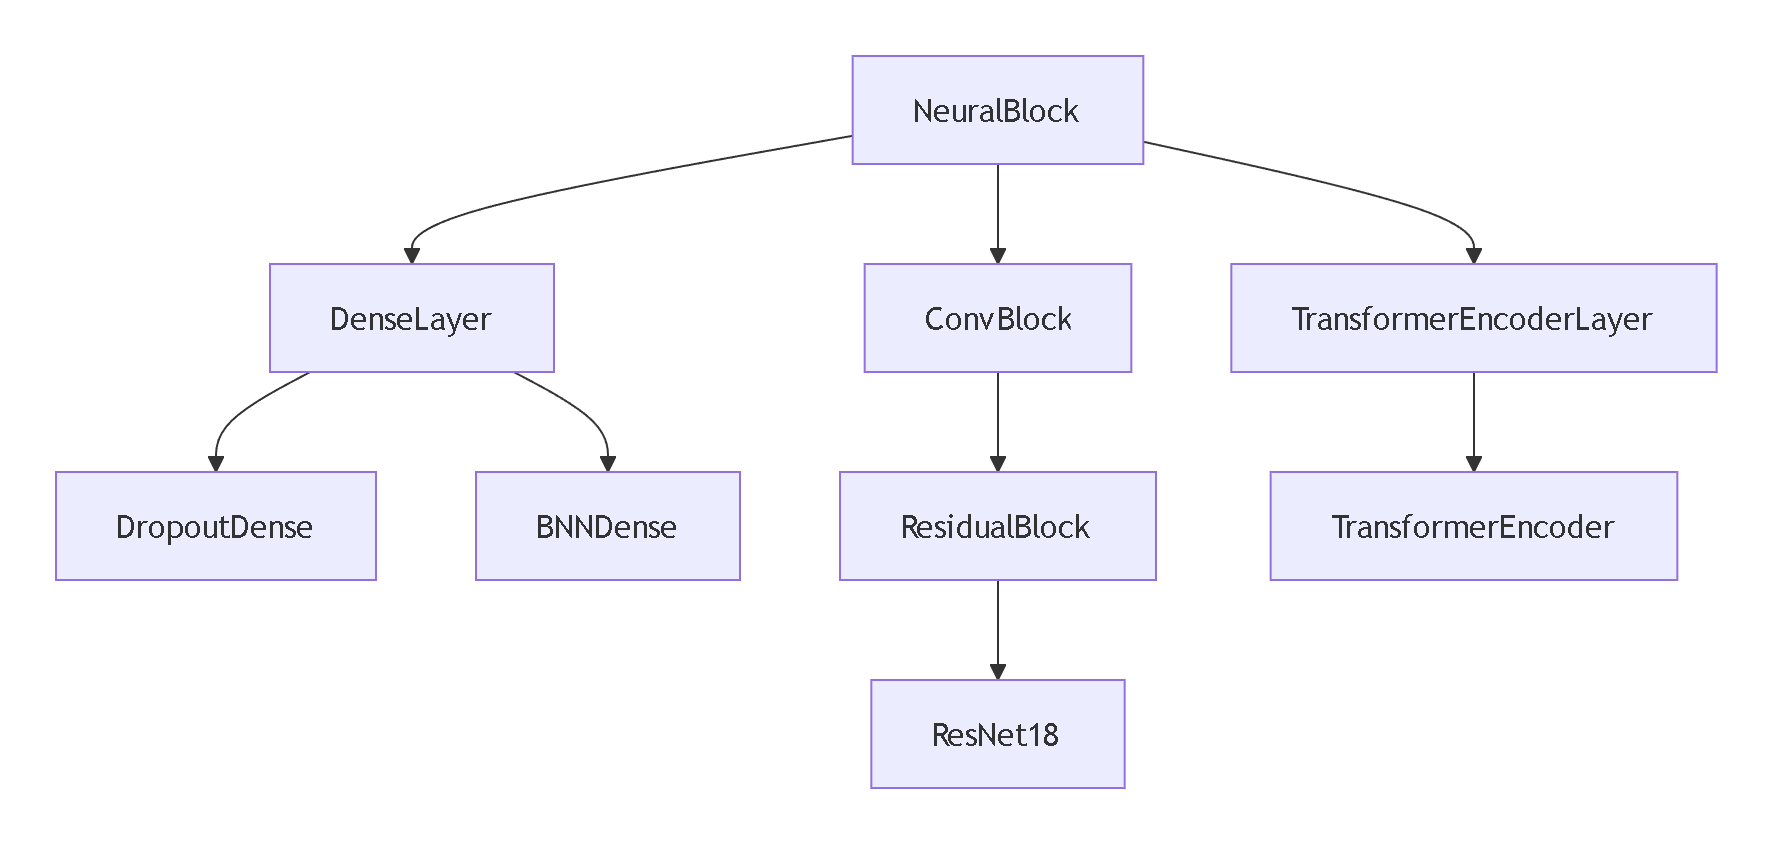
class NeuralBlock(nn.Module):def __init__(self, in_features, out_features):super().__init__()self.in_features = in_featuresself.out_features = out_features# 通用初始化逻辑self.reset_parameters()def reset_parameters(self):"""初始化权重的通用方法"""# 实际项目中会使用 Xavier/Glorot 初始化等passdef forward(self, x):"""前向传播必须由子类实现"""raise NotImplementedError("Subclasses must implement forward()")二、基础组件:全连接层的继承实现
1. 标准全连接层
class DenseLayer(NeuralBlock):def __init__(self, in_features, out_features, activation=nn.ReLU):super().__init__(in_features, out_features)self.linear = nn.Linear(in_features, out_features)self.activation = activation() if activation else Nonedef forward(self, x):x = self.linear(x)if self.activation:x = self.activation(x)return x# 使用示例
dense = DenseLayer(128, 256, activation=nn.ReLU)
print(dense(torch.randn(32, 128)).shape)  # 输出: torch.Size([32, 256])
2. 带 Dropout 的全连接层
class DropoutDense(NeuralBlock):def __init__(self, in_features, out_features, dropout_rate=0.5):super().__init__(in_features, out_features)self.linear = nn.Linear(in_features, out_features)self.dropout = nn.Dropout(dropout_rate)def forward(self, x):x = self.linear(x)x = torch.relu(x)return self.dropout(x)# 继承扩展:添加批归一化
class BNNDense(DropoutDense):def __init__(self, in_features, out_features, dropout_rate=0.5):super().__init__(in_features, out_features, dropout_rate)self.bn = nn.BatchNorm1d(out_features)def forward(self, x):x = super().forward(x)  # 调用父类方法return self.bn(x)# 使用示例
bn_dense = BNNDense(256, 512)
print(bn_dense(torch.randn(32, 256)).shape)  # 输出: torch.Size([32, 512])
三、卷积神经网络:模块化设计的威力
1. 基础卷积块
class ConvBlock(NeuralBlock):def __init__(self, in_channels, out_channels, kernel_size=3, stride=1, padding=1):super().__init__(in_channels, out_channels)self.conv = nn.Conv2d(in_channels, out_channels, kernel_size, stride, padding,bias=False)self.bn = nn.BatchNorm2d(out_channels)self.relu = nn.ReLU(inplace=True)def forward(self, x):x = self.conv(x)x = self.bn(x)return self.relu(x)# 测试卷积块
conv_block = ConvBlock(3, 64)
input_tensor = torch.randn(4, 3, 32, 32)  # [batch, channels, height, width]
print(conv_block(input_tensor).shape)  # 输出: torch.Size([4, 64, 32, 32])
2. 残差块:通过继承实现架构创新
class ResidualBlock(NeuralBlock):def __init__(self, in_channels, out_channels, stride=1):super().__init__(in_channels, out_channels)# 主路径self.conv1 = ConvBlock(in_channels, out_channels, stride=stride)self.conv2 = ConvBlock(out_channels, out_channels)# 捷径连接self.shortcut = nn.Sequential()if stride != 1 or in_channels != out_channels:self.shortcut = nn.Sequential(nn.Conv2d(in_channels, out_channels,kernel_size=1, stride=stride,bias=False),nn.BatchNorm2d(out_channels))def forward(self, x):identity = self.shortcut(x)x = self.conv1(x)x = self.conv2(x)x += identity  # 残差连接return torch.relu(x)# 构建 ResNet-18 的初始层
class ResNetStem(nn.Module):def __init__(self):super().__init__()self.conv = ConvBlock(3, 64, kernel_size=7, stride=2, padding=3)self.maxpool = nn.MaxPool2d(kernel_size=3, stride=2, padding=1)def forward(self, x):x = self.conv(x)x = self.maxpool(x)return x# 测试残差块
res_block = ResidualBlock(64, 64)
print(res_block(torch.randn(4, 64, 32, 32)).shape)  # 输出: torch.Size([4, 64, 32, 32])# 构建完整 ResNet-18
class ResNet18(nn.Module):def __init__(self, num_classes=1000):super().__init__()self.stem = ResNetStem()self.layer1 = self._make_layer(64, 64, blocks=2)self.layer2 = self._make_layer(64, 128, blocks=2, stride=2)self.layer3 = self._make_layer(128, 256, blocks=2, stride=2)self.layer4 = self._make_layer(256, 512, blocks=2, stride=2)self.fc = nn.Linear(512, num_classes)def _make_layer(self, in_channels, out_channels, blocks, stride=1):layers = []layers.append(ResidualBlock(in_channels, out_channels, stride))for _ in range(1, blocks):layers.append(ResidualBlock(out_channels, out_channels))return nn.Sequential(*layers)def forward(self, x):x = self.stem(x)x = self.layer1(x)x = self.layer2(x)x = self.layer3(x)x = self.layer4(x)x = torch.adaptive_avg_pool2d(x, (1, 1))x = torch.flatten(x, 1)x = self.fc(x)return x# 实例化 ResNet-18
resnet = ResNet18()
print(resnet(torch.randn(2, 3, 224, 224)).shape)  # 输出: torch.Size([2, 1000])
四、Transformer 架构:继承的灵活应用
1. 位置编码模块
class PositionalEncoding(nn.Module):def __init__(self, d_model, max_len=5000):super().__init__()self.d_model = d_model# 创建位置编码矩阵pe = torch.zeros(max_len, d_model)position = torch.arange(0, max_len, dtype=torch.float).unsqueeze(1)div_term = torch.exp(torch.arange(0, d_model, 2).float() * (-math.log(10000.0) / d_model))pe[:, 0::2] = torch.sin(position * div_term)pe[:, 1::2] = torch.cos(position * div_term)pe = pe.unsqueeze(0).transpose(0, 1)self.register_buffer('pe', pe) # 注册为缓冲区def forward(self, x):# x: [seq_len, batch_size, d_model]x = x + self.pe[:x.size(0), :]return x2. Transformer 编码器层
class TransformerEncoderLayer(nn.Module):def __init__(self, d_model, nhead, dim_feedforward=2048, dropout=0.1):super().__init__()self.self_attn = nn.MultiheadAttention(d_model, nhead, dropout=dropout)self.linear1 = nn.Linear(d_model, dim_feedforward)self.linear2 = nn.Linear(dim_feedforward, d_model)self.norm1 = nn.LayerNorm(d_model)self.norm2 = nn.LayerNorm(d_model)self.dropout = nn.Dropout(dropout)self.activation = nn.ReLU()def forward(self, src, src_mask=None):# 自注意力src2 = self.self_attn(src, src, src, attn_mask=src_mask)[0]src = src + self.dropout(src2)src = self.norm1(src)# 前馈网络src2 = self.linear2(self.dropout(self.activation(self.linear1(src))))src = src + self.dropout(src2)return self.norm2(src)# 构建完整的 Transformer 编码器
class TransformerEncoder(nn.Module):def __init__(self, encoder_layer, num_layers):super().__init__()self.layers = nn.ModuleList([encoder_layer for _ in range(num_layers)])def forward(self, src, src_mask=None):output = srcfor layer in self.layers:output = layer(output, src_mask)return output# 创建 Transformer 编码器
d_model = 512
nhead = 8
encoder_layer = TransformerEncoderLayer(d_model, nhead)
transformer_encoder = TransformerEncoder(encoder_layer, num_layers=6)# 测试
src = torch.rand(10, 32, d_model)  # [seq_len, batch_size, d_model]
output = transformer_encoder(src)
print(output.shape)  # 输出: torch.Size([10, 32, 512])
五、继承的最佳实践与深度学习场景
1. 参数初始化策略
class GaussianInitLayer(NeuralBlock):def __init__(self, in_features, out_features, mean=0.0, std=0.02):super().__init__(in_features, out_features)self.linear = nn.Linear(in_features, out_features)self.reset_parameters(mean, std)def reset_parameters(self, mean=0.0, std=0.02):nn.init.normal_(self.linear.weight, mean, std)if self.linear.bias is not None:nn.init.constant_(self.linear.bias, 0)class XavierInitLayer(NeuralBlock):def __init__(self, in_features, out_features):super().__init__(in_features, out_features)self.linear = nn.Linear(in_features, out_features)self.reset_parameters()def reset_parameters(self):nn.init.xavier_uniform_(self.linear.weight)if self.linear.bias is not None:nn.init.constant_(self.linear.bias, 0)2. 自定义激活函数模块
class Swish(nn.Module):def forward(self, x):return x * torch.sigmoid(x)class Mish(nn.Module):def forward(self, x):return x * torch.tanh(nn.functional.softplus(x))# 在神经块中使用自定义激活
class CustomActBlock(DenseLayer):def __init__(self, in_features, out_features, activation_fn=None):super().__init__(in_features, out_features, activation=activation_fn)# 可以添加特定于该块的额外逻辑
3. 模型适配器模式
class ModelAdapter(nn.Module):def __init__(self, base_model, adapter_dim=64):super().__init__()self.base_model = base_modelself.adapter = nn.Sequential(nn.Linear(base_model.output_dim, adapter_dim),nn.ReLU(),nn.Linear(adapter_dim, base_model.output_dim))def forward(self, x):base_output = self.base_model(x)adapted_output = self.adapter(base_output)return adapted_output# 使用预训练模型并添加适配器
pretrained_resnet = ResNet18(pretrained=True)
adapter_model = ModelAdapter(pretrained_resnet, adapter_dim=128)
六、总结:深度学习继承模式的核心价值
在深度学习项目中,Python 的类继承机制提供了:
- 1.
架构标准化:通过基础类确保所有模块具有统一接口
- 2.
代码复用最大化:共享权重初始化、前向传播等通用逻辑
- 3.
渐进式增强:通过子类化逐步添加新功能(如残差连接、注意力机制)
- 4.
实验灵活性:轻松创建模型变体进行对比实验
- 5.
团队协作效率:定义清晰的接口规范,促进模块化开发
深度学习继承模式的核心原则:
- •
✅ 单一职责:每个类/模块只负责一个明确的功能
- •
✅ 开闭原则:对扩展开放,对修改关闭(通过继承添加功能而非修改基类)
- •
✅ 依赖倒置:高层模块不依赖低层细节,二者都依赖抽象
通过合理运用继承机制,我们可以构建出既灵活又易于维护的深度学习架构。无论是实现经典的 ResNet、Transformer,还是设计创新的神经网络结构,良好的继承设计都能显著提升开发效率和代码质量。
动手挑战:尝试扩展上述 ResNet 实现,添加一个带有注意力机制的 Bottleneck 残差块,并构建 ResNet-50 模型。
关注我的 CSDN 专栏,获取更多深度学习底层原理知识、架构设计与实现技巧!