Unity使用AnimeGANv3实现动漫风格化效果(一)
先放上几张效果图
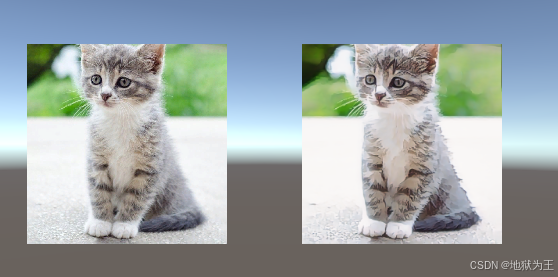
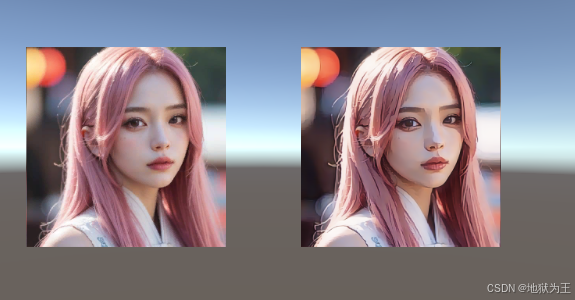
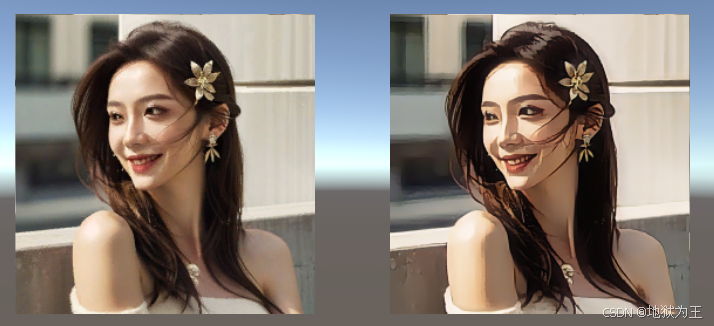

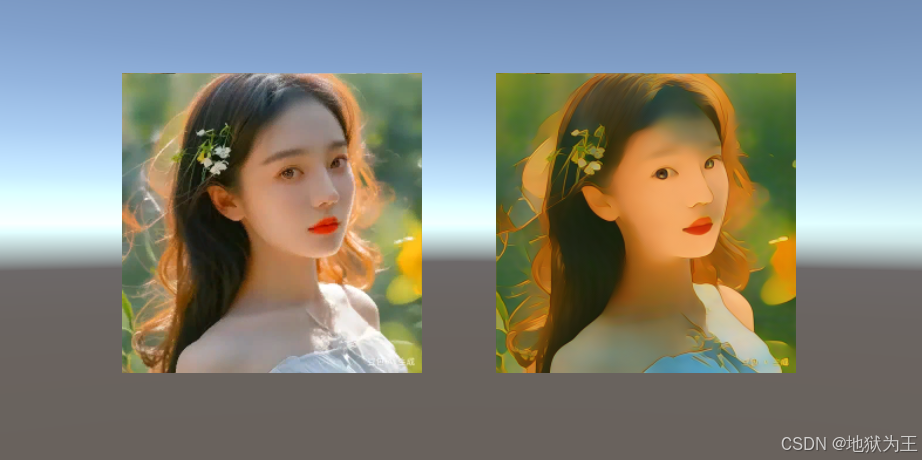
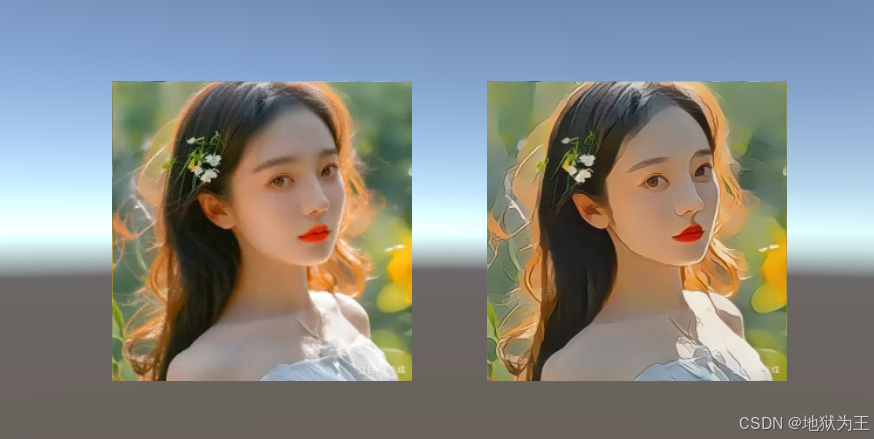
AnimeGANv3 地址 https://github.com/TachibanaYoshino/AnimeGANv3.git
Unity主要代码
using Microsoft.ML.OnnxRuntime;
using Microsoft.ML.OnnxRuntime.Tensors;
using System;
using System.Collections.Generic;
using System.Diagnostics;
using System.Linq;
using UnityEngine;
using UnityEngine.UI;
using Debug = UnityEngine.Debug;public class AnimeGANv3 : MonoBehaviour
{private InferenceSession session;private string modelPath = Application.streamingAssetsPath + "/model/AnimeGANv3_Hayao_36.onnx";public Texture2D input;private Texture2D output;public RawImage rimgInput;public RawImage rimgOutput;void Start(){var ortEnvInstance = OrtEnv.Instance();string[] aps = ortEnvInstance.GetAvailableProviders();foreach (var ap in aps){Debug.Log(ap);}// 创建会话选项,可以设置使用CPU或GPUvar options = new SessionOptions();// 如果使用GPU,可以设置ExecutionProvider为CUDA(需要安装CUDA和cuDNN,并且ONNX Runtime支持)//options.AppendExecutionProvider_DML(0);// 否则使用CPUoptions.AppendExecutionProvider_CPU();//options.AppendExecutionProvider_CUDA();try{session = new InferenceSession(modelPath, options);}catch (Exception e){Debug.LogError("Failed to load model: " + e.Message);return;}rimgInput.texture = input; }private void Update(){if (Input.GetMouseButtonDown(0)){Stopwatch stopwatch = new Stopwatch();stopwatch.Start();output = RunInference(input);stopwatch.Stop();long lastInferenceTime = stopwatch.ElapsedMilliseconds;// 输出耗时信息Debug.Log($"推理完成!总耗时: {lastInferenceTime}ms");rimgOutput.texture = output;}}public Texture2D RunInference(Texture2D inputTexture){// 将输入纹理转换为模型所需的输入张量// 假设模型输入为[1, 512, 512, 3],且数值范围是[-1,1]或[0,1]?根据原始代码,模型输入是[-1,1]// 首先调整纹理大小到512x512Texture2D resizedTexture = ResizeTexture(inputTexture, 512, 512);// 将Texture2D转换为Tensor<float>var inputTensor = TextureToTensor(resizedTexture);// 创建输入数据容器var inputs = new List<NamedOnnxValue>{NamedOnnxValue.CreateFromTensor("AnimeGANv3_input:0", inputTensor) // 注意:这里的"input_1"需要与模型输入节点名称一致};// 运行推理using (var results = session.Run(inputs)){// 获取输出,假设输出节点名为"output_1"var outputTensor = results.FirstOrDefault().Value as Tensor<float>;// 将输出张量转换为Texture2DTexture2D outputTexture = TensorToTexture(outputTensor);return outputTexture;}}private Texture2D ResizeTexture(Texture2D source, int newWidth, int newHeight){// 调整纹理大小,可以使用双线性滤波RenderTexture rt = RenderTexture.GetTemporary(newWidth, newHeight);RenderTexture.active = rt;Graphics.Blit(source, rt);Texture2D resizedTexture = new Texture2D(newWidth, newHeight);resizedTexture.ReadPixels(new Rect(0, 0, newWidth, newHeight), 0, 0);resizedTexture.Apply();RenderTexture.ReleaseTemporary(rt);return resizedTexture;}private Tensor<float> TextureToTensor(Texture2D texture){// 将Texture2D转换为Tensor<float>,形状为[1, height, width, 3]int width = texture.width;int height = texture.height;var tensor = new DenseTensor<float>(new[] { 1, height, width, 3 });// 获取纹理的像素数据Color32[] pixels = texture.GetPixels32();// 将像素数据填充到张量中,注意颜色通道顺序和归一化for (int y = 0; y < height; y++){for (int x = 0; x < width; x++){int index = y * width + x;// 将颜色从Color32转换为float,并归一化到[-1,1](根据原始代码的输入范围)// 注意:原始代码中输入是[-1,1],所以这里需要将像素值从[0,255]转换为[-1,1]tensor[0, y, x, 0] = (pixels[index].r / 127.5f) - 1.0f;tensor[0, y, x, 1] = (pixels[index].g / 127.5f) - 1.0f;tensor[0, y, x, 2] = (pixels[index].b / 127.5f) - 1.0f;}}return tensor;}private Texture2D TensorToTexture(Tensor<float> tensor){// 假设张量形状为[1, height, width, 3]int height = tensor.Dimensions[1];int width = tensor.Dimensions[2];Texture2D texture = new Texture2D(width, height);Color32[] pixels = new Color32[width * height];for (int y = 0; y < height; y++){for (int x = 0; x < width; x++){// 将张量中的值从[-1,1]转换回[0,255]float r = (tensor[0, y, x, 0] + 1.0f) * 127.5f;float g = (tensor[0, y, x, 1] + 1.0f) * 127.5f;float b = (tensor[0, y, x, 2] + 1.0f) * 127.5f;pixels[y * width + x] = new Color32((byte)r, (byte)g, (byte)b, 255);}}texture.SetPixels32(pixels);texture.Apply();return texture;}void OnDestroy(){session?.Dispose();}
}
最后是我的工程地址
https://github.com/xue-fei/AnimeGANv3-unity.git