计算机3D视觉:Pytorch3d的环境配置与初步使用
写在最前面:现在AI的语言表达能力越来越发达了,笔者这里一定要说明的是本人的所有文章的写作都是手敲文字,没有使用AI帮助写作,所以如果觉得文章不错请点关注。
文章目录
- 一、主题说明
- 二、环境配置
- 关于GPU渲染加速的说明
- requirements.txt依赖库
- 三、3D渲染基础知识
- 四、网格+渲染(含渐变)
- 五、点云+渲染
- 六、360°旋转GIF动图生成
- 6.1 从Mesh网格到GIF
- 6.2 从PointCloud到GIF
一、主题说明
本篇博文实验内容参考自MIT实验课程:16-825 Assignment 1: Rendering Basics with PyTorch3D (Total: 100 Points + 10 Bonus),素材相同,但是结合笔者自己的经验做了详细的讲解,还加入了一些内容的修改和创新。
二、环境配置
原实验的README.md文档针对的是Linux系统,不过Windows系统(10/11)同样支持,把MAX_JOBS=8参数删除进行适配,需要先安装anaconda工具。
# GPU Installation on a CUDA 11.6 Machineconda create -n learning3d python=3.10
pip install torch --index-url https://download.pytorch.org/whl/cu116 (modify according to your cuda version)
pip install fvcore iopath
pip install "git+https://github.com/facebookresearch/pytorch3d.git@stable" (this will take some time to compile)
pip install -r requirements.txt# CPU Installationconda create -n learning3d python=3.10
pip install torch --index-url https://download.pytorch.org/whl/cpu
pip install fvcore iopath
pip install "git+https://github.com/facebookresearch/pytorch3d.git@stable"
pip install -r requirements.txt
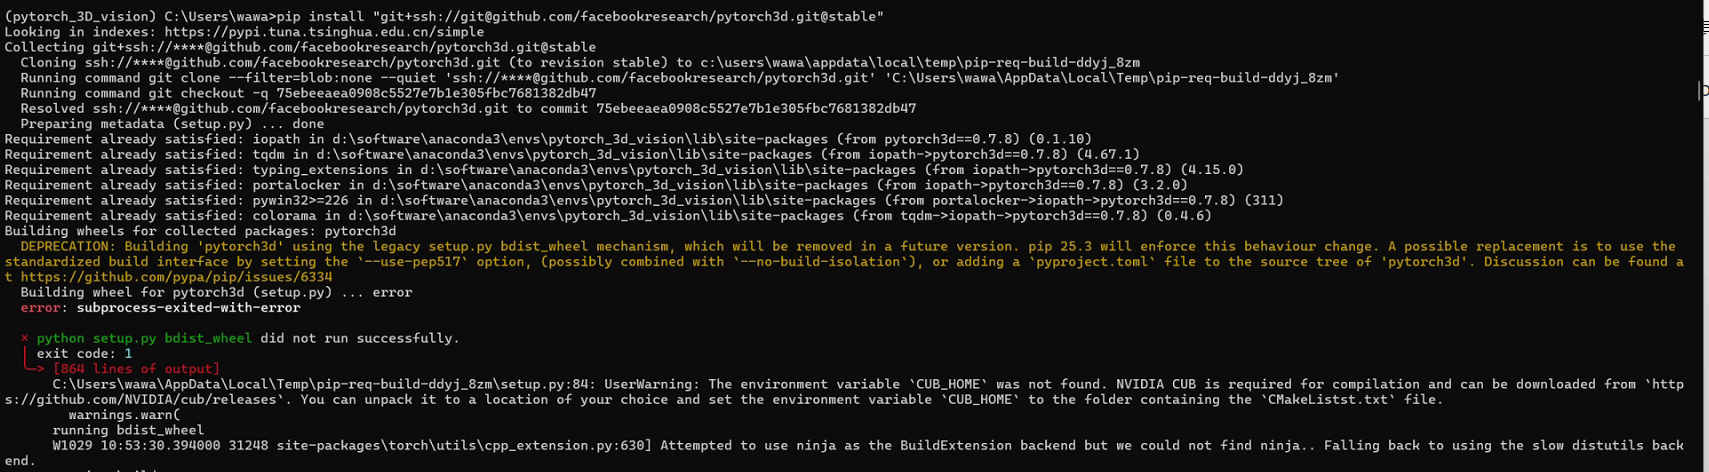
如果
pip install "git+https://github.com/facebookresearch/pytorch3d.git@stable"命令受到网络因素的影响,可以更换为pip install "git+ssh://git@github.com/facebookresearch/pytorch3d.git@stable"。
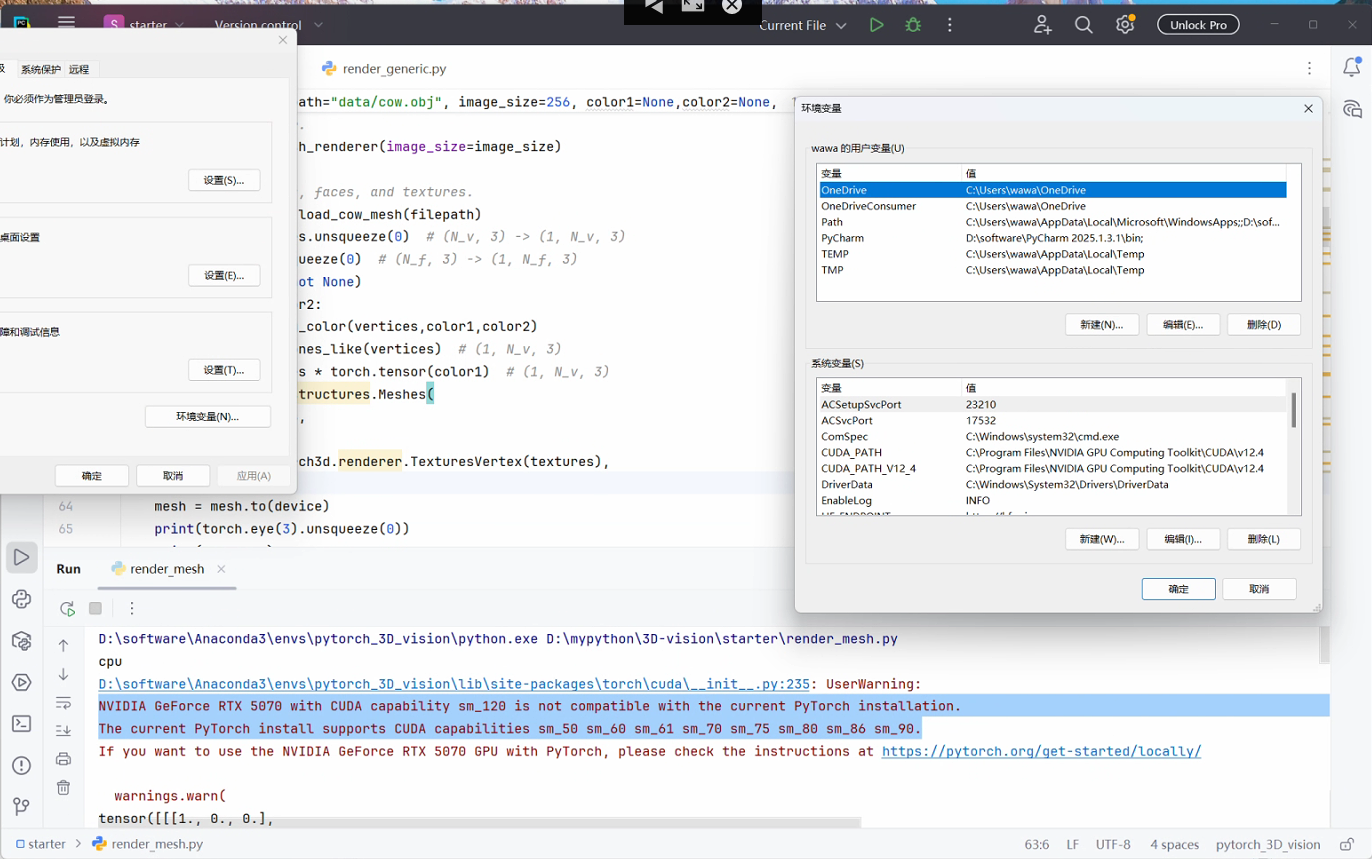
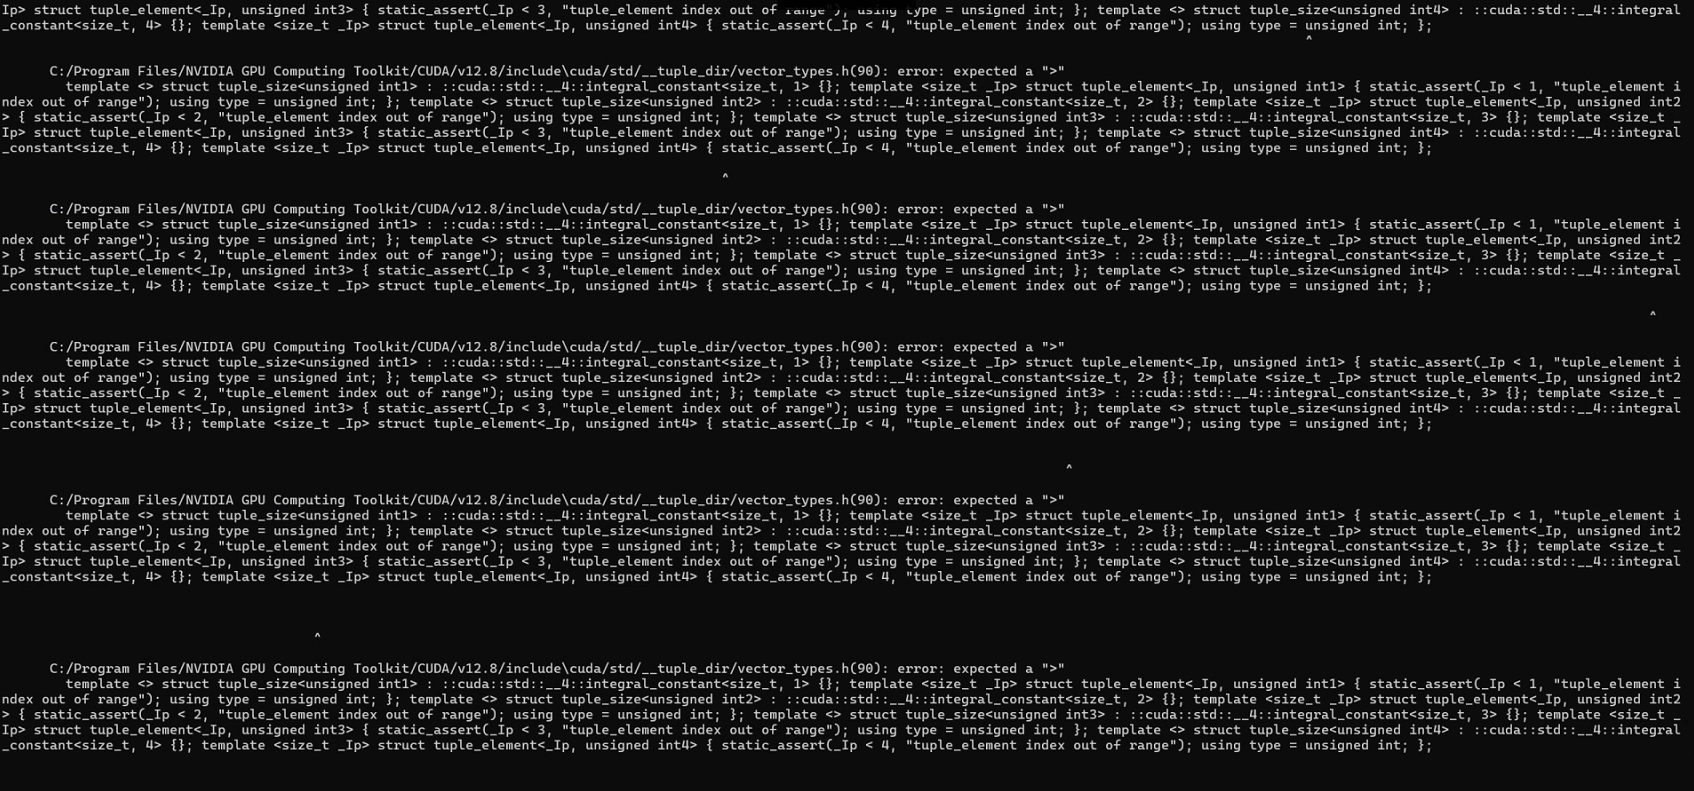
关于GPU渲染加速的说明
关于cuda版本的问题,需要指出的是,对于GeForce RTX50系列显卡(基于BlackWell架构),cuda版本一般只支持12.8以上,pytorch一般安装的版本需要和CUDA版本适配,而pytorch3d库采用源码下载-本地编译的流程,笔者目前测试到支持的CUDA版本包括12.1和12.4, 11.6和11.8应该也是支持的。所以RTX 50系列的用户就只能选择CPU渲染了。
requirements.txt依赖库
- imageio
- matplotlib
- numpy
- PyMCubes
- tqdm
- scipy
- plotly
三、3D渲染基础知识
接下来讲解一些关于计算机3D视觉的基础知识,可以问问AI助手加深理解,欢迎评论区交流。
(1)3D数据的存储形式包括点云数据,参数化曲面,网格,隐式曲面和体素等等;RGBD图像并不算真正意义上的3D数据,类似2.5D数据,需要经过计算处理转化为其他形式的3D数据(一般是点云数据);自动驾驶领域汽车雷达采集的是点云数据,摄像头是深度摄像头;
(2)在3D数据可视化的过程中,需要通过渲染转化成RGB图像——渲染需要提供的参数有:物体3D数据、摄像机位置和灯光位置;直接返回BxHxWx4的数据,裁剪之后变为HxWx3的RGB图像;
(3)摄像机的可调节参数有相对世界坐标系原点的平移距离(3维向量)、空间旋转角度(每个相机都有3x3的旋转矩阵进行描述)、FOV视场角;灯光的可调节参数为灯光位置(3维向量);
(4)本实验对原课程进行了删减,主要探讨在pytorch3d框架下,Mesh(网格数据)和PointCloud(点云数据)的渲染可视化——Mesh包括N_v个3维点,N_f个三角曲面(每个曲面朝向由3个端点的序号决定),N_v个(和顶点数一致)三元素texture纹理信息决定;PointCloud由N个维点+N个RGB颜色向量决定,可以直接获取或者从RGBD图像计算。
四、网格+渲染(含渐变)
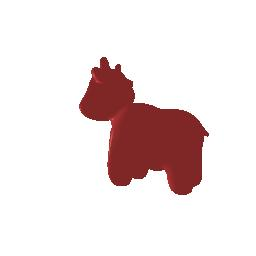
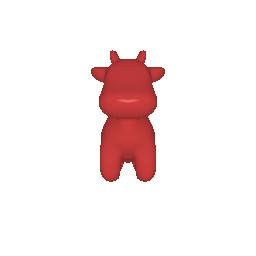
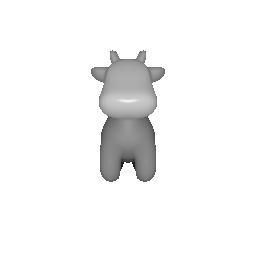
有了前面的基础知识,只需要熟悉pytorch3d的接口函数就可以慢慢熟悉3D可视化的流程。从obj文件读取小牛的顶点和三角面信息,然后传入顶点、三角面、纹理数据构建mesh对象,最后指定相机和灯光位置完成渲染。
需要注意批量B维度的unsqueeze扩充和最后HxWx3的截取。
def render_setup(filepath="data/cow.obj", image_size=256, color1=None,color2=None,Camera_R=None,Camera_T=None,device=None,savepath='01setup.jpg',record=True):# The device tells us whether we are rendering with GPU or CPU. The rendering will# be *much* faster if you have a CUDA-enabled NVIDIA GPU. However, your code will# still run fine on a CPU.# The default is to run on CPU, so if you do not have a GPU, you do not need to# worry about specifying the device in all of these functions.if device is None:device = get_device()# Get the renderer.renderer = get_mesh_renderer(image_size=image_size)# Get the vertices, faces, and textures.vertices, faces = load_cow_mesh(filepath)vertices = vertices.unsqueeze(0) # (N_v, 3) -> (1, N_v, 3)faces = faces.unsqueeze(0) # (N_f, 3) -> (1, N_f, 3)assert(color1 is not None)if color1 and color2:color1=varying_color(vertices,color1,color2)textures = torch.ones_like(vertices) # (1, N_v, 3)textures = textures * torch.tensor(color1) # (1, N_v, 3)mesh = pytorch3d.structures.Meshes(verts=vertices,faces=faces,textures=pytorch3d.renderer.TexturesVertex(textures),)mesh = mesh.to(device)print(torch.eye(3).unsqueeze(0))print(Camera_R)print(Camera_T)# Prepare the camera:cameras = pytorch3d.renderer.FoVPerspectiveCameras(R=torch.eye(3).unsqueeze(0) if Camera_R is None else Camera_R, T=torch.tensor([[0, 0, 3]] if Camera_T is None else Camera_T),fov=60, device=device)# Place a point light in front of the cow.lights = pytorch3d.renderer.PointLights(location=[[0, 0, -3]], device=device)rend = renderer(mesh, cameras=cameras, lights=lights)rend = rend.cpu().numpy()[0, ..., :3] # (B, H, W, 4) -> (H, W, 3)# The .cpu moves the tensor to GPU (if needed).if record:if '/' in savepath:dir = ''.join(savepath.split('/')[:-1])os.makedirs(dir, exist_ok=True)os.chdir(dir)savepath = savepath.split('/')[-1]if Camera_R is not None and Camera_T is not None:plt.imsave(f'{Camera_R[0].flatten().numpy(),Camera_T[0].numpy()}'+savepath,numpy.uint8(rend*255))else:plt.imsave(savepath,numpy.uint8(rend*255))return rend
这个时候如果想要颜色更丰富的小牛,我们可以按照牛头到牛身到牛尾(或者说距离上图镜头的远近)做一个渐变色的线性渲染,效果还是不错的,艺术家们此时就可以根据color1前端颜色和color2后端颜色渲染出五颜六色的自己的小牛了:
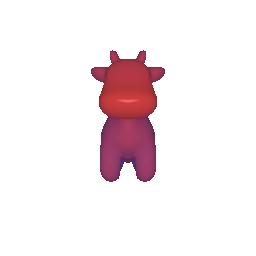

def varying_color(vertices,color1,color2):assert(vertices.shape[0]==1)z = vertices[0, :, 2]z_min = torch.min(vertices[0, :, 2])z_max = torch.max(vertices[0, :, 2])color1 = torch.tensor(color1).view(1, 3)color2 = torch.tensor(color2).view(1, 3)alpha = (z - z_min) / (z_max - z_min)var_color = torch.matmul(alpha.reshape(-1,1), color2) + torch.matmul(1 - alpha.reshape(-1, 1), color1)var_color=var_color.unsqueeze(0)assert(var_color.shape==vertices.shape)return var_color
五、点云+渲染
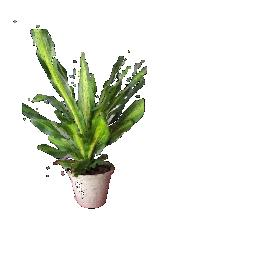
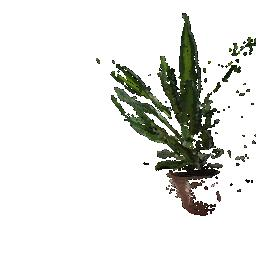
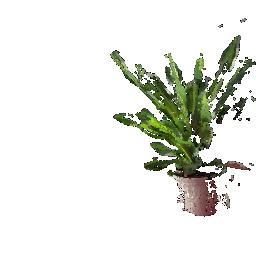
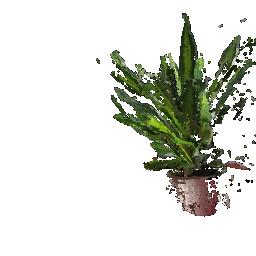
对应MIT实验1任务5.1,先从RGBD图像数据使用unproject_depth_image转成点云数据,一共用到pcloud,pcloud2和pcloud_cb三组点云,对应第一株植物、第二株植物和两株植物。


def render_setup_from_pointcloud(filepath, image_size=256,Camera_R=None,Camera_T=None,device=None,savepath='01setup.jpg',record=True):if device is None:device = get_device()# Get the renderer.renderer = get_points_renderer(image_size=image_size,radius=0.01)# Get the vertices, faces, and textures.data = load_rgbd_data(filepath)print(data.keys())# Prepare the camera:camera_fixed = pytorch3d.renderer.FoVPerspectiveCameras(R=torch.eye(3).unsqueeze(0), T=torch.tensor([[0, 0, 3]]),fov=60, device=device)points,rgbs=unproject_depth_image(torch.tensor(data["rgb1"]),torch.tensor(data["mask1"]),torch.tensor(data["depth1"]),camera_fixed)points2,rgbs2=unproject_depth_image(torch.tensor(data["rgb2"]),torch.tensor(data["mask2"]),torch.tensor(data["depth2"]),camera_fixed)pcloud = pytorch3d.structures.Pointclouds(points=points.unsqueeze(0),features=rgbs.unsqueeze(0))pcloud = pcloud.to(device)pcloud2 = pytorch3d.structures.Pointclouds(points=points2.unsqueeze(0),features=rgbs2.unsqueeze(0))pcloud2 = pcloud2.to(device)pcloud_cb = pytorch3d.structures.Pointclouds(points=torch.cat([points,points2],dim=0).unsqueeze(0),features=torch.cat([rgbs,rgbs2],dim=0).unsqueeze(0))pcloud_cb = pcloud_cb.to(device)pclouds=[pcloud,pcloud2,pcloud_cb]rends=[]# Place a point light in front of the cow.lights = pytorch3d.renderer.PointLights(location=[[0, 0, -3]], device=device)camera_dynamic=pytorch3d.renderer.FoVPerspectiveCameras(R=torch.eye(3).unsqueeze(0) if Camera_R is None else Camera_R,T=torch.tensor([[0, 0, 3]] if Camera_T is None else Camera_T),fov=60, device=device)for i,pcloud in enumerate(pclouds):rend = renderer(pcloud, cameras=camera_dynamic, lights=lights)rend = rend.cpu().numpy()[0, ..., :3] # (B, H, W, 4) -> (H, W, 3)# The .cpu moves the tensor to GPU (if needed).if record:if '/' in savepath:dir=''.join(savepath.split('/')[:-1])os.makedirs(dir,exist_ok=True)os.chdir(dir)savepath=savepath.split('/')[-1]if Camera_R is not None and Camera_T is not None:plt.imsave(f'{i+1}'+f'{float(Camera_R[0].numpy().sum()), float(Camera_T[0].numpy().sum())}'+savepath , numpy.uint8(rend * 255))else:plt.imsave(f'{i+1}'+savepath, numpy.uint8(rend * 255))rends.append(rend)return rends
点云的渲染方式和网格总体相近,需要额外注意的是在从RGBD图像到点云的计算过程需要指定相机的位置和角度、视场角等参数;构建点云数据需要点和颜色信息。
六、360°旋转GIF动图生成
6.1 从Mesh网格到GIF
这里需要变化的就是渲染__call__函数里面的相机,通过renderer脚本camera类的look_at_view_transform方法计算当前相机的R矩阵(3x3旋转)和T向量(3平移)(需要指定距离世界坐标系原点的dist距离和azim的z轴夹角,笔者的猜测),然后创建动态相机,灯光位置保持[[0,0,-3]]不变。

dist=3,color1=[1,0.3,0.3],color2=None,帧率15,时长4秒
dist=4,color1=[1,0.3,0.3],color2=[0.3,0.3,1],帧率15,时长4秒
def gif_360(n_render,color1,color2,savepath):current_dir=os.getcwd()my_images = []for i in range(0, n_render):R, T = pytorch3d.renderer.cameras.look_at_view_transform(dist=3, azim=180 + 360 * i / n_render)image = render_setup(filepath=args.cow_path, image_size=args.image_size,color1=color1,color2=color2,Camera_R=R, Camera_T=T,record=False)my_images.append(numpy.uint8(image[:, :, :] * 255))print(i, "/", n_render)if '/' in savepath:os.makedirs(''.join(savepath.split('/')[:-1]),exist_ok=True)os.chdir(current_dir)imageio.mimwrite(savepath, my_images, fps=24)
6.2 从PointCloud到GIF
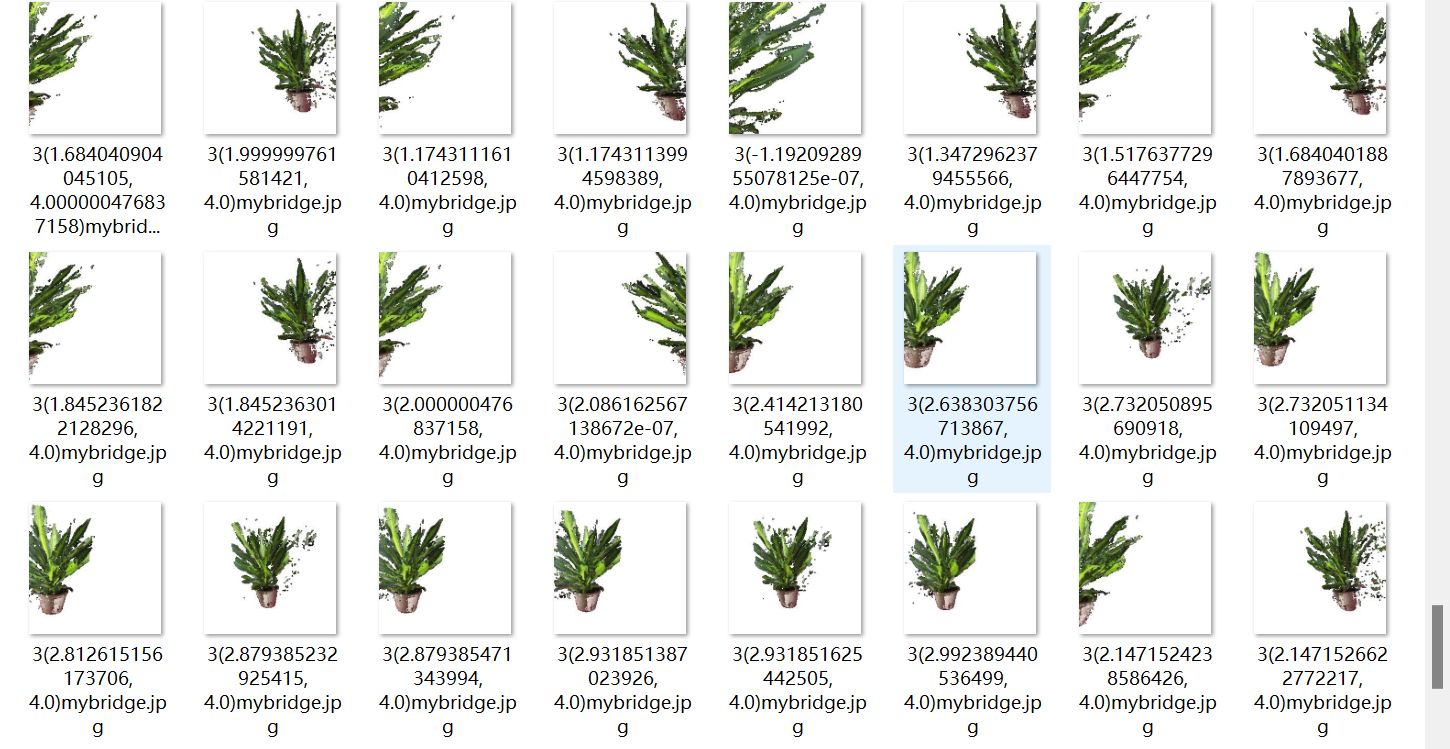
注意这里从RGBD到PointCloud的相机必须固定,如果都使用look_at_view_transform获得的R/T动态相机,得到的是完全不动的静态图片,冠以“gif”之名。
这张gif帧率为24,时长9秒,但是其实是第4部分3个点云渲染的结合体,所以是鬼畜植物,实际帧率为8。
def gif_360_pcloud(n_render,savepath):if savepath.split('.')[-1]!='gif':raise ValueError("Savepath should be only in the format of gif.")current_dir=os.getcwd()my_images = []for i in range(0, n_render):R, T = pytorch3d.renderer.cameras.look_at_view_transform(dist=4, azim=180 + 360 * i / n_render)images = render_setup_from_pointcloud(filepath=args.bridge_path, image_size=args.image_size,Camera_R=R, Camera_T=T,savepath=savepath.replace("gif","jpg"),record=False)for img in images:my_images.append(numpy.uint8(img[:, :, :] * 255))print(i, "/", n_render)os.chdir(current_dir)imageio.mimwrite(savepath, my_images, fps=24)return my_images
写在最后面:本实验主要用到pytorch3d库的structures和renderer脚本。