简单使用Nest+Nacos+Kafka实现微服务
简单实用Nest+Nacos+Kafka+Docker实现微服务架构
- 设计
- 新建三个Nest服务
- Nacos
- 配置中心
- 尝试
- 服务注册
- 尝试
- 改造user-service (TCP)
- 改造gateway
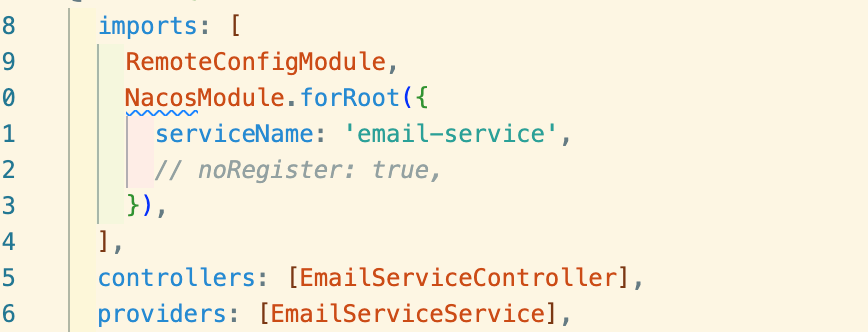
- 改造email-service(Kafka)
- 其他
PS:并非实战,一个练习。
设计
一个网关,一个用户服务,一个邮件推送服务。
用户服务部署两份,邮件推送服务部署两份。
用户服务和邮件推送服务启动的时候,通过nacos拉取配置,如
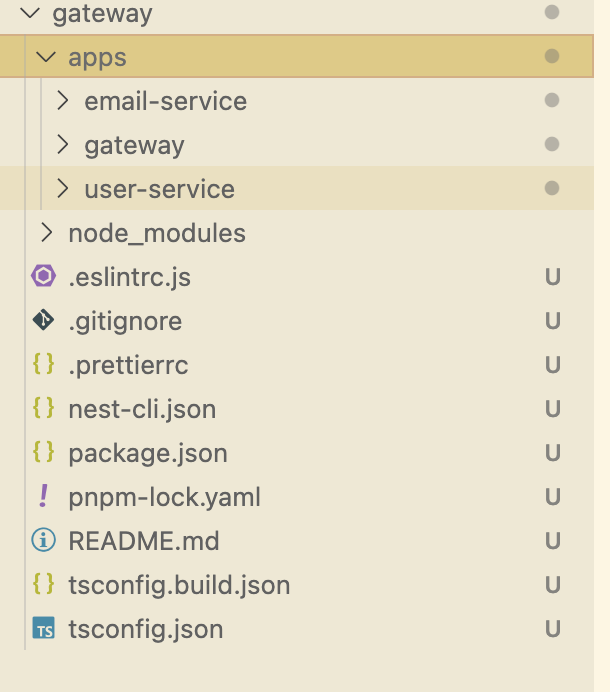
新建三个Nest服务
nest new gateway
cd gateway
nest g app user-service
nest g app email-service
Nacos
配置中心
新增lib:remote-config
nest g lib remote-config
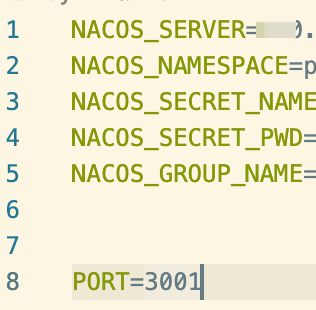
根目录新增.env
service.ts
import {Inject,Injectable,Logger,OnModuleDestroy,OnModuleInit,
} from '@nestjs/common';
import { ConfigService } from '@nestjs/config';
import { NacosConfigClient } from 'nacos';@Injectable()
export class RemoteConfigService implements OnModuleInit, OnModuleDestroy {private readonly logger = new Logger(RemoteConfigService.name);private client: NacosConfigClient;@Inject()private configService: ConfigService;constructor() {}async onModuleInit() {try {this.client = new NacosConfigClient({serverAddr: this.configService.get<string>('NACOS_SERVER'),namespace: this.configService.get<string>('NACOS_NAMESPACE'),username: this.configService.get<string>('NACOS_SECRET_NAME'),password: this.configService.get<string>('NACOS_SECRET_PWD'),});this.logger.log('Nacos配置客户端初始化成功');} catch (error) {this.logger.error('Nacos配置客户端初始化失败', error);}}async onModuleDestroy() {await this.client.close();}async getConfig(dataId: string,group = this.configService.get('NACOS_GROUP_NAME'),) {if (this.configService.get(dataId)) {return await this.configService.get(dataId);}this.watchConfig(dataId, group);const config = this.parseConfig(await this.client.getConfig(dataId, group),'json',);return config;}/*** 监听配置变化*/watchConfig(dataId: string,group = this.configService.get('NACOS_GROUP_NAME'),) {this.client.subscribe({dataId,group,},(content, configType = 'json') => {const config = this.parseConfig(content, configType);this.configService.set(dataId, config);},);}/*** 解析配置内容*/private parseConfig(content: string, type: string): any {try {if (type === 'json') {return JSON.parse(content);} else if (type === 'yaml' || type === 'yml') {// 简单的YAML解析,实际项目中可以使用js-yaml等库const config = {};content.split('\n').forEach((line) => {const parts = line.split(':').map((part) => part.trim());if (parts.length >= 2) {config[parts[0]] = parts.slice(1).join(':');}});return config;} else if (type === 'properties') {const config = {};content.split('\n').forEach((line) => {const parts = line.split('=').map((part) => part.trim());if (parts.length >= 2) {config[parts[0]] = parts.slice(1).join('=');}});return config;}return content;} catch (error) {this.logger.error('配置解析失败', error);return content;}}
}
module.ts
import { Module } from '@nestjs/common';
import { RemoteConfigService } from './remote-config.service';
import { ConfigModule } from '@nestjs/config';@Module({imports: [ConfigModule.forRoot({isGlobal: true,envFilePath: ['.env'],}),],providers: [RemoteConfigService],exports: [RemoteConfigService],
})
export class RemoteConfigModule {}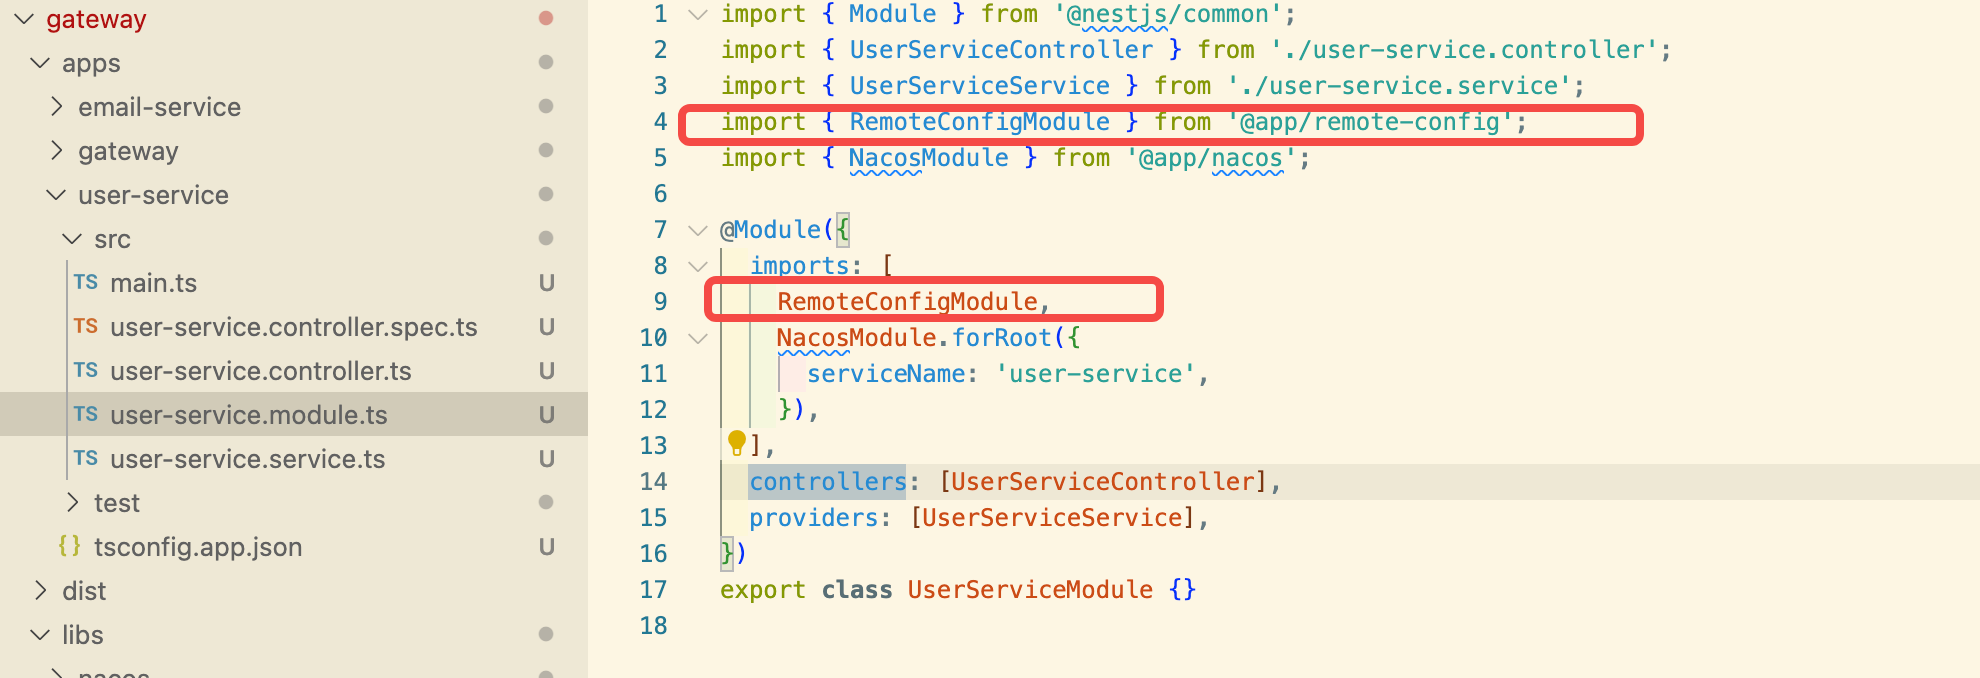
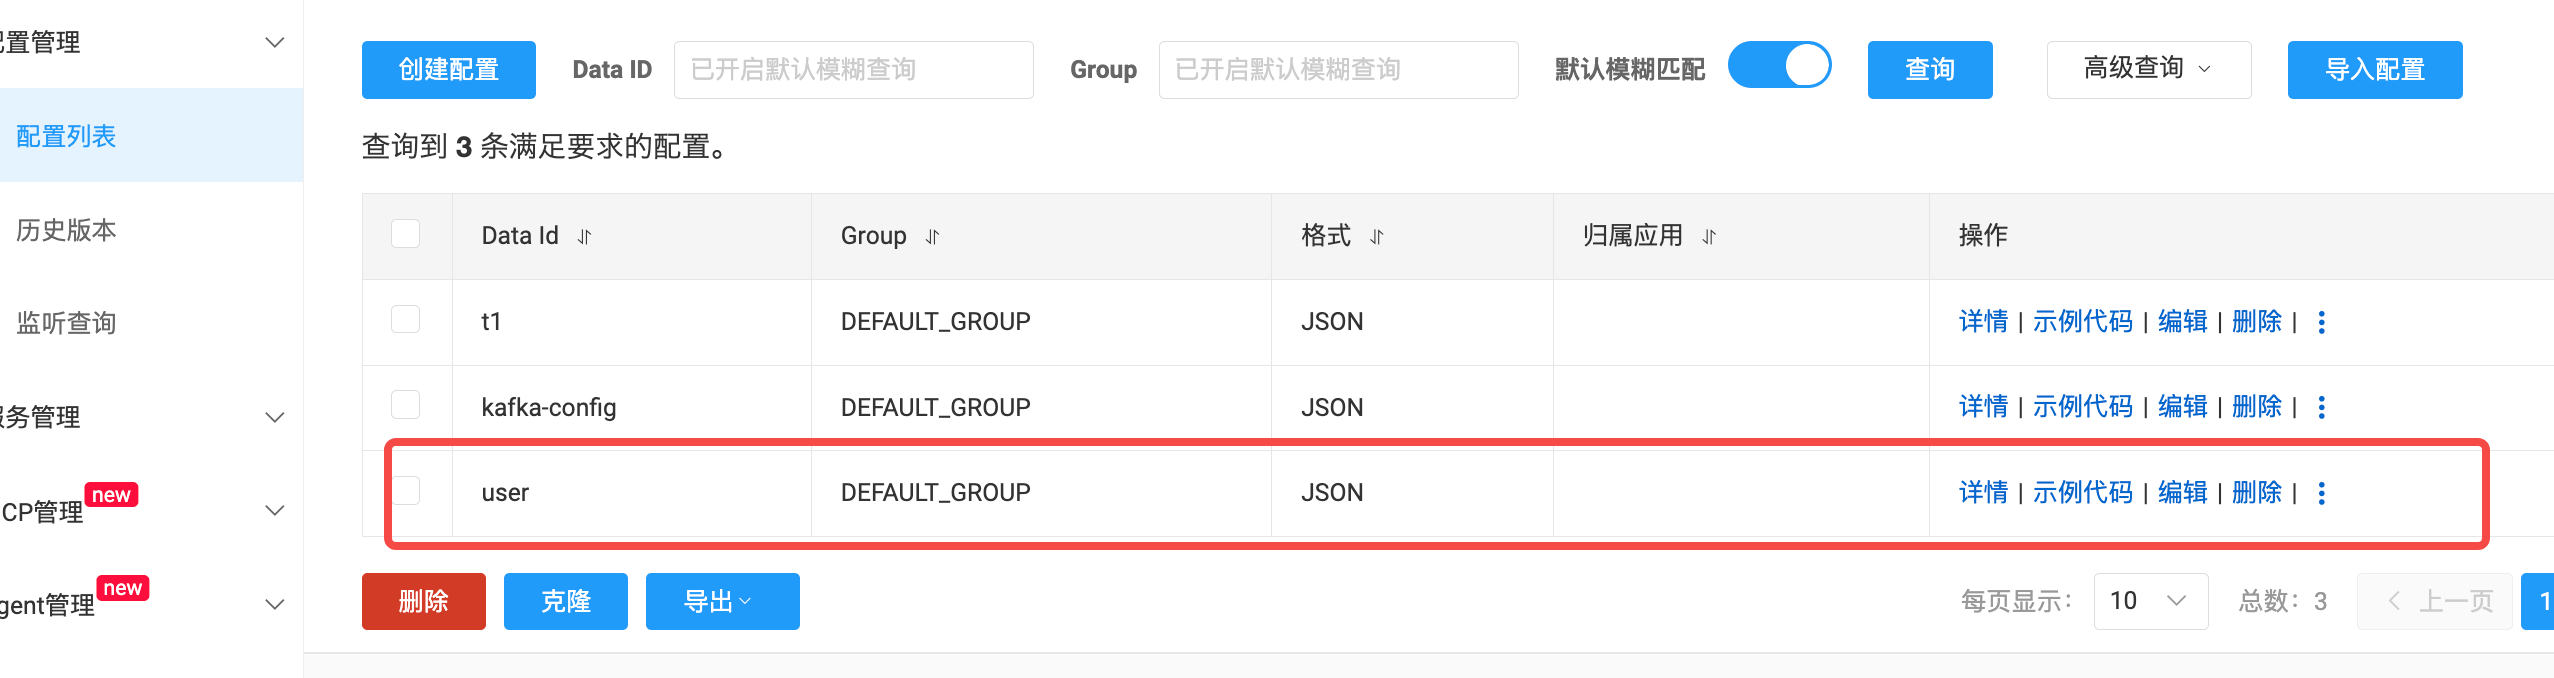
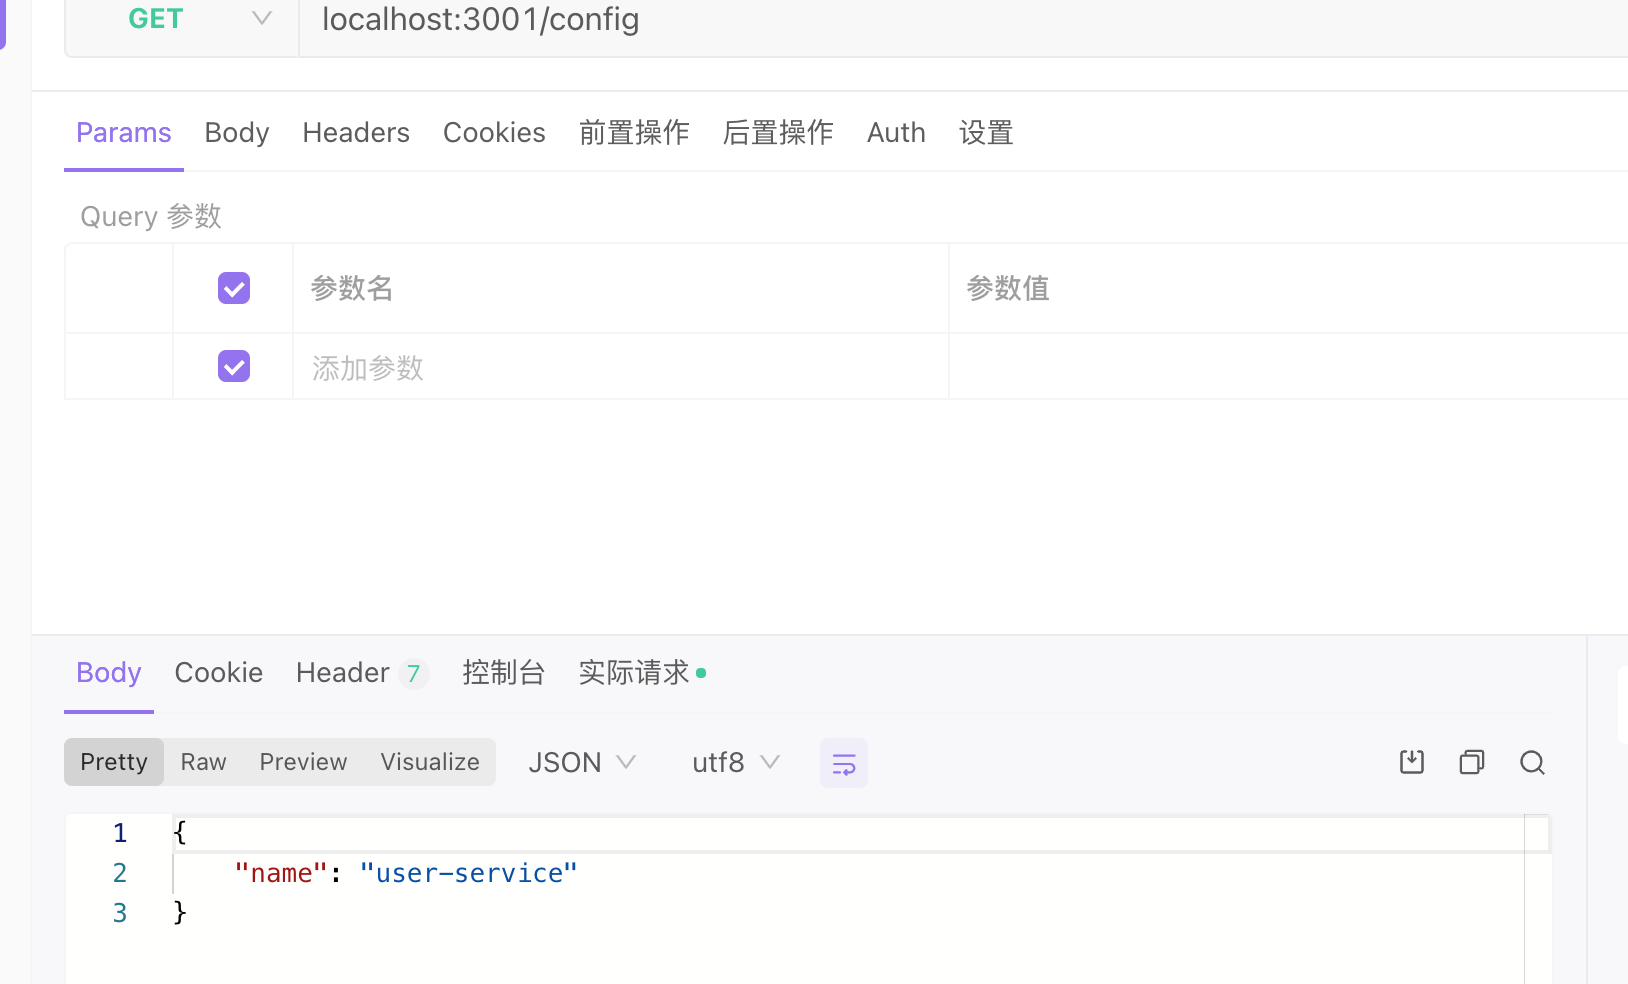
尝试
在nacos web管理页面 新增配置

服务注册
nest g lib nacos
新增一个ip.service.ts
// src/utils/ip.service.ts
import { Injectable } from '@nestjs/common';
import * as os from 'os';@Injectable()
export class IpService {/*** 获取本机非内部 IPv4 地址(优先返回第一个有效地址)* @returns 本机 IP 地址(如 192.168.1.100),无有效地址时返回 127.0.0.1*/getLocalIp(): string {const interfaces = os.networkInterfaces(); // 获取所有网络接口let localIp = '127.0.0.1'; // 默认回环地址// 遍历所有网络接口for (const devName in interfaces) {const iface = interfaces[devName];if (!iface) continue;// 遍历接口下的所有地址for (const alias of iface) {// 筛选条件:IPv4、非内部地址(非 127.0.0.1 等回环地址)、已启动if (alias.family === 'IPv4' && // 只取 IPv4!alias.internal && // 排除内部地址(如 127.0.0.1)alias.address !== '127.0.0.1' && // 进一步排除回环地址!alias.address.startsWith('169.254.') // 排除 APIPA 地址(本地链路地址)) {localIp = alias.address;return localIp; // 找到第一个有效地址后返回}}}return localIp; // 未找到有效地址时返回回环地址}
}
nacos.module.ts
动态模块,传入参数
import { DynamicModule, Module } from '@nestjs/common';
import { NacosOptions, NacosService } from './nacos.service';
import { IpService } from './ip.service';@Module({})
export class NacosModule {static forRoot(options: NacosOptions): DynamicModule {return {module: NacosModule,providers: [IpService,{provide: 'CONFIG_OPTIONS',useValue: options,},NacosService,],exports: [NacosService],};}
}
nacos.service.ts
import {Inject,Injectable,Logger,OnModuleDestroy,OnModuleInit,
} from '@nestjs/common';
import { ConfigService } from '@nestjs/config';
import { NacosNamingClient } from 'nacos';
import { IpService } from './ip.service';interface Instance {instanceId: string;healthy: boolean;enabled: boolean;serviceName?: string;weight?: number;ephemeral?: boolean;clusterName?: string;
}export interface NacosOptions {noRegister?: boolean;serviceName: string; //Service nameinstance?: Partial<Instance>; //InstancegroupName?: string;subList?: { groupName?: string; dataId: string }[];
}@Injectable()
export class NacosService implements OnModuleInit, OnModuleDestroy {@Inject()private configService: ConfigService;@Inject(IpService)private ipService: IpService;@Inject('CONFIG_OPTIONS')private options: NacosOptions;private readonly logger = new Logger(NacosService.name);private client: NacosNamingClient;async onModuleInit() {this.client = new NacosNamingClient({logger: {...console,log: () => {},debug: () => {},},serverList: this.configService.get<string>('NACOS_SERVER'), // replace to real nacos serverListnamespace: this.configService.get<string>('NACOS_NAMESPACE'),username: this.configService.get<string>('NACOS_SECRET_NAME'),password: this.configService.get<string>('NACOS_SECRET_PWD'),});await this.client.ready();if (!this.options.noRegister) {await this.destroy();await this.register();}this.logger.log('Nacos客户端准备就绪');}async getSub(serviceName: string) {const service = {dataId: serviceName,groupName: this.configService.get('NACOS_GROUP_NAME'),};const res = await this.client.getAllInstances(service.dataId,service.groupName,);this.configService.set(`nacos_${serviceName}`, res);return res.filter((item) => item.healthy);}async register() {await this.client.registerInstance(this.options.serviceName,// @ts-ignore{...this.options.instance,ip: this.ipService.getLocalIp(),port: this.configService.get<number>('PORT'),},this.options.groupName,);}async destroy() {await this.client.deregisterInstance(this.options.serviceName,// @ts-ignore{...this.options.instance,ip: this.ipService.getLocalIp(),port: this.configService.get<number>('PORT'),},this.options.groupName,);}async onModuleDestroy() {}
}
尝试
在 user-service服务
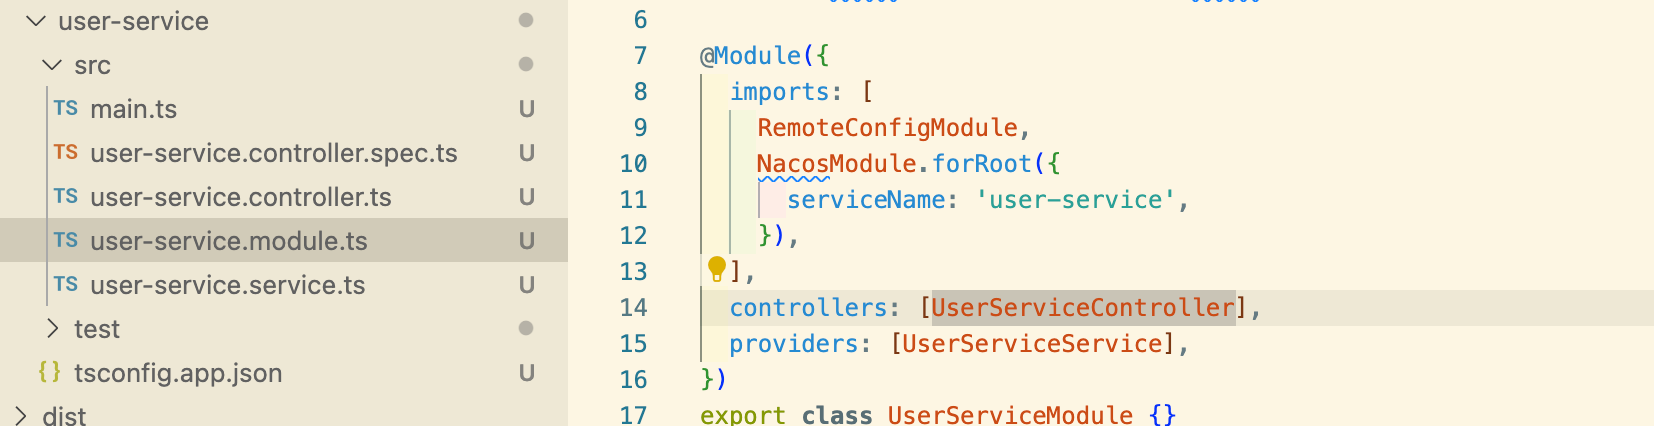
启动服务

这个时候就可以在其他服务获取到user-service的请求地址,可以使用http请求来处理。
改造user-service (TCP)
将user-service改造成微服务,使用TCP
import { NestFactory } from '@nestjs/core';
import { UserServiceModule } from './user-service.module';
import { Transport, MicroserviceOptions } from '@nestjs/microservices';async function bootstrap() {const port = Number(process.env.PORT) || 3001;const app = await NestFactory.createMicroservice<MicroserviceOptions>(UserServiceModule,{transport: Transport.TCP,options: {port,},},);await app.listen();
}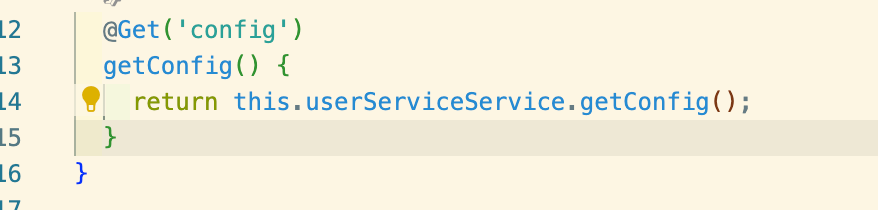
bootstrap();修改user-service.controller.ts
import { Controller, Get } from '@nestjs/common';
import { UserServiceService } from './user-service.service';
import { MessagePattern } from '@nestjs/microservices';@Controller()
export class UserServiceController {constructor(private readonly userServiceService: UserServiceService) {}@MessagePattern('user')handleFindById() {return this.userServiceService.register();}
}

启动服务
这里因为是本地,需要修改下获取IP的逻辑


改造gateway
引入nacos
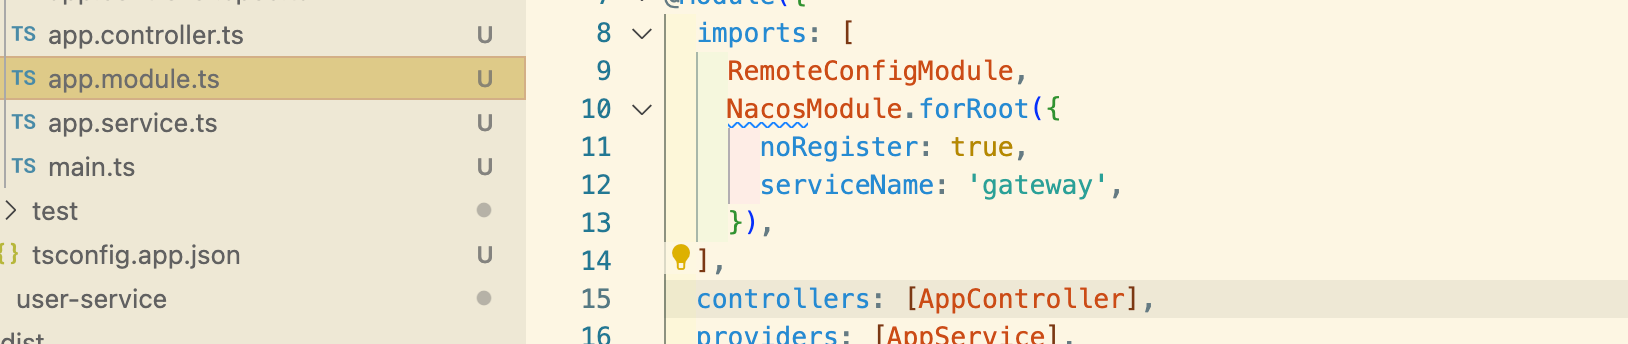
在 app.service.ts中 注册微服务
import { NacosService } from '@app/nacos';
import { Inject, Injectable, OnApplicationBootstrap } from '@nestjs/common';
import {ClientProxyFactory,Transport,ClientProxy,
} from '@nestjs/microservices';@Injectable()
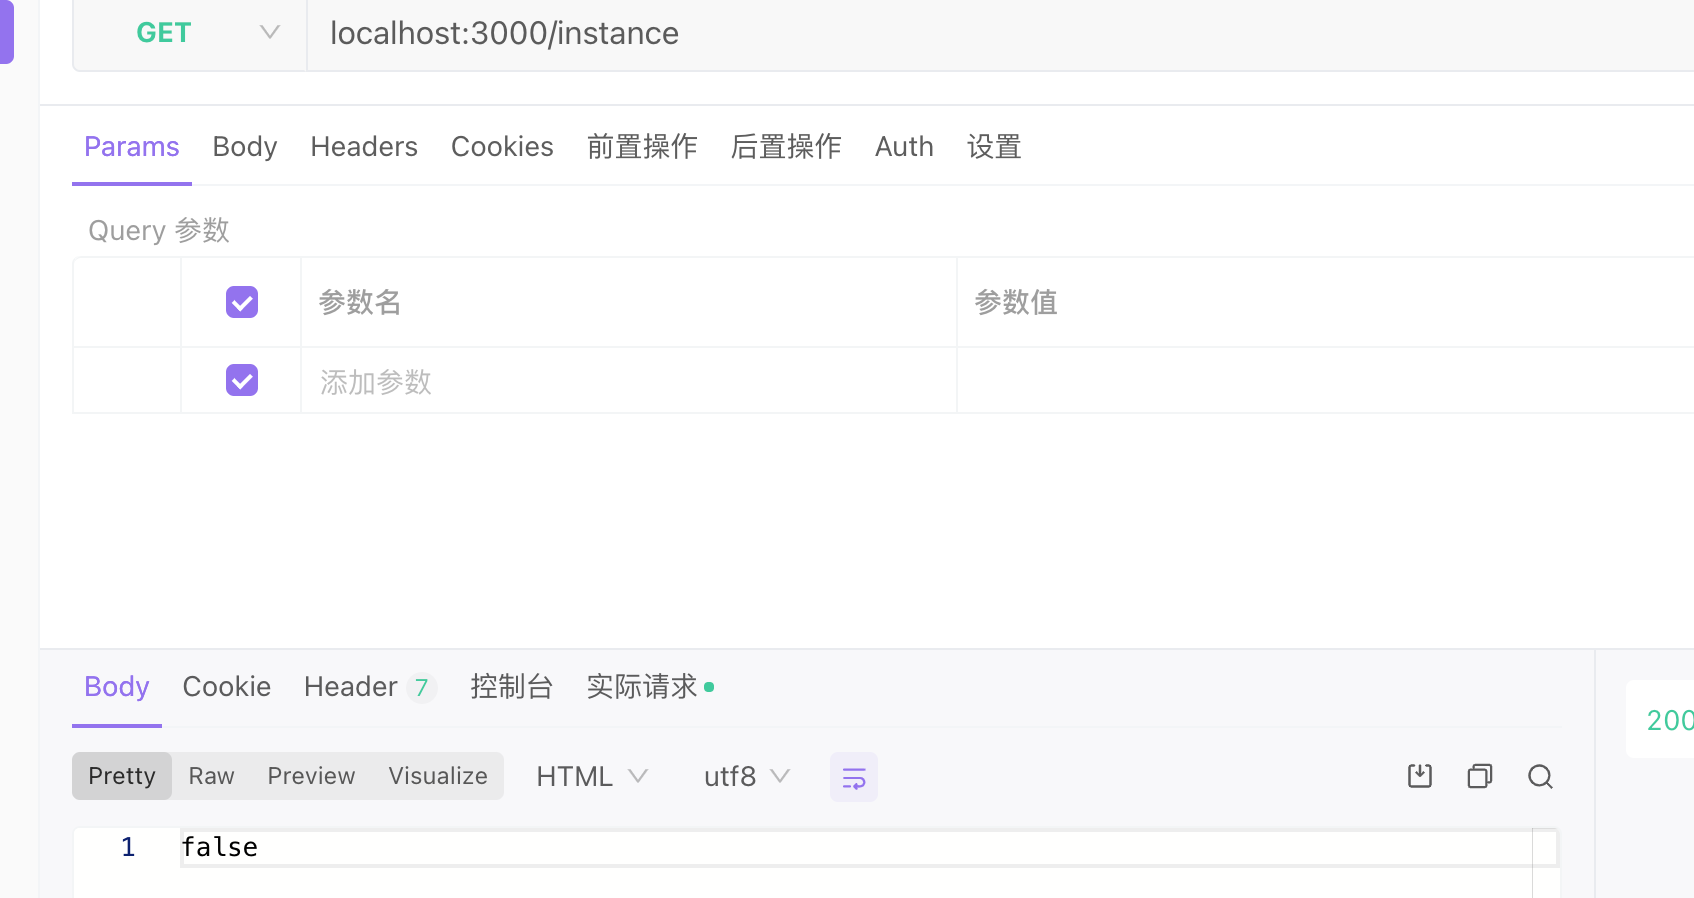
export class AppService implements OnApplicationBootstrap {private client: ClientProxy;@Inject(NacosService)private readonly nacosService: NacosService;async onApplicationBootstrap() {const res = await this.nacosService.getSub('user-service');const instance = res[0];this.client = ClientProxyFactory.create({transport: Transport.TCP,options: {host: instance.ip,port: instance.port,},});await this.client.connect();}getHello(): string {return 'Hello World!';}async getInstance() {const res = await this.client.send('user', '');return !res;}
}
启动服务
改造email-service(Kafka)
service.ts
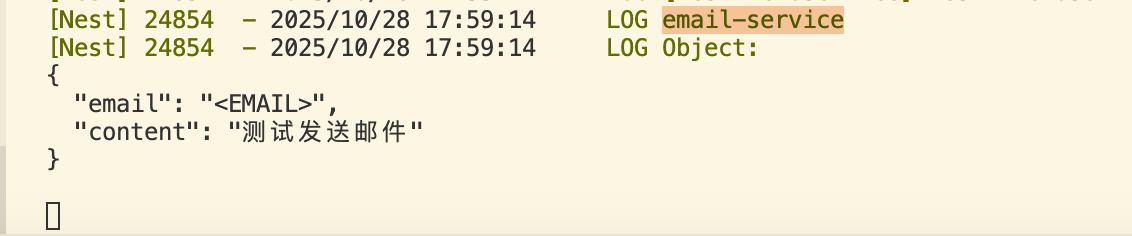
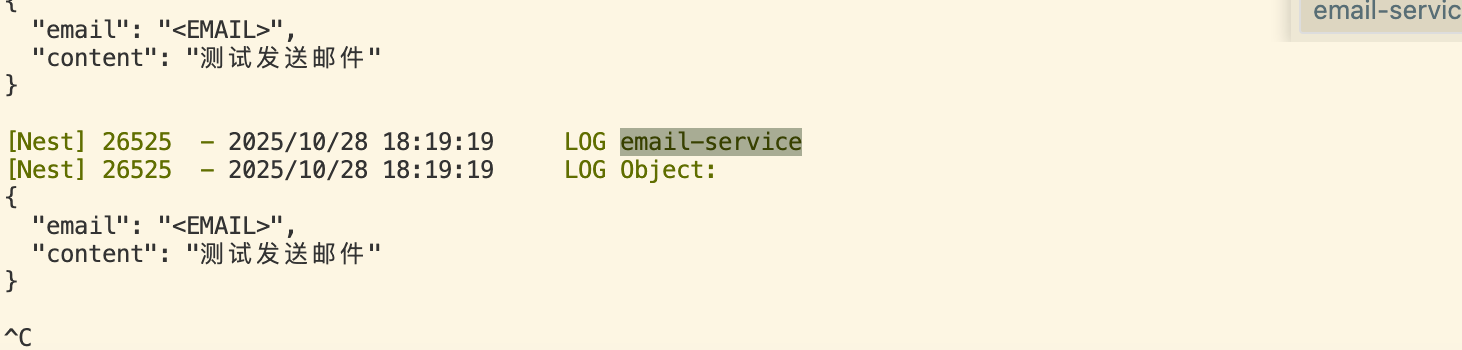
这里打印接收的数据
import { Controller, Get, Logger } from '@nestjs/common';
import { EmailServiceService } from './email-service.service';
import { MessagePattern, Payload } from '@nestjs/microservices';@Controller()
export class EmailServiceController {constructor(private readonly emailServiceService: EmailServiceService) {}@MessagePattern('email')getHello(@Payload() data) {Logger.log('email-service', data);}
}
对于 main.ts
需要先创建一个临时configApp,用来获取kafka-config
import { NestFactory } from '@nestjs/core';
import { EmailServiceModule } from './email-service.module';
import { MicroserviceOptions, Transport } from '@nestjs/microservices';
import { RemoteConfigModule, RemoteConfigService } from '@app/remote-config';async function bootstrap() {const configApp = await NestFactory.create(RemoteConfigModule);await configApp.init();const configService = configApp.get<RemoteConfigService>(RemoteConfigService);const res = await configService.getConfig('kafka-config');const app = await NestFactory.createMicroservice<MicroserviceOptions>(EmailServiceModule,{transport: Transport.KAFKA,options: {client: {clientId: 'email-service',brokers: res.brokers,},consumer: {groupId: 'email-service',},},},);await app.listen();await configApp.close();
}
bootstrap();
在gateway使用
app.servite.ts
import { NacosService } from '@app/nacos';
import { RemoteConfigService } from '@app/remote-config';
import {Inject,Injectable,Logger,OnApplicationBootstrap,OnModuleDestroy,
} from '@nestjs/common';
import {ClientProxyFactory,Transport,ClientProxy,ClientKafka,
} from '@nestjs/microservices';@Injectable()
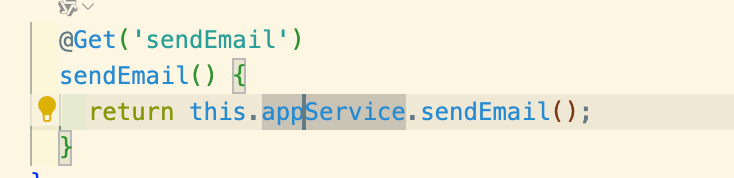
export class AppService implements OnApplicationBootstrap, OnModuleDestroy {private client: ClientProxy;private kafkaClient: ClientKafka;@Inject(NacosService)private readonly nacosService: NacosService;@Inject(RemoteConfigService)private readonly configService: RemoteConfigService;async onApplicationBootstrap() {const res = await this.nacosService.getSub('user-service');const instance = res[0];this.client = ClientProxyFactory.create({transport: Transport.TCP,options: {host: instance.ip,port: instance.port,},});await this.client.connect();Logger.log(`user-service 连接成功`);const config = await this.configService.getConfig('kafka-config');this.kafkaClient = new ClientKafka({client: {brokers: config.brokers,},producer: {allowAutoTopicCreation: true,},});await this.kafkaClient.connect();Logger.log(`email-service 连接成功`);}async onModuleDestroy() {await this.kafkaClient.close(); // 自动断开连接(避免资源泄漏)}getHello(): string {return 'Hello World!';}async getInstance() {const res = await this.client.send('user', '');return !res;}sendEmail() {this.kafkaClient.emit('email', {email: '<EMAIL>',content: '测试发送邮件',});}
}
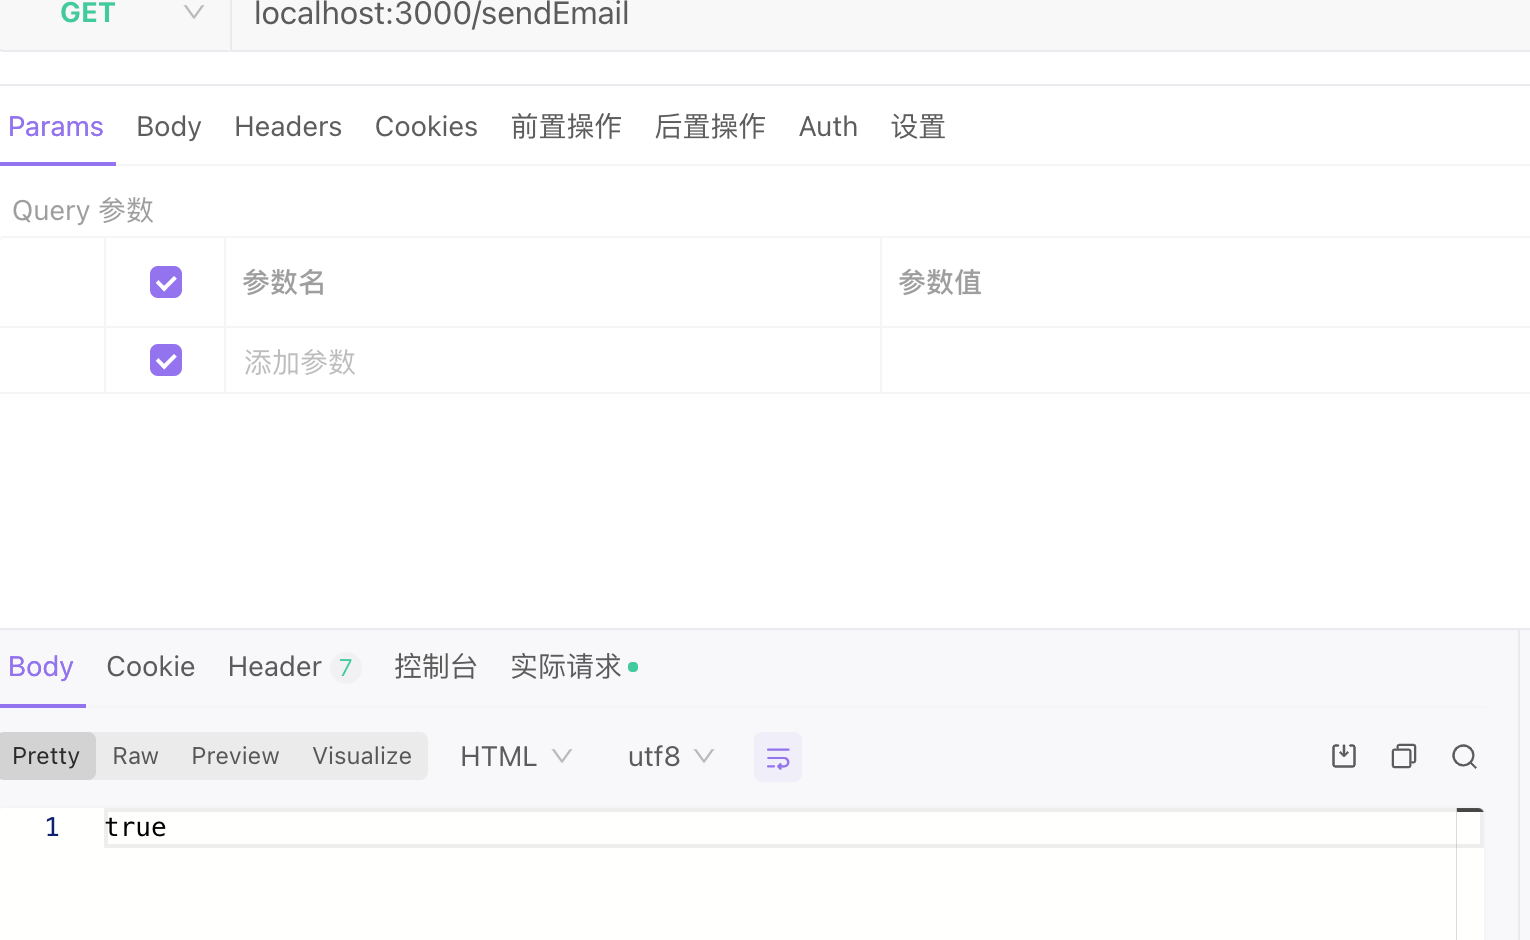
测试一下
如果需要返回邮件的发送状态。如返回true

如果直接这样修改。

会报错。

send的话,接收reply,需要先订阅下。
修改app.service.ts
在kafkaClient连接之前。

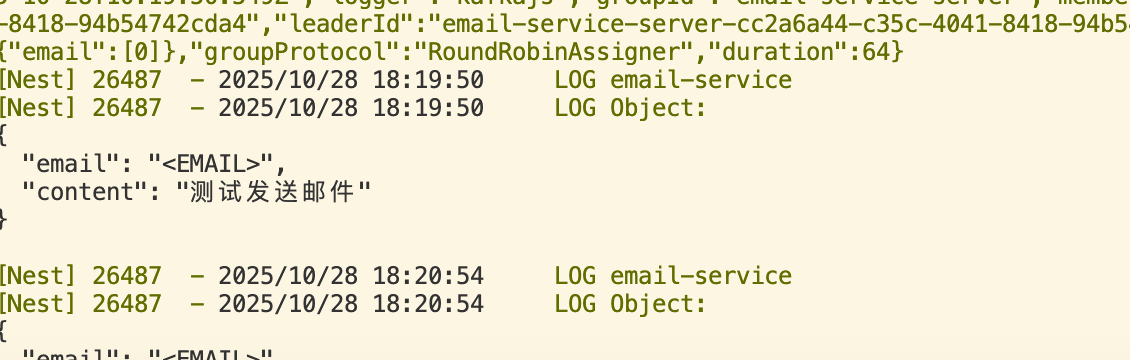
本地测试email-service开启多个实例:
当关掉一个后,接下来的请求会发送到另外一个上面
同样的也可以给email-service加上Nacos
因为本地启动多个相同服务的原因,临时给nacos加了个随机数,


可以判断是否有健康的实例来做进一步处理。
其他
这是一个练习。
其他的,比如,服务下线后,nacos是能检测到健康状态的,那么就要通过配置或者服务变化(nacos有订阅),来通知使用者如gateway。
部署
如通过docker打包,注入环境变量port等等,应用会通过nacos注册,网关使用的时候去拿。
这样就实现了服务的注册和发现?