【教学类-120-01】20251025旋转数字

背景需求:
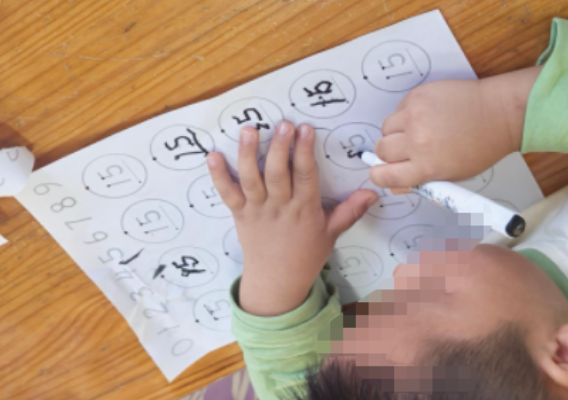
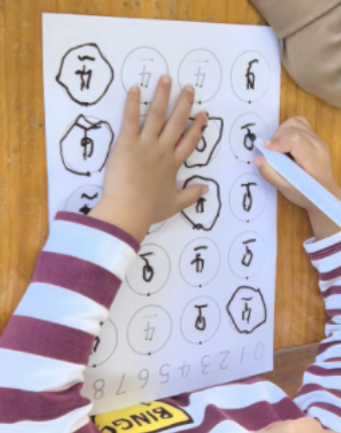
在小班学号描字帖(20个,落笔点)教学实践
https://blog.csdn.net/reasonsummer/article/details/153776733?spm=1011.2415.3001.5331![]() https://blog.csdn.net/reasonsummer/article/details/153776733?spm=1011.2415.3001.5331
https://blog.csdn.net/reasonsummer/article/details/153776733?spm=1011.2415.3001.5331
我发现部分孩子不懂“下划线”用途,纸张摆放方向多样(顺时针90度,逆时针90度,顺时针180度),反正描完就行。
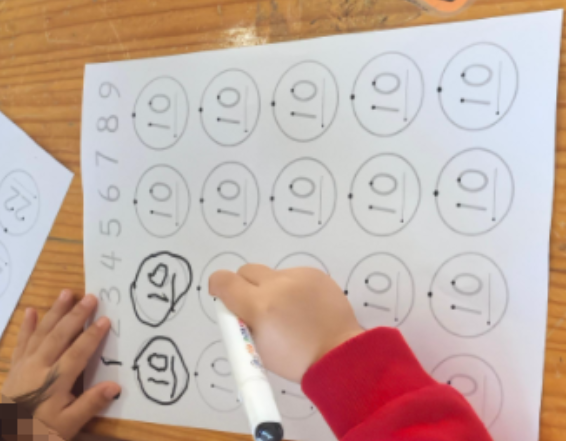
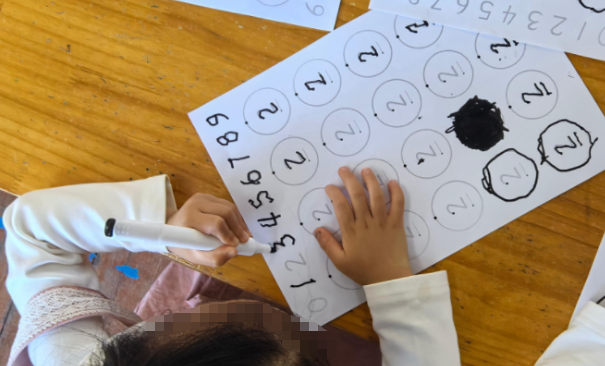
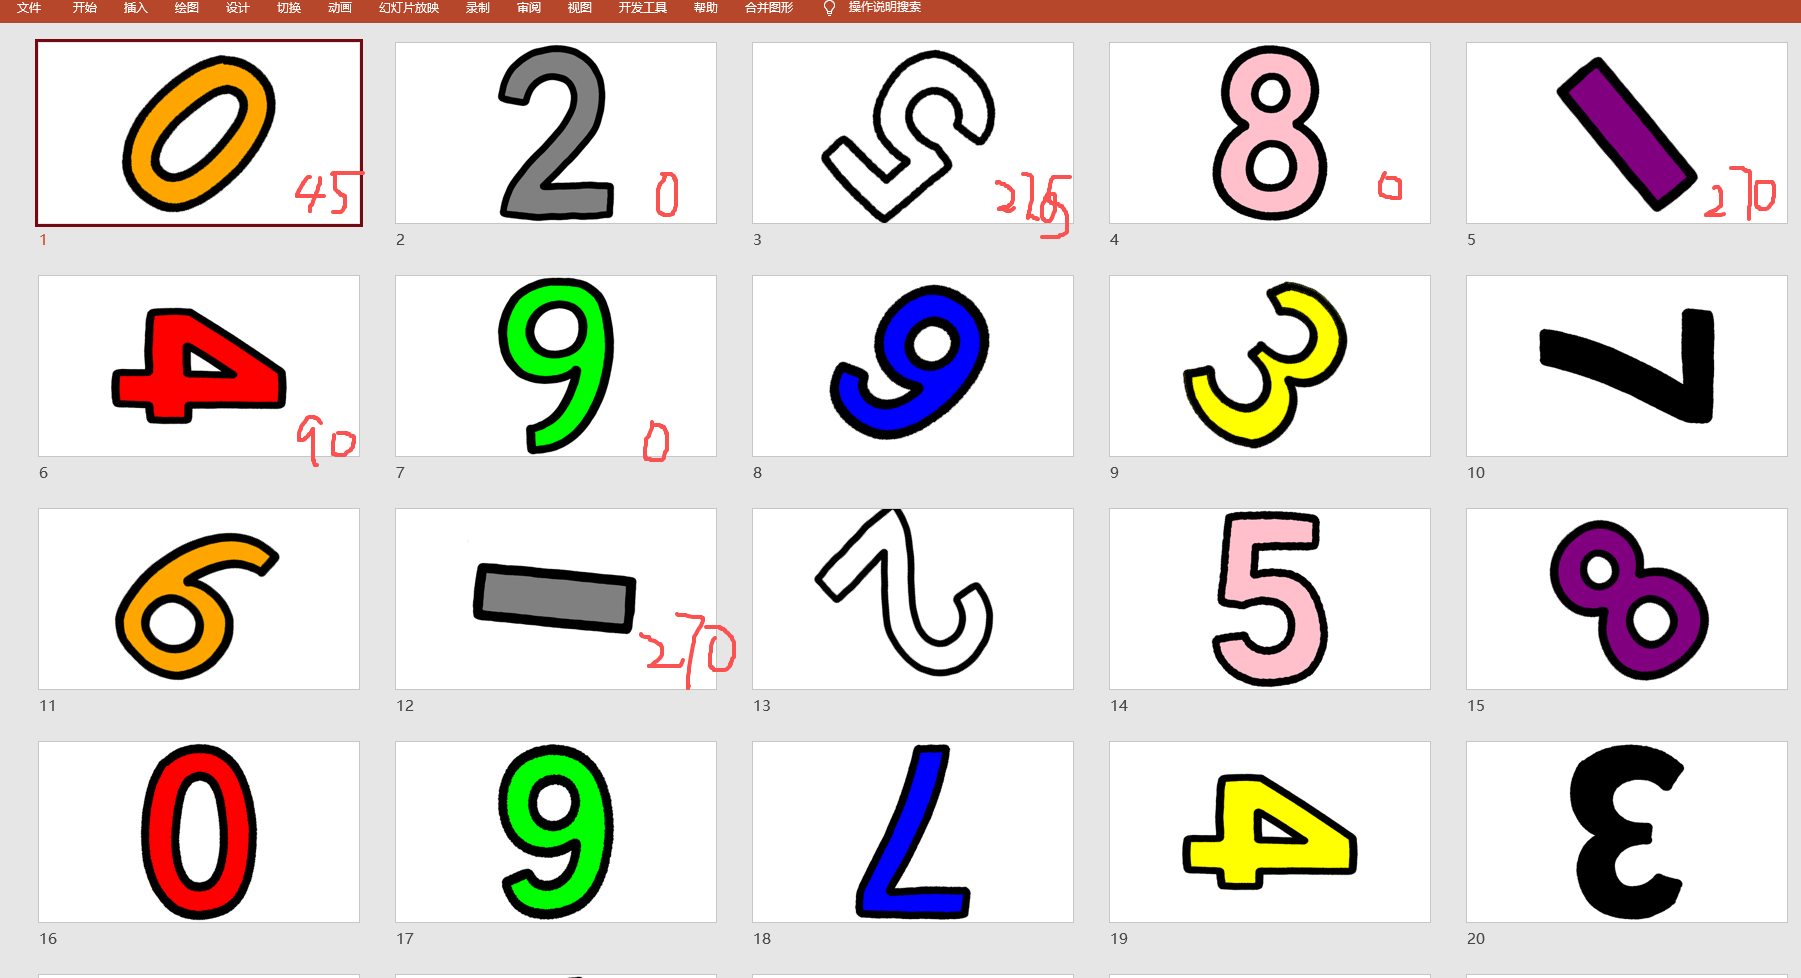
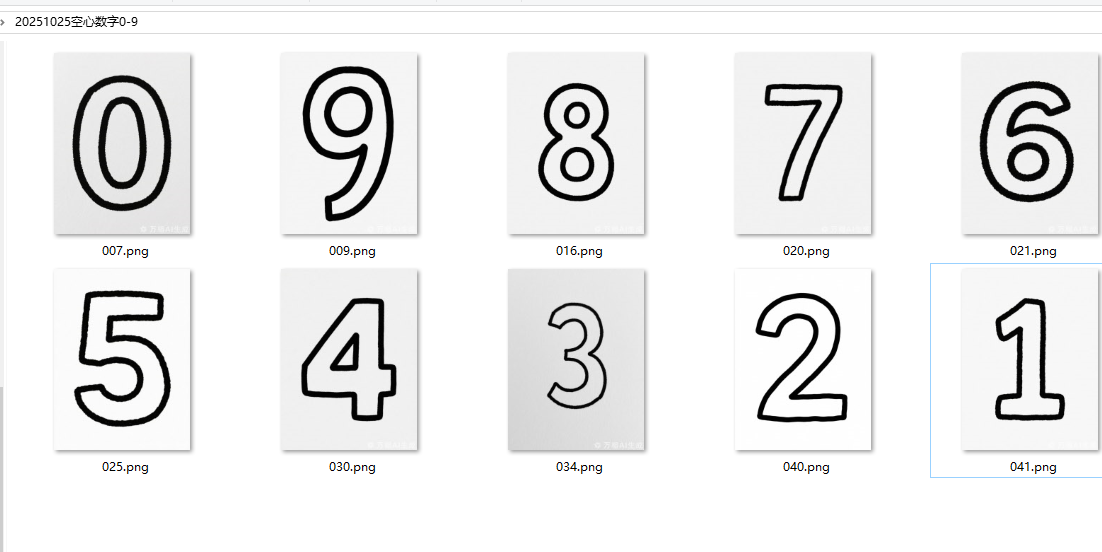
所以我想把数字旋转90度、180度,270度……,让幼儿感知旋转的数字的各种样式,找找正确的样式,并理解下划线用途(方向)
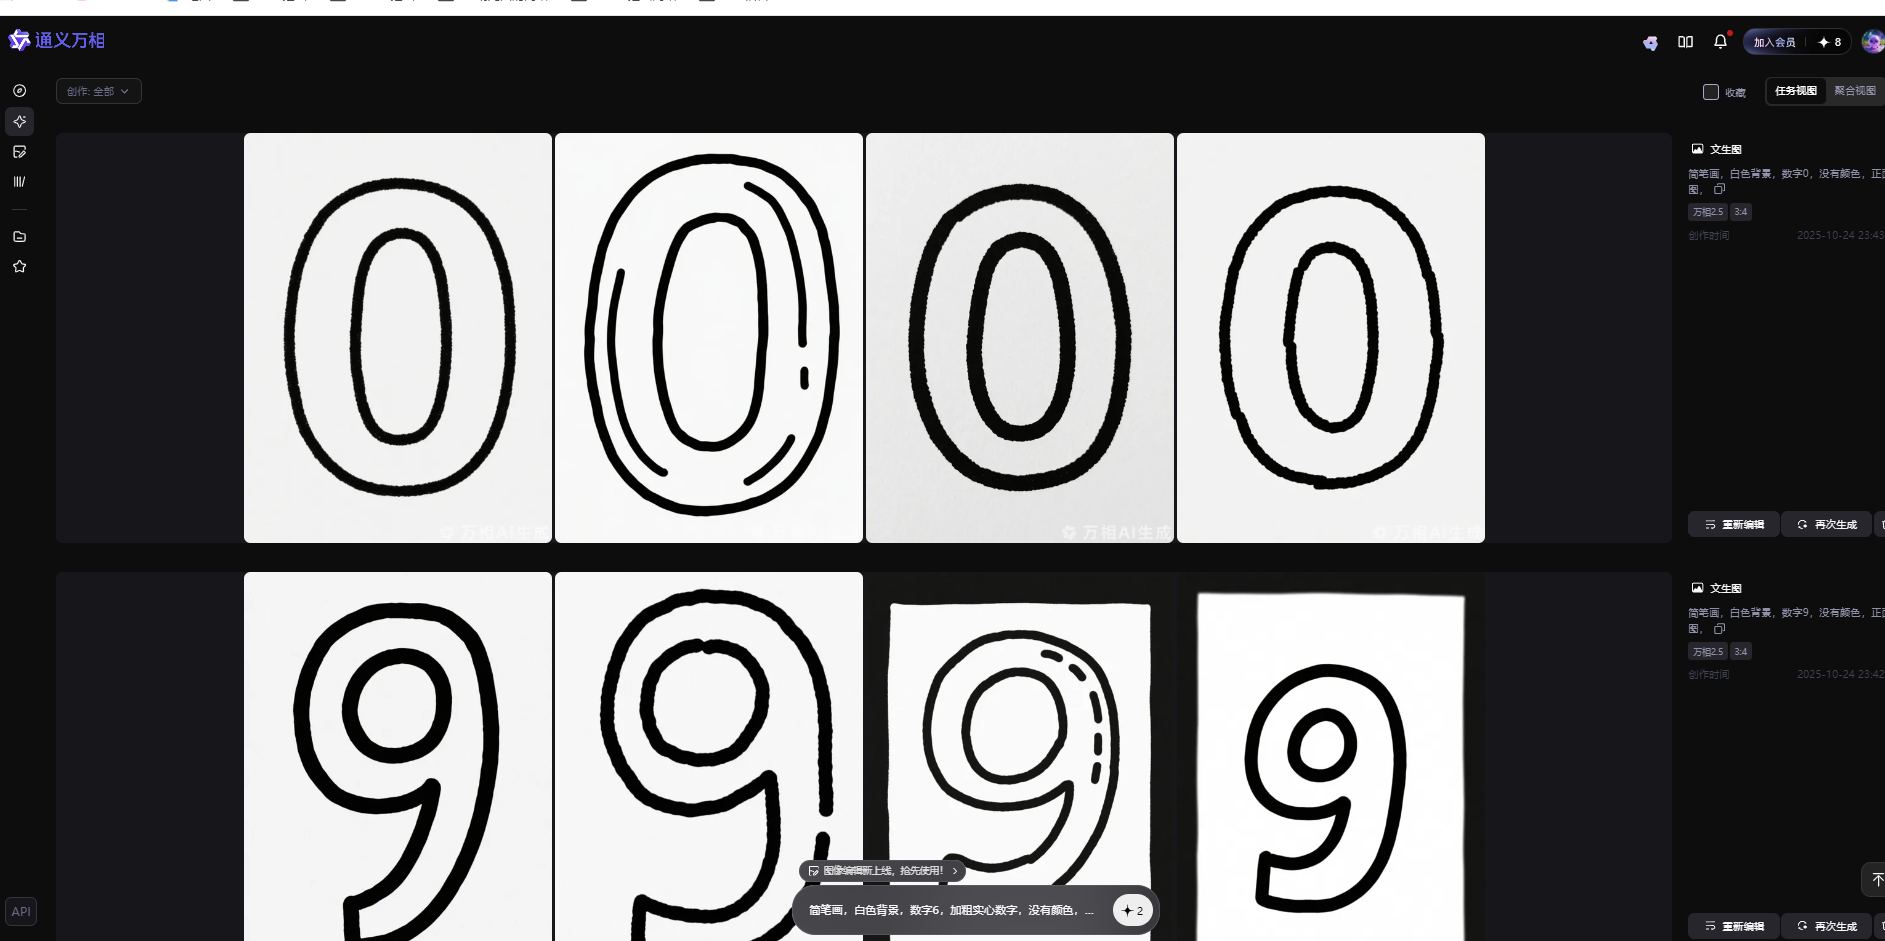
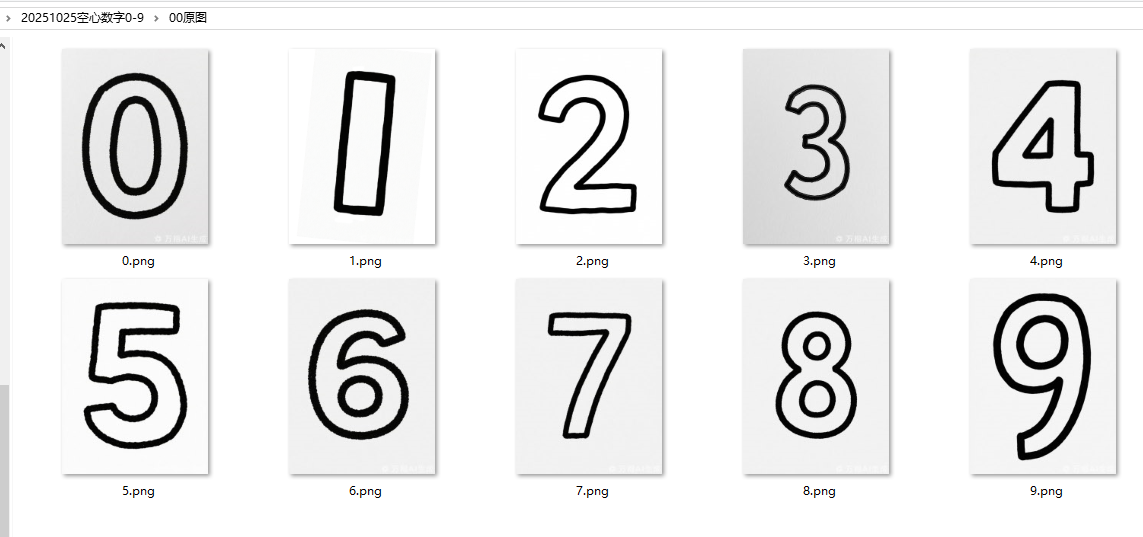
下载图片
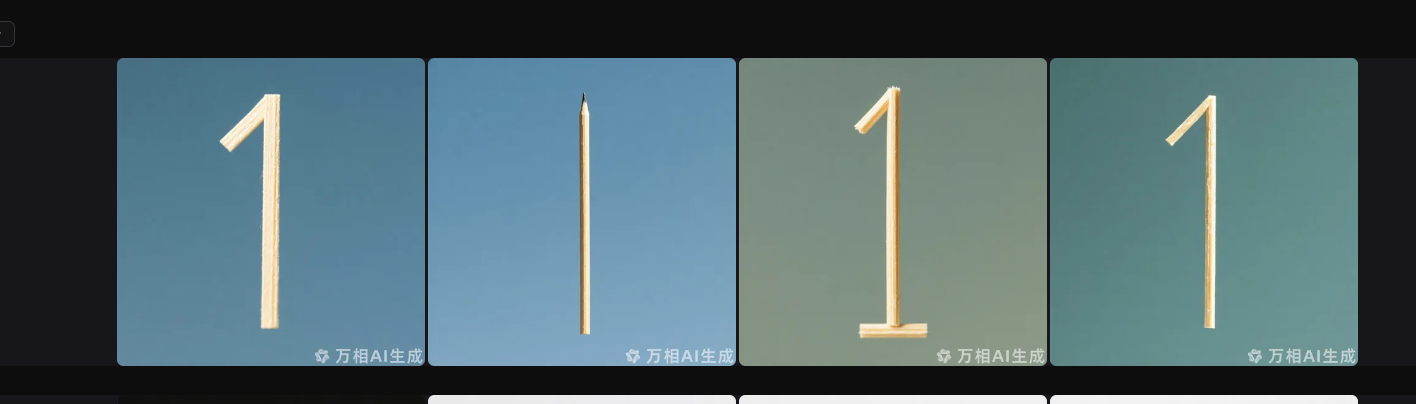
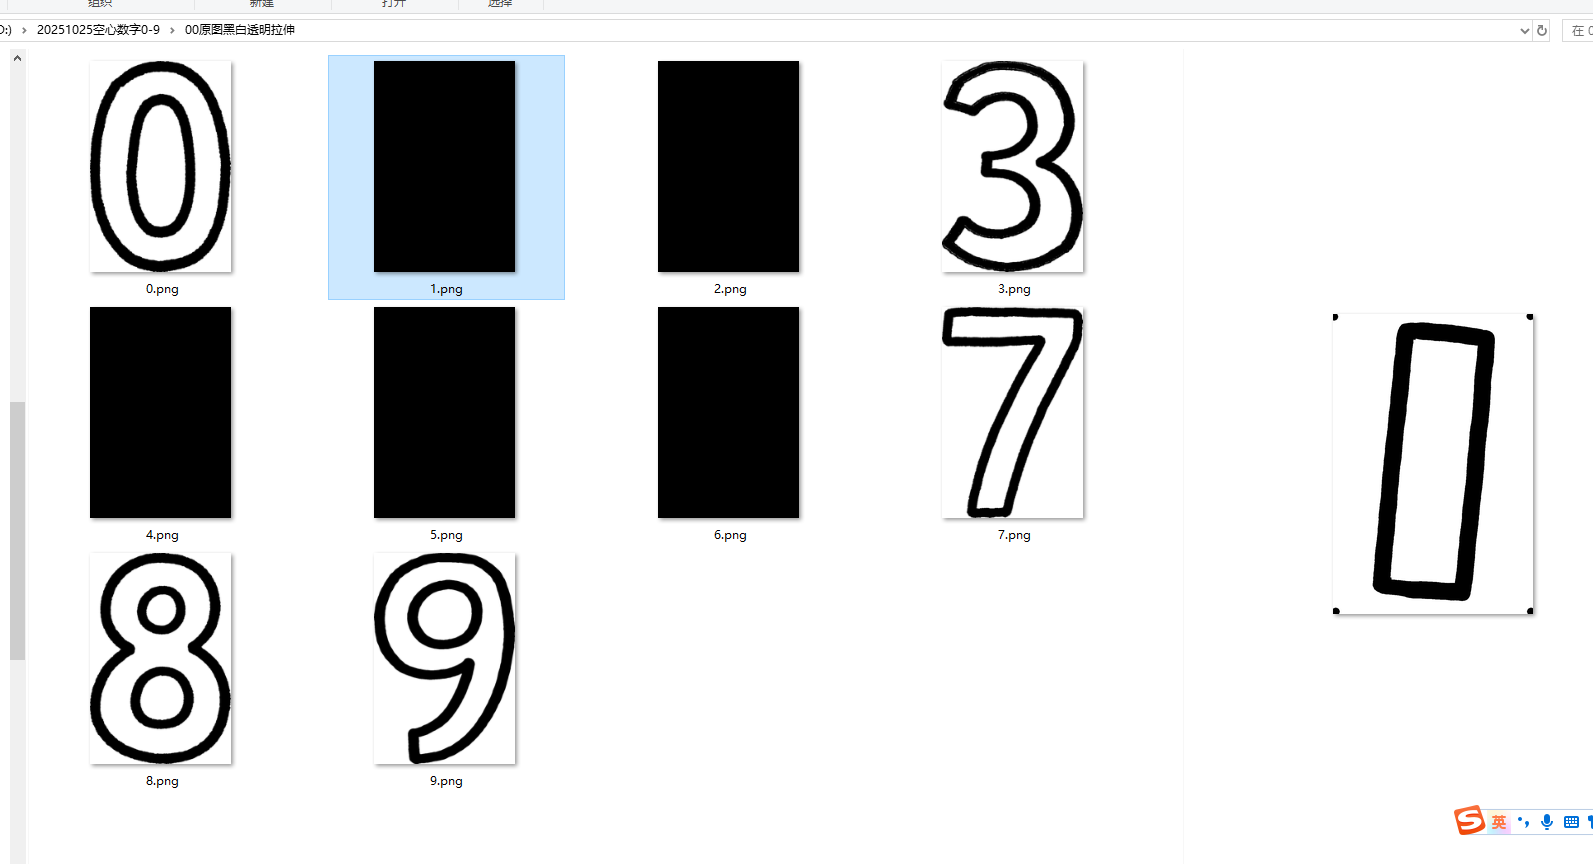
简笔画,白色背景,数字0,没有颜色,正面图,
'''
20250802通义万相2.2下载通义照片 copy
Python下载通义万相的图片(存在问题,不能停止,只能默认下载300张,删除多余)
星火讯飞,阿夏
谷歌页面打开通义万相,页面放大到200%
20251003
'''import os,time
import pyautogui
import pyperclip
import re
import win32apiimport win32con
import sys
import ctypesimport timename='20251025空心数字0-9'
# 先打开微信num=1
zs=48def minimize_active_window():try:if sys.platform == 'win32':# 获取当前活动窗口的句柄hwnd = ctypes.windll.user32.GetForegroundWindow()# 最小化窗口ctypes.windll.user32.ShowWindow(hwnd, 6)  # 6 对应 SW_MINIMIZEreturn Trueelse:print("此功能仅支持Windows系统")return Falseexcept Exception as e:print(f"最小化窗口时出错: {e}")return Falseprint("程序运行中...")
time.sleep(2)  # 等待2秒,让你有时间切换到VS Code窗口# 尝试最小化活动窗口
if minimize_active_window():print("窗口已最小化")
else:print("无法最小化窗口")# 读取文件名称和路径path=fr'D:\{name}'os.makedirs(path,exist_ok=True)for i in range(num,num+zs):# 下载按钮     pyautogui.moveTo(1569, 302)pyautogui.click() time.sleep(1)# 点击有,无水印要包月    pyautogui.moveTo(1573, 373)pyautogui.click() time.sleep(2)# 输入图片名称,复制中文内容到剪贴板name=path+fr'\{i:03}'pyperclip.copy(name)# 黏贴图片地址pyautogui.hotkey('ctrl', 'v')time.sleep(1)pyautogui.press('enter')
#     # 图片显示需要时间time.sleep(1)# 模拟按键“右箭头”pyautogui.moveTo (989, 628)pyautogui.click() time.sleep(2)#  'left'(左箭头)# 'up'(上箭头)# 'down'(下箭头)import sys
import ctypes
import timedef minimize_active_window():try:if sys.platform == 'win32':# 获取当前活动窗口的句柄hwnd = ctypes.windll.user32.GetForegroundWindow()# 最小化窗口ctypes.windll.user32.ShowWindow(hwnd, 6)  # 6 对应 SW_MINIMIZEreturn Trueelse:print("此功能仅支持Windows系统")return Falseexcept Exception as e:print(f"最小化窗口时出错: {e}")return Falseprint("程序运行中...")
time.sleep(2)  # 等待2秒,让你有时间切换到VS Code窗口# 尝试最小化活动窗口
if minimize_active_window():print("窗口已最小化")
else:print("无法最小化窗口")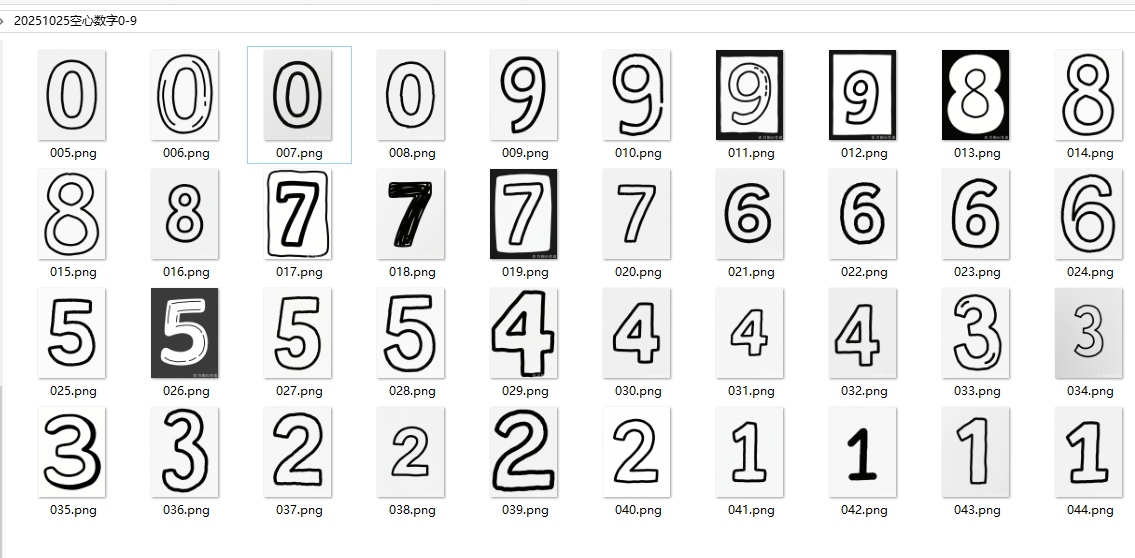
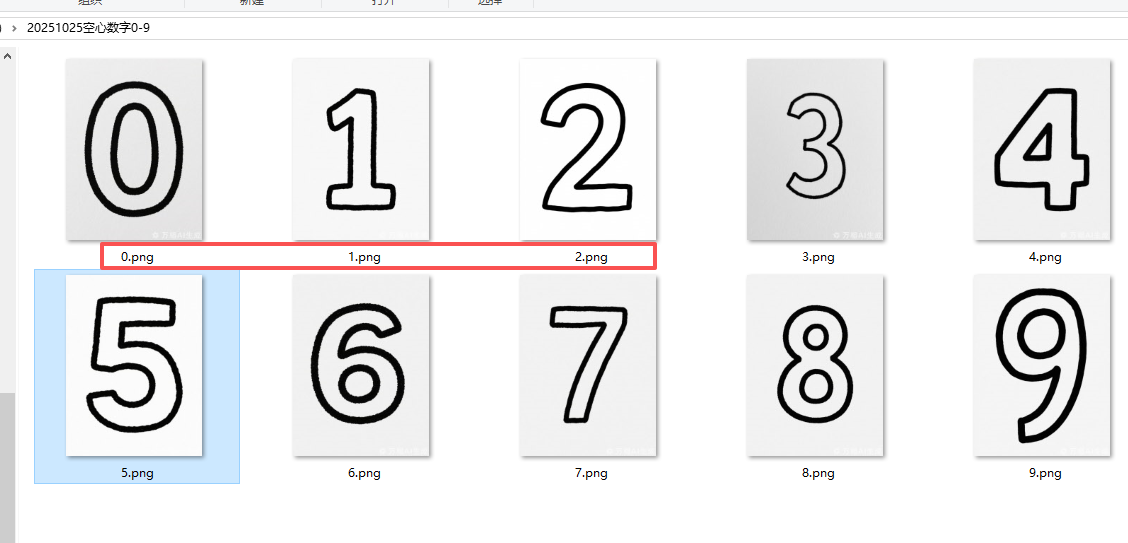
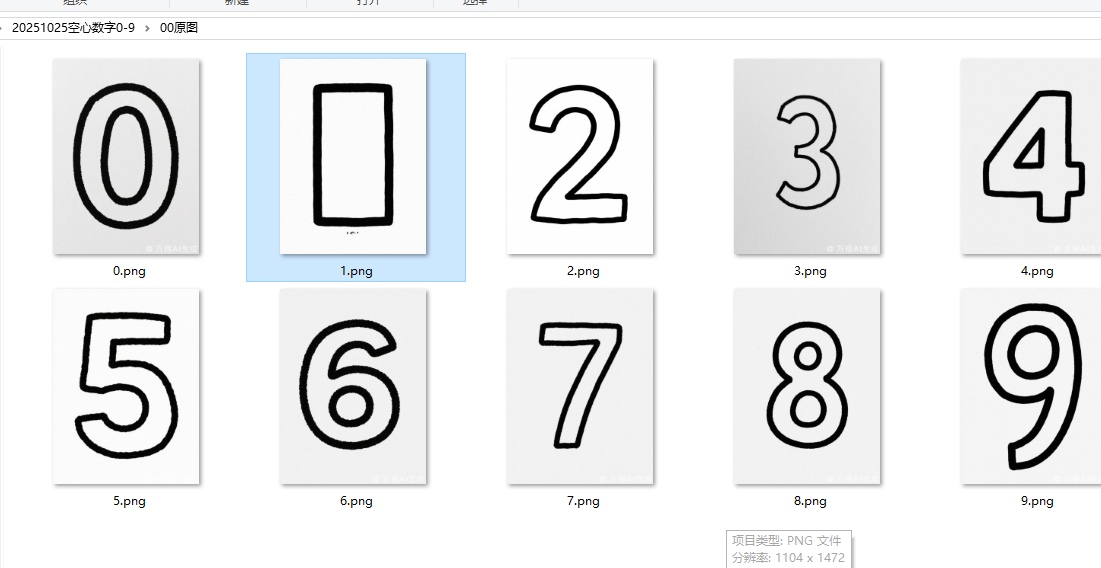
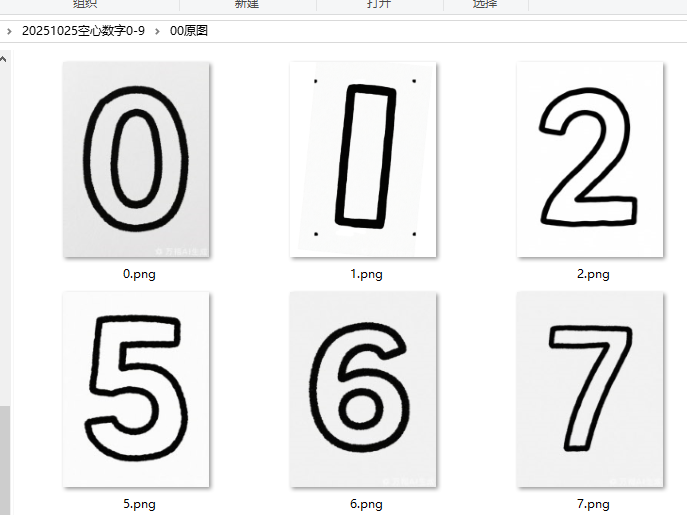
筛选一个数字一个图
重命名
'''
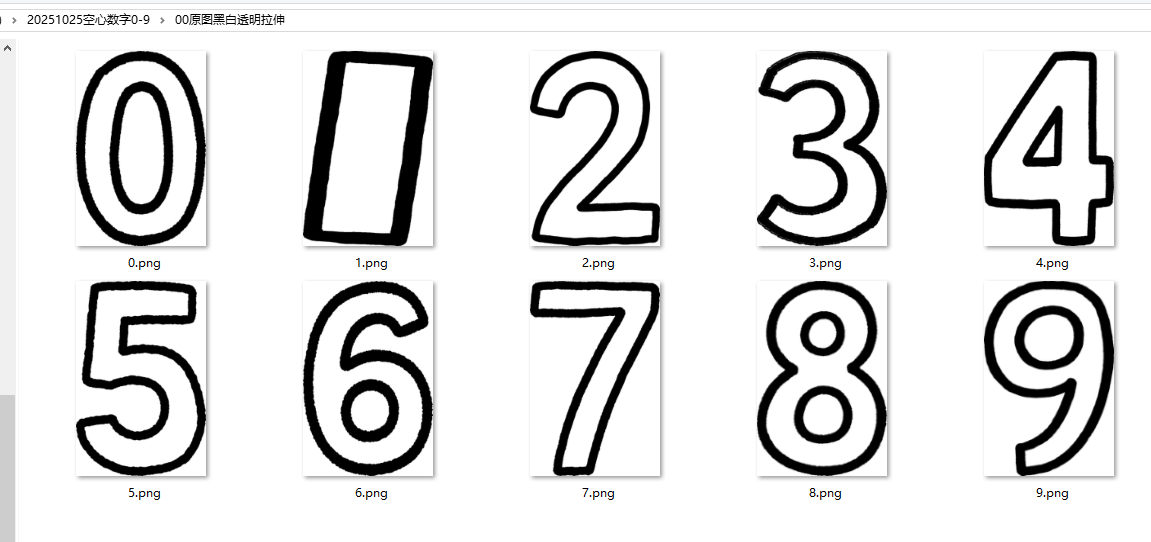
数字拉伸 图片处理,转黑白色,切边,统一大小(背景一样大,图像拉伸撑满)
Deepseek,阿夏
20251025
'''
import os
from PIL import Image
import numpy as npdef convert_to_pure_bw(image_path, output_path, threshold=128):"""将图片转为纯黑白两色(黑色0,0,0和白色255,255,255)参数:image_path: 输入图片路径output_path: 输出图片路径threshold: 二值化阈值"""try:img = Image.open(image_path)img = img.convert('L') # 转为灰度图# 二值化处理binary_img = img.point(lambda x: 0 if x < threshold else 255, '1')binary_img = binary_img.convert('RGB') # 转回RGB模式# 保存黑白图片binary_img.save(output_path)print(f"黑白图生成: {os.path.basename(image_path)}")return output_pathexcept Exception as e:print(f"处理图片 {image_path} 时出错: {str(e)}")return Nonedef crop_transparent_edges(image, margin=0):"""裁剪掉图片的透明边缘,并保留指定的间距参数:image: PIL Image对象(RGBA模式)margin: 要保留的间距(磅/像素)返回:裁剪后的PIL Image对象"""# 转换为numpy数组data = np.array(image)# 获取alpha通道alpha = data[:, :, 3]# 找到非透明像素的位置non_transparent = np.where(alpha > 0)if len(non_transparent[0]) == 0:# 如果全是透明像素,返回原图return image# 获取非透明区域的边界top = np.min(non_transparent[0])bottom = np.max(non_transparent[0])left = np.min(non_transparent[1])right = np.max(non_transparent[1])# 添加间距top = max(0, top - margin)bottom = min(image.height - 1, bottom + margin)left = max(0, left - margin)right = min(image.width - 1, right + margin)# 裁剪图片cropped_image = image.crop((left, top, right + 1, bottom + 1))return cropped_imagedef make_background_transparent(bw_image_path, output_path, tolerance=30, margin=0):"""将黑白图片的白色背景变为透明并裁剪透明边缘参数:bw_image_path: 黑白图片路径output_path: 输出图片路径tolerance: 颜色容差,控制背景识别的灵敏度margin: 裁剪后保留的间距(磅/像素)"""# 打开黑白图片并转换为RGBA模式with Image.open(bw_image_path) as img:# 转换为RGBA模式img = img.convert('RGBA')# 获取图片数据data = np.array(img)red, green, blue, alpha = data.T# 创建白色背景掩码:判断像素是否为白色(在容差范围内)white_mask = ((red >= 255 - tolerance) & (red <= 255) &(green >= 255 - tolerance) & (green <= 255) &(blue >= 255 - tolerance) & (blue <= 255))# 将白色背景像素的alpha通道设为0(透明)data[white_mask.T] = (255, 255, 255, 0)# 转换回Imageresult = Image.fromarray(data)# 裁剪透明边缘并保留间距cropped_result = crop_transparent_edges(result, margin)# 保存结果cropped_result.save(output_path, 'PNG')def resize_to_exact_size(image_path, output_path, target_size=(200, 200)):"""将图片拉伸到精确的200×200尺寸参数:image_path: 输入图片路径output_path: 输出图片路径target_size: 目标尺寸 (宽, 高)"""with Image.open(image_path) as img:if img.mode != 'RGBA':img = img.convert('RGBA')# 直接拉伸到目标尺寸resized_img = img.resize(target_size, Image.Resampling.LANCZOS)# 保存结果resized_img.save(output_path, 'PNG')def process_single_image(image_path, output_path, bw_threshold=128, transparency_tolerance=30, margin=0, target_size=(200, 200)):"""完整处理单张图片:黑白化 → 透明化 → 精确拉伸到200×200参数:image_path: 输入图片路径output_path: 输出图片路径bw_threshold: 黑白化阈值transparency_tolerance: 透明化容差margin: 裁剪边距target_size: 目标尺寸"""try:# 步骤1: 转为黑白图片(临时文件)temp_bw_path = output_path.replace('.png', '_bw_temp.png')bw_path = convert_to_pure_bw(image_path, temp_bw_path, bw_threshold)if not bw_path:return False# 步骤2: 背景透明化(临时文件)temp_transparent_path = output_path.replace('.png', '_trans_temp.png')make_background_transparent(bw_path, temp_transparent_path, transparency_tolerance, margin)# 步骤3: 精确拉伸到目标尺寸resize_to_exact_size(temp_transparent_path, output_path, target_size)# 清理临时文件if os.path.exists(temp_bw_path):os.remove(temp_bw_path)if os.path.exists(temp_transparent_path):os.remove(temp_transparent_path)return Trueexcept Exception as e:print(f"处理图片 {image_path} 时出错: {str(e)}")# 清理临时文件for temp_path in [temp_bw_path, temp_transparent_path]:if 'temp_path' in locals() and os.path.exists(temp_path):os.remove(temp_path)return Falsedef batch_process_images(input_dir, output_dir, bw_threshold=128, transparency_tolerance=30, margin=0, target_size=(200, 200)):"""批量处理文件夹中的所有图片参数:input_dir: 输入文件夹路径output_dir: 输出文件夹路径bw_threshold: 黑白化阈值transparency_tolerance: 透明化容差margin: 裁剪边距target_size: 目标尺寸"""# 创建输出文件夹(如果不存在)os.makedirs(output_dir, exist_ok=True)# 支持的图片格式supported_formats = ('.png', '.jpg', '.jpeg', '.gif', '.bmp', '.tiff')# 遍历输入文件夹中的所有文件processed_count = 0for filename in os.listdir(input_dir):# 检查文件是否为支持的图片格式if filename.lower().endswith(supported_formats):input_path = os.path.join(input_dir, filename)# 构建输出文件路径,统一保存为PNG格式output_filename = os.path.splitext(filename)[0] + '.png'output_path = os.path.join(output_dir, output_filename)success = process_single_image(input_path, output_path, bw_threshold, transparency_tolerance, margin, target_size)if success:print(f"已处理: {filename} -> {output_filename}")processed_count += 1else:print(f"处理失败: {filename}")print(f"批量处理完成!成功处理 {processed_count} 张图片")if __name__ == "__main__":# 输入文件夹path = r'D:\20251025空心数字0-9'a = '00原图'input_directory = path + fr'\{a}'# 输出文件夹output_directory = os.path.join(path, f"{a}黑白透明拉伸")# 检查输入文件夹是否存在if not os.path.exists(input_directory):print(f"错误: 文件夹 '{input_directory}' 不存在")else:# 执行批量处理batch_process_images(input_directory, output_directory, bw_threshold=128, # 黑白化阈值(0-255)transparency_tolerance=30, # 透明化容差margin=0, # 裁剪边距target_size=(200, 300) # 精确拉伸到200×200)print("所有图片处理完成!所有图片已拉伸到200×200像素")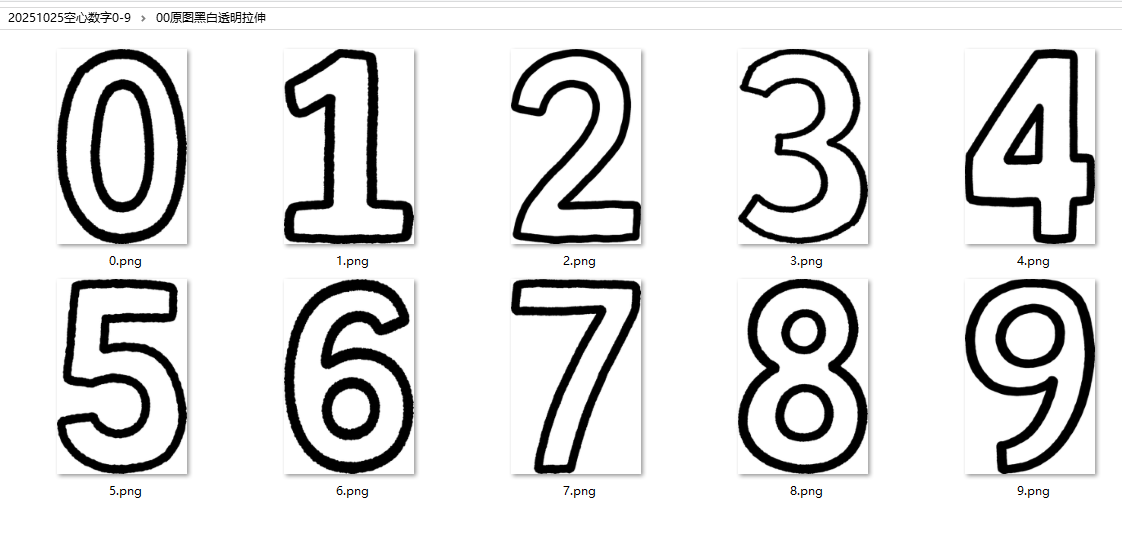
调整思路
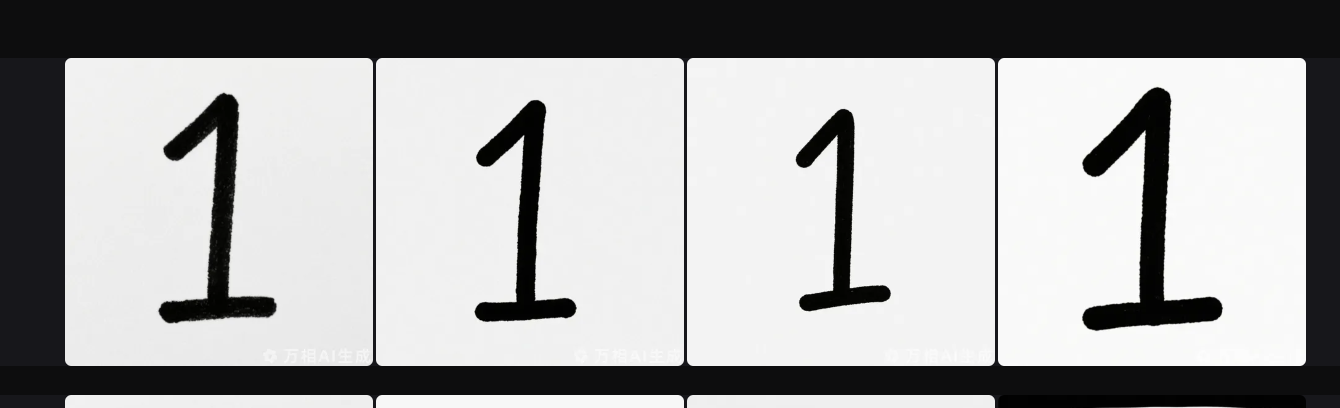
1、1改成手写体,只有斜线,没有勾和底部横线
2、数字填充彩色,吸引幼儿注意力。
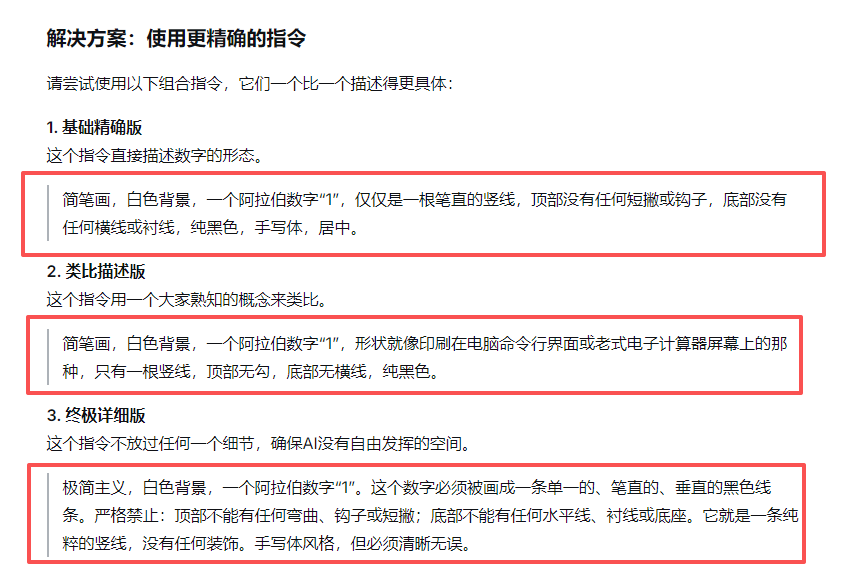


我又试了11,还是老样子
简笔画,白色背景,数字11,加粗实心数字,没有颜色,正面图,
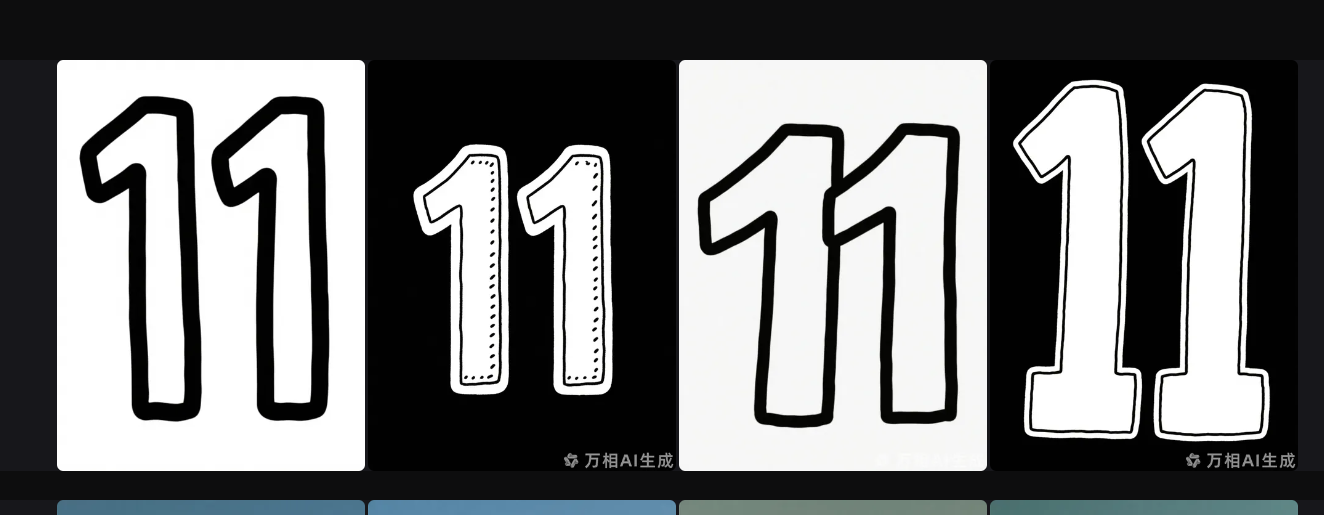
没啥用,还有有撇和衬线
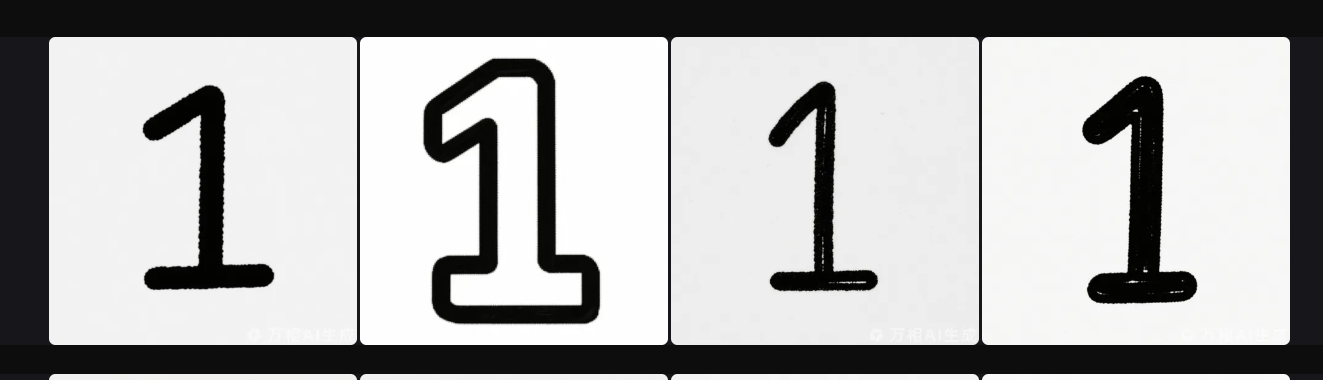
手动画一个长方形,然后修图
简笔画,白色背景,1:6的长方形黑色边框,没有颜色,正面图,
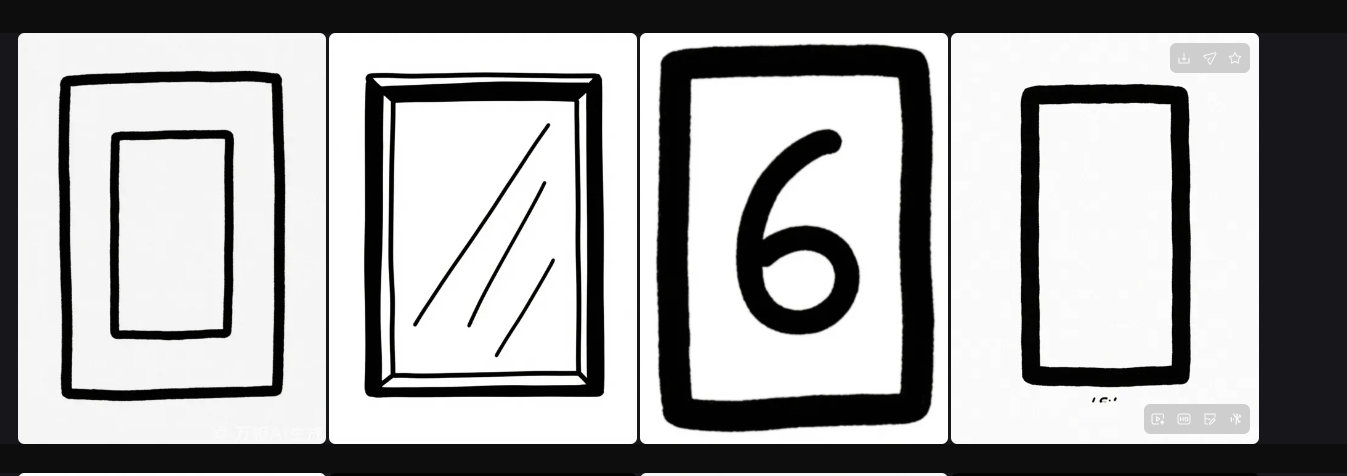
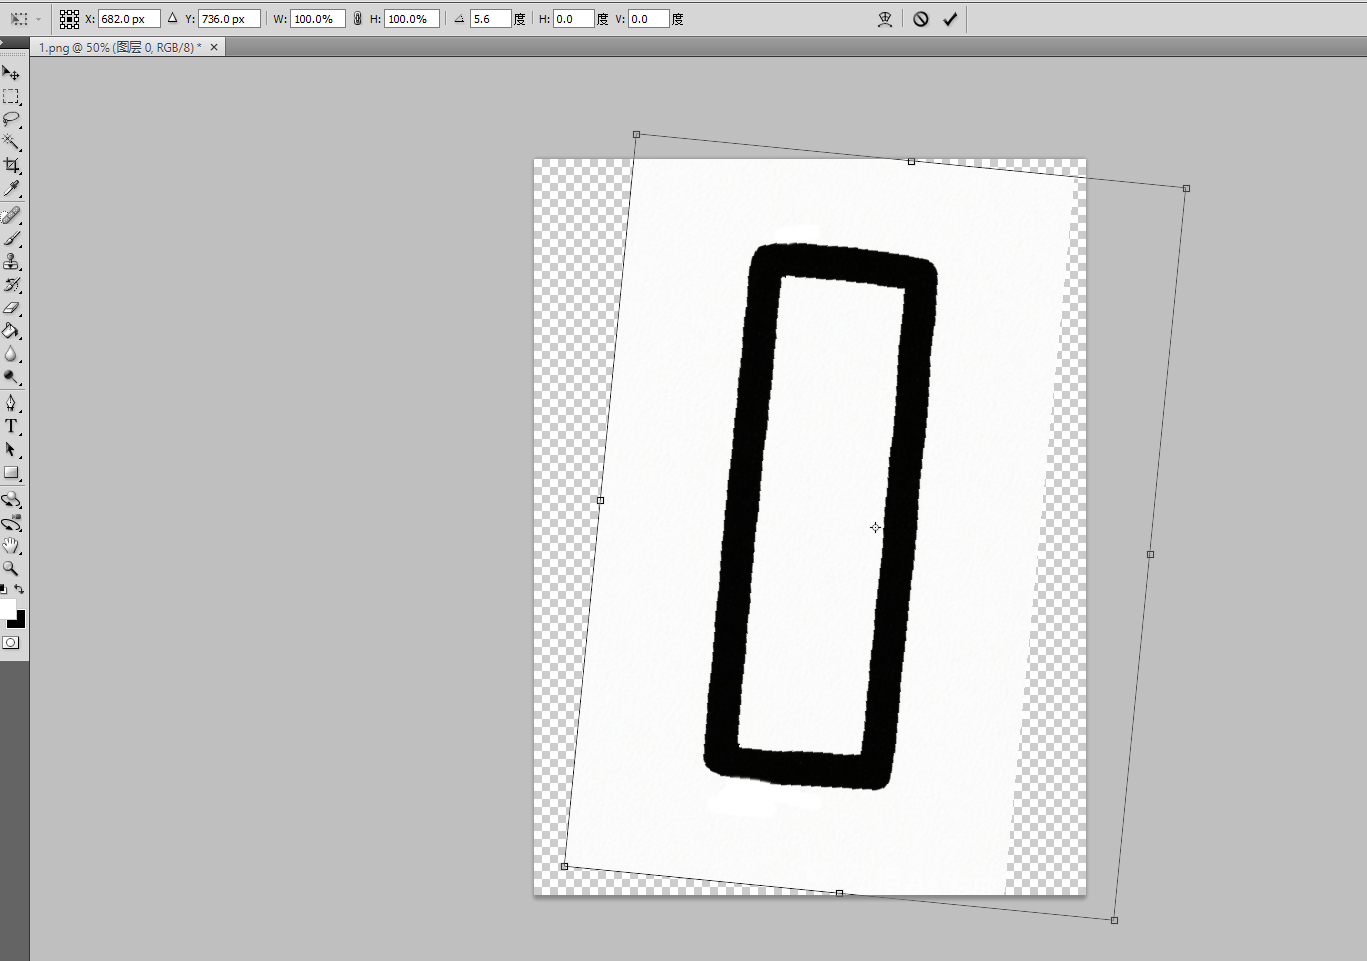
现在我知道为什么一样要加衬线了,否则就会一条斜线被迫拉宽
不是彩色的
'''
综合图片处理脚本 - 生成所有样式
图片处理流程:
1. 将图片转为纯黑白图(黑色0,0,0和白色255,255,255)
2. 将图片转为黑蓝图(黑色0,0,0和蓝色0,255,255)
3. 识别边缘与黑线,中间填充白色(提供两种填充方法)
4. 生成多种样式:- 随机颜色填充(透明背景)- 多种颜色填充(每种颜色一个文件夹)- 黑底白线条图- 白底黑线条透明内部图
5. 切边(保留10磅/13像素边距)
6、地址出现一次
deepseek,阿夏
20250909
'''import time
from PIL import Image
import os,shutil
from datetime import datetime
from collections import deque
import random# 定义基础路径(只需要在这里定义一次)
BASE_PATH = r'D:\20251025空心数字0-9'
# # 定义颜色映射表 - 使用标准RGB值
COLOR_MAP = {'红red': (255, 0, 0),          # 正红'橙orange': (255, 165, 0),     # 橙'黄yellow': (255, 255, 0),     # 正黄'绿green': (0, 255, 0),        # 正绿'蓝blue': (0, 0, 255),         # 正蓝'紫purple': (128, 0, 128),     # 正紫'粉pink': (255, 192, 203),     # 粉'灰gray': (128, 128, 128),     # 灰'白white': (255, 255, 255),    # 白'黑black': (0, 0, 0)           # 黑
}def create_folder(path):"""创建文件夹如果不存在"""if not os.path.exists(path):os.makedirs(path)print(f"创建文件夹: {path}")def process_image_to_bw(image_path, output_folder, threshold=128):"""将图片转为纯黑白图(黑色0,0,0和白色255,255,255)"""try:img = Image.open(image_path)img = img.convert('L')  # 转为灰度图# 二值化处理binary_img = img.point(lambda x: 0 if x < threshold else 255, '1')binary_img = binary_img.convert('RGB')  # 转回RGB模式# 保存结果filename = os.path.basename(image_path)output_path = os.path.join(output_folder, filename)binary_img.save(output_path)print(f"黑白图生成: {filename} -> 已保存到 {output_path}")return output_pathexcept Exception as e:print(f"处理图片 {image_path} 时出错: {str(e)}")return Nonedef process_image_to_blue_black(image_path, output_folder, threshold=128):"""将图片转为黑蓝两色(黑色0,0,0和蓝色0,255,255)"""try:img = Image.open(image_path)img = img.convert('RGB')  # 确保是RGB模式pixels = img.load()width