Ubuntu上vue3 vite使用MBTiles搭建地图服务器
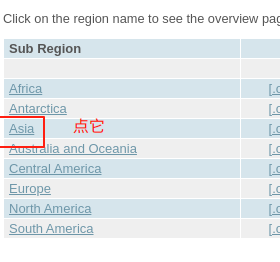
1、首先从点击进入连接下载你所需要的地图.mbtiles,我选的是步骤如下:
点击Asia
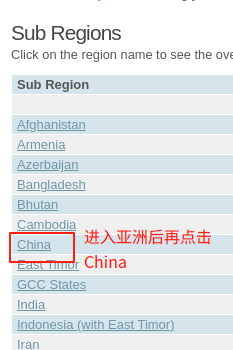
然后再点击China
再点击experimental vector tle package
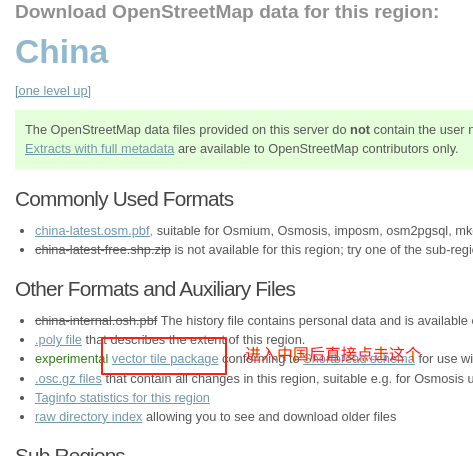
就可以下载下来china-shortbread-1.0.mbtiles 并将其修改为china.mbtiles
2、在桌面或者其他地方创建一个文件夹,这里取名为mbtiles-server,将china.mbtiles放入此文件夹中,此文件夹中的内容如下:
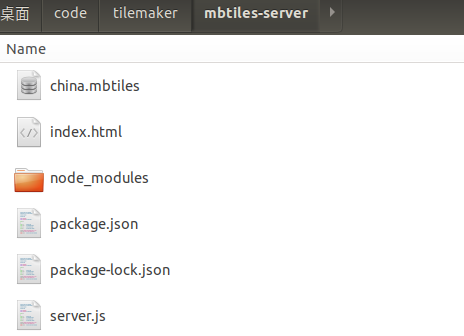
需要创建server.js, index.html 和 package.json这三个文件,其中server.js中的内容如下:
const path = require('path');
const Koa = require('koa');
const Router = require('@koa/router');
const cors = require('koa2-cors');
const MBTiles = require('@mapbox/mbtiles');const router = new Router();
let mbtiles = null;// new MBTiles(path.resolve(__dirname, "taiwan.mbtiles"), (err, mb) => {
new MBTiles(path.resolve(__dirname, "china.mbtiles"), (err, mb) => {mbtiles = mb;
});function getTile (x, y, z) {return new Promise((resolve, reject) => {mbtiles.getTile(z, x, y, (err, data, headers) => {if (err) {reject(err);return;}resolve(data);})})
}router.get('/tile/:z/:x/:y.pbf', async (ctx, next) => {const { x, y, z } = ctx.params;const data = await getTile(x, y, z);ctx.body = data;ctx.set('content-encoding', 'gzip') // 注意响应头ctx.set('content-type', 'application/x-protobuf')return next();
});const app = new Koa();app.use( // 跨域cors({origin: function (ctx) { //设置允许来自指定域名请求// if (ctx.url === '/tile') {return '*'; // 允许来自所有域名请求// }},maxAge: 500000000000, //指定本次预检请求的有效期,单位为秒。credentials: true, //是否允许发送CookieallowMethods: ['GET', 'POST', 'PUT', 'DELETE', 'OPTIONS'], //设置所允许的HTTP请求方法'allowHeaders: ['Content-Type', 'Authorization', 'Accept'], //设置服务器支持的所有头信息字段exposeHeaders: ['WWW-Authenticate', 'Server-Authorization'] //设置获取其他自定义字段})
);app.use(router.routes());app.listen(3000);
index.html中的内容如下:
<!DOCTYPE html>
<html>
<head><title>MBTiles 测试</title><link rel="stylesheet" href="https://unpkg.com/leaflet@1.7.1/dist/leaflet.css" /><style>#map { height: 100vh; }</style>
</head>
<body>
<div id="map"></div>
<script src="https://unpkg.com/leaflet@1.7.1/dist/leaflet.js"></script>
<script src="https://unpkg.com/leaflet.vectorgrid@1.3.0/dist/Leaflet.VectorGrid.bundled.js"></script>
<script>// 初始化地图const map = L.map('map').setView([39.9042, 116.4074], 5);// 添加矢量瓦片层(需要合适的矢量瓦片样式)const vectorTileLayer = L.vectorGrid.protobuf("http://localhost:3000/tile/{z}/{x}/{y}.pbf", {vectorTileLayerStyles: {// 定义样式,根据你的数据图层调整// water: {//   fill: true,//   fillColor: '#9bc2c4',//   fillOpacity: 0.6,//   color: '#9bc2c4',//   opacity: 0.6,//   weight: 1// },// transportation: {//   color: '#cccccc',//   weight: 1// }},maxZoom: 14,minZoom: 0}).addTo(map);// 添加一个底图以便参考L.tileLayer('https://{s}.tile.openstreetmap.org/{z}/{x}/{y}.png', {attribution: '© OpenStreetMap contributors'}).addTo(map);
</script>
</body>
</html>
package.json中的内容如下:
{"name": "mbtiles-server","version": "1.0.0","description": "MBTiles tile server","main": "server.js","scripts": {"start": "node server.js","dev": "nodemon server.js"},"dependencies": {"koa": "^2.14.0","@koa/router": "^12.0.0","koa2-cors": "^2.0.6","@mapbox/mbtiles": "^0.12.1"},"devDependencies": {"nodemon": "^2.0.22"}
}
3、需要安装一下server.js依赖的包,即在 mbtiles-server这个文件夹下打开个终端,运行npm install即可安装package.json中所需要的包
4、3的终端中运行npm start 或者 node server.js即可启动node后端,当然肯定是需要安装node的,我的node版本为v18.20.6
5、然后直接在浏览器中打开index.html即可看到如下图所示:
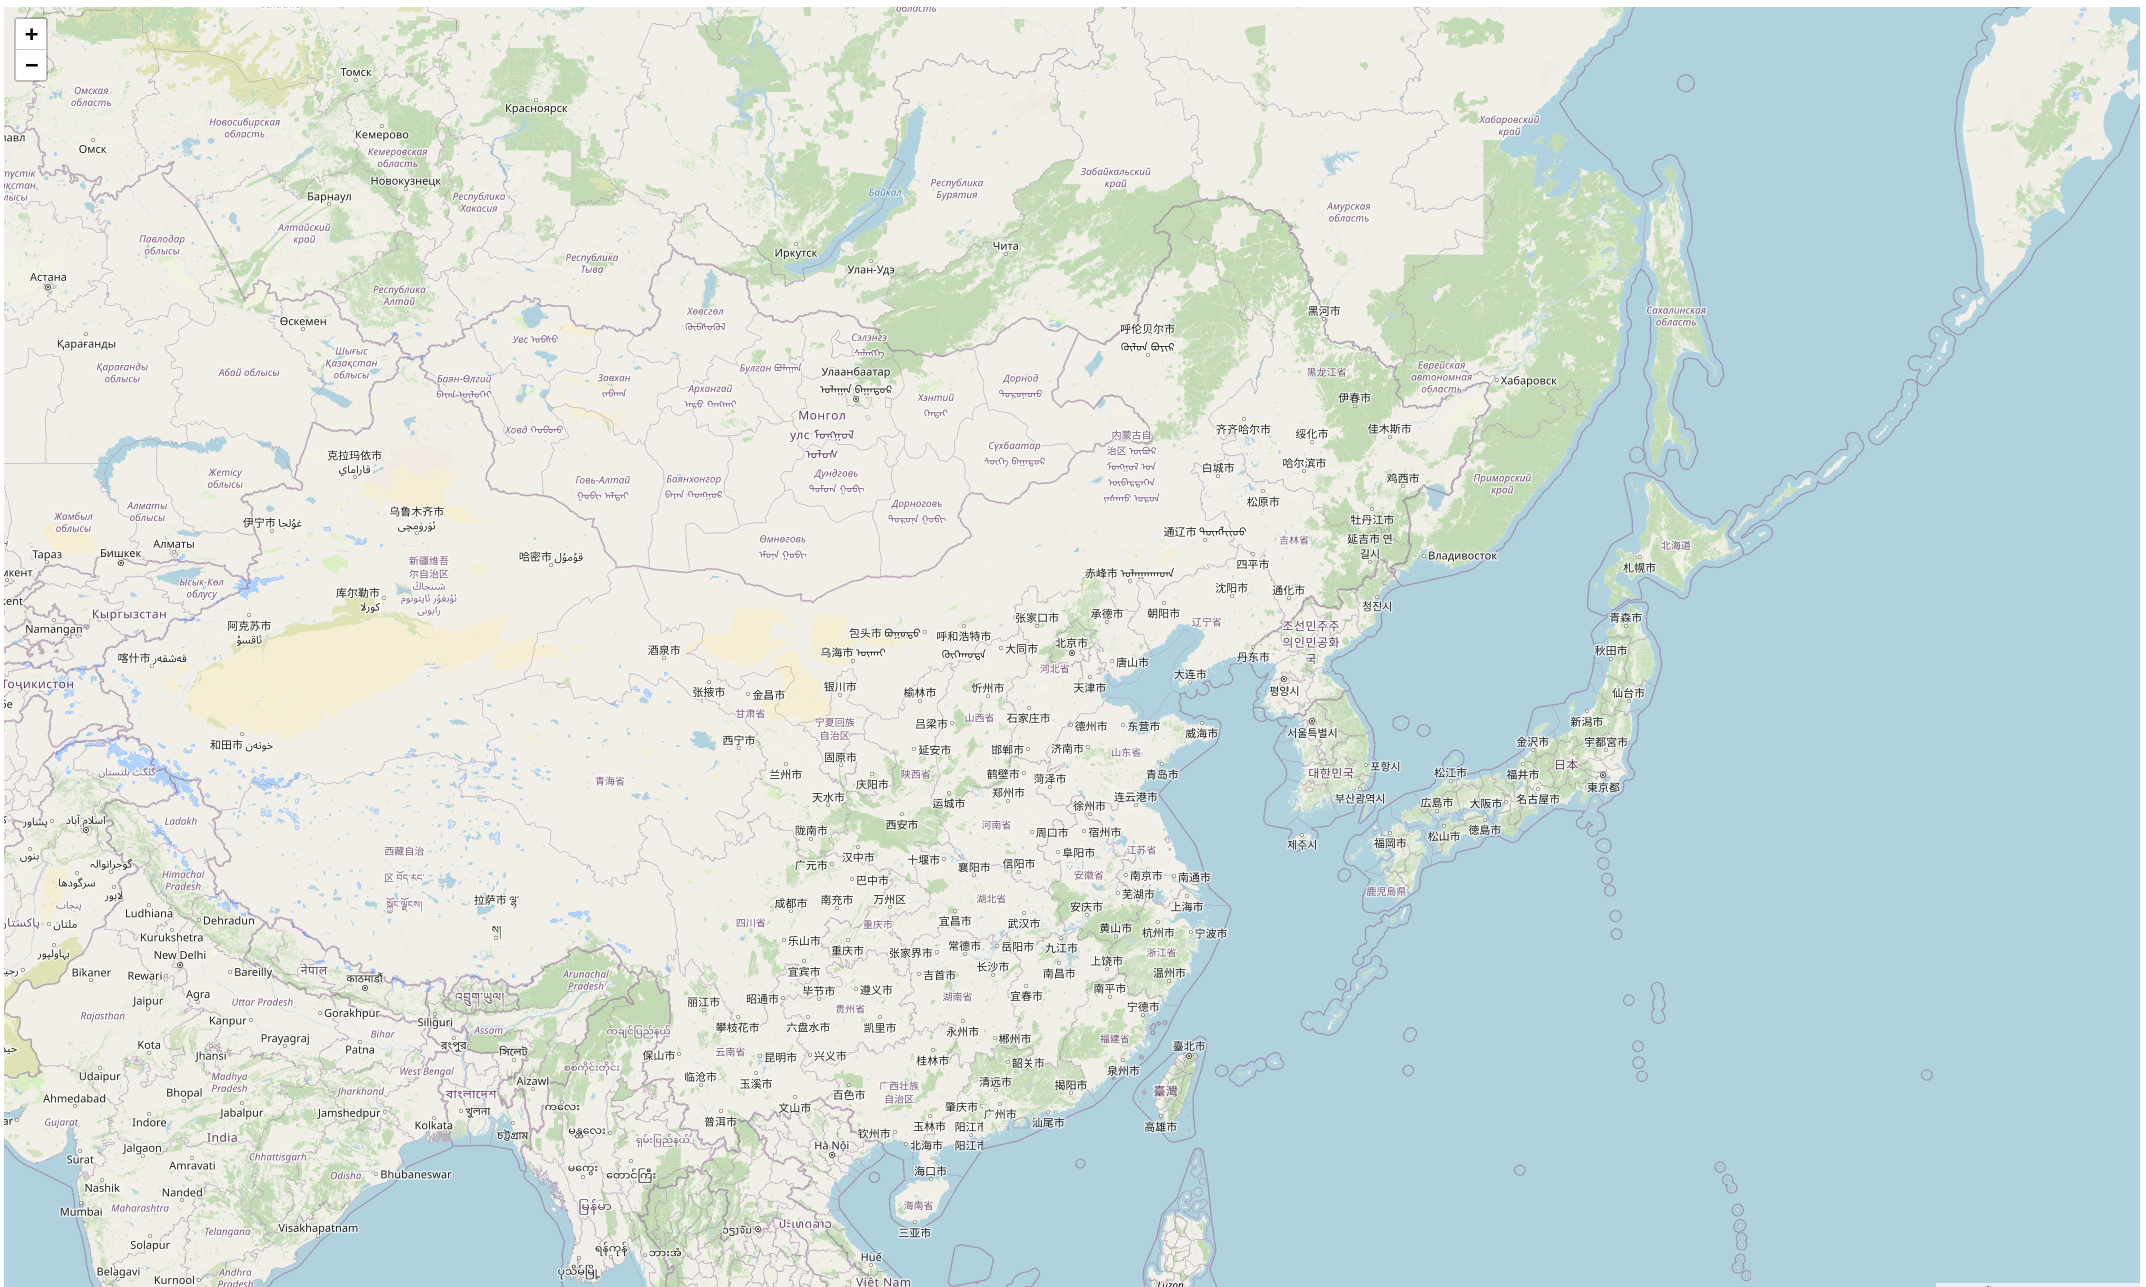
问题就是服务器太卡,还有就是瓦片不全,响应速度过慢
参考文章如下:
https://zhuanlan.zhihu.com/p/390797186 写的不完整