HAProxy实验步骤
1.在Ubuntu安装
apt install haproxy -y
2.vim /etc/haproxy/haproxy.cfg 添加内容
frontend test
bind 192.168.146.100:80 (bind *:80)
stats uri /haproxy?stats
default_backend web-servers
backend web-servers
balance roundrobin # 轮询算法
server web1 192.168.146.101:80
server web2 192.168.146.102:80
# stats auth 指令为登录用户指定用户名和密码,在浏览器访问的时候加上8080端口
即可输入用户名和密码
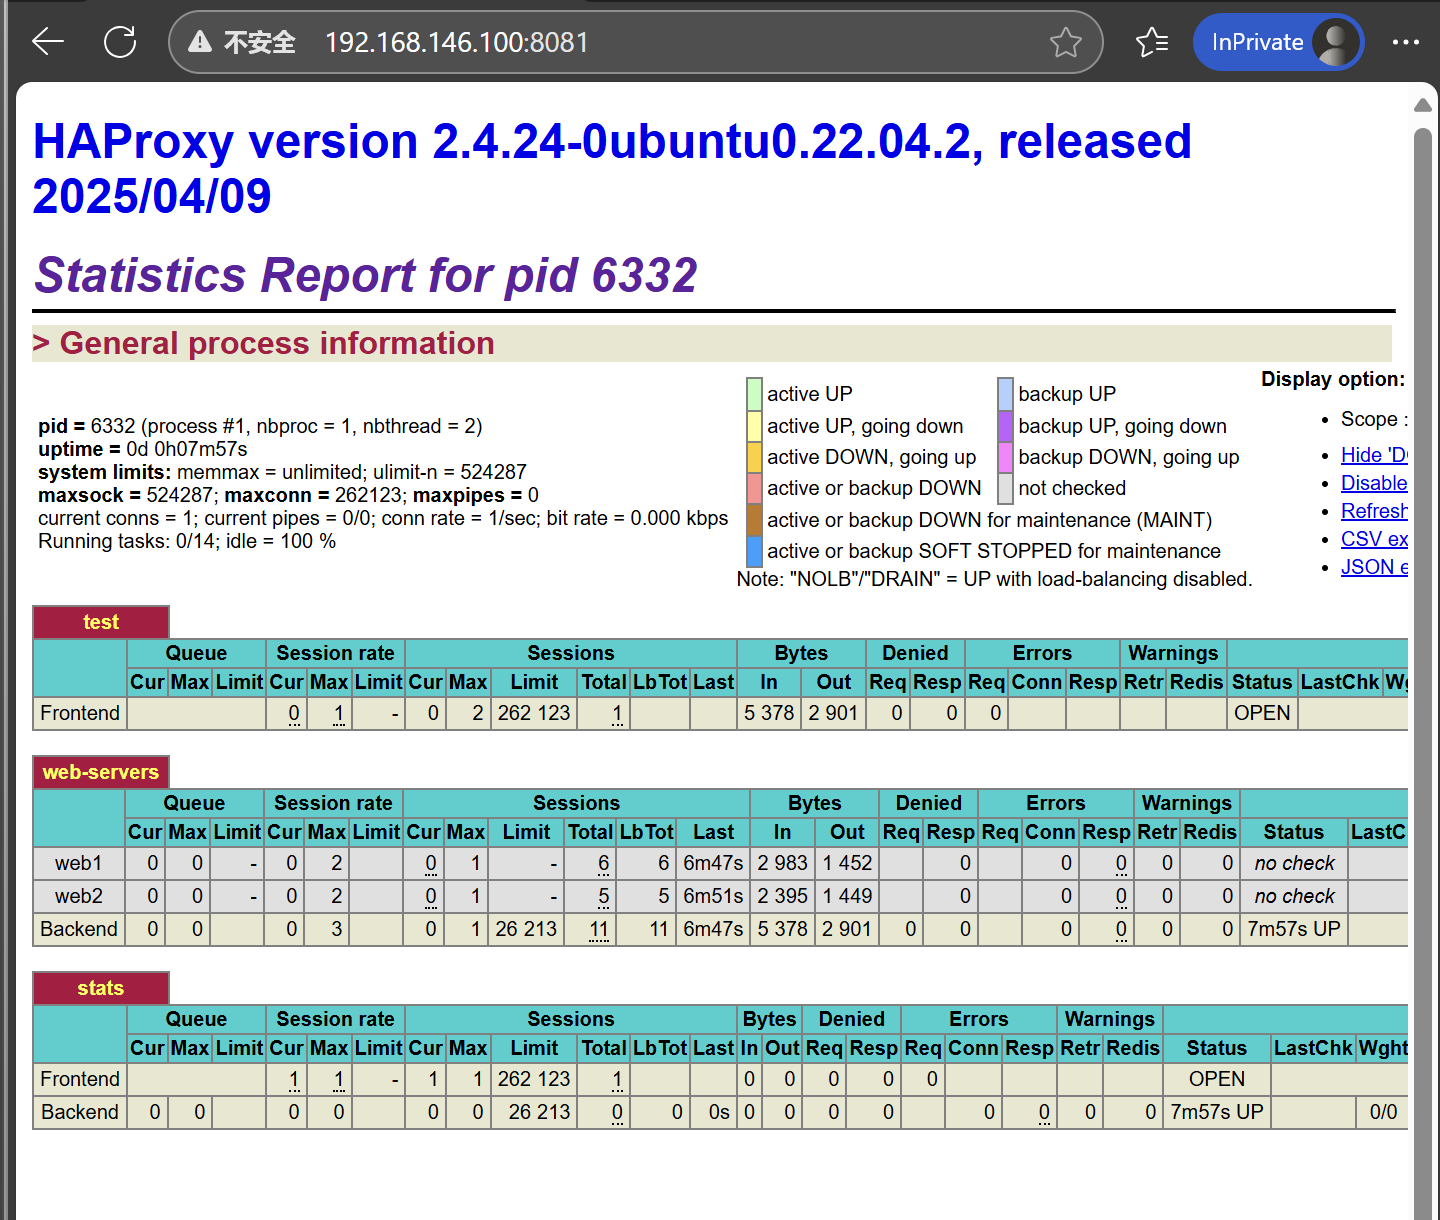
listen stats
bind *:8081(我的端口一直显示被占,我就改成8081了)
stats enable
stats uri /
stats refresh 5s
stats realm Haproxy\ Statistics
stats auth test:root123
3.重启haproxy
systemctl restart haproxy
4.在浏览器输入 192.168.146.100:8081 然后弹出: