MyBatis 注解操作
目录
MyBatis是什么
准备工作
数据准备及字段映射
起别名
结果映射
MyBatis配置驼峰命名⭐
数据库相关参数配置
持久层代码及对应方法测试
select
参数传递
insert
delete和update
MyBatis是什么
MyBatis是一个用于简化JDBC开发的持久层框架。
持久层是指持久化操作的层,通常指数据访问层(dao),是用来操作数据库的。
MyBatis是一个框架,对数据的操作还是在MySQL中,所以依赖除了要添加mybatis的依赖还要添加mysql的驱动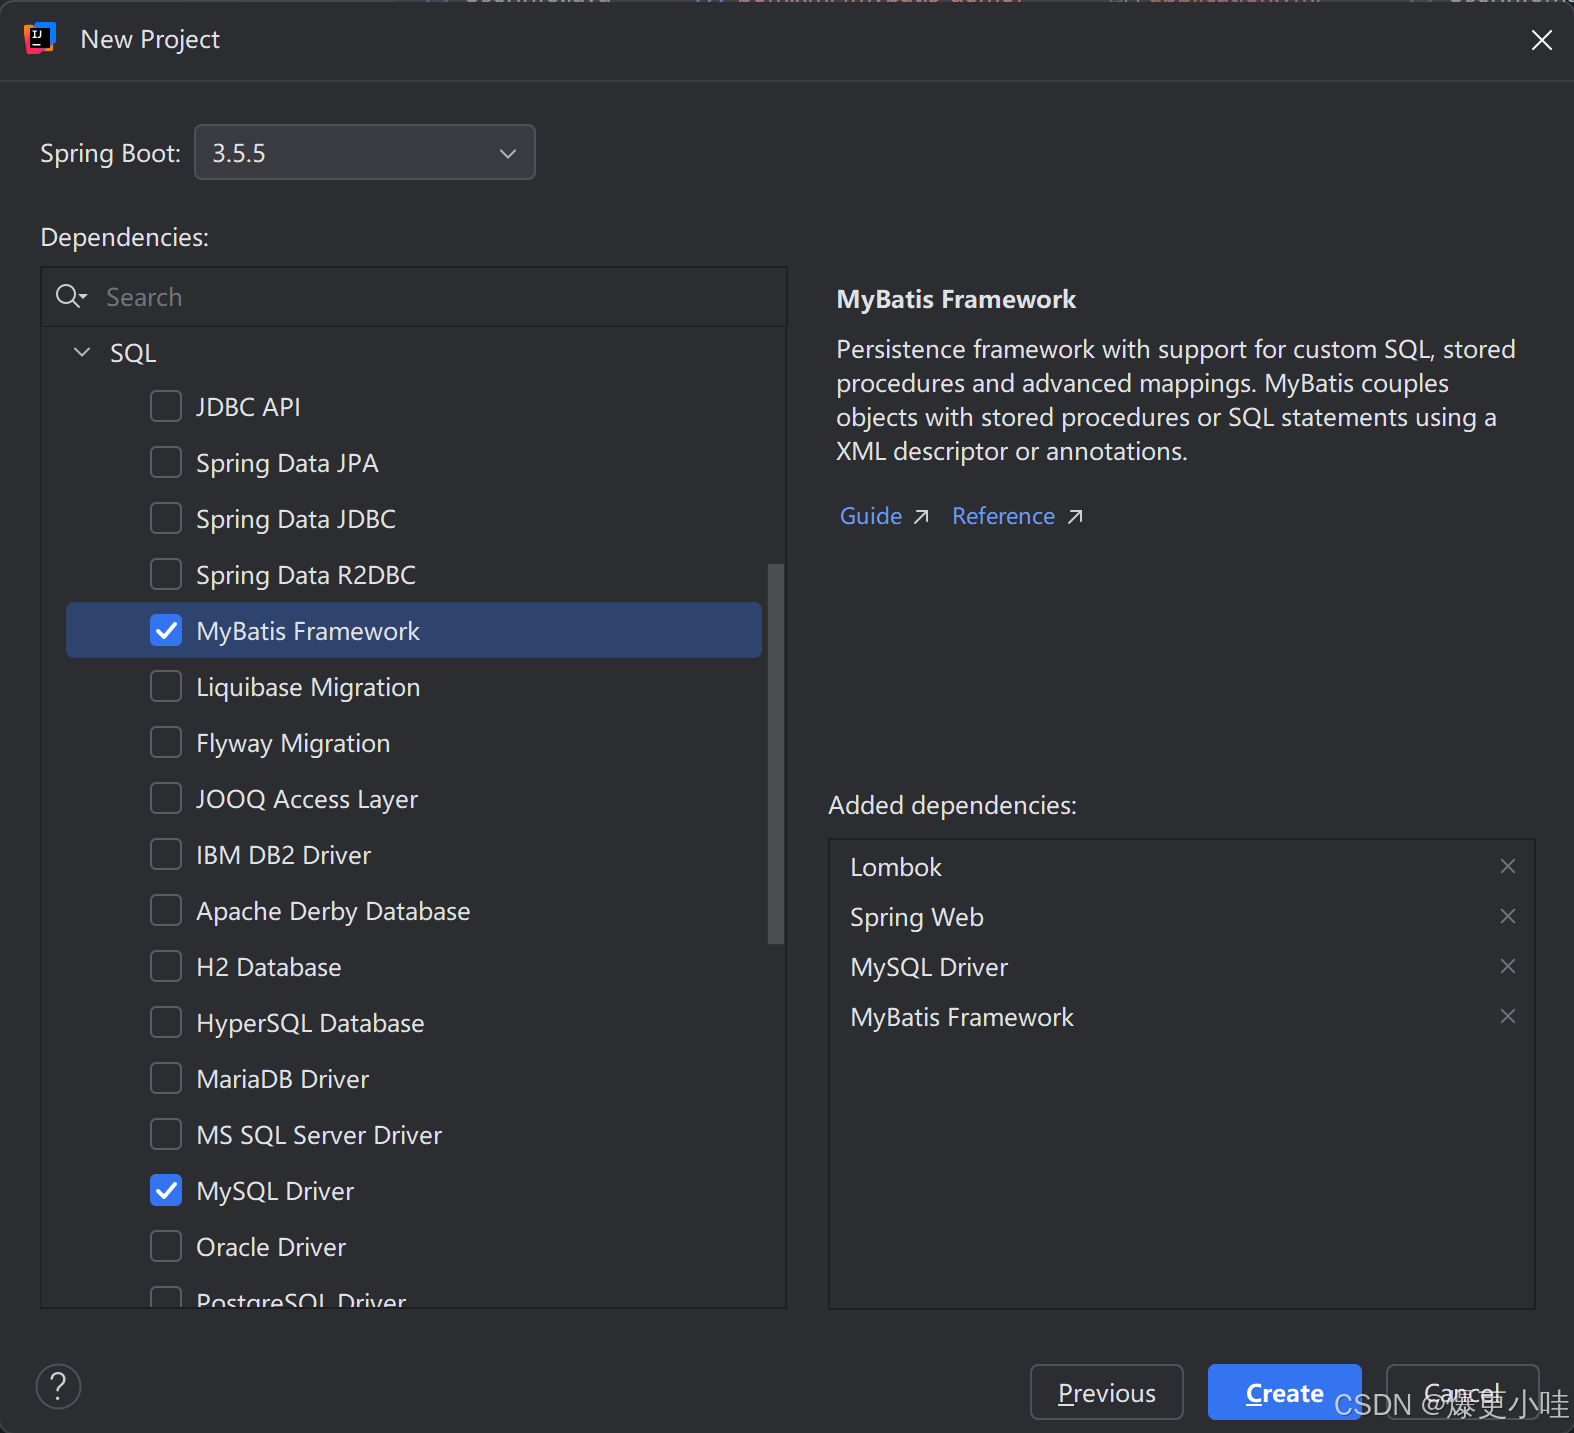
<dependency><groupId>org.mybatis.spring.boot</groupId><artifactId>mybatis-spring-boot-starter</artifactId><version>3.0.5</version></dependency><dependency><groupId>com.mysql</groupId><artifactId>mysql-connector-j</artifactId><scope>runtime</scope></dependency>准备工作
数据准备及字段映射
实体类的属性要和该实体类对应的数据库表的字段名一一对应。
这里我们就创建一个用户表和对应的userInfo实体类为例,
DROP TABLE IF EXISTS user_info;
CREATE TABLE `user_info` (
`id` INT ( 11 ) NOT NULL AUTO_INCREMENT,
`username` VARCHAR ( 127 ) NOT NULL,
`password` VARCHAR ( 127 ) NOT NULL,
`age` TINYINT ( 4 ) NOT NULL,
`gender` TINYINT ( 4 ) DEFAULT '0' COMMENT '1-男 2-⼥ 0-默认',
`phone` VARCHAR ( 15 ) DEFAULT NULL,
`delete_flag` TINYINT ( 4 ) DEFAULT 0 COMMENT '0-正常, 1-删除',
`create_time` DATETIME DEFAULT now(),
`update_time` DATETIME DEFAULT now() ON UPDATE now(),
PRIMARY KEY ( `id` )
) ENGINE = INNODB DEFAULT CHARSET = utf8mb4;
import lombok.Data;import java.util.Date;
@Data
public class UserInfo {private Integer id;private String username;private String password;private Integer age;private Integer gender;private String phone;private Integer deleteFlag;private Date createTime;private Date updateTime;
}属性名称和字段名称要一样,只有mybatis才能将他们映射成功。
因此这三个字段不能映射到对应属性

java属性规范是小驼峰命名,数据库字段规范是全部小写且单词之间用下划线_分割。
所以我们又不能直接修改字段或者属性名称,那怎么办?
起别名
我们可以在sql语句中使用 as 为字段重命名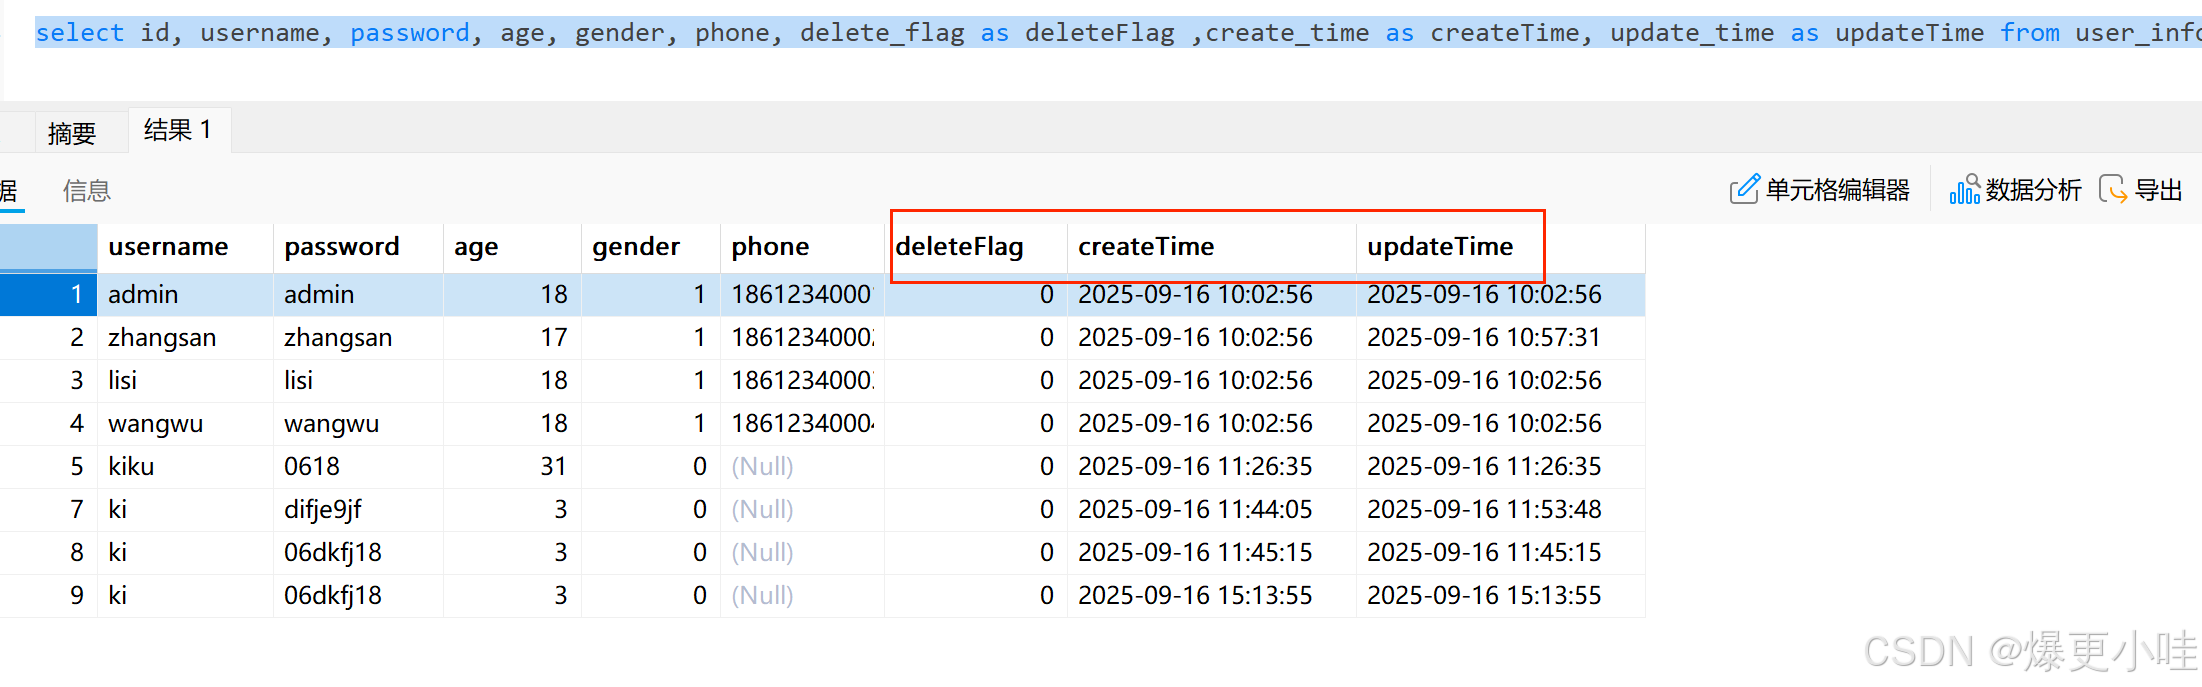
这样查询出来的字段信息就没有下划线,就能和Java对象属性映射成功。
结果映射
我们可以用注解的方式来映射字段和属性。
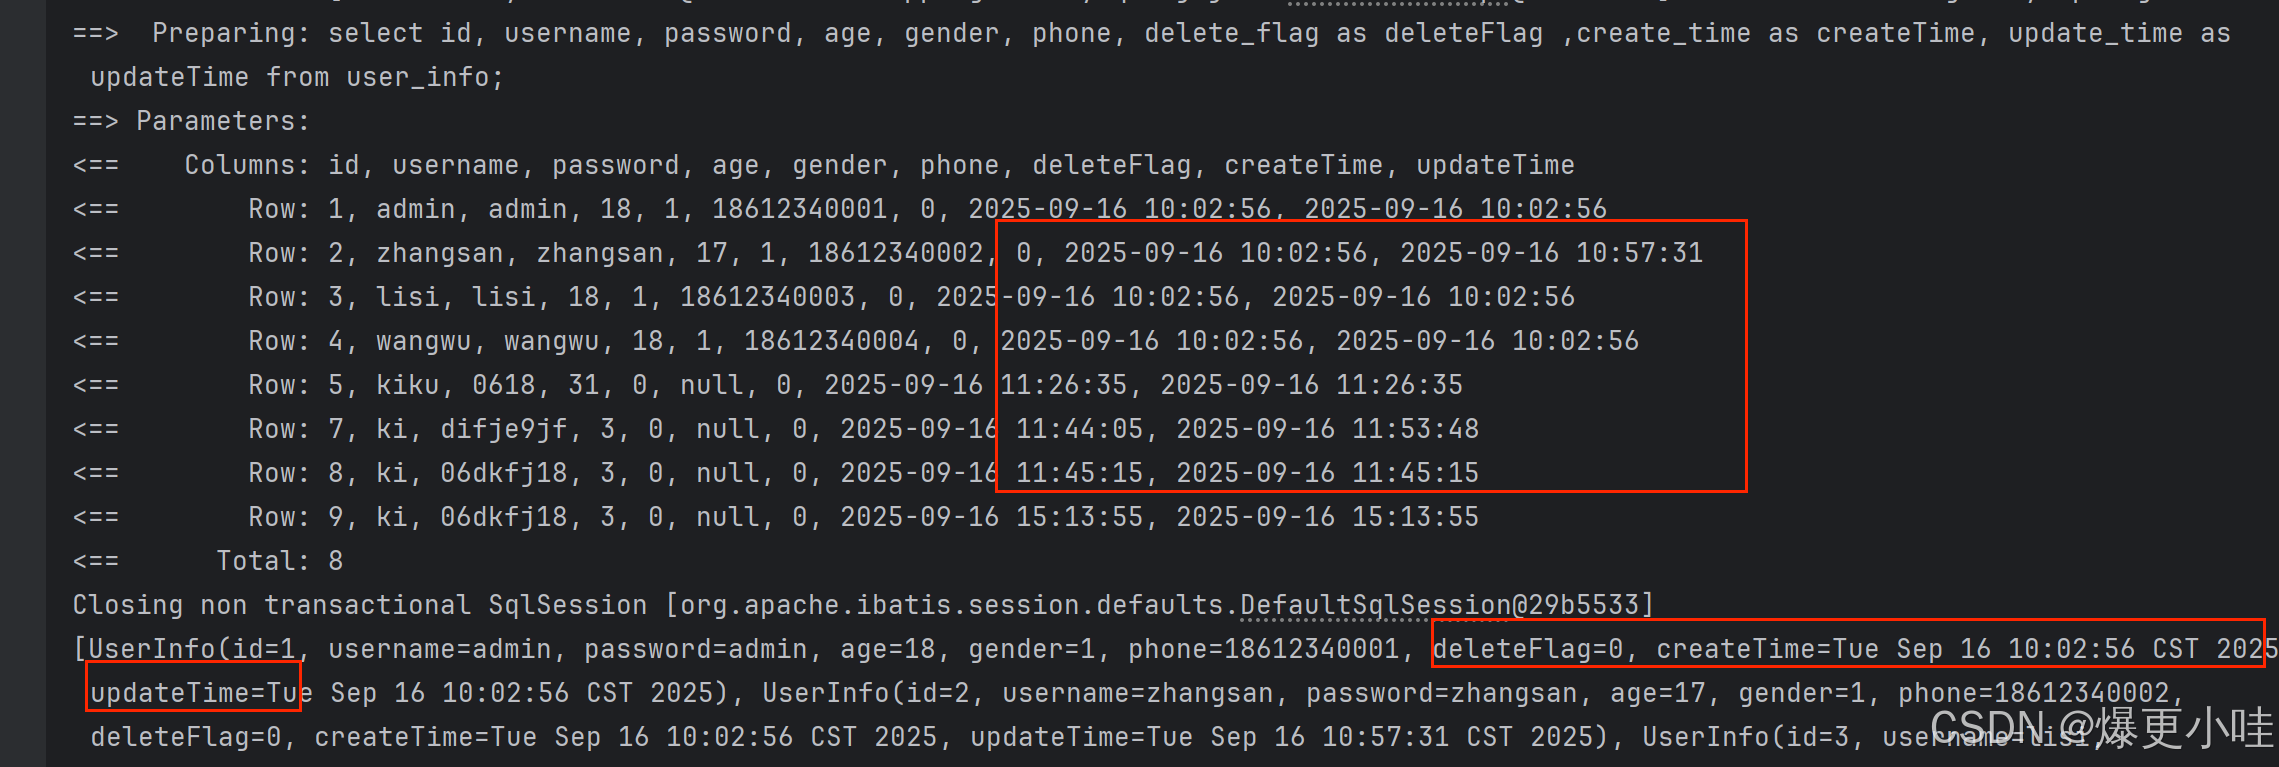
@Results(value={@Result(column = "delete_flag", property = "deleteFlag"),@Result(column = "create_time", property = "createTime"),@Result(column = "update_time", property = "updateTime")})@Select("select * from user_info")//@Select("select id, username, password, age, gender, phone, delete_flag as deleteFlag ,create_time as createTime, update_time as updateTime from user_info;")List<UserInfo> selectAll();@Select("select * from user_info where id = #{id}")UserInfo selectById(Integer id);这样调用selectAll()查询出来的数据中delete_flag, create_time, update_time这三个属性值也不会是null了。
但是调用selectById()查询出来的这三个属性值仍然是null,如果给这个方法也添加@Results注解,代码就有些冗余。
这时我们就需要给@Results中设置id,然后给selectById()添加@ResultMap()注解,id和@ResultMap()中的内容要一样。
@Results(id = "BaseMap" , value={@Result(column = "delete_flag", property = "deleteFlag"),@Result(column = "create_time", property = "createTime"),@Result(column = "update_time", property = "updateTime")})@Select("select * from user_info")//@Select("select id, username, password, age, gender, phone, delete_flag as deleteFlag ,create_time as createTime, update_time as updateTime from user_info;")List<UserInfo> selectAll();@ResultMap("BaseMap")@Select("select * from user_info where id = #{id}")UserInfo selectById(Integer id);调用selectById()查询出来的delete_flag, create_time, update_time这三个属性值也不会是null了
MyBatis配置驼峰命名⭐
mybatis:configuration: log-impl: org.apache.ibatis.logging.stdout.StdOutImpl # 配置打印 MyBatis⽇志map-underscore-to-camel-case: true #配置驼峰⾃动转换通过配置mybatis会自动转换。
这也是最推荐的方式。
数据库相关参数配置
需要配置MySQL驱动类、登录名、密码、数据库连接字符串。
这里是在application.yml中配置
spring:datasource:url: jdbc:mysql://127.0.0.1:3306/mybatis_test?characterEncoding=utf8&useSSL=false&allowPublicKeyRetrieval=trueusername: rootpassword: ****driver-class-name: com.mysql.cj.jdbc.Driver如果密码password是纯数字的,需要加上" "否则会报错
持久层代码及对应方法测试
MyBatis的持久层接口一般都叫XxxMapper
@Mapper注解表示是MyBatis中的Mapper接口,程序运行时框架会自动生成接口的实现类对象(代理对象),并存储在Spring loc容器进行管理
select
import com.bit.mybatis.model.UserInfo;
import org.apache.ibatis.annotations.*;import java.util.List;@Mapper
public interface UserInfoMapper {@Select("select * from user_info")List<UserInfo> selectAll();
}
@Select注解就表示执行查询语句,()里面就行对应的sql语句。
@Insert对应插入,@Delete对应删除,@Update对应更新
我们可以通过单元测试对该方法进行检测。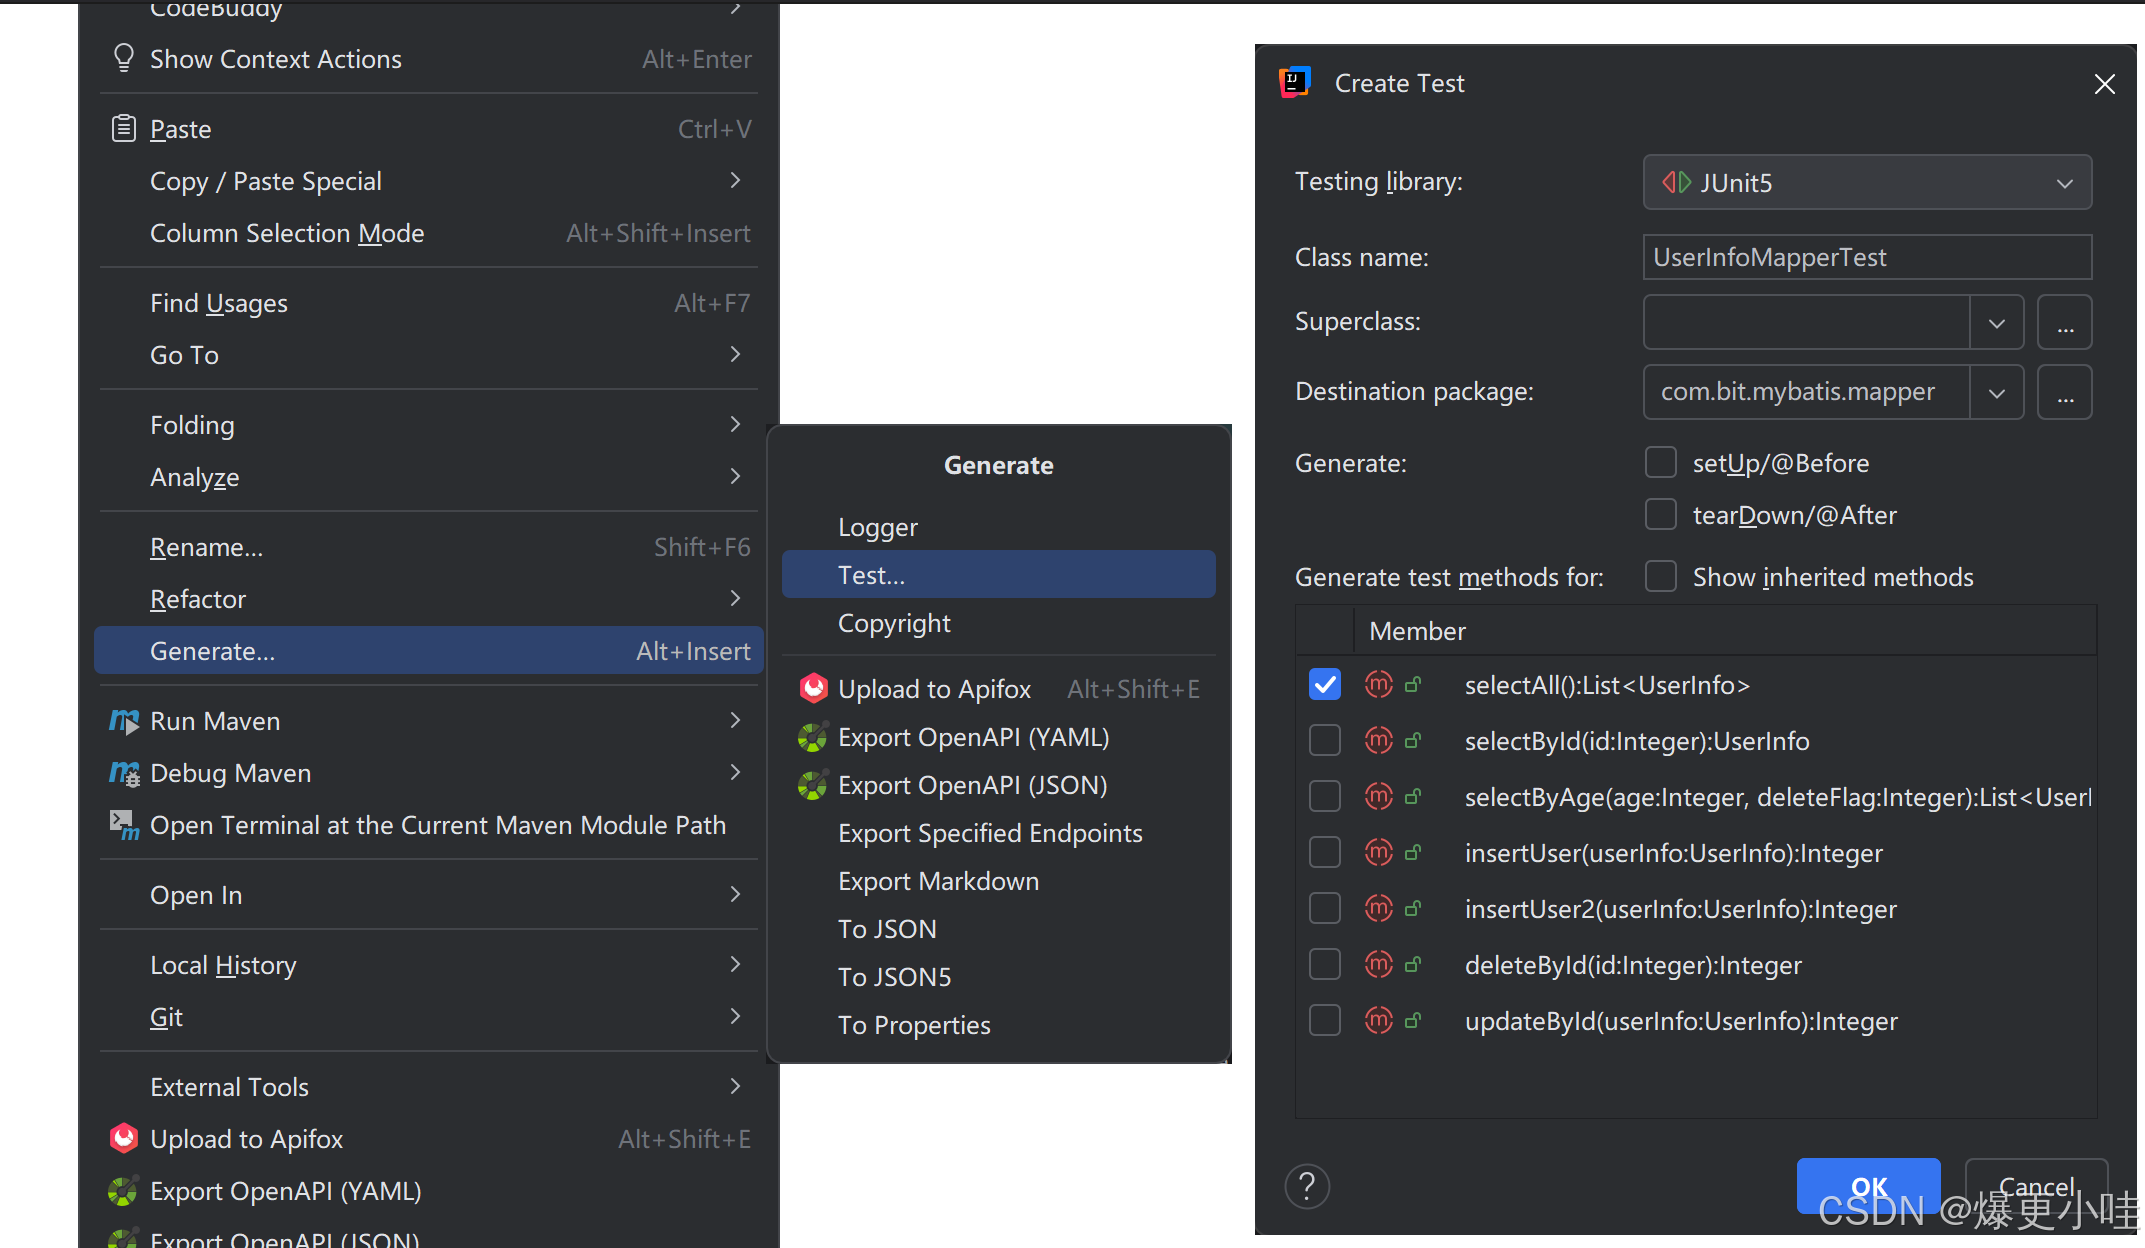
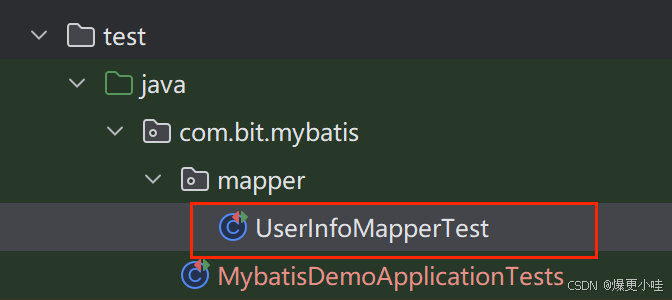
我们点击Generate后再点击Test,然后在下面勾选要测试的方法,最后点击ok,就会帮我们创建一个测试类并添加要测试的方法(后续再点击就是更新该类,不是创建)
然后就需要我们在测试类的方法中写代码去测试对应的方法功能
package com.bit.mybatis.mapper;import com.bit.mybatis.model.UserInfo;
import org.junit.jupiter.api.AfterEach;
import org.junit.jupiter.api.BeforeEach;
import org.junit.jupiter.api.Test;
import org.springframework.beans.factory.annotation.Autowired;
import org.springframework.boot.test.context.SpringBootTest;@SpringBootTest
class UserInfoMapperTest {@Autowiredprivate UserInfoMapper userInfoMapper;@Testvoid selectAll() {System.out.println(userInfoMapper.selectAll());}}
点击类旁边的三角形运行这个测试类,点击方法旁边的三角形运行对应方法。
通过@Autowired注入我们要测试的类对象。
除了添加@Autowired我们还必须添加@SpringBootTest注解,因为@Autowired注入对象必须要spring程序运行起来我们才能拿到bean对象,但是在测试类中点击三角形整个spring程序是没有运行起来的。
添加了@SpringBootTest注解,就会在测试类运行时自动加载spring运行环境。
mybatis:configuration: # 配置打印 MyBatis⽇志log-impl: org.apache.ibatis.logging.stdout.StdOutImpl配置了这个之后,运行之后我们可以在控制台看到sql语句的执行、参数传递和执行结果。

参数传递
package com.bit.mybatis.mapper;import com.bit.mybatis.model.UserInfo;
import org.apache.ibatis.annotations.*;import java.util.List;@Mapper
public interface UserInfoMapper {@Select("select * from user_info where id = #{id}")UserInfo selectById(Integer id);//参数只有一个时,名字可以不一样,mybatis没得选,仍然会执行@Select("select * from user_info where age = #{age} and delete_flag = #{deleteFlag}")List<UserInfo> selectByAge(Integer age, Integer deleteFlag);//#{age}可以用#{param1}替换,#{deleteFlag}可以用#{param2}替换,是第几个参数就对应param几。//但是一般不建议这样用,因为param对顺序要求严格}
通过这两种方式可以执行含参数的sql语句。
就第一个方法来说,id传什么值,sql语句就查询对应id的user信息。
我们还可以通过Param对参数进行重命名,比如
@Select("select * from user_info where id = #{userId}")
UserInfo selectById(@Param("userId")Integer id);
#{ }里面的内容就必须和Param()中的一样了。
测试方法
@Testvoid selectById() {System.out.println(userInfoMapper.selectById(2));}@Testvoid selectByAge() {System.out.println(userInfoMapper.selectByAge(18,0));}insert
package com.bit.mybatis.mapper;import com.bit.mybatis.model.UserInfo;
import org.apache.ibatis.annotations.*;import java.util.List;@Mapper
public interface UserInfoMapper {@Insert("insert into user_info(username, password,age) values (#{username},#{password},#{age})")//保证和UserInfo对象属性一样Integer insertUser(UserInfo userInfo);}
这里需要多个参数时,我们传递UserInfo对象,MyBatis会自动获取需要的参数。
测试类中方法
@Testvoid insertUser() {UserInfo userInfo = new UserInfo();userInfo.setUsername("kiku");userInfo.setAge(31);userInfo.setPassword("0618");Integer result = userInfoMapper.insertUser(userInfo);System.out.println("影响的行数:"+ result);}insert语句返回的是受影响的行数,
我们可以通过@Options注解来获取到插入数据的自增主键
@Options(useGeneratedKeys = true, keyProperty = "id")@Insert("insert into user_info(username, password,age) values (#{userInfo.username},#{userInfo.password},#{userInfo.age})")//保证和UserInfo对象属性一样Integer insertUser2(@Param("userInfo")UserInfo userInfo);这里我们也使用了@Param对参数进行了重命名,重命名后的userInfo就像是java对象一样,#{ }里面要通过 对象.属性 的方式来获取参数。
@Testvoid insertUser2() {UserInfo userInfo = new UserInfo();userInfo.setUsername("ki");userInfo.setAge(3);userInfo.setPassword("06dkfj18");Integer result = userInfoMapper.insertUser2(userInfo);System.out.println("影响的行数:"+ result+"新增的id:"+userInfo.getId());}有了@Options注解后,虽然在测试方法中我们没有为userInfo设置id属性,但是因为id是表中的自增主键,所以也能通过userInfo.getId()来获取到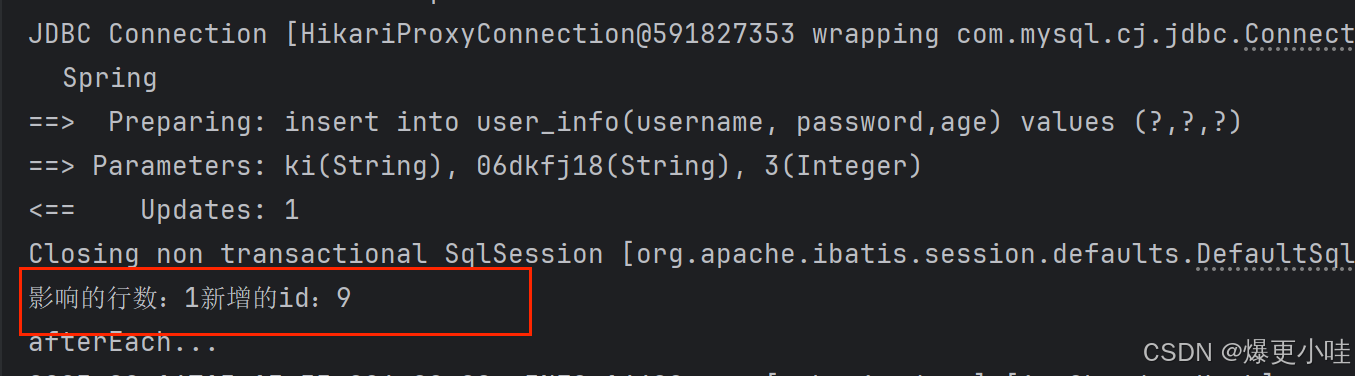
delete和update
package com.bit.mybatis.mapper;import com.bit.mybatis.model.UserInfo;
import org.apache.ibatis.annotations.*;import java.util.List;@Mapper
public interface UserInfoMapper {@Delete("delete from user_info where id= #{id}")Integer deleteById(Integer id);@Update("update user_info set password = #{password} where id = #{id}")Integer updateById(UserInfo userInfo);
}
delete和update 与insert一样,返回的都是受影响的行数。
测试方法:
@Testvoid deleteById() {Integer result = userInfoMapper.deleteById(6);System.out.println("影响的行数:" + result);}@Testvoid updateById() {UserInfo userInfo = new UserInfo();userInfo.setId(7);userInfo.setPassword("difje9jf");Integer result = userInfoMapper.updateById(userInfo);System.out.println("影响的行数:" + result);}