Linux:线程封装
文章目录
- 一、线程封装初步
- 1. 代码(完整)
- 2. 为什么 Routine 要写成静态函数(不能有 this 指针)
- 3. std::function 的回调逻辑与注意点
- 4. pthread_setname_np / pthread_getname_np
- 二、使用模板封装
- 1. 代码(完整)
- 2. 为什么用模板
- 3. 更通用的做法:参数包与完美转发(简单示意)
- 三、线程的局部存储
- 1. 代码(完整)
- 2. __thread 是什么
- 3. 使用场景与注意
一、线程封装初步
1. 代码(完整)
#include "Thread.hpp"
#include <vector>
#include <unistd.h>using namespace ThreadModule;int main()
{std::vector<Thread> threads;for (int i = 0; i < 10; i++){threads.emplace_back([](){while (true){char name[128];pthread_getname_np(pthread_self(), name, sizeof(name));std::cout << "我是一个新线程我的名字是" << name << std::endl;sleep(1);return nullptr;} });}for (auto &t : threads){t.Start();}for (auto &t : threads){t.Join();}return 0;
}
#ifndef _THREAD_H_
#define _THREAD_H_#include <pthread.h>
#include <iostream>
#include <string>
#include <functional>
#include <stdint.h>
#include <string.h>namespace ThreadModule
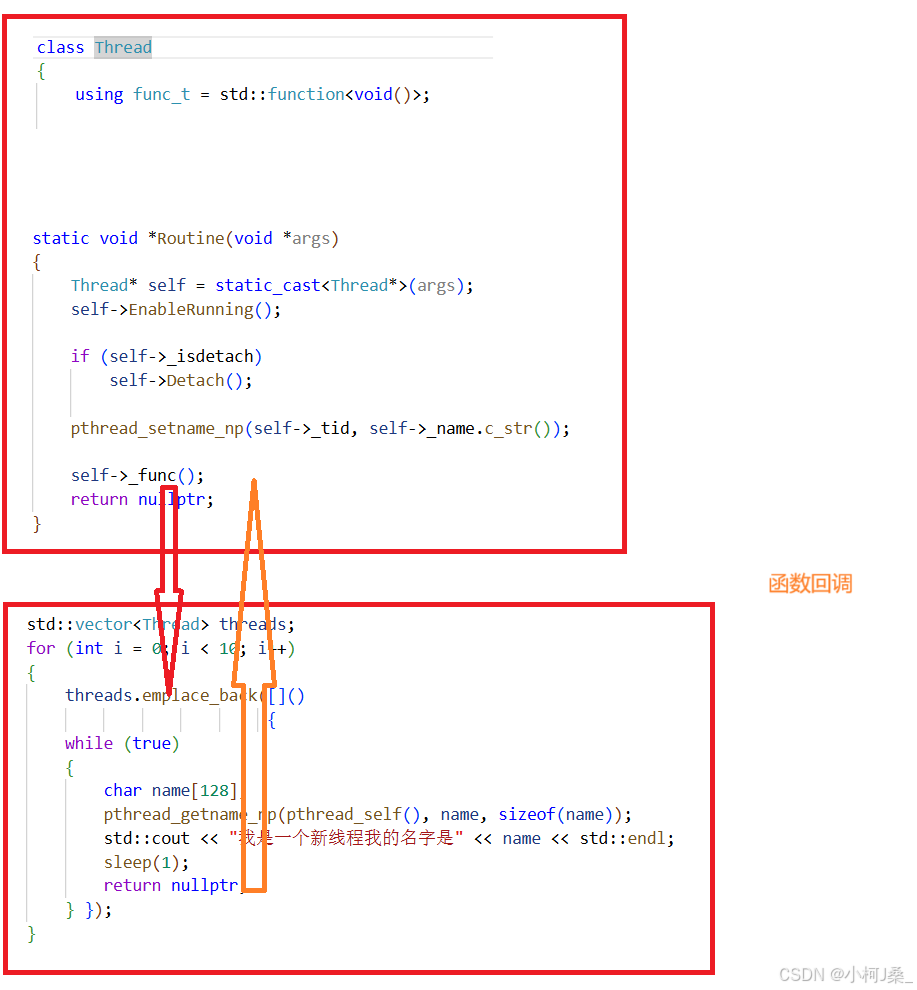
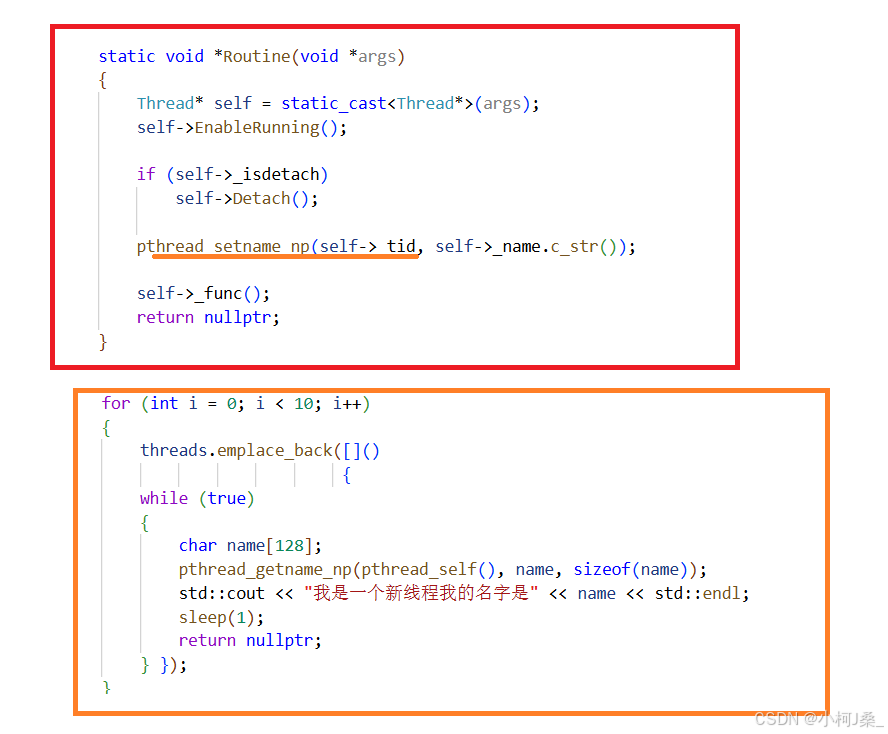
{static uint32_t number = 1;class Thread{using func_t = std::function<void()>;private:void EnableDetach(){std::cout << "线程被分离了" << std::endl;_isdetach = true;}void EnableRunning(){_isrunning = true;}static void *Routine(void *args){Thread* self = static_cast<Thread*>(args);self->EnableRunning();if (self->_isdetach)self->Detach();pthread_setname_np(self->_tid, self->_name.c_str());self->_func();return nullptr;}public:Thread(func_t func): _tid(0), _isdetach(false), _isrunning(false), res(nullptr), _func(func){_name = "Thread" + std::to_string(number++);}~Thread() {}void Detach(){if (_isdetach){return;}if (_isrunning){pthread_detach(_tid);}EnableDetach();}bool Start(){if (_isrunning){return false;}int n = pthread_create(&_tid, nullptr, Routine, this);if (n != 0){std::cerr << "pthread_create error: " << strerror(n) << std::endl;return false;}else{std::cout << "Thread " << _name << " started." << std::endl;return true;}}bool Stop(){if (_isrunning){int n = pthread_cancel(_tid);if (n != 0){std::cerr << "pthread_cancel error: " << strerror(n) << std::endl;return false;}else{_isrunning = true;std::cout << "Thread " << _name << " stopped." << std::endl;return true;}}return false;}void Join(){if (_isdetach){std::cout << "你的线程已经是分离的了,不能进行join" << std::endl;return;}int n = pthread_join(_tid, &res);if (n != 0){std::cerr << "create thread error: " << strerror(n) << std::endl;}else{std::cout << "join success" << std::endl;}}private:pthread_t _tid;std::string _name;bool _isdetach;bool _isrunning;void *res;func_t _func;};}
#endif
2. 为什么 Routine 要写成静态函数(不能有 this 指针)
pthread_create 要求回调类型是 void*(*)(void*)(C 风格函数指针)。类的非静态成员函数有隐含的 this 参数,签名不匹配,因此不能直接作为 pthread_create 的入口。常见而正确的做法是:
- 将入口写成
static或全局函数; - 把
this(或对象指针)作为pthread_create的第四个参数传进去; - 在
Routine里把void*转回Thread*,再调用成员方法和成员数据。
3. std::function 的回调逻辑与注意点
使用 std::function<void()> 的优点:
- 接口简单,支持 lambda、function、bind 等各种可调用对象;
- 上层只需给出可执行任务,线程类负责生命周期管理。
4. pthread_setname_np / pthread_getname_np
可以把线程名字设置进去,然后通过get再获取回来
二、使用模板封装
1. 代码(完整)
#include "Thread.hpp"
#include <unistd.h>using namespace ThreadModule;class ThreadData
{
public:pthread_t tid;std::string name;
};void Count(ThreadData td)
{int a = 5;while (a--){std::cout << "我是一个新线程" << std::endl;sleep(1);}
}int main()
{ThreadData td;Thread<ThreadData> t(Count, td);t.Start();t.Join();t.Start();t.Detach();sleep(5);t.Stop();sleep(5);t.Join();return 0;
}
#ifndef _THREAD_H_
#define _THREAD_H_#include <pthread.h>
#include <iostream>
#include <string>
#include <functional>
#include <stdint.h>
#include <string.h>namespace ThreadModule
{static uint32_t number = 1;template<typename T>class Thread{using func_t = std::function<void(T)>;private:void EnableDetach(){std::cout << "线程被分离了" << std::endl;_isdetach = true;}void EnableRunning(){_isrunning = true;}static void *Routine(void *args){Thread<T>* self = static_cast<Thread<T>*>(args);self->EnableRunning();if (self->_isdetach)self->Detach();pthread_setname_np(self->_tid, self->_name.c_str());self->_func(self->_data);return nullptr;}public:Thread(func_t func, T data): _tid(0), _isdetach(false), _isrunning(false), res(nullptr), _func(func), _data(data){_name = "Thread" + std::to_string(number++);}~Thread() {}void Detach(){if (_isdetach){return;}if (_isrunning){pthread_detach(_tid);}EnableDetach();}bool Start(){if (_isrunning){return false;}int n = pthread_create(&_tid, nullptr, Routine, this);if (n != 0){std::cerr << "pthread_create error: " << strerror(n) << std::endl;return false;}else{std::cout << "Thread " << _name << " started." << std::endl;return true;}}bool Stop(){if (_isrunning){int n = pthread_cancel(_tid);if (n != 0){std::cerr << "pthread_cancel error: " << strerror(n) << std::endl;return false;}else{_isrunning = true;std::cout << "Thread " << _name << " stopped." << std::endl;return true;}}return false;}void Join(){if (_isdetach){std::cout << "你的线程已经是分离的了,不能进行join" << std::endl;return;}int n = pthread_join(_tid, &res);if (n != 0){std::cerr << "create thread error: " << strerror(n) << std::endl;}else{std::cout << "join success" << std::endl;}}private:pthread_t _tid;std::string _name;bool _isdetach;bool _isrunning;void *res;func_t _func;T _data;};}
#endif
2. 为什么用模板
模板化的 Thread<T> 允许你把“要传入线程的参数”封装成任意类型 T,再在 Routine 调用时把该 T 传给用户提供的回调函数。这种方式适合参数结构固定、希望一次性把参数打包传入的场景(例如 ThreadData)。
优点:
- 接口清晰:构造器传
func和data,线程里直接用data; - 对于小结构体或 POD 非常方便。
3. 更通用的做法:参数包与完美转发(简单示意)
如果想让线程接受任意数量和类型的参数,可用可变参数模板 + 完美转发。示意(简洁版):
template<typename Func, typename... Args>
class ThreadVar {
public:ThreadVar(Func&& f, Args&&... args) : _task(std::bind(std::forward<Func>(f), std::forward<Args>(args)...)) {}bool Start() {pthread_create(&_tid, nullptr, &ThreadVar::Routine, this);}private:static void* Routine(void* arg) {auto* self = static_cast<ThreadVar*>(arg);self->_task(); // 执行绑定后的闭包return nullptr;}std::function<void()> _task;
};
或者更高级用 std::tuple + std::apply 在 Routine 里做完美转发,避免不必要拷贝。总之:模板能把运行时开销降到最小,但实现复杂度提高。
三、线程的局部存储
1. 代码(完整)
#include <pthread.h>
#include <iostream>
#include <string>
#include <unistd.h>// 该count叫做线程的局部存储!
__thread int count = 1;
// 线程局部存储有什么用?全局变量,我又不想让这个全局变量被其他线程看到!
// 线程局部存储,只能存储内置类型和部分指针std::string Addr(int &c)
{char addr[64];snprintf(addr, sizeof(addr), "%p", &c);return addr;
}void *routine1(void *args)
{(void)args;while (true){std::cout << "thread - 1, count = " << count << "[我来修改count], "<< "&count: " << Addr(count) << std::endl;count++;sleep(1);}
}void *routine2(void *args)
{(void)args;while (true){std::cout << "thread - 2, count = " << count<< ", &count: " << Addr(count) << std::endl;sleep(1);}
}int main()
{pthread_t tid1, tid2;pthread_create(&tid1, nullptr, routine1, nullptr);pthread_create(&tid2, nullptr, routine2, nullptr);pthread_join(tid1, nullptr);pthread_join(tid2, nullptr);return 0;
}
2. __thread 是什么
__thread 声明的变量在每个线程有一份独立的实例 — 换句话说,每个线程看到的是自己那份变量,其他线程看不到你这份的值(也就是“__thread只有自己才能看见”)。这正是线程局部存储(TLS,Thread Local Storage)的含义。
在你的示例中,count 在两个线程里各自有独立地址和值,输出会显示不同的 &count,和值互不干扰 —— 非常直观地证明了 TLS 的行为。🧠
3. 使用场景与注意
- 适用于线程本地计数器、日志上下文(thread id、trace id)、缓存等。