基于Yolov8实现在Label-Studio实现半自动标注
-
一、label studio 安装启动
-
1、建议是通过 pip 安装,其配置更清晰方便。环境安装完成后在任意位置打开命令行:
-
pip install label-studio -
2、使用以下命令启动 label studio
label-studio --data-dir LabelStudio -p 8123其中 --data-dir 用于指定工作目录, -p 用来指定运行端口,运行成功后会当前目录会生成 LabelStudio 目录。
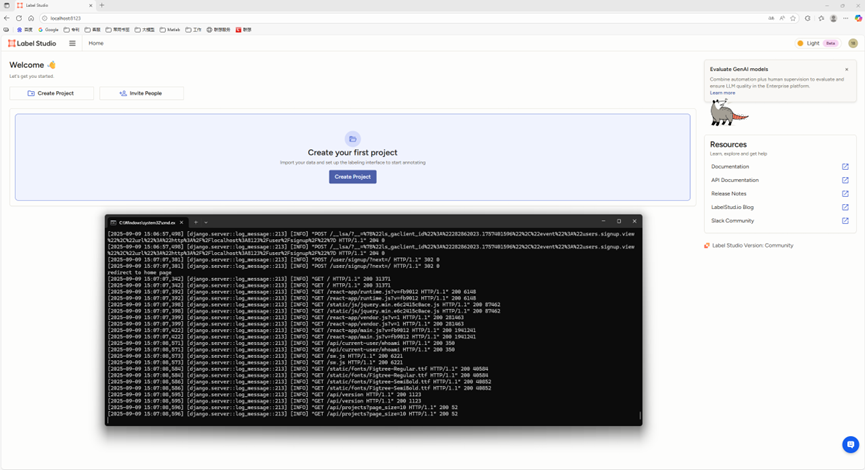
3、运行后会启动如下界面:
-
二、label studio ml 安装
label studio ml 是 label studio 的后端配置,其主要提供了一种能够快速将AI模型封装为 label studio 可使用的预标记服务(提供模型预测服务)。其安装方法有以下几种:
1、 GitHub 安装(再起env一个环境,要不然会冲突)
git clone https://github.com/HumanSignal/label-studio-ml-backend.git
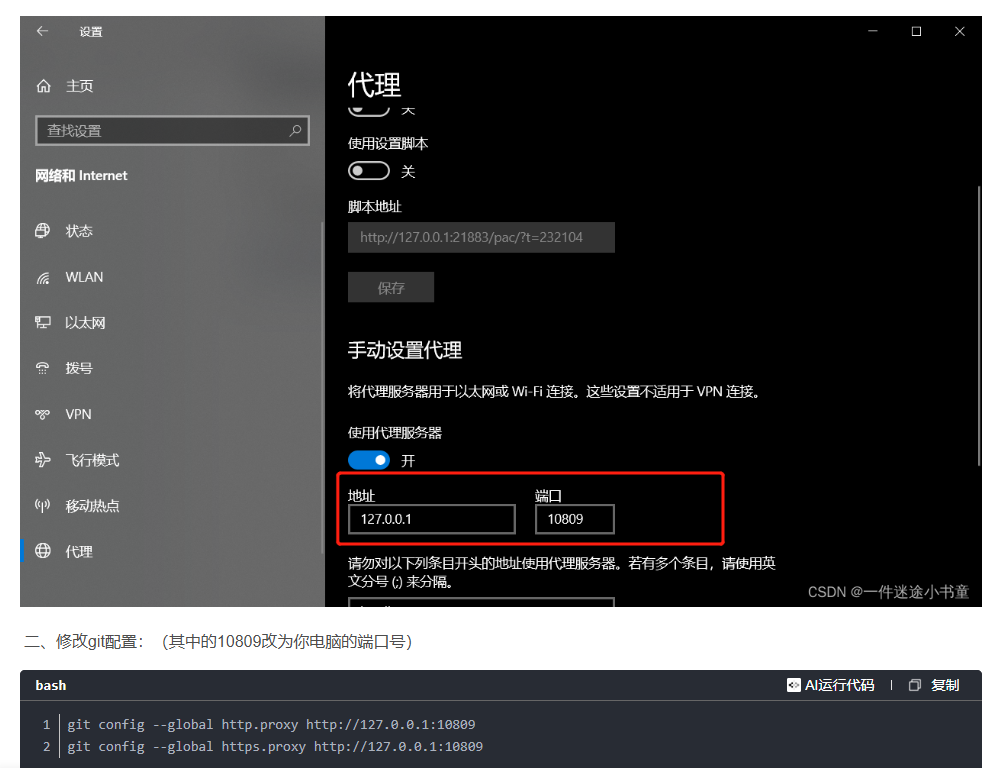
#离线下载地址:https://download.csdn.net/download/zhulong1984/91906097cd label-studio-ml-backend/pip install -e . -i https://pypi.tuna.tsinghua.edu.cn/simple[报错解决] Failed to connect to github.com port 443 after ***** ms: Couldn‘t connect to server
参考网址:https://blog.csdn.net/m0_64007201/article/details/129628363
2、pip 安装:
pip install label-studio-ml(暂时不用)
仍然建议通过 pip 安装,GitHub 安装可能会有依赖问题。安装完成后使用 label-studio-ml -h 命令检查是否安装成功。
三、前端配置
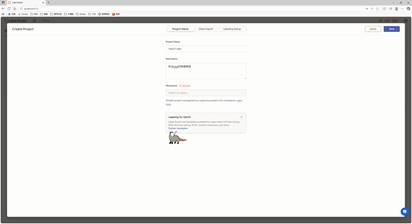
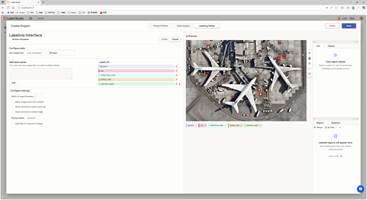
在 label studio 前端主页中选择创建项目:
-
项目基本信息
-
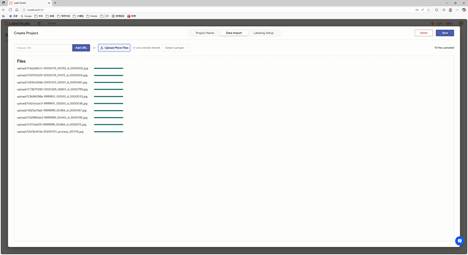
导入数据
直接将图片选中拖入数据框即可。
-
选择标记模板
label studio 内置了很多常见的深度学习标记模板,本示例是车辆、人等,所以选择 Object Detection with Bounding Boxes 模板,确定后将模板内自带的 Airplane 、 Car 标签删除,然后添加自定义的标签 people、car (标签的类别数量可以比后端支持的类别多,也可以更少,但是同类别的标签名必须一致)。
此时我们已经可以通过 label studio 进行普通的图片标记工作,如果要使用其提供的辅助预标记功能,则需要进行后续配置。
-
后端配置
由于图像技术方面目标检测任务对预标注功能较为需求,以下目标检测任务为例。
- 编写后端项目的推理代码,实现模型预测功能;
- 继承label_studio_ml.model.LabelStudioMLBase类,重写方法:
针对自动预标注功能,主要重写predict方法,将输出格式化成label studio所需的json格式(参考官方文档:https://labelstud.io/guide/predictions.html)。
参考文档:https://blog.csdn.net/qq_40260565/article/details/141418885