多线程顺序打印ABC的两种实现方式:synchronized与Lock机制
目录
方案一:Lock + Condition 机制
方案二:synchronized 机制
两种方案的对比
在多线程编程中,线程间的通信和同步是核心问题之一。本文将通过一个经典案例:三个线程分别打印3次A、5次B、6次C,并且按照A→B→C→A的顺序循环执行,来详细介绍Java中两种线程同步机制的实现方式。
方案一:Lock + Condition 机制
使用ReentrantLock配合多个Condition实现精确的线程间通信,每个Condition对应一个线程的等待队列,可以实现精确唤醒。
package com.demo1;import java.util.concurrent.locks.Condition;
import java.util.concurrent.locks.Lock;
import java.util.concurrent.locks.ReentrantLock;public class PrintChar {// 计数器变量private int num = 0;Lock lock = new ReentrantLock();// 创建监视器Condition c1 = lock.newCondition();Condition c2 = lock.newCondition();Condition c3 = lock.newCondition();// 3次Apublic void showA() {while (true) {lock.lock();if (num != 0) {try {this.c1.await();} catch (InterruptedException e) {// TODO Auto-generated catch blocke.printStackTrace();}}for (int i = 0; i < 3; i++) {System.out.println(Thread.currentThread().getName() + ",A");}try {Thread.sleep(2000);num = 1;this.c2.signal();} catch (InterruptedException e) {// TODO Auto-generated catch blocke.printStackTrace();}lock.unlock();}}// 5次Bpublic void showB() {while (true) {lock.lock();if (num != 1) {try {this.c2.await();} catch (InterruptedException e) {// TODO Auto-generated catch blocke.printStackTrace();}}for (int i = 0; i < 5; i++) {System.out.println(Thread.currentThread().getName() + ",B");}try {Thread.sleep(2000);num = 2;this.c3.signal();} catch (InterruptedException e) {// TODO Auto-generated catch blocke.printStackTrace();}lock.unlock();}}// 6次Cpublic void showC() {while (true) {lock.lock();if (num != 2) {try {this.c3.await();} catch (InterruptedException e) {// TODO Auto-generated catch blocke.printStackTrace();}}for (int i = 0; i < 6; i++) {System.out.println(Thread.currentThread().getName() + ",C");}try {Thread.sleep(2000);num = 0;this.c1.signal();} catch (InterruptedException e) {// TODO Auto-generated catch blocke.printStackTrace();}lock.unlock();}}}
package com.demo1;public class UserThreadA extends Thread{PrintChar p ;public UserThreadA( PrintChar p ){this.p = p;}public void run(){p.showA();}}
package com.demo1;public class UserThreadB extends Thread{PrintChar p ;public UserThreadB( PrintChar p ){this.p = p;}public void run(){p.showB();}}package com.demo1;public class UserThreadC extends Thread{PrintChar p ;public UserThreadC( PrintChar p ){this.p = p;}public void run(){p.showC();}}
package com.demo1;/*** 一个线程打印3个A,通知另外一个线程打印5次的B,通知第三个线程打印6次的C * * Lock机制**/public class Test {public static void main(String[] args) {PrintChar p = new PrintChar();UserThreadA a = new UserThreadA(p);UserThreadB b = new UserThreadB(p);UserThreadC c = new UserThreadC(p);a.start();b.start();c.start();}}
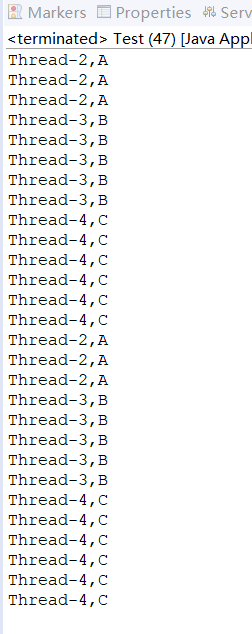
运行结果:
方案二:synchronized 机制
使用synchronized关键字配合wait()和notifyAll()方法实现线程同步,通过共享变量控制执行顺序。
package com.demo2;public class PrintCharSync {// 0:A  1:B  2:Cprivate int num = 0;// 3 次 Apublic void showA() {while (true) {synchronized (this) {while (num != 0) {          // 不是自己的轮次就等待try {this.wait();} catch (InterruptedException e) {e.printStackTrace();}}// 打印for (int i = 0; i < 3; i++) {System.out.println(Thread.currentThread().getName() + ",A");}// 休眠2stry {Thread.sleep(2000);} catch (InterruptedException e) {e.printStackTrace();}num = 1;this.notifyAll();   // 唤醒所有线程,让 B 竞争}}}// 5 次 Bpublic void showB() {while (true) {synchronized (this) {while (num != 1) {try {this.wait();} catch (InterruptedException e) {e.printStackTrace();}}for (int i = 0; i < 5; i++) {System.out.println(Thread.currentThread().getName() + ",B");}try {Thread.sleep(2000);} catch (InterruptedException e) {e.printStackTrace();}num = 2;this.notifyAll();}}}// 6 次 Cpublic void showC() {while (true) {synchronized (this) {while (num != 2) {try {this.wait();} catch (InterruptedException e) {e.printStackTrace();}}for (int i = 0; i < 6; i++) {System.out.println(Thread.currentThread().getName() + ",C");}try {Thread.sleep(2000);} catch (InterruptedException e) {e.printStackTrace();}num = 0;   // 回到 Athis.notifyAll();}}}
}
package com.demo2;public class UserThreadA extends Thread{PrintCharSync p ;public UserThreadA( PrintCharSync p ){this.p = p;}public void run(){p.showA();}}
package com.demo2;public class UserThreadB extends Thread{PrintCharSync p ;public UserThreadB( PrintCharSync p ){this.p = p;}public void run(){p.showB();}}package com.demo2;public class UserThreadC extends Thread{PrintCharSync p ;public UserThreadC( PrintCharSync p ){this.p = p;}public void run(){p.showC();}}
package com.demo2;/*** 一个线程打印3个A,通知另外一个线程打印5次的B,通知第三个线程打印6次的C * * synchronized机制**/public class Test {public static void main(String[] args) {PrintCharSync p = new PrintCharSync();UserThreadA a = new UserThreadA(p);UserThreadB b = new UserThreadB(p);UserThreadC c = new UserThreadC(p);a.start();b.start();c.start();}}
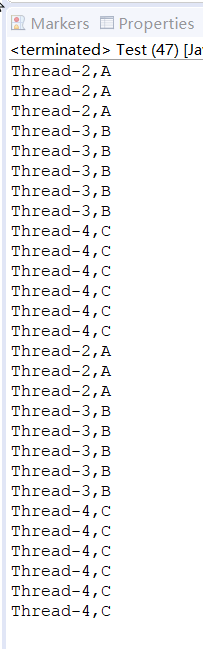
运行结果:
两种方案的对比
| 特性 | synchronized方案 | Lock+Condition方案 |
|---|---|---|
| 锁的获取 | 自动获取和释放 | 手动控制lock()和unlock() |
| 等待机制 | wait()/notifyAll() | await()/signal() |
| 精确唤醒 | 不支持,只能唤醒所有 | 支持,可以精确唤醒特定线程 |
| 灵活性 | 相对较低 | 较高,提供更多控制选项 |
| 代码复杂度 | 简单直观 | 相对复杂,需要处理锁的释放 |
| 性能 | 在竞争不激烈时性能较好 | 在竞争激烈时性能更好 |