lamp架构部署wordpress
CentOS 7
主机:lamp.example.com
IP:192.168.100.10
1、关闭防火墙与selinux
# 关闭防火墙systemctl stop firewalldsystemctl disable firewalld# 关闭selinuxvim /etc/selinux/config # 或vim /etc/sysconfig/selinuxSELINUX=disabled:wq# 重启reboot
2、开启时钟同步
yum -y install chrony # 如果没有的话
systemctl restart chronyd
systemctl enable chronyd
hwclock -w
3、安装httpd与mariadb数据库
cd /etc/yum.repos.d/rm -rf * # 删除原有的.repo# 使用阿里源curl -o /etc/yum.repos.d/CentOS-Base.repo https://mirrors.aliyun.com/repo/Centos-7.repo# 下载epel-release源yum -y install epel-release

# 下载httpd、mariadb、mariadb-serveryum -y install httpdyum -y install mariadbyum -y install mariadb-server
4、初始化数据库
systemctl restart mariadbsystemctl enable mariadbmysql_secure_installation# Set root password? [Y/n] y# Remove anonymous users? [Y/n] y# Disallow root login remotely? [Y/n] n# Remove test database and access to it? [Y/n] y# Reload privilege tables now? [Y/n] y
5、安装PHP
yum -y install http://rpms.remirepo.net/enterprise/remi-release-7.rpm

yum -y install yum-utilsyum-config-manager --enable remi-php70

yum -y install php php-cli php-fpm php-gd php-curl php-zip php-mbstring php-opcache php-intl php-mysqlndpvp -v # 查看PHP

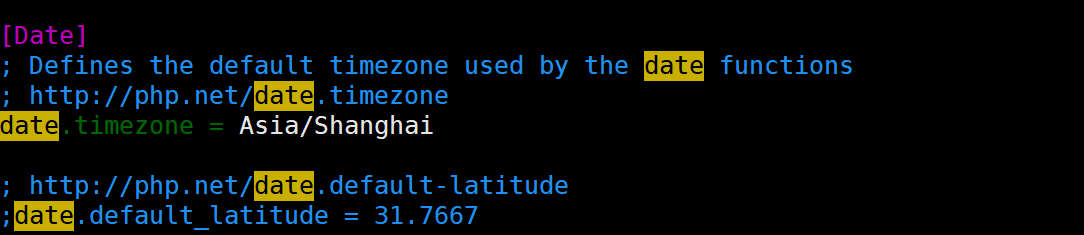
6、配置php,将时区改成亚洲/上海
vim /etc/php.ini
date.timezone = Asia/Shanghai
:wq
systemctl restart php-fpm
systemctl enable php-fpm
7、配置默认网页
vim /etc/httpd/conf/httpd.conf<IfModule dir_module>DirectoryIndex index.html index.php
</IfModule>:wq

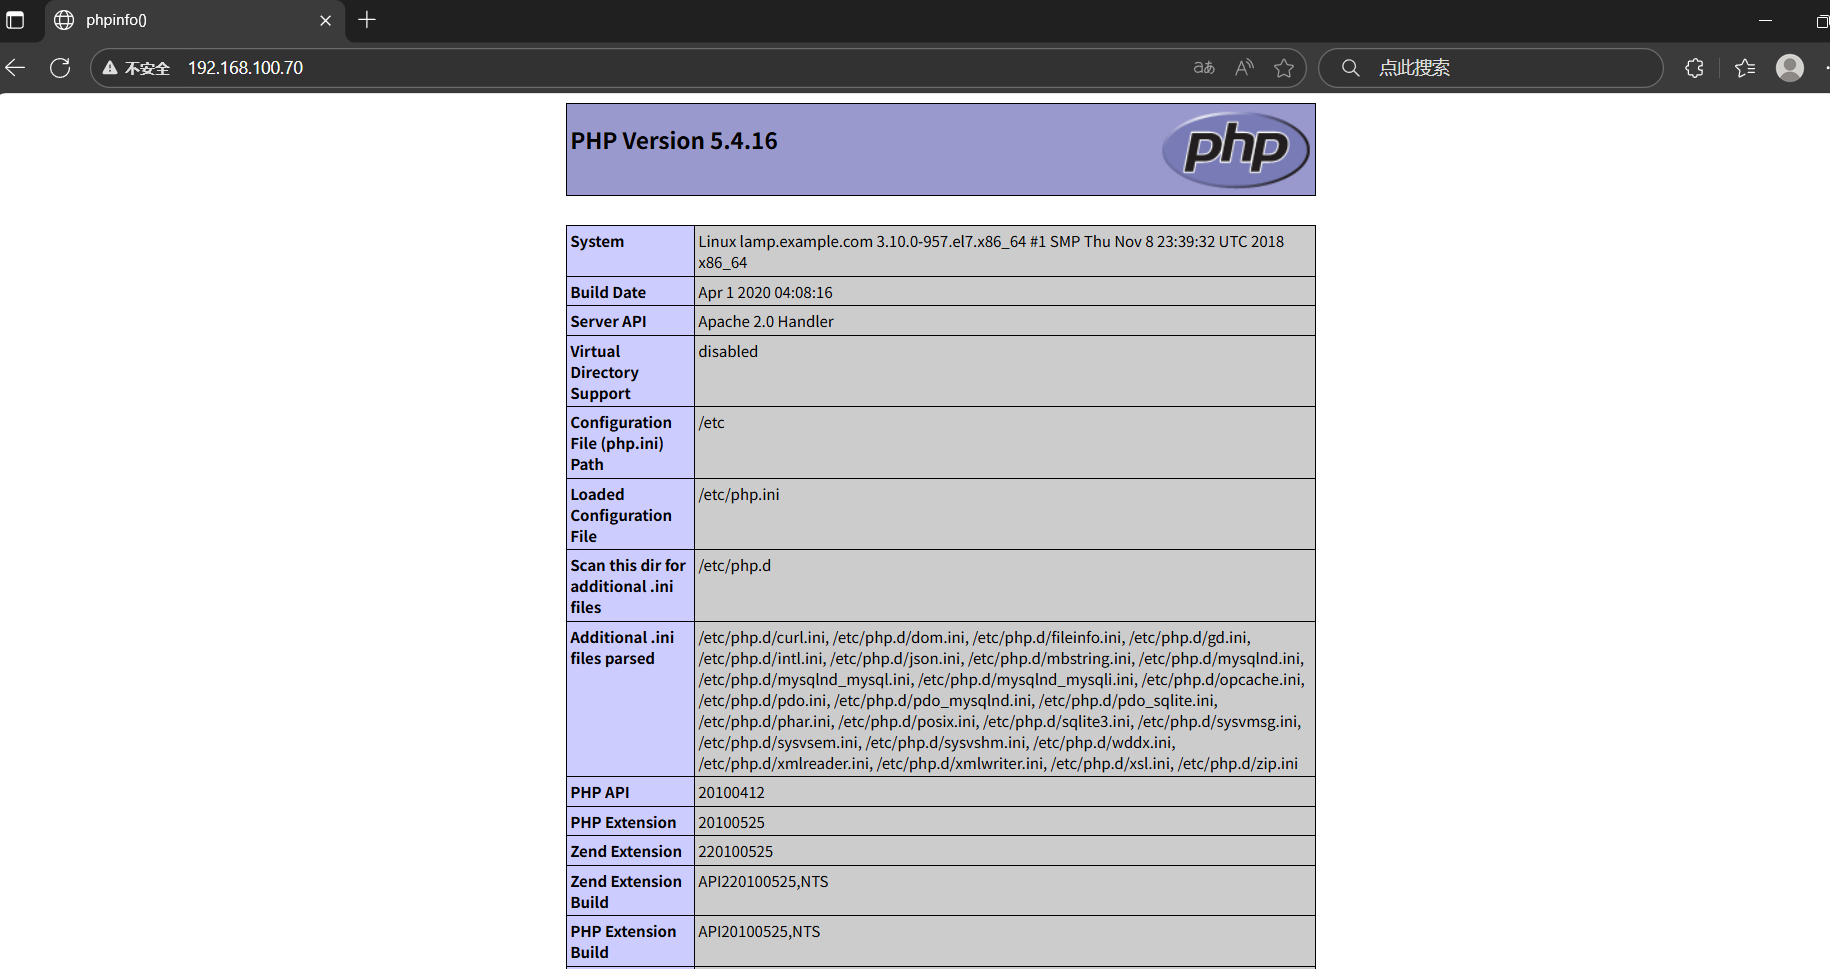
vim /var/www/html/index.php
<?phpphpinfo();
?>
:wqsystemctl restart httpd
systemctl enable httpd
8、测试访问lamp基础架构
在本地浏览器上输入192.168.100.70
9、将wordpress压缩包上传到服务器并解压
mkdir /myforum
cd /myforum
直接wordpress压缩包拖入Xshell中
tar -xzvf wordpress-6.5.5.tar.gz

cp -R /myforum/wordpress /var/www/html/
10、设置wordpress的权限
chown -R apache.apache /var/www/html/wordpress
chmod -R 775 /var/www/html/wordpress
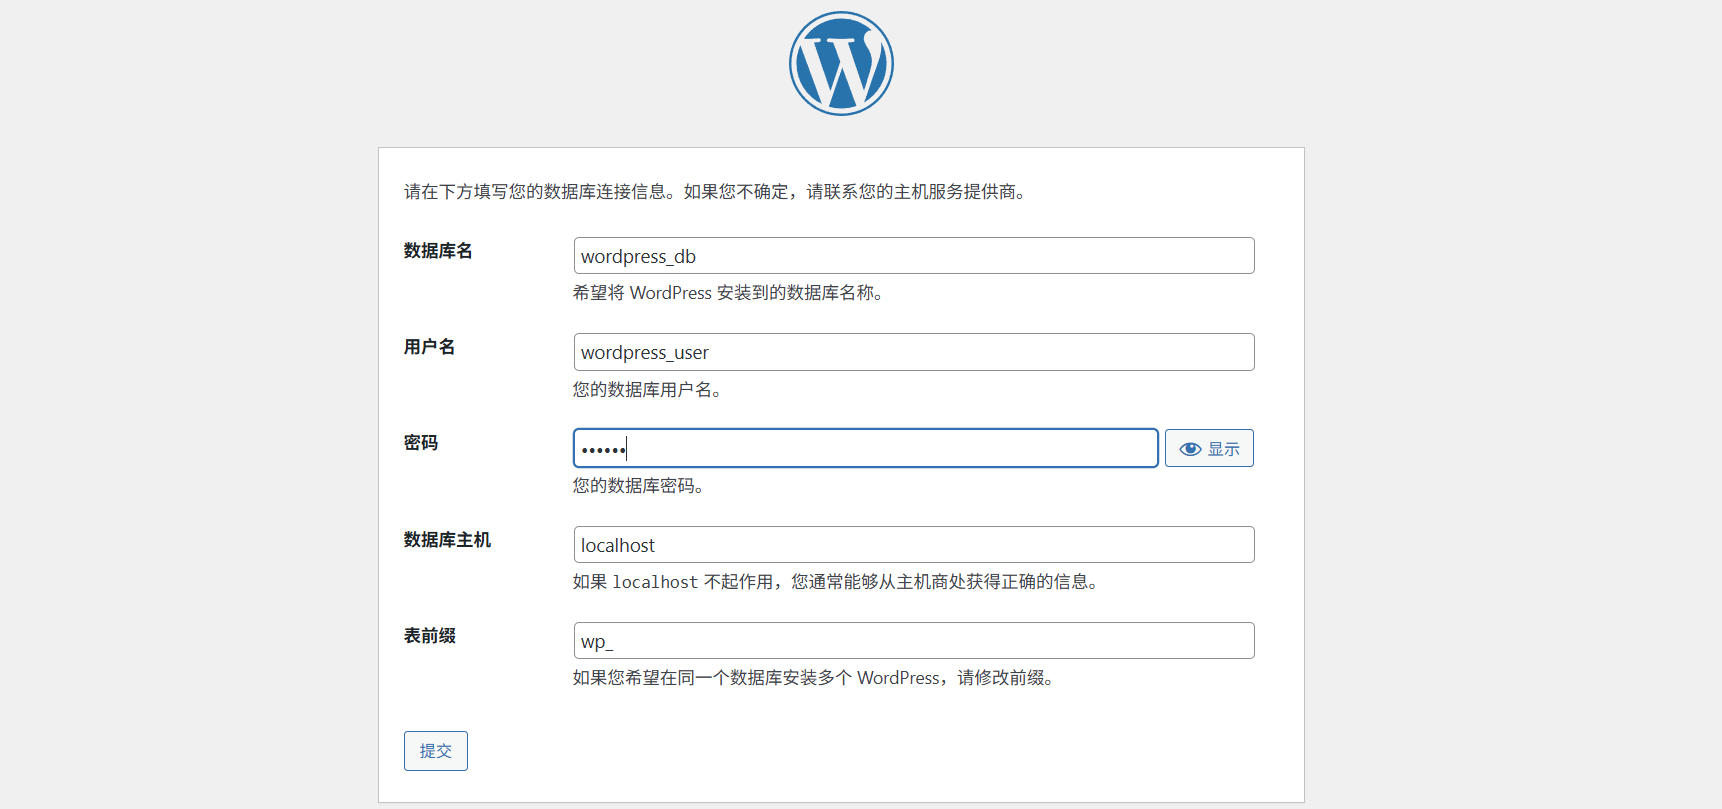
11、为wordpress配置数据库
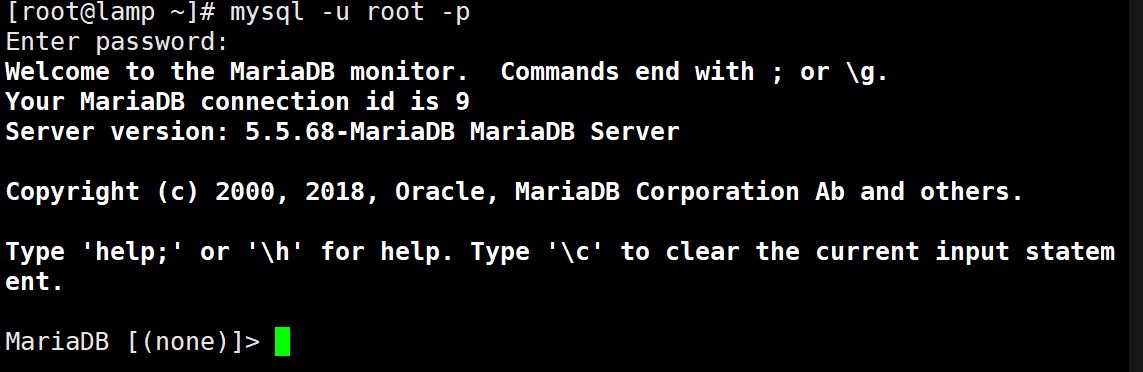
mysql -u root -p
create database wordpress_db
create user 'wordpress_user'@'localhost' identified by '123456';
grant all on wordpress_db.* to 'wordpress_user'@'localhost';
flush privileges;
exit
12、为wordpress部署站点
cp -p /usr/share/doc/httpd-2.4.6/httpd-vhosts.conf /etc/httpd/conf.d/
vim /etc/httpd/conf.g/httpd-vhosts.conf<VirtualHost 192.168.100.70:80>DocumentRoot "/var/www/html/wordpress/"<Directory "/var/www/thml/wordpress">Options Indexes FollowSymLinksAllowOverride NoneRequire all granted
</Directory>
</VirtualHost>:wq
# 重启httpd服务
systemctl restart httpd
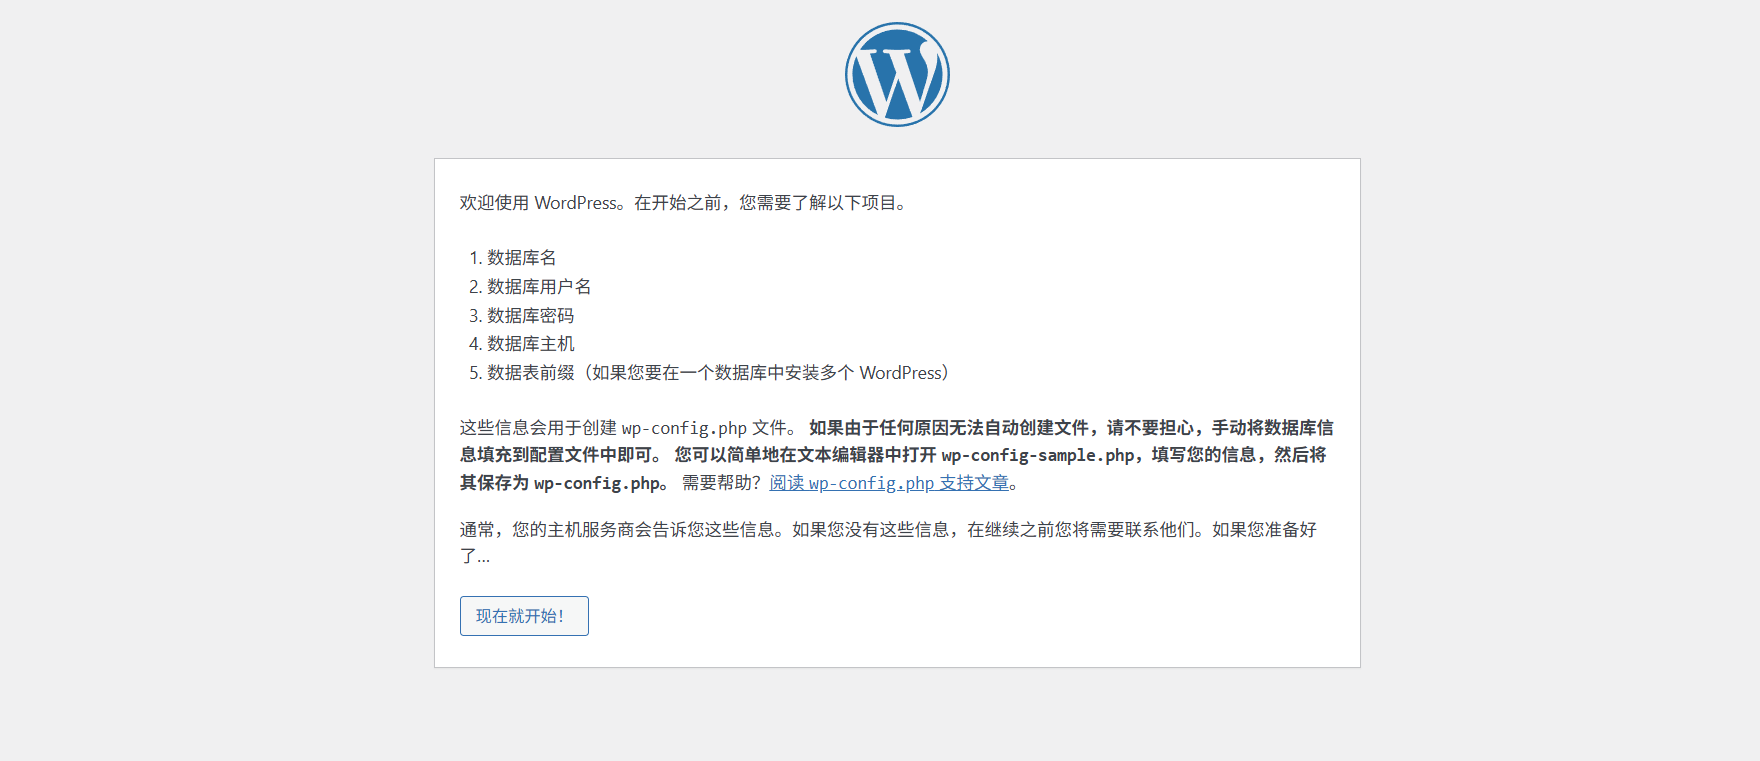
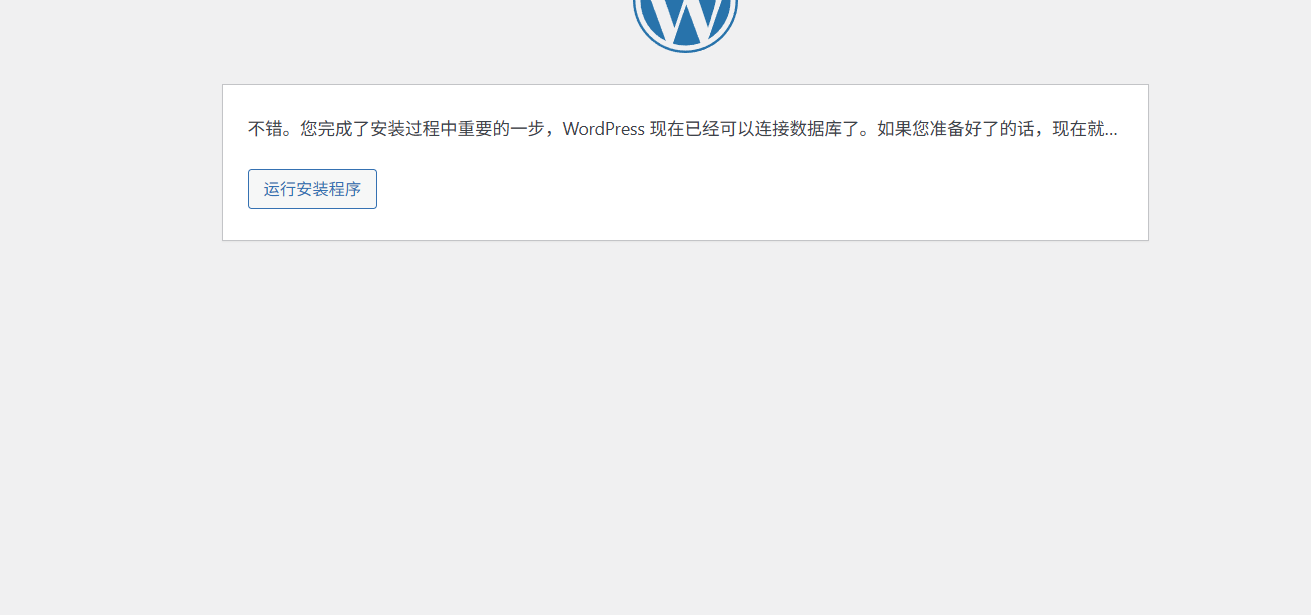
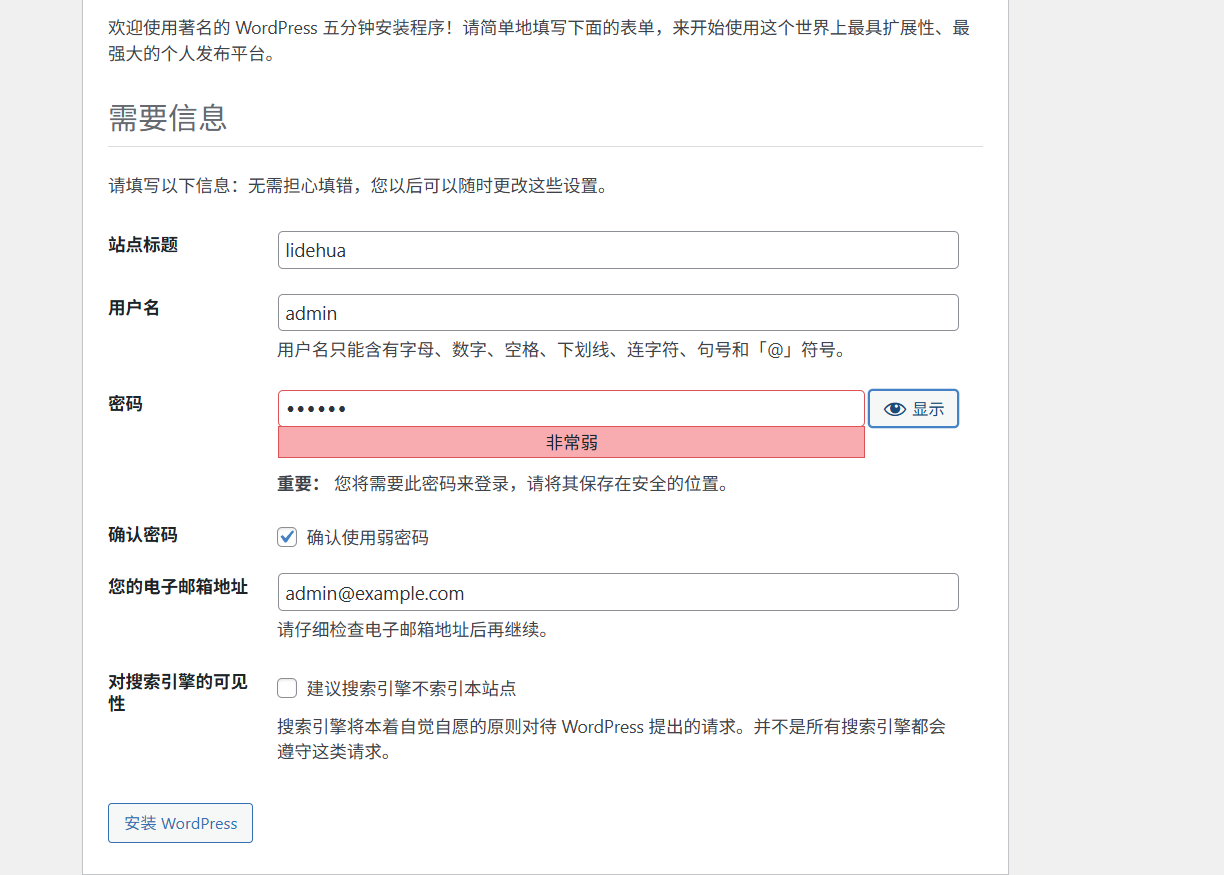
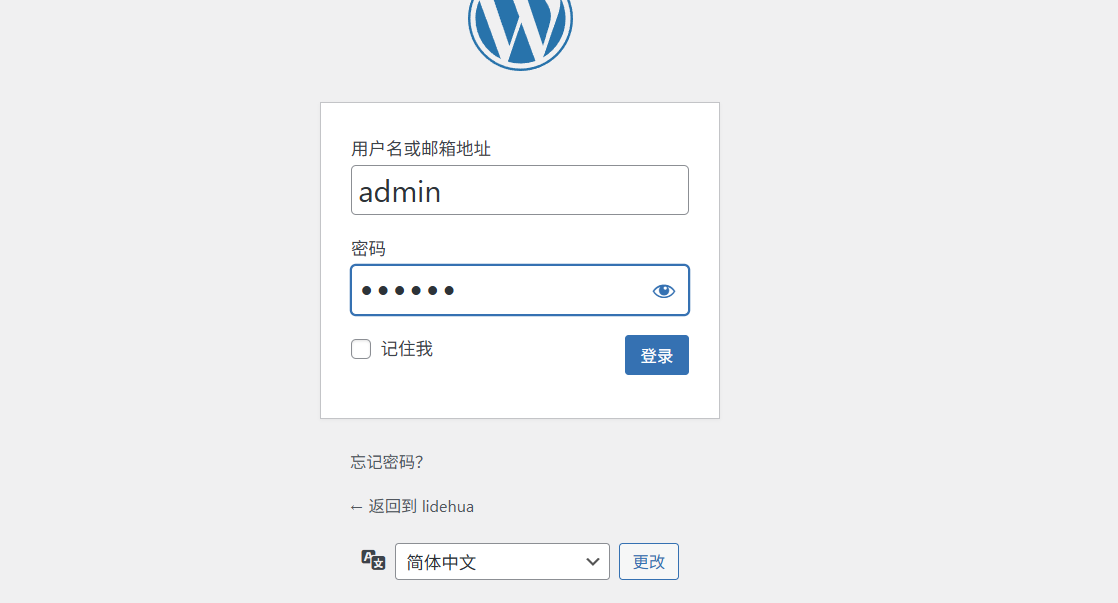
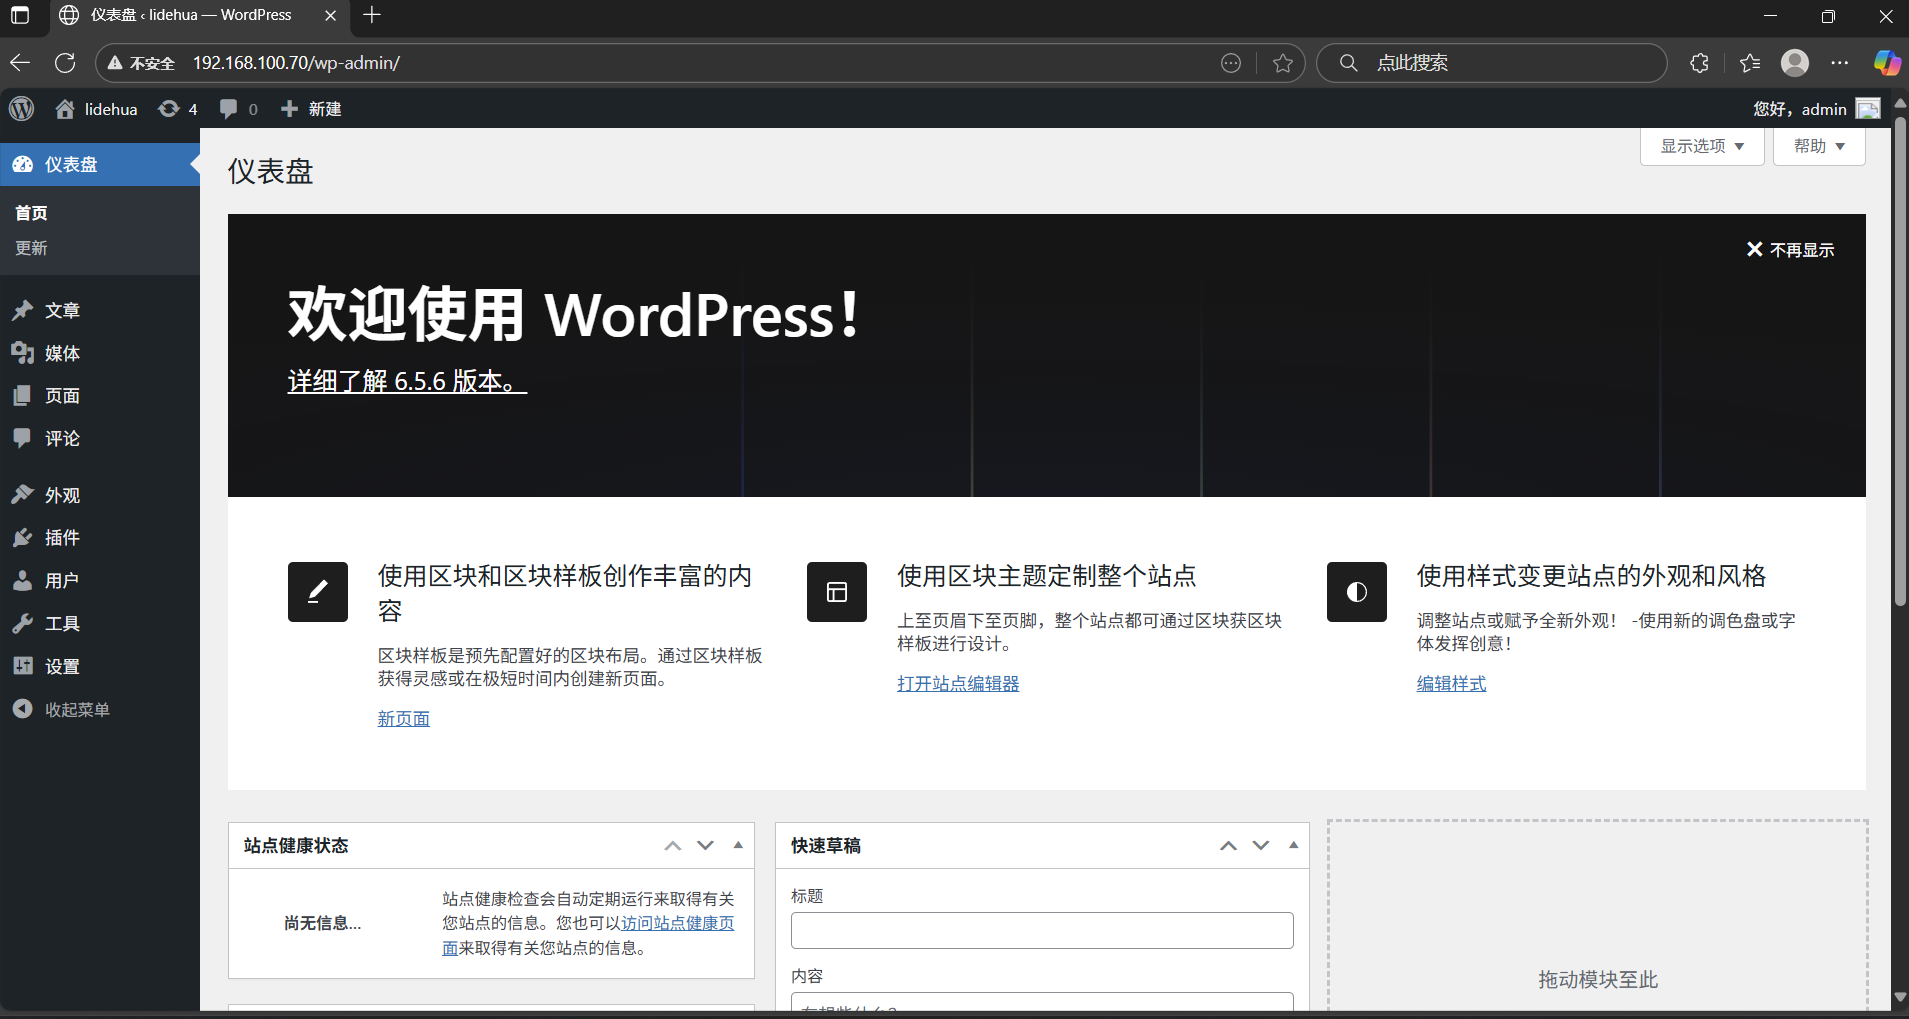
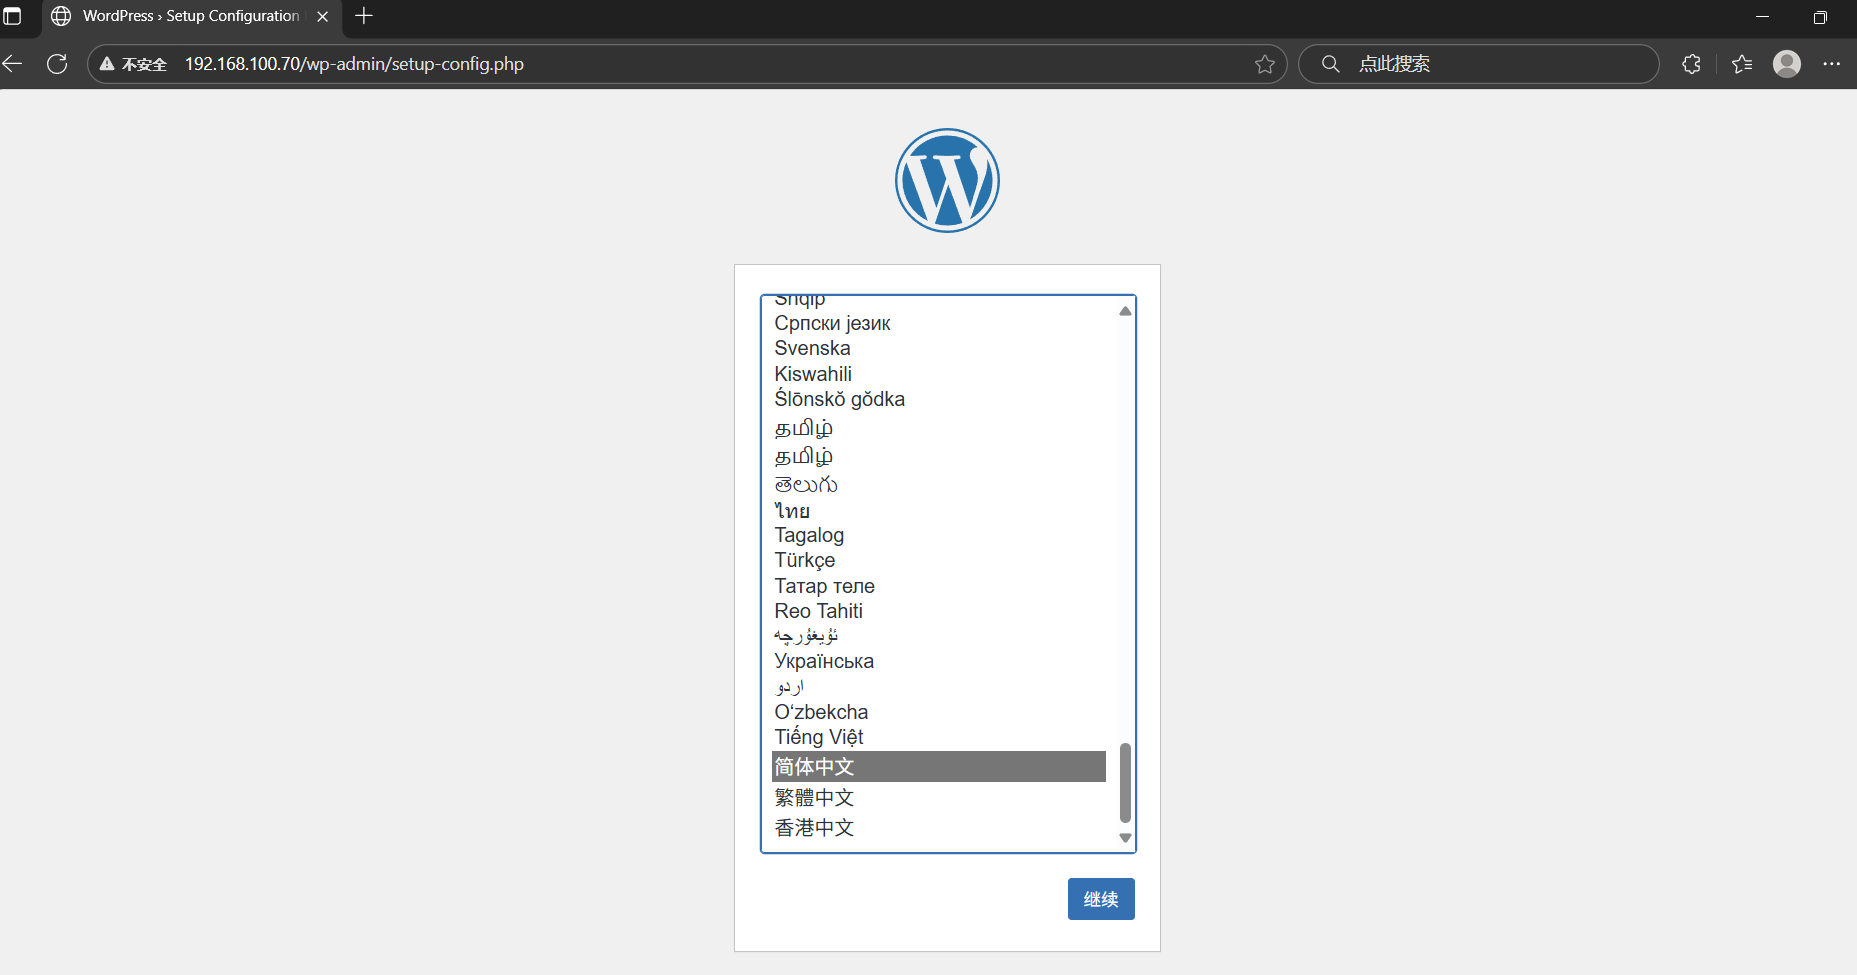
13、使用浏览器访问wordpress站点
打开浏览器输入192.168.100.70/wp-admin
输入数据库名、用户名、密码;注意不要输错