SpringBoot 集成Ollama 本地大模型
SpringBoot 集成Ollama 本地大模型
本文主要简述springBoot如何结合spring ai集成本地大模型实现智能对话
1.引入依赖
<dependencies><dependency><groupId>org.springframework.boot</groupId><artifactId>spring-boot-starter-web</artifactId></dependency><dependency><groupId>org.springframework.boot</groupId><artifactId>spring-boot-starter-test</artifactId><scope>test</scope></dependency><!--ollama依赖,最新稳定版0.8.0--><dependency><groupId>org.springframework.ai</groupId><artifactId>spring-ai-ollama</artifactId><version>0.8.0</version></dependency><dependency><groupId>org.springframework.ai</groupId><artifactId>spring-ai-ollama-spring-boot-starter</artifactId><version>0.8.0</version><exclusions><exclusion><groupId>org.springframework.cloud</groupId><artifactId>spring-cloud-function-context</artifactId></exclusion></exclusions></dependency>
</dependencies>
<!--配置spring的仓库-->
<repositories><repository><id>spring-milestones</id><url>https://repo.spring.io/milestone</url><snapshots><enabled>false</enabled></snapshots></repository>
</repositories>、
<!--spring ai的bom管理-->
<dependencyManagement><dependencies><dependency><groupId>com.alibaba.cloud.ai</groupId><artifactId>spring-ai-alibaba-bom</artifactId><version>1.0.0.2</version><type>pom</type><scope>import</scope></dependency></dependencies>
</dependencyManagement>
2.修改配置文件
spring.application.name=OllamaProject
spring.ai.ollama.base-url=http://localhost:11434  #ollama地址
spring.ai.ollama.chat.model=qwen3:4b  #大模型名称
3.编写Contoller
spring ai 中集成了OllamaChatClient,直接使用ollamaChatClient即可
import org.springframework.ai.ollama.OllamaChatClient;
import org.springframework.beans.factory.annotation.Autowired;
import org.springframework.web.bind.annotation.GetMapping;
import org.springframework.web.bind.annotation.RequestMapping;
import org.springframework.web.bind.annotation.RequestParam;
import org.springframework.web.bind.annotation.RestController;@RestController
@RequestMapping("/ai")
public class OllamaTestController {@Autowiredprivate OllamaChatClient ollamaChatClient;@GetMapping("/chat")public String generate(@RequestParam String message) {return ollamaChatClient.call(message);}@GetMapping(value = "/chatStream",produces = MediaType.TEXT_MARKDOWN_VALUE + ";charset=UTF-8" )public Flux<String> chatStream(@RequestParam String message) {Flux<ChatResponse> stream = ollamaChatClient.stream(new Prompt(message));return stream.map(chatResponse -> chatResponse.getResult().getOutput().getContent()) ;}public Flux<String> chatStream(@RequestParam String message) {Flux<ChatResponse> stream = ollamaChatClient.stream(new Prompt(message));return stream.map(chatResponse -> chatResponse.getResult().getOutput().getContent()) ;}}
4.修改启动类
package com.example.ollamaproject;import org.springframework.boot.SpringApplication;
import org.springframework.boot.autoconfigure.SpringBootApplication;
import org.springframework.cloud.function.context.config.ContextFunctionCatalogAutoConfiguration;
@SpringBootApplication(exclude = {ContextFunctionCatalogAutoConfiguration.class
})
public class OllamaProjectApplication {public static void main(String[] args) {SpringApplication.run(OllamaProjectApplication.class, args);}}
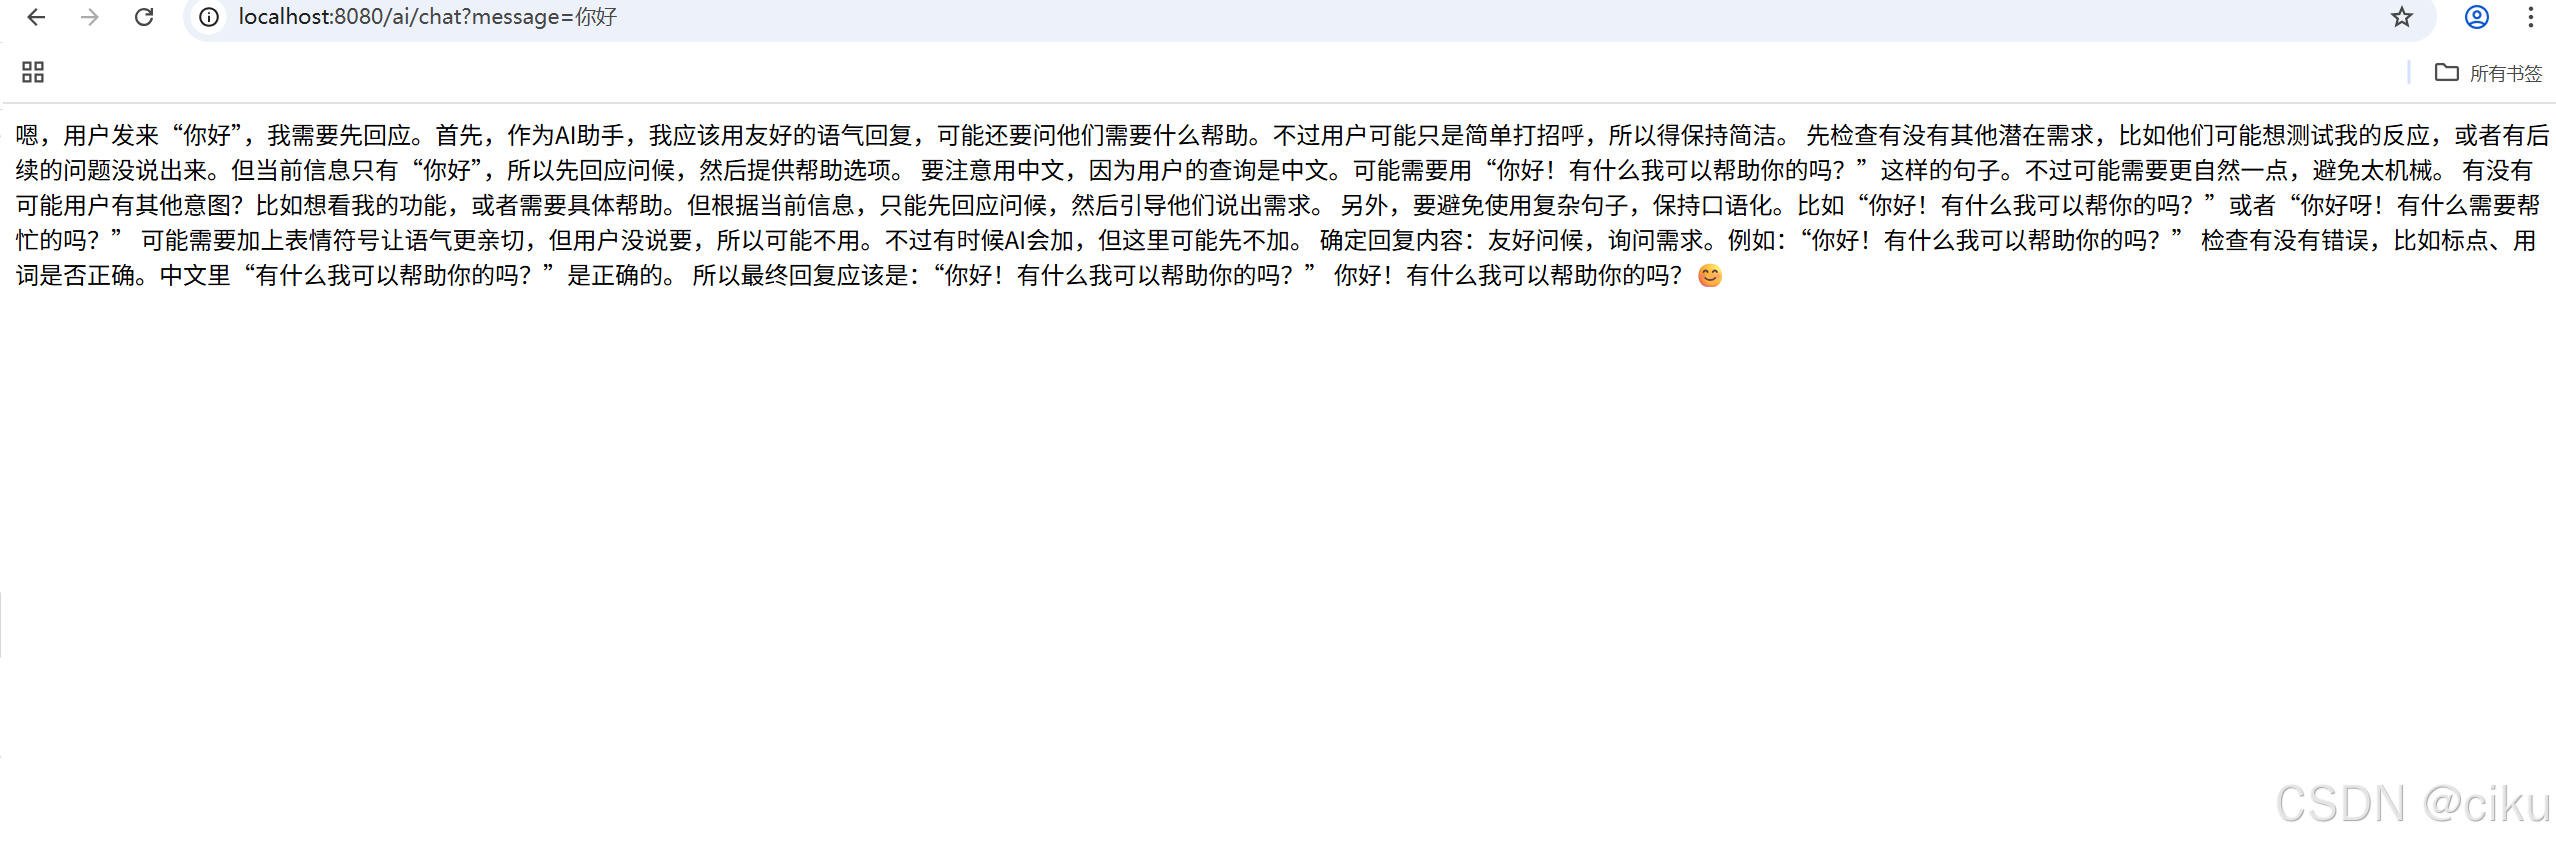
5.启动验证
调用chat接口,一次性返回
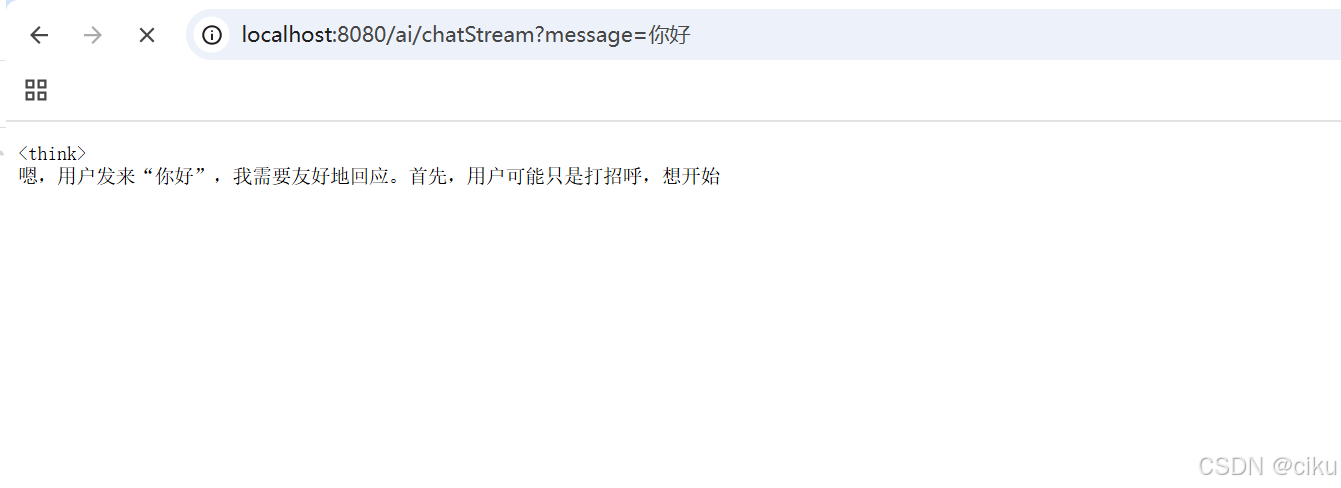
调用chatStream接口,会采用流式输出方式:
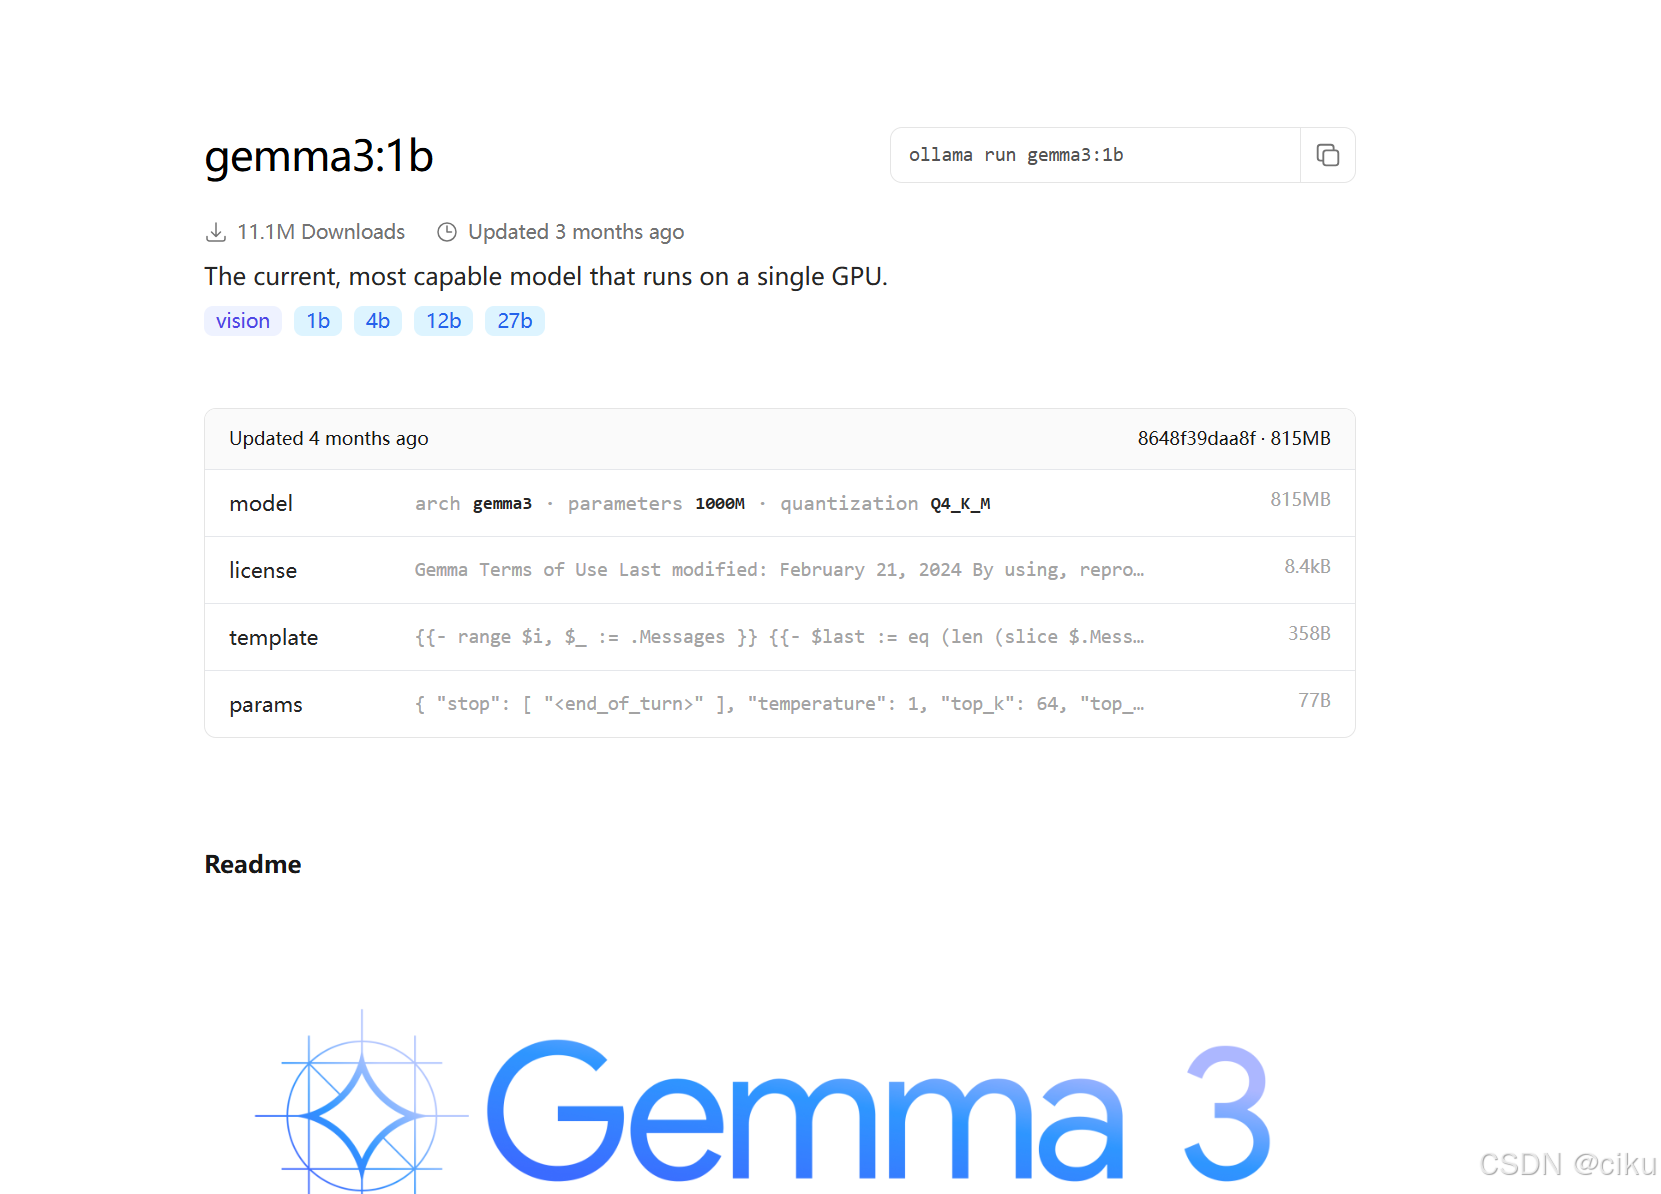
6.多模态大模型
如果要完成多模态的大模型集成,可以拉取
代码如下:
@Testpublic void ollamaImageTest(){ClassPathResource resource = new ClassPathResource("/files/fengj.jpg");OllamaApi ollamaApi = new OllamaApi("http://localhost:11434");OllamaOptions ollamaOptions = OllamaOptions.create();ollamaOptions.setModel("gemma3:1b");ChatResponse response = new OllamaChatClient(ollamaApi).withDefaultOptions(ollamaOptions).call(new Prompt(new UserMessage(resource)));System.out.println(response.getResult().getOutput().getContent());}
fengj,jpg是一张风景照片

返回结果:
以上就是集成ollama的所有内容,使用时由于版本更新,语法上可能存在差异,仅供参考!