Linux seLinux
Linux seLinux
1、什么是selinux,security enhanced linux–安全加强的linux。
是由美国国家安全局开发的以及历史。selinux之前是基于自主存取控制方法DAC,
只要符合权限即可,通过suid和sgid特殊权限存在有一定的安全隐患,
甚至一些错误的配置就会引发巨大的漏洞,被轻易攻击。
selinux是基于强制存取控制方法MAC,
应用程序或用户必须同时符合DCA既要对应selinux的MAC才能正常操作,否则遭到拒绝。
DAC和MAC的比较
DAC:自主访问控制,主体是用户,访问目标文件,由文件本身权限决定的
MAC:强制访问控制,主体是程序,访问目标文件,由文件权限和策略决定。
2、selinux的原理
强制访问控制机制
在权限基础上,定义各种所属类型,类型不匹配将拒绝。
3、selinux的特点
(1.设置了一个安全的上下文标签(context值)
(2.同是拥有普通文件权限和selinux的安全策略
4、模式
配置文件路径
/etc/sysconfig/selinux==/etc/selinux/config
[root@ws ~]# vim /etc/sysconfig/selinux
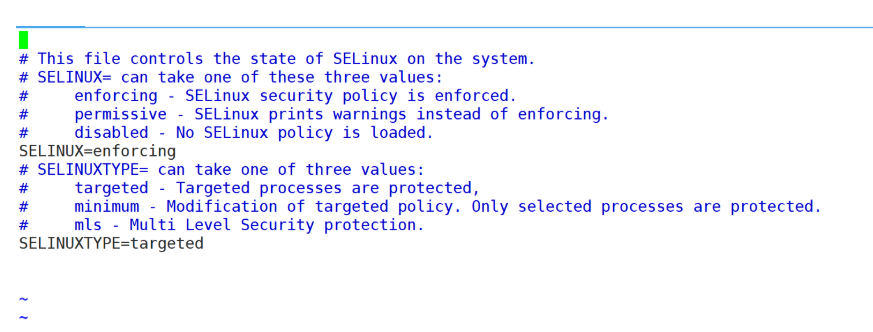
安全策略:
targeted 默认,适用于RHEL的
mls 及其安全的策略,极其强大,无比坑爹
1、enforcing 强制模式
2、permissive 警告模式(用来判断当一个服务报错时,是服务本身配置问题还是selinux的阻挡)
3、disabled 禁用模式
getenforce 查看selinux当前状态
setenforce 更改selinux当前状态(0/1)
[root@ws ~]# getenforce
Enforcing
[root@ws ~]# setenforce 1
[root@ws ~]# getenforce
Enforcing
[root@ws ~]# setenforce 0
[root@ws ~]# getenforce
Permissive
说明0是警告模式1是强制模式
先下载httpd服务然后要防火墙添加fttpd服务可以访问
下载httpd略
[root@ws ~]# systemctl restart httpd.service
[root@ws ~]# systemctl enable httpd.service
Created symlink from /etc/systemd/system/multi-user.target.wants/httpd.service to /usr/lib/systemd/system/httpd.service.
[root@ws ~]# firewall-cmd --add-service=http --permanent
success
[root@ws ~]# firewall-cmd --reload
success
[root@ws ~]# firewall-cmd --list-all
public (active)target: defaulticmp-block-inversion: nointerfaces: ens33sources: services: ssh dhcpv6-client httpports: protocols: masquerade: noforward-ports: source-ports: icmp-blocks: rich rules:
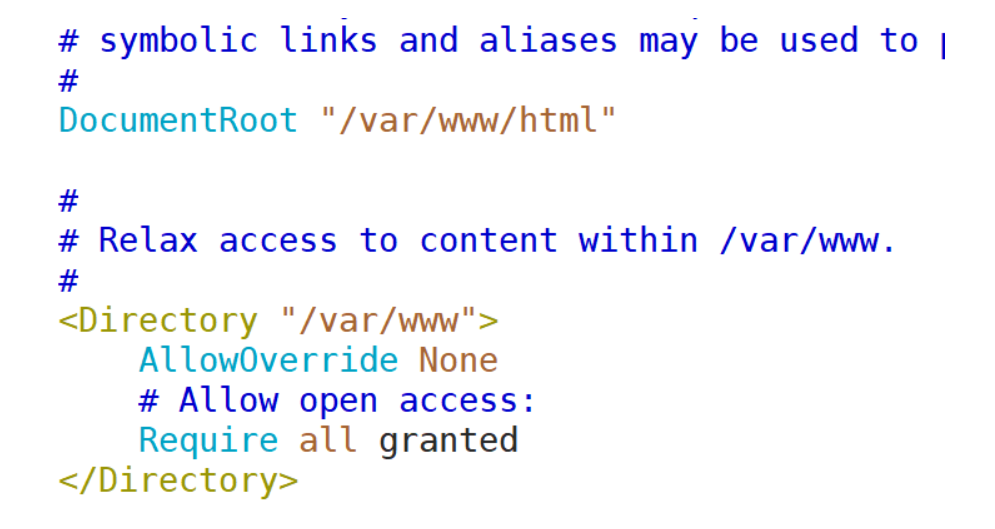
[root@ws ~]# vim /etc/httpd/conf/httpd.conf
[root@ws ~]# cd /var/www/html/
[root@ws html]# ls
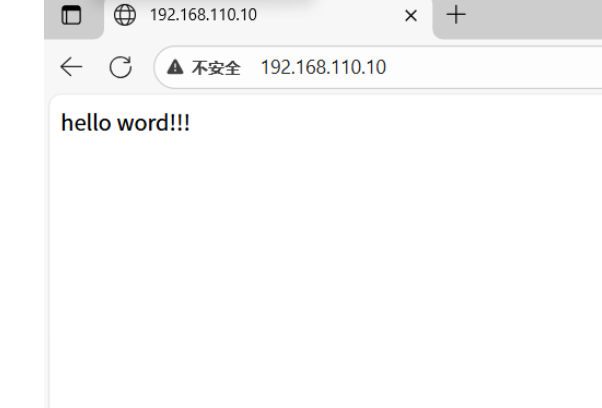
[root@ws html]# vim index.html
httpdd的文件
在/var/www/html路径 在网页的默认名字中写

可以访问得到
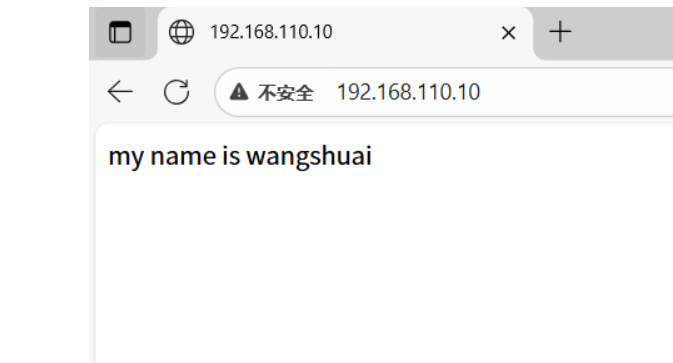
换一个网页 创建/www目录 在index.html
[root@ws ~]# mkdir /www
[root@ws ~]# cd /www
[root@ws www]# vim index.html
然后进入vim /etc/httpd/conf/httpd.conf
[root@ws ~]# vim /etc/httpd/conf/httpd.conf
[root@ws ~]# systemctl restart httpd.service

但是网页没有出现my name is wangshuai
是什么原因了
context值
先查看context值
system_u:用户上下文
object_r:角色上下文
httpd_sys_content_t:文件类型
[root@ws ~]# ll -dZ /var/www/html/		//查看目录的context值
drwxr-xr-x. root root system_u:object_r:httpd_sys_content_t:s0 /var/www/html/
[root@ws ~]# ll -Z /var/www/html/		//查看文件的context值
-rw-r--r--. root root unconfined_u:object_r:httpd_sys_content_t:s0 index.html
[root@ws ~]# ll -dZ /www/
drwxr-xr-x. root root unconfined_u:object_r:default_t:s0 /www/
[root@ws ~]# ll -Z /www/
-rw-r--r--. root root unconfined_u:object_r:default_t:s0 index.html
// /www与/var/www/html的context值不同需要修改
restorecon -v redhat 恢复redhat的context值
更改路径context值也会发生变化。(这是临时修改不建议用)
永久修改context值
semanage fcontext -a -t tmp_t “/abc(/.*)?”
restorecon -RFv /abc/
[root@ws ~]# semanage fcontext -a -t httpd_sys_content_t '/www(/.*)?'
[root@ws ~]# restorecon -Rv /www/
restorecon reset /www context unconfined_u:object_r:default_t:s0->unconfined_u:object_r:httpd_sys_content_t:s0
restorecon reset /www/index.html context unconfined_u:object_r:default_t:s0->unconfined_u:object_r:httpd_sys_content_t:s0
[root@ws ~]# ll -dZ /www/
drwxr-xr-x. root root unconfined_u:object_r:httpd_sys_content_t:s0 /www/
[root@ws ~]# ll -Z /www/
-rw-r--r--. root root unconfined_u:object_r:httpd_sys_content_t:s0 index.html
现在可以访问
该端口
[root@ws ~]# vim /etc/httpd/conf/httpd.conf
[root@ws ~]# systemctl restart httpd.service
Job for httpd.service failed because the control process exited with error code. See "systemctl status httpd.service" and "journalctl -xe" for details.
httpd服务不能启动
要考虑防火墙的端口有没有8899
[root@ws ~]# firewall-cmd --list-all
public (active)target: defaulticmp-block-inversion: nointerfaces: ens33sources: services: ssh dhcpv6-client httpports: protocols: masquerade: noforward-ports: source-ports: icmp-blocks: rich rules:
端口号没有8899 需要添加8899端口号
[root@ws ~]# firewall-cmd --add-port=8899/tcp --permanent
success
[root@ws ~]# firewall-cmd --reload
success
[root@ws ~]# firewall-cmd --list-all
public (active)target: defaulticmp-block-inversion: nointerfaces: ens33sources: services: ssh dhcpv6-client httpports: 8899/tcpprotocols: masquerade: noforward-ports: source-ports: icmp-blocks: rich rules: 现在在启动httpd服务
[root@ws ~]# systemctl restart httpd.service
Job for httpd.service failed because the control process exited with error code. See "systemctl status httpd.service" and "journalctl -xe" for details.
还是不能启动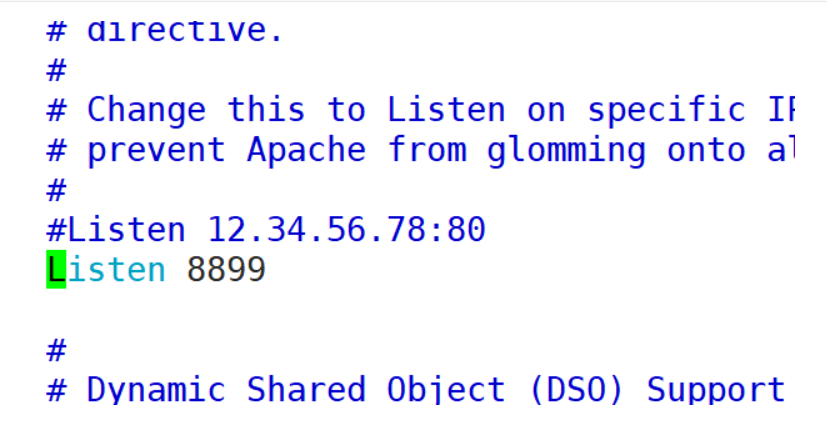
原先的端口号是80 修改成8899
查询端口标签
semanage port -l | grep httpd
添加
semanage port -a -t [端口类型] -p 【tcp/udp】 【端口号】
[root@ws ~]# semanage port -l | grep http
http_cache_port_t              tcp      8080, 8118, 8123, 10001-10010
http_cache_port_t              udp      3130
http_port_t                    tcp      80, 81, 443, 488, 8008, 8009, 8443, 9000
pegasus_http_port_t            tcp      5988
pegasus_https_port_t           tcp      5989
这个里面没有8899端口号需要添加
[root@ws ~]# semanage port -a -t http_port_t -p tcp 8899
[root@ws ~]# semanage port -l | grep http
http_cache_port_t              tcp      8080, 8118, 8123, 10001-10010
http_cache_port_t              udp      3130
http_port_t                    tcp      8899, 80, 81, 443, 488, 8008, 8009, 8443, 9000
pegasus_http_port_t            tcp      5988
pegasus_https_port_t           tcp      5989
有8899端口号了
在启动httpd服务
[root@ws ~]# systemctl restart httpd.service
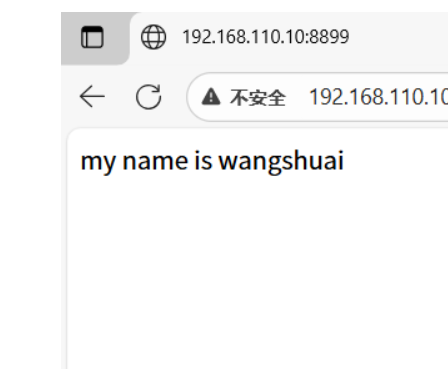
能访问8899端口号
bool开关
semanage boolean -l 查看所有bool开关
setsebool -P 修改布尔开关
例子:
临时修改(服务器重启后,失效)
setsebool ftpd_full_access on
永久修改:
setsebool -P ftpd_full_access on
semanage boolean -l
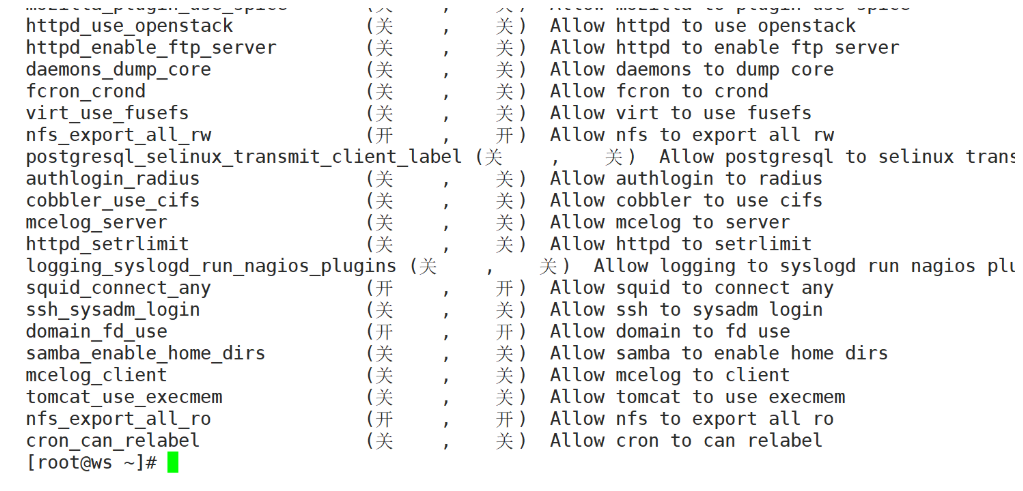
前面on是临时关 后面on是永久关 后面是作用
selinux需要考虑三个方便
1 context值
2 端口号
有bool开关
setsebool -P 修改布尔开关
例子:
临时修改(服务器重启后,失效)
setsebool ftpd_full_access on
永久修改:
setsebool -P ftpd_full_access on
semanage boolean -l
[外链图片转存中…(img-vUkoJKZS-1754492394842)]
前面on是临时关 后面on是永久关 后面是作用
selinux需要考虑三个方便
1 context值
2 端口号
3.boolean