17前端项目----支付弹框
支付弹框
- 支付页面
- element-ui
- qrcode二维码生成
- 轮询机制
- Vue引入图片
- WebSocket
支付页面
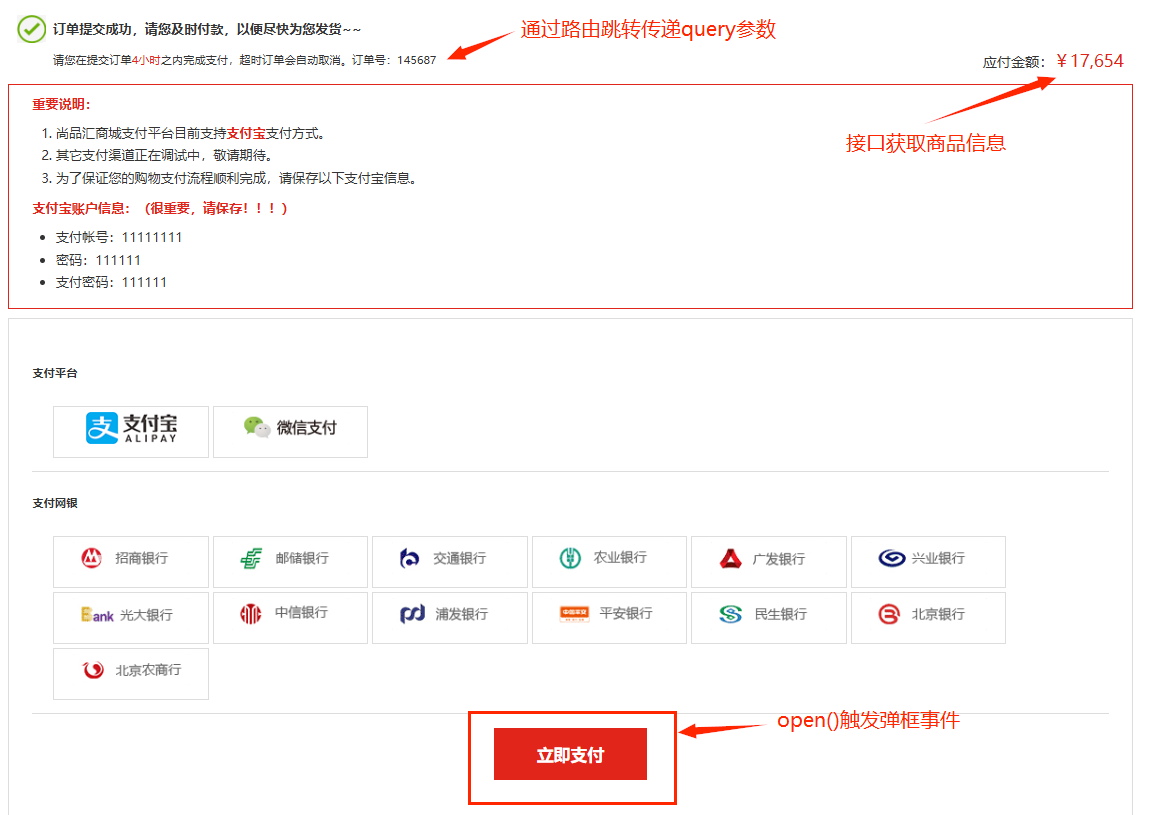
<a @click=“open”>立即支付
element-ui
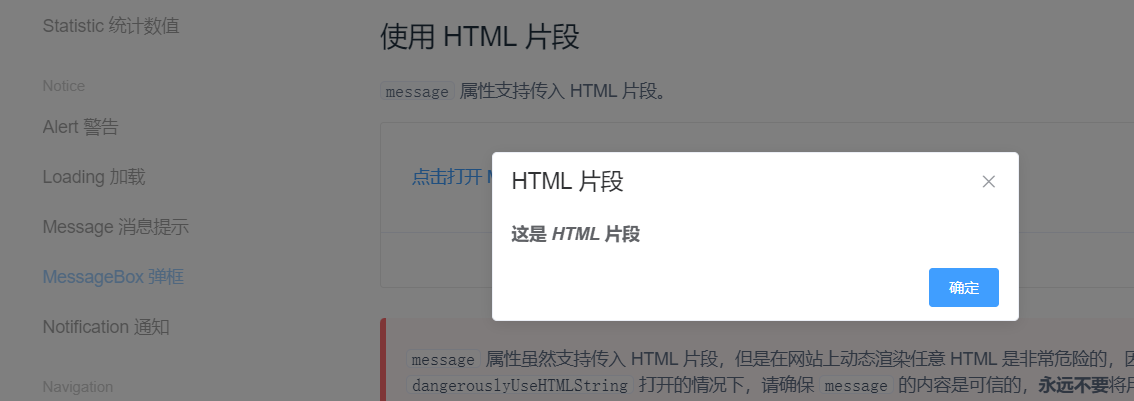
这里使用element-ui组件库的MessageBox弹框组件
按需引入:(注意还需安装babel-plugin-component和修改配置(文档中有))
import {MessageBox} from 'element-ui';
ElementUI注册组件:
Vue.prototype.$msgBox = MessageBox;
Vue.prototype.$alert = MessageBox.alert;
组件内methods:
open() {this.$alert('<strong>这是 <i>HTML</i> 片段</strong>', 'HTML 片段', {dangerouslyUseHTMLString: true});}
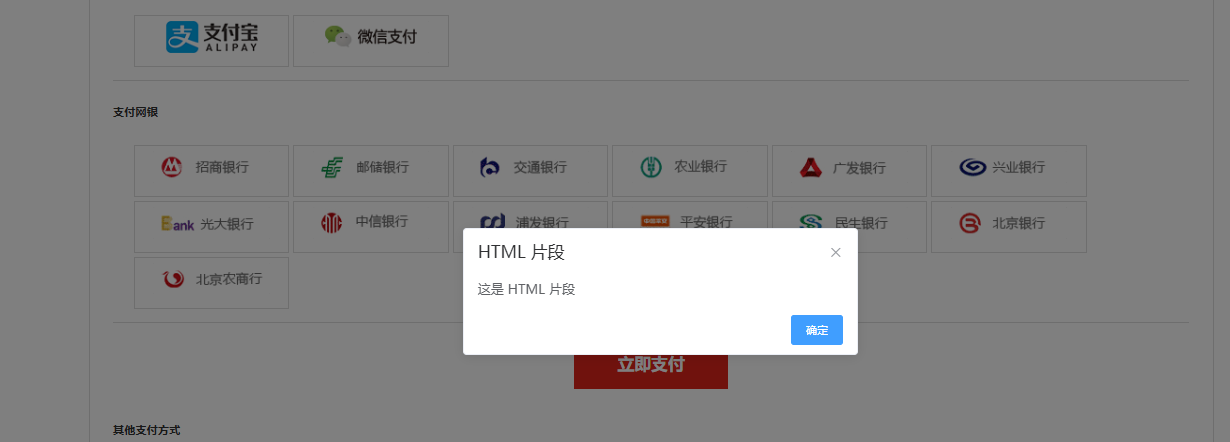
开始调整内容

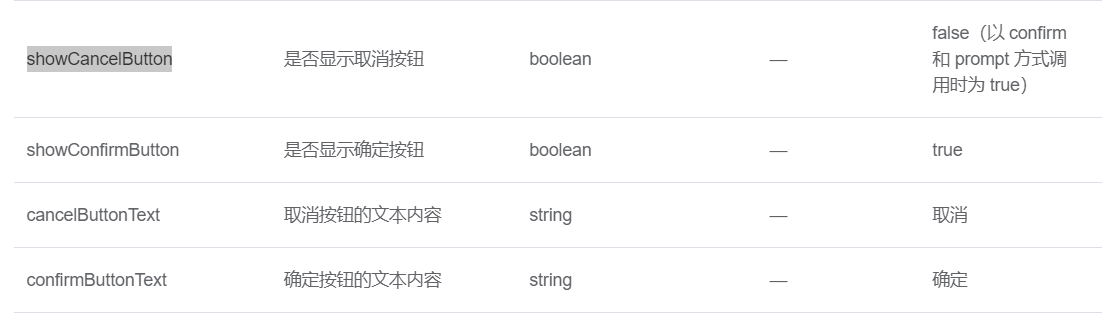
open() {this.$alert('<strong>这是 <i>HTML</i> 片段</strong>', '请你微信扫码支付', {dangerouslyUseHTMLString: true,//局中布局center:true,//是否显示取消按钮showCancelButton:true,//按钮内容cancelButtonText:'支付遇见问题',confirmButtonText:'已支付成功',//是否显示右上角关闭按钮showClose:false});}
qrcode二维码生成
引入:import QRCode from 'qrcode'
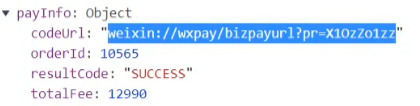
生成二维码:(传入一个字符串【后台传入的】然后转为二维码)
QRcode.toDataURL(this.payInfo.codeUrl)//返回一个Promise
let url = await QRCode.toDataURL(this.payInfo.codeUrl);
this.$alert(//字符串里插入变量,用模板字符串//注意要严格语法,/前面有个空格`<img src=${url} />`, '请你微信扫码支付', {……});
二维码已有,将来需要知道支付成功/失败
支付成功:路由跳转
支付失败:提示信息
- 二维码一弹出来,就要一直向后台服务器发送请求,得知用户的支付情况
轮询机制
通过定时向服务器发送请求来获取支付状态。使用setInterval来实现。
setInterval() 方法重复调用一个函数或执行一个代码片段,在每次调用之间具有固定的时间延迟。
data(){timer:null,//支付状态码code:''
}
//open方法内
//!this.time刚开始定时器没有为null,则开启一个定时器
//1秒执行一次
if(!this.timer){this.timer = setInterval(async ()=>{let result = await this.$API.reqPayState(this.orderId);//console.log(result);},1000);
}
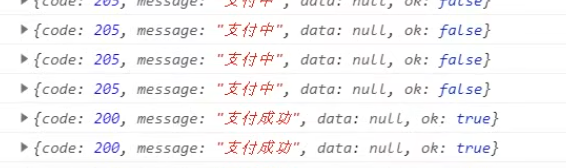
一旦扫码支付,状态就是200支付成功
然后**通过code判断是否支付成功,**成功则进行一下操作:
if(result.code==200){//1. 清理定时器clearInterval(this.timer);this.timer=null;//2. 保存支付成功返回的code//因为在点击已支付成功时需要判断是否成功this.code = result.code;//3. 隐藏弹框组件this.$msgBox.close();//4. 跳转下一个支付成功页面this.$router.push('/paysuccess');
}
修改一下弹框msgBox的配置:一点击两个按钮,弹框消失

function(action, instance, done)- action 的值为’confirm’、‘cancel’或’close’(用于区分点击的按钮)
- instance 为 MessageBox 实例,可以通过它访问实例上的属性和方法;
- done 用于关闭 MessageBox 实例(调用
done())
在$alert中配置:
beforeClose:(type,instance,done)=>{if(type=='cancel'){alert('请联系管理员');//清除定时器clearInterval(this.timer);this.timer = null;//关闭done();}else{//是否成功if(this.code==200){this.$router.push("/paysuccess");	}}
}
Vue引入图片
一般通过路径引入,<img src="../assets/pay.jpg" />
当需要在js内通过路径引入,必须通过require
<img src= "require("@/assests/code.png") />"
或者在之前引入import imgUrl from '@/assets/code.png' 然后src=${payImg}
WebSocket
上面使用的setInterval
WebSocket 实时通信响应:提供了一种更高效的实时通信方式,适合需要频繁更新的场景。服务器可以在支付状态发生变化时主动通知客户端。
优势对比
| 特性 | 轮询实现 | WebSocket 实现 |
|---|---|---|
| 实时性 | 有延迟(取决于轮询间隔) | 真正实时 |
| 服务器负载 | 高(频繁请求) | 低(持久连接) |
| 网络消耗 | 高(每次完整HTTP请求) | 低(仅数据推送) |
| 实现复杂度 | 简单 | 较复杂 |
| 适合场景 | 简单应用,低频率更新 | 实时性要求高的应用 |
//new一个对象,传入服务端地址
//1. 创建 WebSocket 连接
const socket = new WebSocket('wss://yourserver.com/payment-status');//添加事件
// 连接建立时触发
socket.onopen = function() {const orderId = '123456'; // 订单IDsocket.send(JSON.stringify({ action: 'subscribe', orderId }));
};// 收到消息时触发
socket.onmessage = function(event) {const data = JSON.parse(event.data);if (data.status === 'paid') {alert('支付成功!');socket.close(); // 关闭WebSocket连接}
};// 发生错误时触发
socket.onerror = function(error) {console.error('WebSocket error:', error);// 可以添加重连逻辑scheduleReconnect();
};socket.onclose = function(event) {if (event.wasClean) {console.log(`连接正常关闭,code=${event.code} reason=${event.reason}`);} else {console.log('连接异常断开');// 异常断开时尝试重连scheduleReconnect();}
};
重连逻辑
// 4. 重连逻辑
let reconnectAttempts = 0;
const MAX_RECONNECT_ATTEMPTS = 5;function scheduleReconnect() {if (reconnectAttempts >= MAX_RECONNECT_ATTEMPTS) {console.log('达到最大重连次数');updateUI('连接服务器失败,请刷新页面');return;}const delay = Math.min(1000 * Math.pow(2, reconnectAttempts), 30000);reconnectAttempts++;console.log(`将在 ${delay}ms 后尝试重连 (${reconnectAttempts}/${MAX_RECONNECT_ATTEMPTS})`);setTimeout(() => {if (socket.readyState === WebSocket.CLOSED) {initWebSocket(); // 重新初始化连接}}, delay);
}