Rocky9操作系统基于MySQL安装Zabbix7详解
目录
一、配置安装源
二、安装Zabbix server,Web前端,agent
三、安装与配置mysql数据库
四、为Zabbix server配置数据库
五、为Zabbix前端配置PHP
六、启动对应服务
七、登录配置zabbix
八、中文乱码问题
九、添加检测主机
一、配置安装源
[root@localhost ~]# rpm -Uvh https://repo.zabbix.com/zabbix/7.0/rocky/9/x86_64/zabbix-release-7.0-5.el9.noarch.rpm
获取https://repo.zabbix.com/zabbix/7.0/rocky/9/x86_64/zabbix-release-7.0-5.el9.noarch.rpm
警告:/var/tmp/rpm-tmp.OlGnNi: 头V4 RSA/SHA512 Signature, 密钥 ID b5333005: NOKEY
Verifying...                          ################################# [100%]
准备中...                          ################################# [100%]
正在升级/安装...1:zabbix-release-7.0-5.el9         ################################# [100%]
二、安装Zabbix server,Web前端,agent
[root@localhost ~]# yum install zabbix-server-mysql zabbix-web-mysql zabbix-nginx-conf zabbix-sql-scripts zabbix-selinux-policy zabbix-agent
已安装:OpenIPMI-libs-2.0.36-1.el9.x86_64                 fping-5.1-1.el9.x86_64                           httpd-filesystem-2.4.62-4.el9_6.4.noarch      mariadb-connector-c-3.2.6-1.el9_0.x86_64          mariadb-connector-c-config-3.2.6-1.el9_0.noarch  nginx-2:1.20.1-22.el9_6.3.x86_64              nginx-core-2:1.20.1-22.el9_6.3.x86_64             nginx-filesystem-2:1.20.1-22.el9_6.3.noarch      php-bcmath-8.0.30-3.el9_6.x86_64              php-common-8.0.30-3.el9_6.x86_64                  php-fpm-8.0.30-3.el9_6.x86_64                    php-gd-8.0.30-3.el9_6.x86_64                  php-ldap-8.0.30-3.el9_6.x86_64                    php-mbstring-8.0.30-3.el9_6.x86_64               php-mysqlnd-8.0.30-3.el9_6.x86_64             php-pdo-8.0.30-3.el9_6.x86_64                     php-xml-8.0.30-3.el9_6.x86_64                    rocky-logos-httpd-90.16-1.el9.noarch          unixODBC-2.3.9-4.el9.x86_64                       zabbix-agent-7.0.21-release2.el9.x86_64          zabbix-nginx-conf-7.0.21-release2.el9.noarch  zabbix-selinux-policy-7.0.21-release2.el9.x86_64  zabbix-server-mysql-7.0.21-release2.el9.x86_64   zabbix-sql-scripts-7.0.21-release2.el9.noarch zabbix-web-7.0.21-release2.el9.noarch             zabbix-web-deps-7.0.21-release2.el9.noarch       zabbix-web-mysql-7.0.21-release2.el9.noarch   完毕!
三、安装与配置mysql数据库
[root@localhost ~]# yum install -y mysql-server
[root@localhost ~]# systemctl start mysqld.service
mysql> create database zabbix character set utf8mb4 collate utf8mb4_bin;
Query OK, 1 row affected (0.00 sec)mysql> create user zabbix@localhost identified by 'zabbix';
Query OK, 0 rows affected (0.00 sec)mysql>  grant all privileges on zabbix.* to zabbix@localhost;
Query OK, 0 rows affected (0.01 sec)mysql>  set global log_bin_trust_function_creators = 1;
Query OK, 0 rows affected, 1 warning (0.00 sec)
导入初始架构和数据,系统将提示您输入新创建的密码。
[root@localhost ~]# zcat /usr/share/zabbix-sql-scripts/mysql/server.sql.gz | mysql -uzabbix -p zabbix 验证
mysql> show databases;
+--------------------+
| Database           |
+--------------------+
| information_schema |
| mysql              |
| performance_schema |
| sys                |
| zabbix             |
+--------------------+
mysql> use zabbix;
Reading table information for completion of table and column names
You can turn off this feature to get a quicker startup with -ADatabase changed
mysql> show tables;
+----------------------------+
| Tables_in_zabbix           |
+----------------------------+
| acknowledges               |
| actions                    |
| alerts                     |
| auditlog                   |
| autoreg_host               |
| changelog                  |
| conditions                 |
| config                     |
| config_autoreg_tls         |
四、为Zabbix server配置数据库
[root@localhost ~]# cd /etc/zabbix/
[root@localhost zabbix]# ls
web  zabbix_agentd.conf  zabbix_agentd.d  zabbix_server.conf  zabbix_server.d
[root@localhost zabbix]# vim zabbix_server.conf DBPassword=zabbix
五、为Zabbix前端配置PHP
[root@localhost ~]# cd /etc/nginx/
[root@localhost nginx]# ls
conf.d        fastcgi.conf.default    koi-utf     mime.types.default  scgi_params          uwsgi_params.default
default.d     fastcgi_params          koi-win     nginx.conf          scgi_params.default  win-utf
fastcgi.conf  fastcgi_params.default  mime.types  nginx.conf.default  uwsgi_params
[root@localhost nginx]# cd conf.d/
[root@localhost conf.d]# ls
php-fpm.conf  zabbix.conf
[root@localhost conf.d]# vim zabbix.conf listen          8080;server_name     example.com;
六、启动对应服务
[root@localhost ~]# systemctl enable --now zabbix-server zabbix-agent nginx php-fpm
Created symlink /etc/systemd/system/multi-user.target.wants/zabbix-server.service → /usr/lib/systemd/system/zabbix-server.service.
Created symlink /etc/systemd/system/multi-user.target.wants/zabbix-agent.service → /usr/lib/systemd/system/zabbix-agent.service.
Created symlink /etc/systemd/system/multi-user.target.wants/nginx.service → /usr/lib/systemd/system/nginx.service.
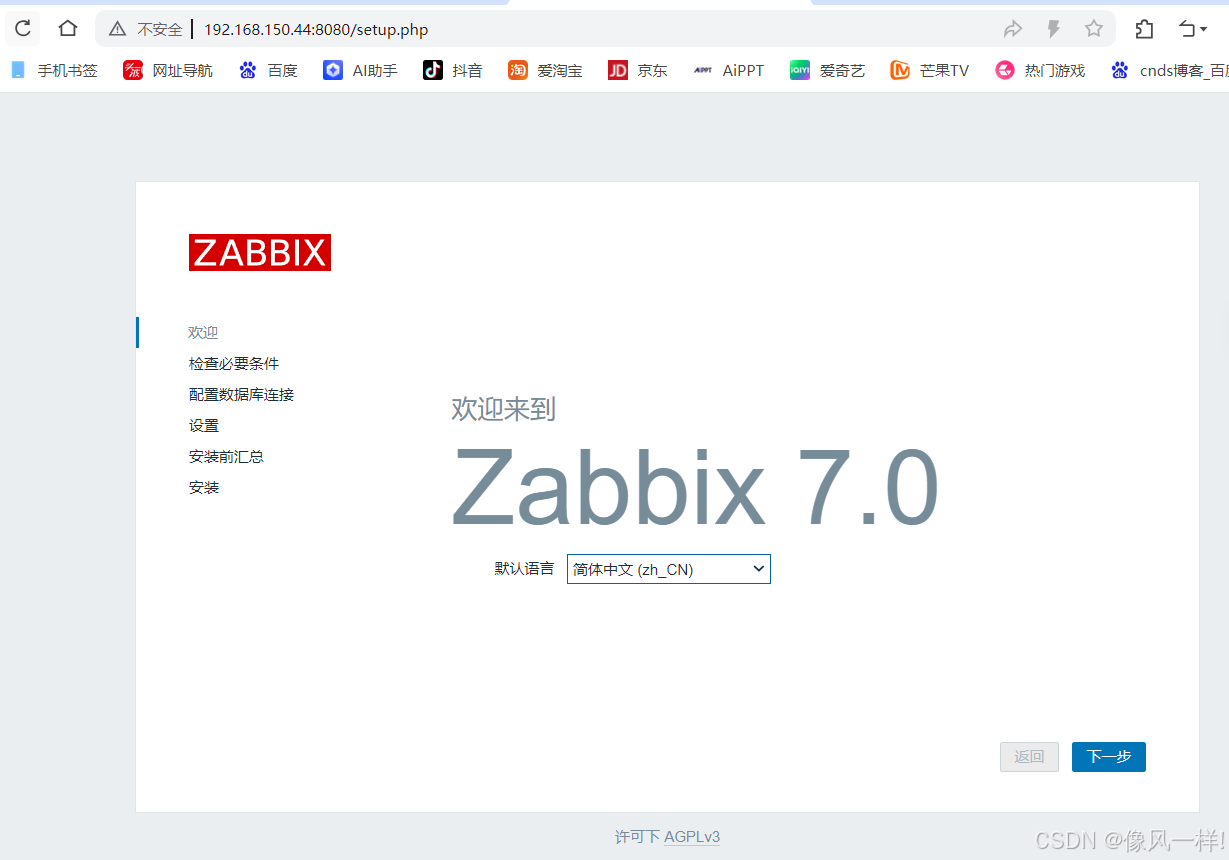
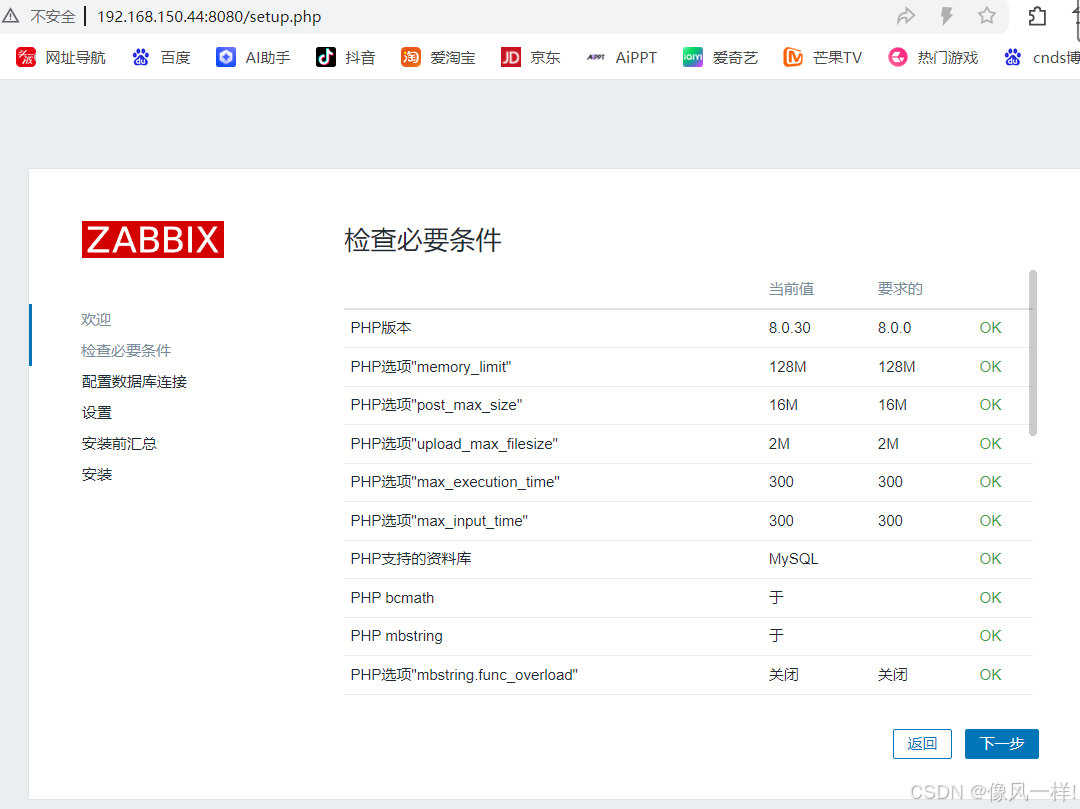
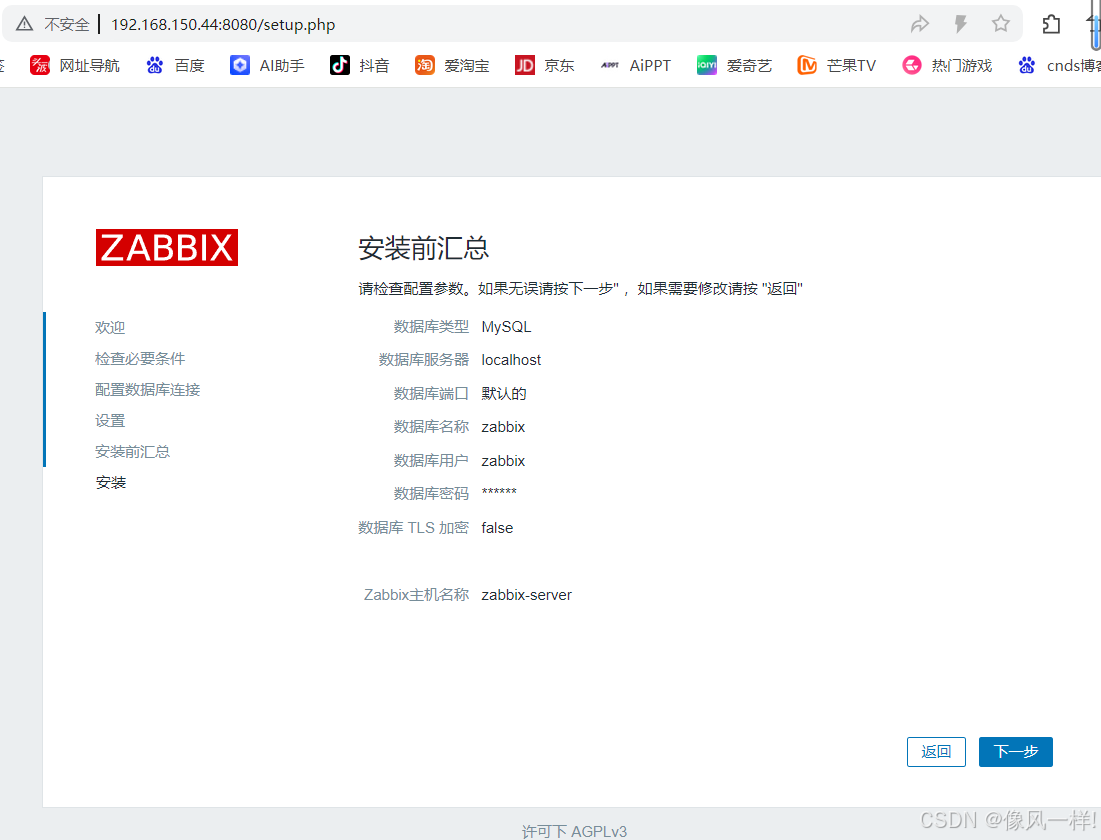
Created symlink /etc/systemd/system/multi-user.target.wants/php-fpm.service → /usr/lib/systemd/system/php-fpm.service.七、登录配置zabbix
http://192.168.150.44:8080


八、中文乱码问题
将windows系统中:C:\Windows\Fonts路径下“SIMKAI.TTF”字体(楷体 常规)拷贝到zabbix server中,放到/usr/share/zabbix/assets/fonts,并创建链接。
[root@localhost ~]# cd /usr/share/zabbix/assets/fonts/
[root@localhost fonts]# ls
graphfont.ttf  SIMKAI.TTF  zabbix-icons.svg  zabbix-icons.ttf  zabbix-icons.woff  zabbix-icons.woff2[root@localhost fonts]# unlink graphfont.ttf
[root@localhost fonts]# ln -s /usr/share/zabbix/assets/fonts/SIMKAI.TTF /usr/share/zabbix/assets/fonts/graphfont.ttf
[root@localhost fonts]# ls -l
总用量 11712
lrwxrwxrwx. 1 root root       41 11月  6 19:29 graphfont.ttf -> /usr/share/zabbix/assets/fonts/SIMKAI.TTF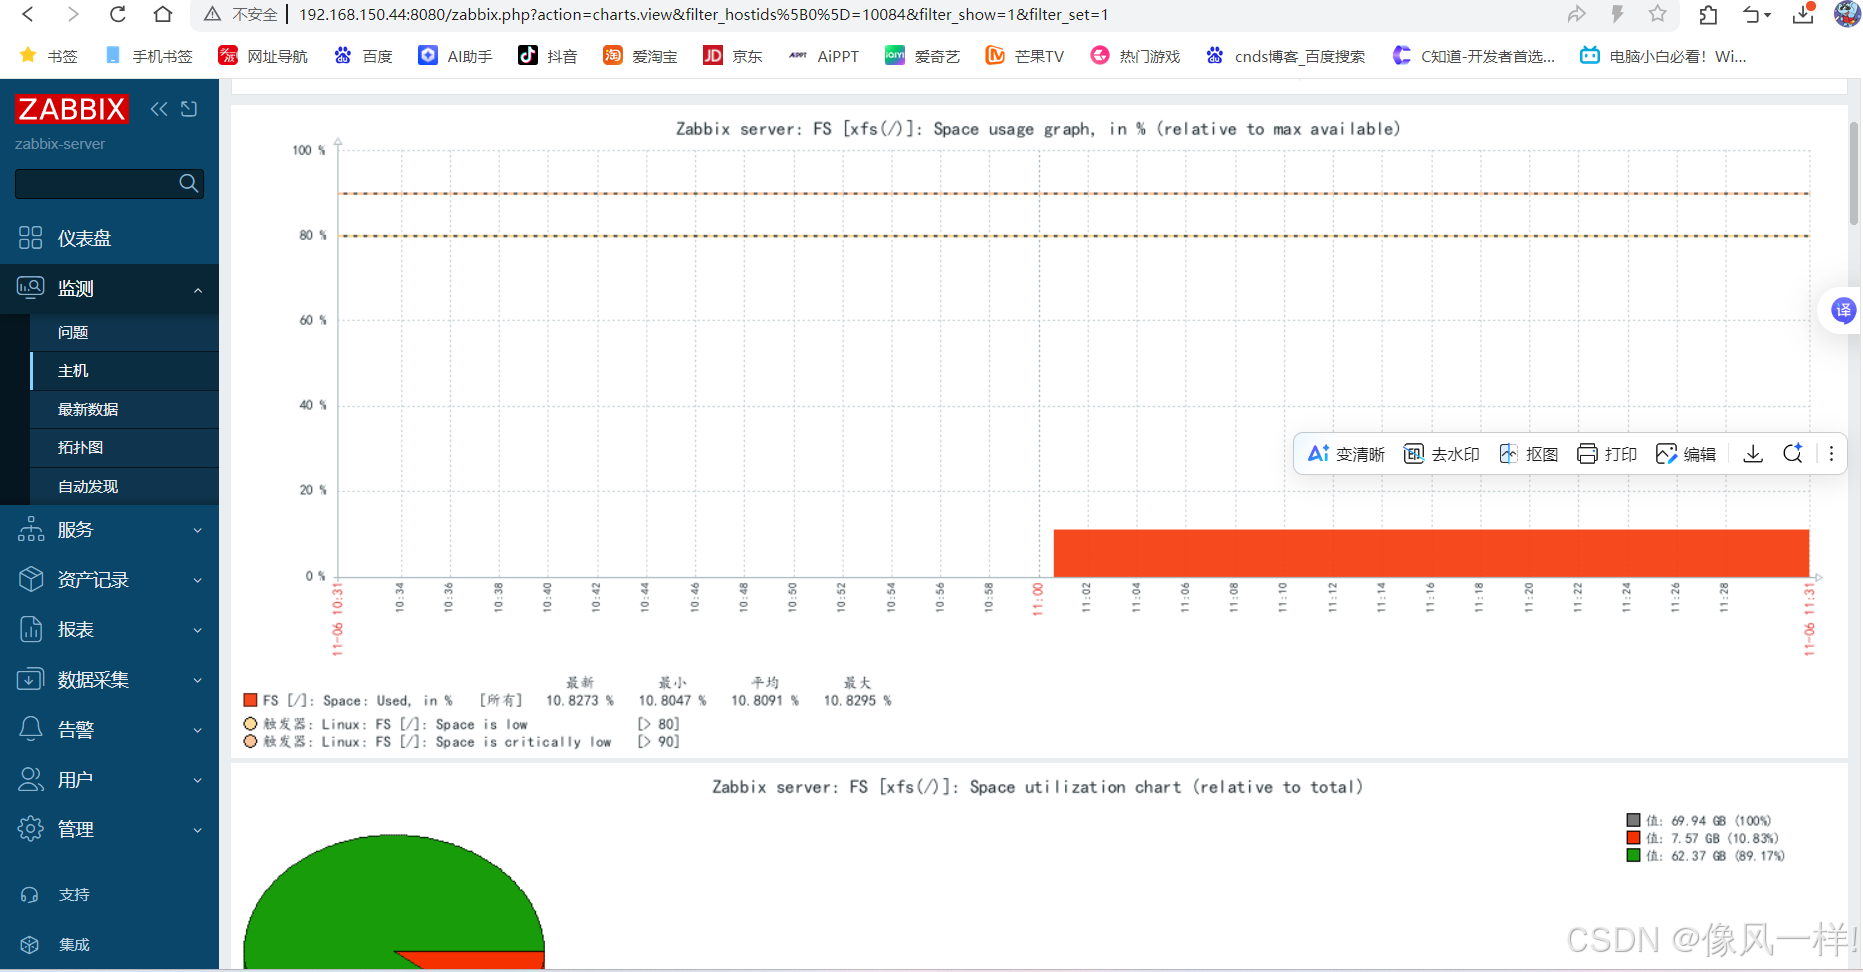
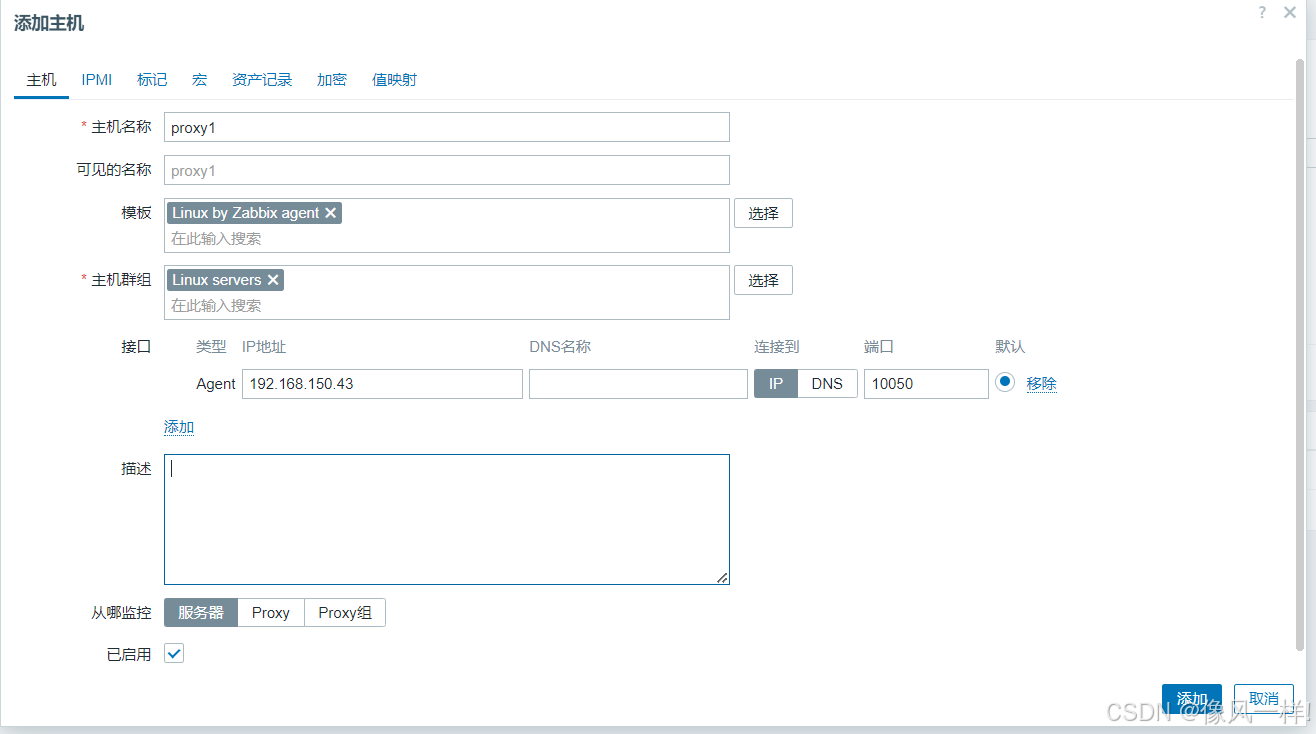
九、添加检测主机
[root@proxy1 ~]# yum install -y zabbix-agent[root@proxy1 ~]# cd /etc/zabbix/
[root@proxy1 zabbix]# ls
zabbix_agentd.conf  zabbix_agentd.d
[root@proxy1 zabbix]# vim zabbix_agentd.conf Server=192.168.150.44[root@proxy1 zabbix]# systemctl start zabbix-agent.service