【Java笔记】定时器
目录
- 1. 标准库中的定时器
- 2. 自定义实现定时器
- 3. 代码中存在的问题
- 3.1 忙等
- 3.2 线程调度问题
- 3.3 同时添加时间为0的任务(难点)
- 完整代码
1. 标准库中的定时器
标准库中提供了⼀个 Timer 类,Timer 类的核心方法为 schedule;
schedule 包含两个参数,第⼀个参数指定即将要执⾏的任务代码,第二个参数指定多长时间之后执行 (单位为毫秒);
public class Demo_801 {public static void main(String[] args) {// JDK中的类,创建一个定时器Timer timer = new Timer();// 向定时器中添加任务timer.schedule(new TimerTask() {@Overridepublic void run() {System.out.println("任务1");}}, 1000); // 1秒后执行任务1timer.schedule(new TimerTask() {@Overridepublic void run() {System.out.println("任务2");}}, 2000); // 2秒后执行任务2timer.schedule(new TimerTask() {@Overridepublic void run() {System.out.println("任务3");}}, 3000); // 3秒后执行任务3}
}
执行结果:
执行完已有任务之后,就阻塞等待新的任务。
2. 自定义实现定时器
步骤:
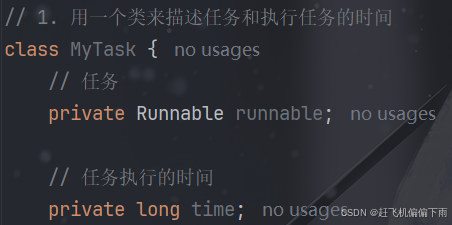
- 用一个类来描述任务和执行任务的时间
具体任务的逻辑用Runable表示,执行时间的可以用一个long型delay去表示
- 组织任务和时间对应的对象
使用阻塞队列
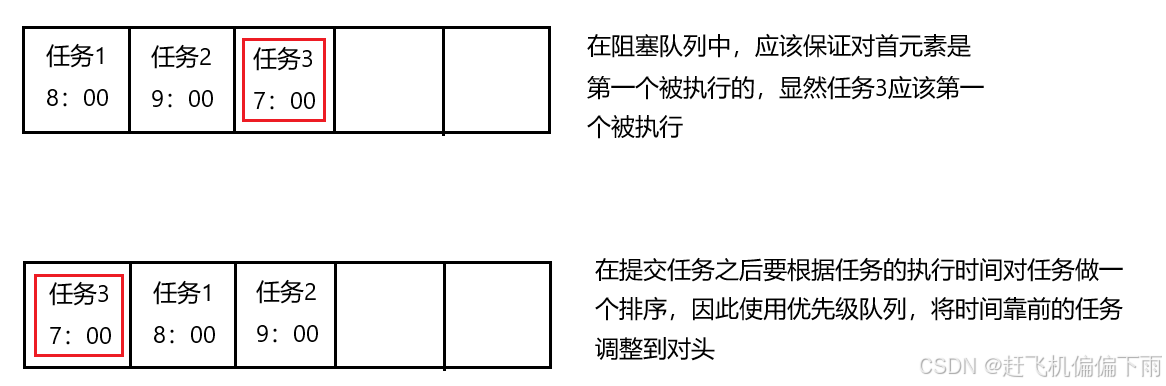
因此使用优先级阻塞队列

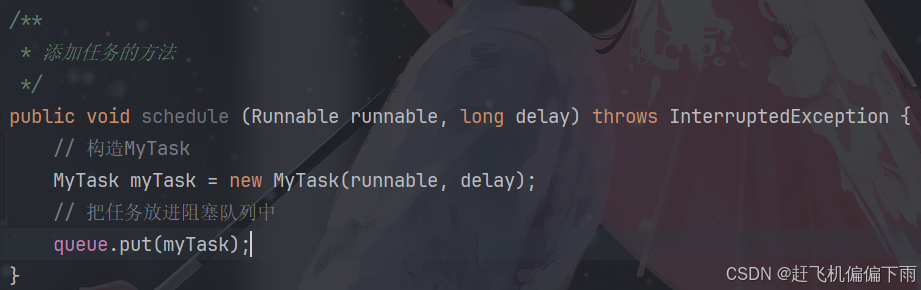
- 提供一个方法提交任务
- 定义一个线程执行任务
将线程定义在构造方法中
当前代码:
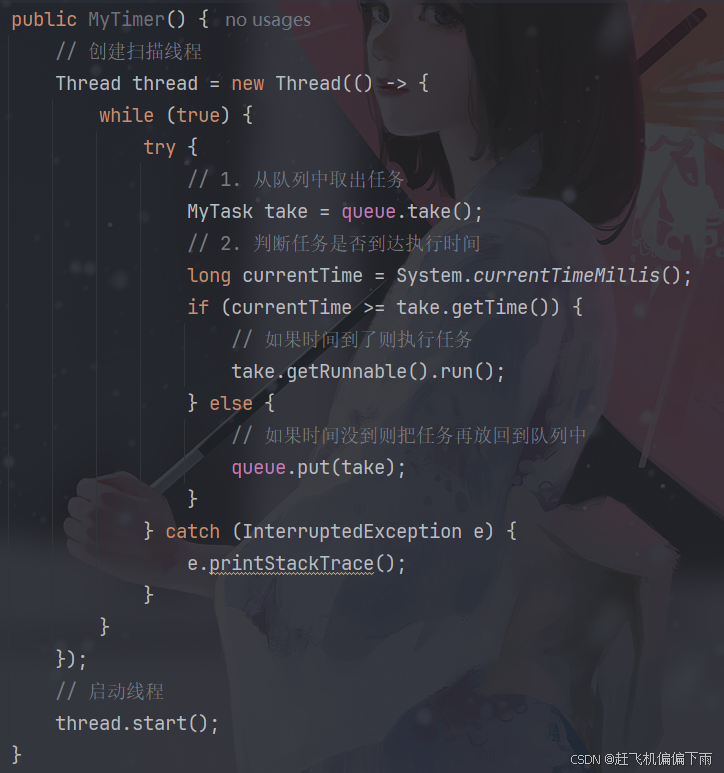
/*** 自定义定时器*/
public class MyTimer {// 用一个阻塞队列来组织任务private BlockingQueue<MyTask> queue = new PriorityBlockingQueue<>();public MyTimer() {// 创建扫描线程Thread thread = new Thread(() -> {while (true) {try {// 1. 从队列中取出任务MyTask take = queue.take();// 2. 判断任务是否到达执行时间long currentTime = System.currentTimeMillis();if (currentTime >= take.getTime()) {// 如果时间到了则执行任务take.getRunnable().run();} else {// 如果时间没到则把任务再放回到队列中queue.put(take);}} catch (InterruptedException e) {e.printStackTrace();}}});// 启动线程thread.start();}/*** 添加任务的方法*/public void schedule (Runnable runnable, long delay) throws InterruptedException {// 构造MyTaskMyTask myTask = new MyTask(runnable, delay);// 把任务放进阻塞队列中queue.put(myTask);}
}// 1. 用一个类来描述任务和执行任务的时间
class MyTask implements Comparable<MyTask> {// 任务private Runnable runnable;// 任务执行的时间private long time;public MyTask(Runnable runnable, long delay) {// 校验任务不能为空if (runnable == null) {throw new IllegalArgumentException("任务不能为空.");}// 时间不能为负数if (delay < 0) {throw new IllegalArgumentException("执行时间不能小于0.");}this.runnable = runnable;// 计算出任务执行的具体时间this.time = delay + System.currentTimeMillis();}public Runnable getRunnable() {return runnable;}public long getTime() {return time;}@Overridepublic int compareTo(MyTask o) {if (this.getTime() > o.getTime()) {return 1;} else if (this.getTime() < o.getTime()) {return -1;} else {return 0;}}
}
调用代码:
public class Demo_802 {public static void main(String[] args) throws InterruptedException {// 创建定时器对象MyTimer timer = new MyTimer();// 向定时器中添加任务timer.schedule(new Runnable() {@Overridepublic void run() {System.out.println("任务1");}}, 1000);timer.schedule(new Runnable() {@Overridepublic void run() {System.out.println("任务2");}}, 2000);timer.schedule(new Runnable() {@Overridepublic void run() {System.out.println("任务3");}}, 3000);}
}
执行结果:
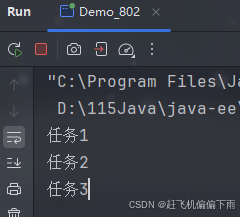
目前看来代码执行结果是正确的,但是代码中依然存在一些比较严重的问题.
3. 代码中存在的问题
3.1 忙等
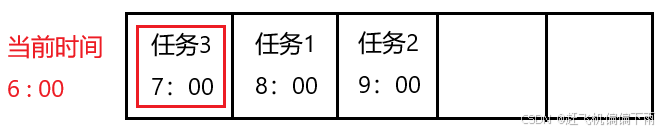
如图所示,如果当前时间是6点,执行时间最早的任务为7点,若按照当前代码的逻辑,线程会不停的从队列中取出任务,检查执行时间,然后放回阻塞队列,但是这都是无用功,而且while(true)会一直消耗系统资源,看起来很忙但都是无意义的,这就是 “忙等”。
解决办法:通过 wait(time) 的方式让程序等待一段时间,等待时间就是当前时间与下一个执行任务的时间的差。
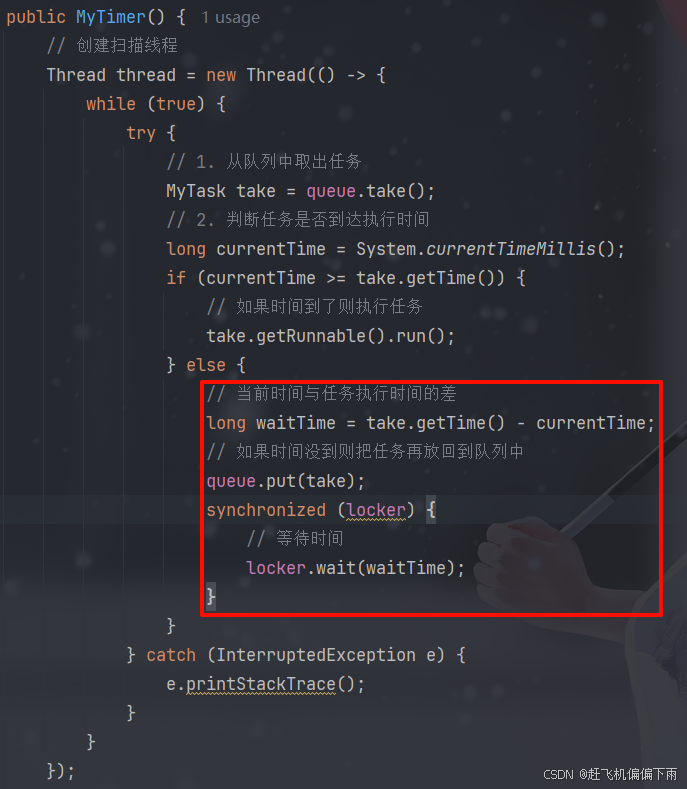
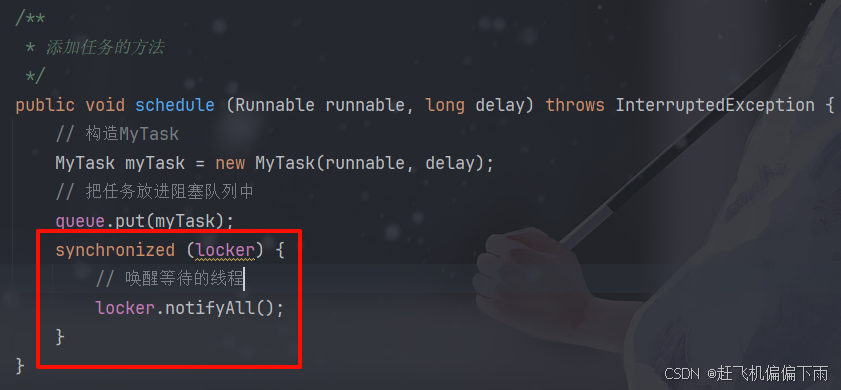
在添加任务时唤醒一下线程,重新计算等待时间
也就解决了忙等问题,但是还有其他问题。
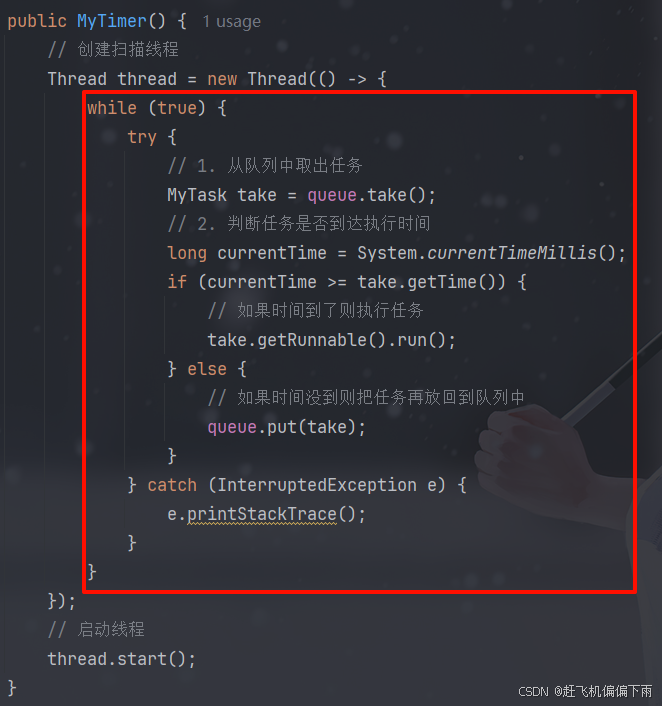
3.2 线程调度问题
当线程执行到一半被CPU调度走:
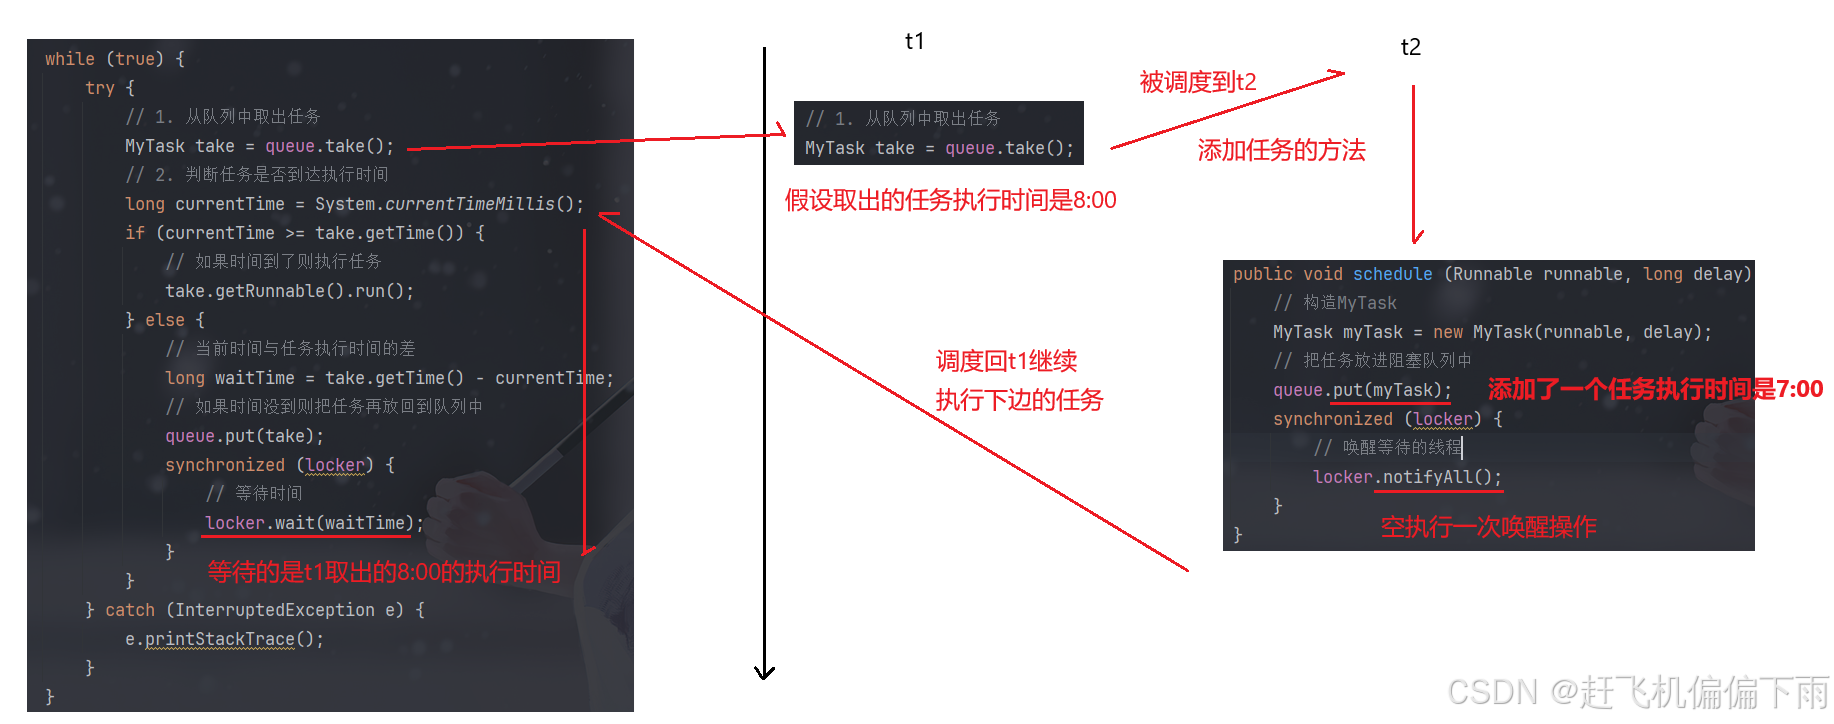
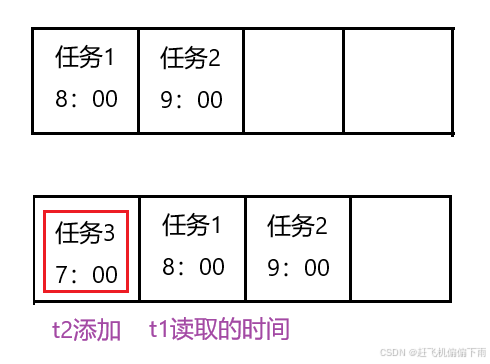
由于线程调度的问题,t2先入队了新任务,执行时间在t1读取的任务执行时间之前,t1读的任务发现时间没有到放回队列的时候,设置的等待时间超过了新任务的执行时间,导致t2放入队列的新任务不能及时的执行。
造成这个现象的原因是没有保证原子性!
解决办法:加大锁的粒度

此时保证了原子性,不会出现中途被CPU调度走的问题。
但此时又引出了新的问题。
3.3 同时添加时间为0的任务(难点)
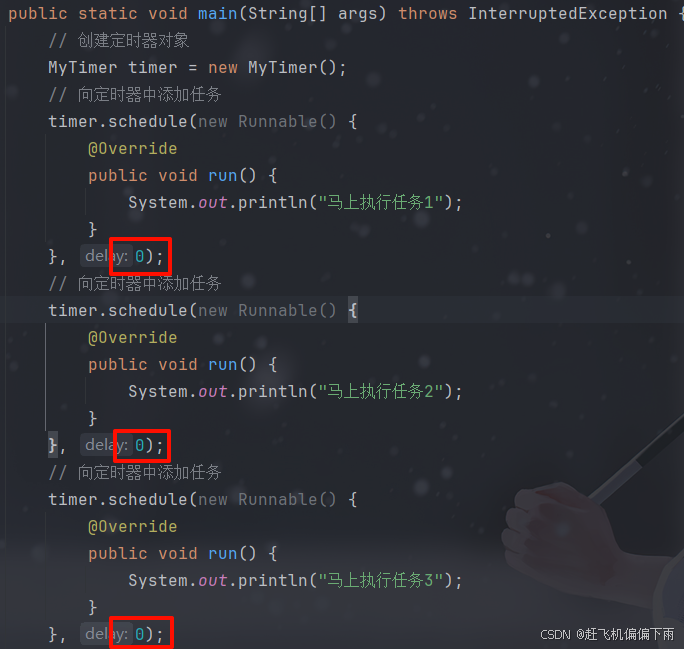
当同时添加0秒后执行的任务,打印结果为:
可见,定时器只执行了一个任务之后就阻塞等待了。
原因:
-
首先创建了一个定时器对象;
-
向定时器中添加了第一个任务,因为new对象是在JVM层面的,当启动线程时,阻塞队列中已经添加了一个任务;
-
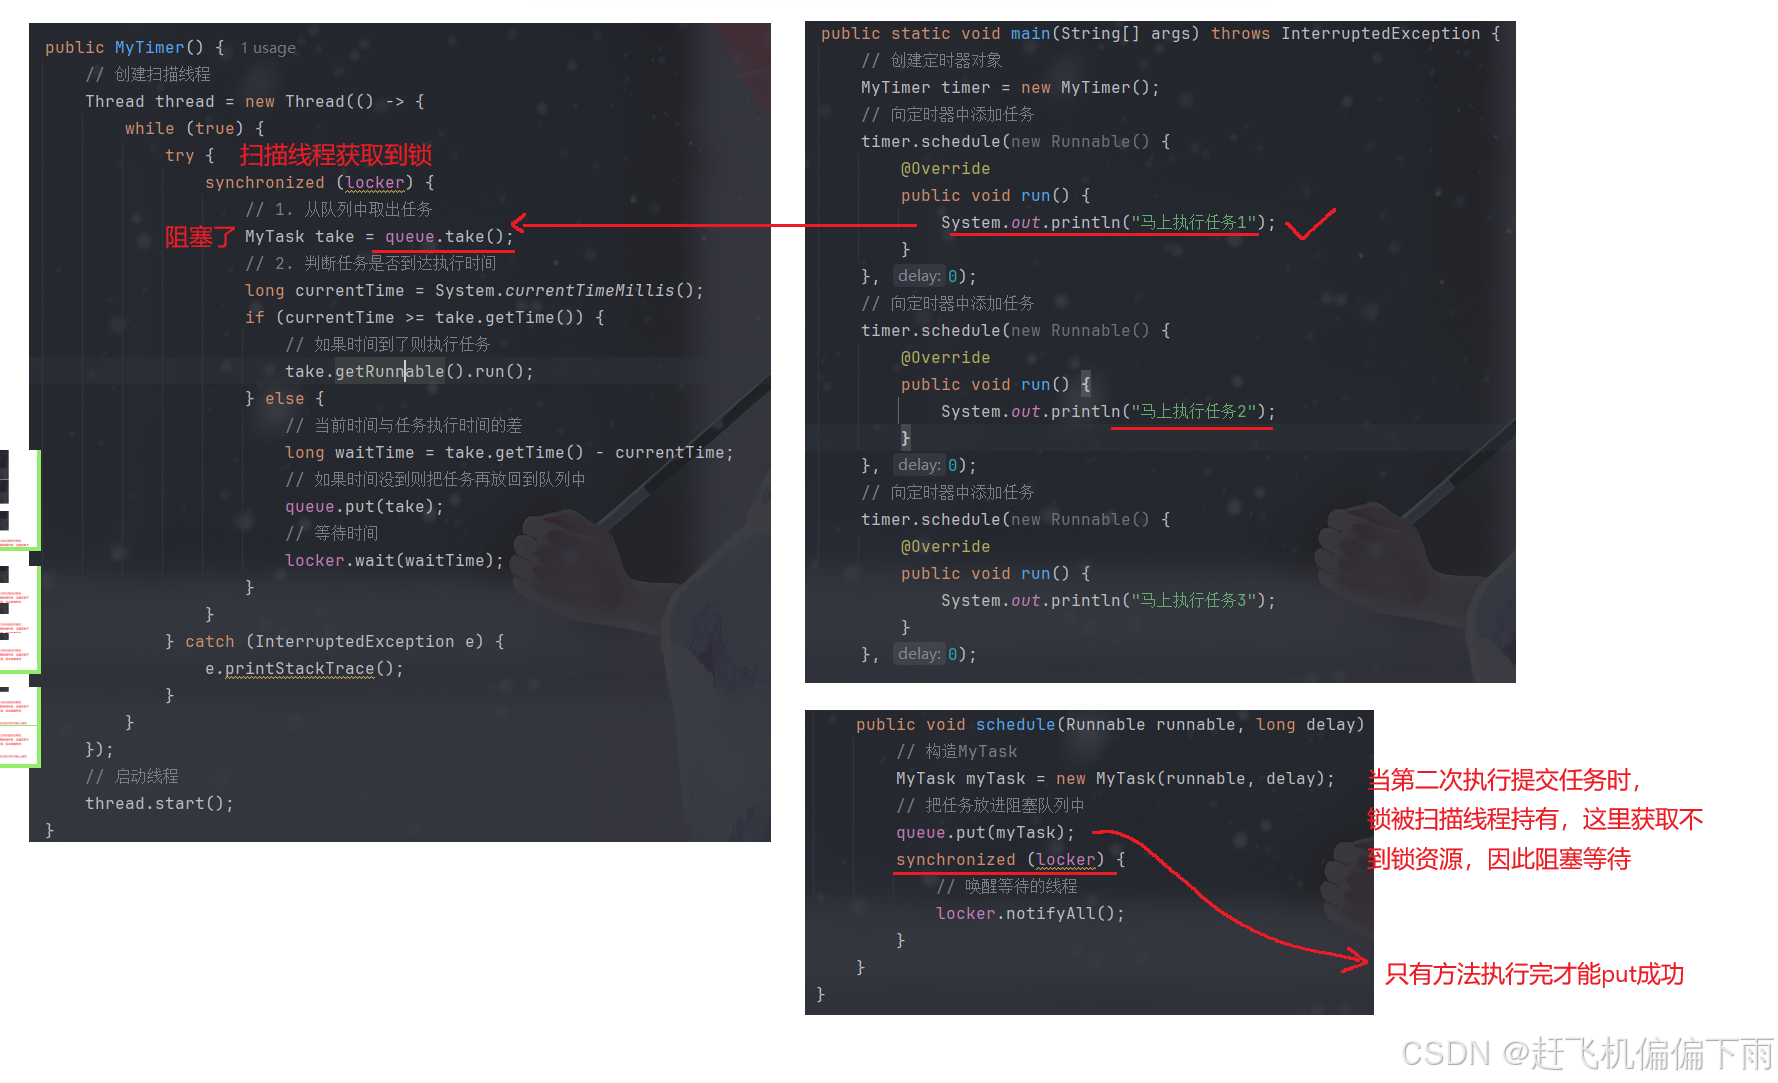
扫描线程启动,处理第一个任务,打印出“马上执行任务1”;
-
扫描线程立即循环,获取第二个任务时,发现阻塞队列此时是空的(由于线程调度的不确定性,主线程尚未提交后续任务,扫描线程就已进入下一轮等待),开始阻塞等待,同时扫描线程获取到了锁对象;

-
主线程向队列中添加任务的时候,等待扫描线程的锁对象,由于扫描线程无法释放锁对象,主线程也就获取不到锁对象,形成锁被长时间持有导致的阻塞;
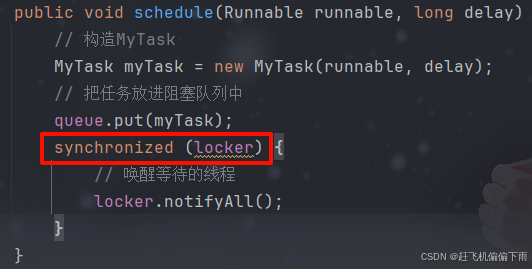
不是因为时间设置为0才会阻塞,是因为添加任务的执行时间间隔过短!
流程图:
解决办法:
在处理任务无法及时执行的问题时,扩大了加锁的范围,却又引入了更大的问题一般我们两害相全取其轻;
因此还是将锁的粒度缩小,因为造成长时间死锁问题比无法及时执行任务严重的多;
但为了解决无法及时执行任务的问题,可以创建一个后台的扫描线程,只做定时唤醒操作定时1秒或10ms,唤醒一次;
后台线程不会影响前台线程,不随着主线程的退出而退出。
public MyTimer() {// 创建扫描线程Thread thread = new Thread(() -> {while (true) {try {// 1. 从队列中取出任务MyTask take = queue.take();// 2. 判断任务是否到达执行时间long currentTime = System.currentTimeMillis();if (currentTime >= take.getTime()) {// 如果时间到了则执行任务take.getRunnable().run();} else {// 当前时间与任务执行时间的差long waitTime = take.getTime() - currentTime;// 如果时间没到则把任务再放回到队列中queue.put(take);synchronized (locker) { // 减小锁粒度!!!!!!!!!!!// 等待时间locker.wait(waitTime);}}} catch (InterruptedException e) {e.printStackTrace();}}});// 启动线程thread.start();// 创建一个后台线程Thread deamonThread = new Thread(() -> {while (true) {synchronized (locker) {locker.notifyAll();}// 休眠一会儿try {TimeUnit.MICROSECONDS.sleep(100);} catch (InterruptedException e) {throw new RuntimeException(e);}}});// 设置为后台线程deamonThread.setDaemon(true);// 启动线程deamonThread.start();}执行结果:
这种处理方式,首先可以保证正常业务的运行,又兼顾了小概率的事件
完整代码
MyTimer:
/*** 自定义定时器*/
public class MyTimer {// 用一个阻塞队列来组织任务private BlockingQueue<MyTask> queue = new PriorityBlockingQueue<>();// 锁对象private Object locker = new Object();public MyTimer() {// 创建扫描线程Thread thread = new Thread(() -> {while (true) {try {// 1. 从队列中取出任务MyTask take = queue.take();// 2. 判断任务是否到达执行时间long currentTime = System.currentTimeMillis();if (currentTime >= take.getTime()) {// 如果时间到了则执行任务take.getRunnable().run();} else {// 当前时间与任务执行时间的差long waitTime = take.getTime() - currentTime;// 如果时间没到则把任务再放回到队列中queue.put(take);synchronized (locker) {// 等待时间locker.wait(waitTime);}}} catch (InterruptedException e) {e.printStackTrace();}}});// 启动线程thread.start();// 创建一个后台线程Thread deamonThread = new Thread(() -> {while (true) {synchronized (locker) {locker.notifyAll();}// 休眠一会儿try {TimeUnit.MICROSECONDS.sleep(100);} catch (InterruptedException e) {throw new RuntimeException(e);}}});// 设置为后台线程deamonThread.setDaemon(true);// 启动线程deamonThread.start();}/*** 添加任务的方法*/public void schedule(Runnable runnable, long delay) throws InterruptedException {// 构造MyTaskMyTask myTask = new MyTask(runnable, delay);// 把任务放进阻塞队列中queue.put(myTask);synchronized (locker) {// 唤醒等待的线程locker.notifyAll();}}
}// 1. 用一个类来描述任务和执行任务的时间
class MyTask implements Comparable<MyTask> {// 任务private Runnable runnable;// 任务执行的时间private long time;public MyTask(Runnable runnable, long delay) {// 校验任务不能为空if (runnable == null) {throw new IllegalArgumentException("任务不能为空.");}// 时间不能为负数if (delay < 0) {throw new IllegalArgumentException("执行时间不能小于0.");}this.runnable = runnable;// 计算出任务执行的具体时间this.time = delay + System.currentTimeMillis();}public Runnable getRunnable() {return runnable;}public long getTime() {return time;}@Overridepublic int compareTo(MyTask o) {if (this.getTime() > o.getTime()) {return 1;} else if (this.getTime() < o.getTime()) {return -1;} else {return 0;}}
}
Main方法:
public class Demo_802 {public static void main(String[] args) throws InterruptedException {// 创建定时器对象MyTimer timer = new MyTimer();// 向定时器中添加任务timer.schedule(new Runnable() {@Overridepublic void run() {System.out.println("马上执行任务1");}}, 0);// 向定时器中添加任务timer.schedule(new Runnable() {@Overridepublic void run() {System.out.println("马上执行任务2");}}, 0);// 向定时器中添加任务timer.schedule(new Runnable() {@Overridepublic void run() {System.out.println("马上执行任务3");}}, 0);// 向定时器中添加任务timer.schedule(new Runnable() {@Overridepublic void run() {System.out.println("任务1");}}, 1000);timer.schedule(new Runnable() {@Overridepublic void run() {System.out.println("任务2");}}, 2000);timer.schedule(new Runnable() {@Overridepublic void run() {System.out.println("任务3");}}, 3000);}
}