Vue组件化开发

哈喽~大家好,
🥇个人主页:个人主页
🥈 系列专栏:【】
🥉与这篇相关的文章:
一、前言
1、什么是组件化
Vue组件化是一种将复杂的业务拆分为多个组件进行开发的方法,每个组件可以包含自己的HTML模板、JavaScript代码和CSS样式。这些组件可以独立开发和维护,并且可以复用在不同的项目中。
二、普通组件的注册使用
1、局部注册
在子组件使用export default 局部注册,然后在父组件使用 import 组件对象 from '.vue文件路径' 导入需要注册的组件。
// 导入需要注册的组件
import 组件对象 from '.vue文件路径'
import HmHeader from './components/HmHeader'export default {  // 局部注册components: {'组件名': 组件对象,HmHeader:HmHeaer,HmHeader}
}
App.vue
<script setup>
import test02 from './components/test02.vue'
import test03 from './components/test03.vue'
import test04 from './components/test04.vue'
</script><template><test02 /><test03 /><test04 /></template><script>export default {components: {test02,test03,test04}
}</script>
test02.vue
<template><div class="hm-header">我是hm-header</div>
</template><script>export default {name: "test02"
}</script><style>
.hm-header {height: 100px;line-height: 100px;text-align: center;font-size: 30px;background-color: #8064a2;color: white;
}
</style>
test03.vue
<template><div class="hm-main">我是hm-main</div>
</template><script>
export default {name: "test03"
}
</script><style>
.hm-main {height: 400px;line-height: 400px;text-align: center;font-size: 30px;background-color: #f79646;color: white;margin: 20px 0;
}
</style>
test04.vue
<template><div class="hm-footer">我是hm-footer</div>
</template><script>
export default {name: "test04"
}
</script><style>
.hm-footer {height: 100px;line-height: 100px;text-align: center;font-size: 30px;background-color: #4f81bd;color: white;
}
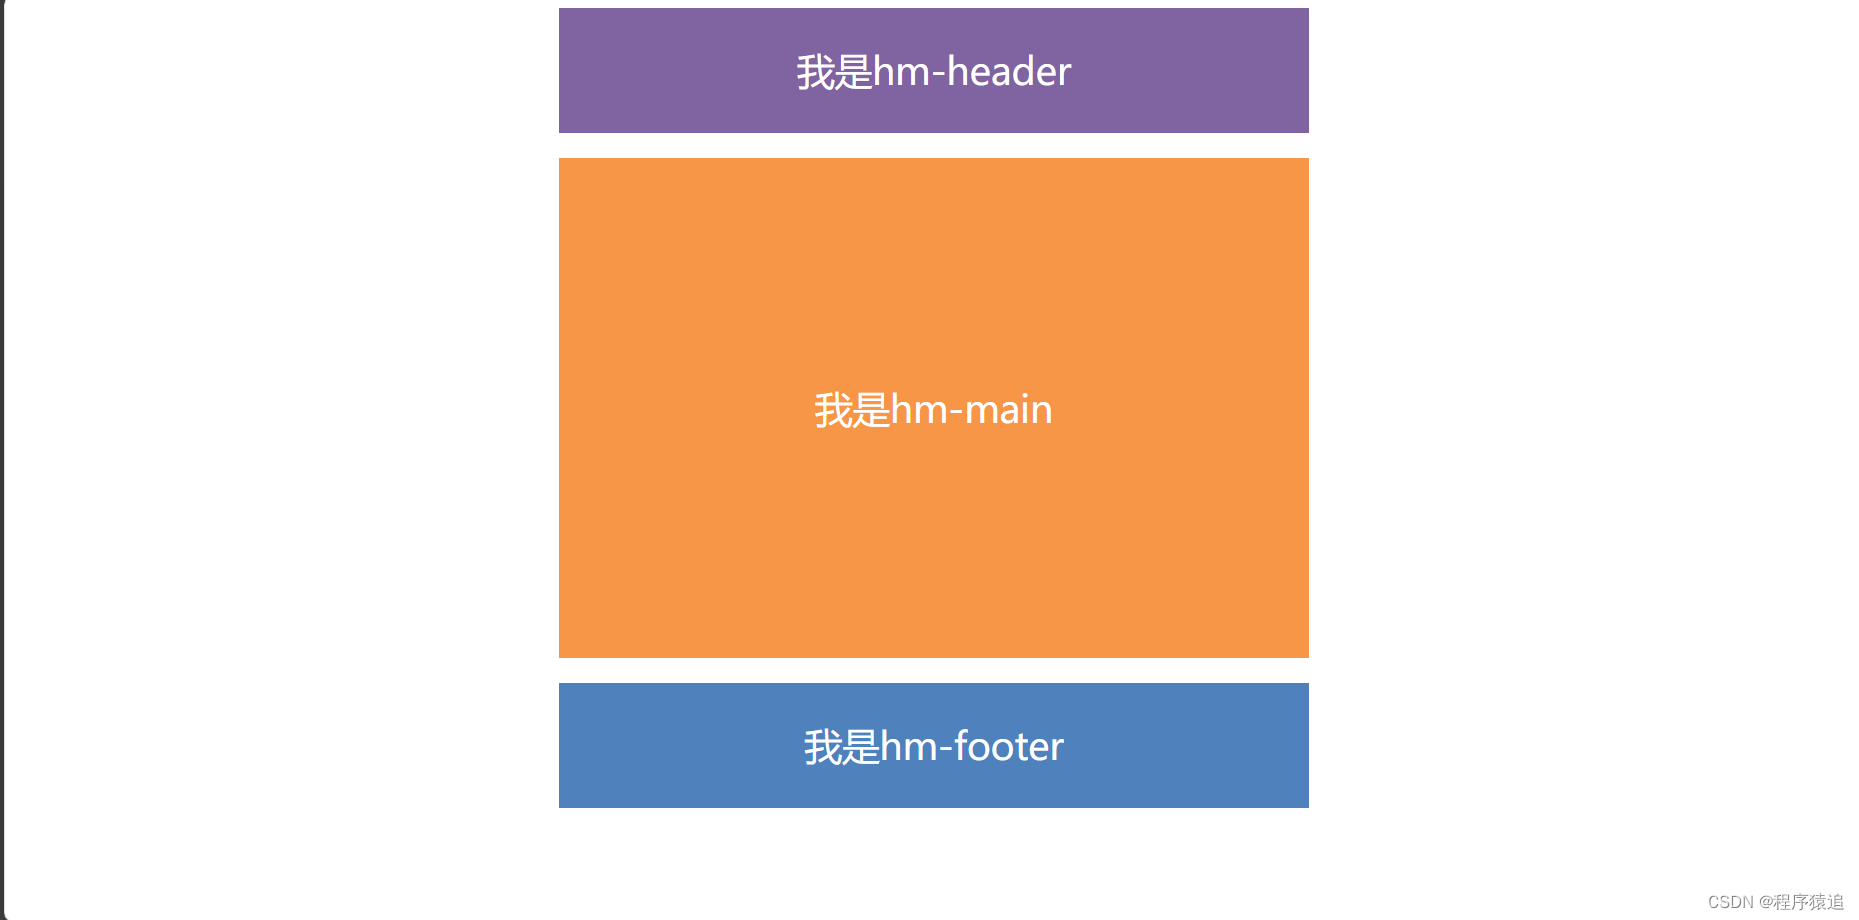
</style>效果
2、全局注册
全局注册的组件,在项目的任何组件中都能使用。他的语法是:Vue.component('组件名', 组件对象)。
进入到main.js中,代码为
import { createApp } from 'vue'
import App from './App.vue'
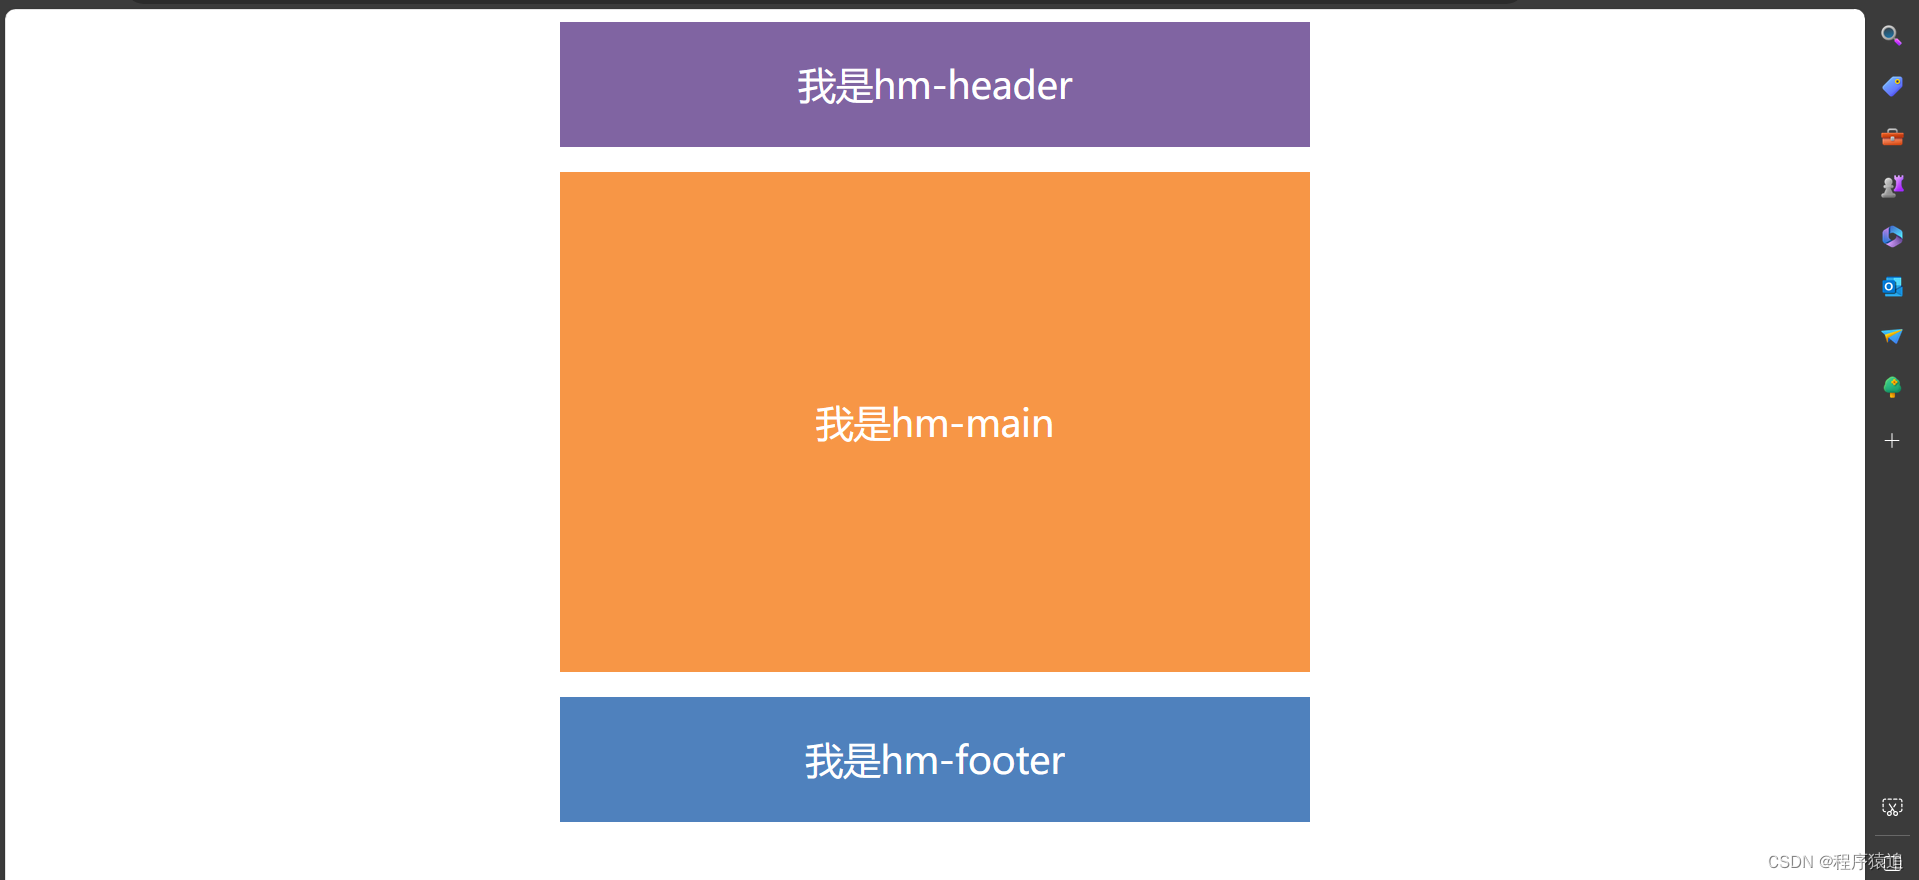
import test02 from './components/test02.vue'// createApp(App).mount('#app')const app = createApp(App)app.component("test02", test02)app.mount('#app')然后效果是
但是在项目中,一般不使用全局注册,为什么?
全局注册,但并没有被使用的组件无法在生产打包时被自动移除(也叫“tree-shaking")。如果你全局注册了个组件,即使它并没有被实际使用,它仍然会出现在打包后的JS 文件中。
全局注册在大型项目中使项目的依赖关系变得不那么明确。在父组件中使用子组件时,不大容易定位子组件的实现。和使用过多的全局变量一样,这可能会影响应用长期的可维护性。
三、组件通信
1、什么是组件通信?
组件通信,就是指组件与组件之间的数据传递
-
组件的数据是独立的,无法直接访问其他组件的数据。
-
想使用其他组件的数据,就需要组件通信
组件与组件之间是需要存在交互的,否则完全没关系,组件的意义就很小了。
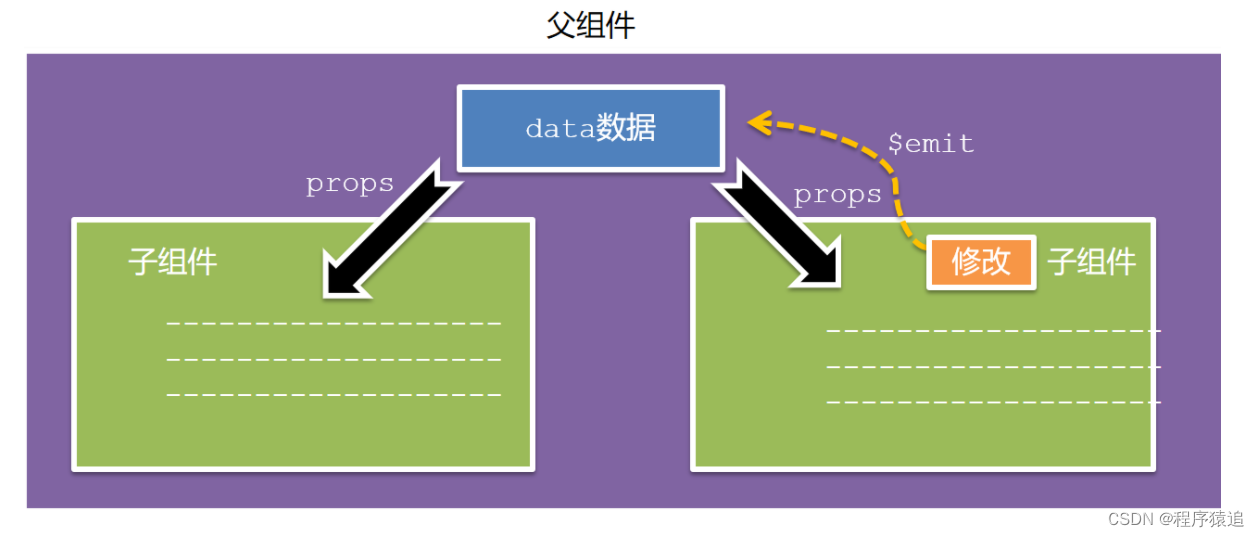
父组件通过 props 将数据传递给子组件
Prop 是你可以在组件上注册的一些自定义 attribute。
格式:
<my-componentVue title="标题"/><template><h3>单文件组件</h3><p>{{ title }}</p>
</template>
<script>
export default {name:"MyComponent",props:{title:{type:String,default:""}}
}
</script>
在父组件里面,加上以下代码
<test02 :title="msg"></test02>data() {return {msg: "active",num: 10}},components: {test02,// test03,// test04}子组件加上
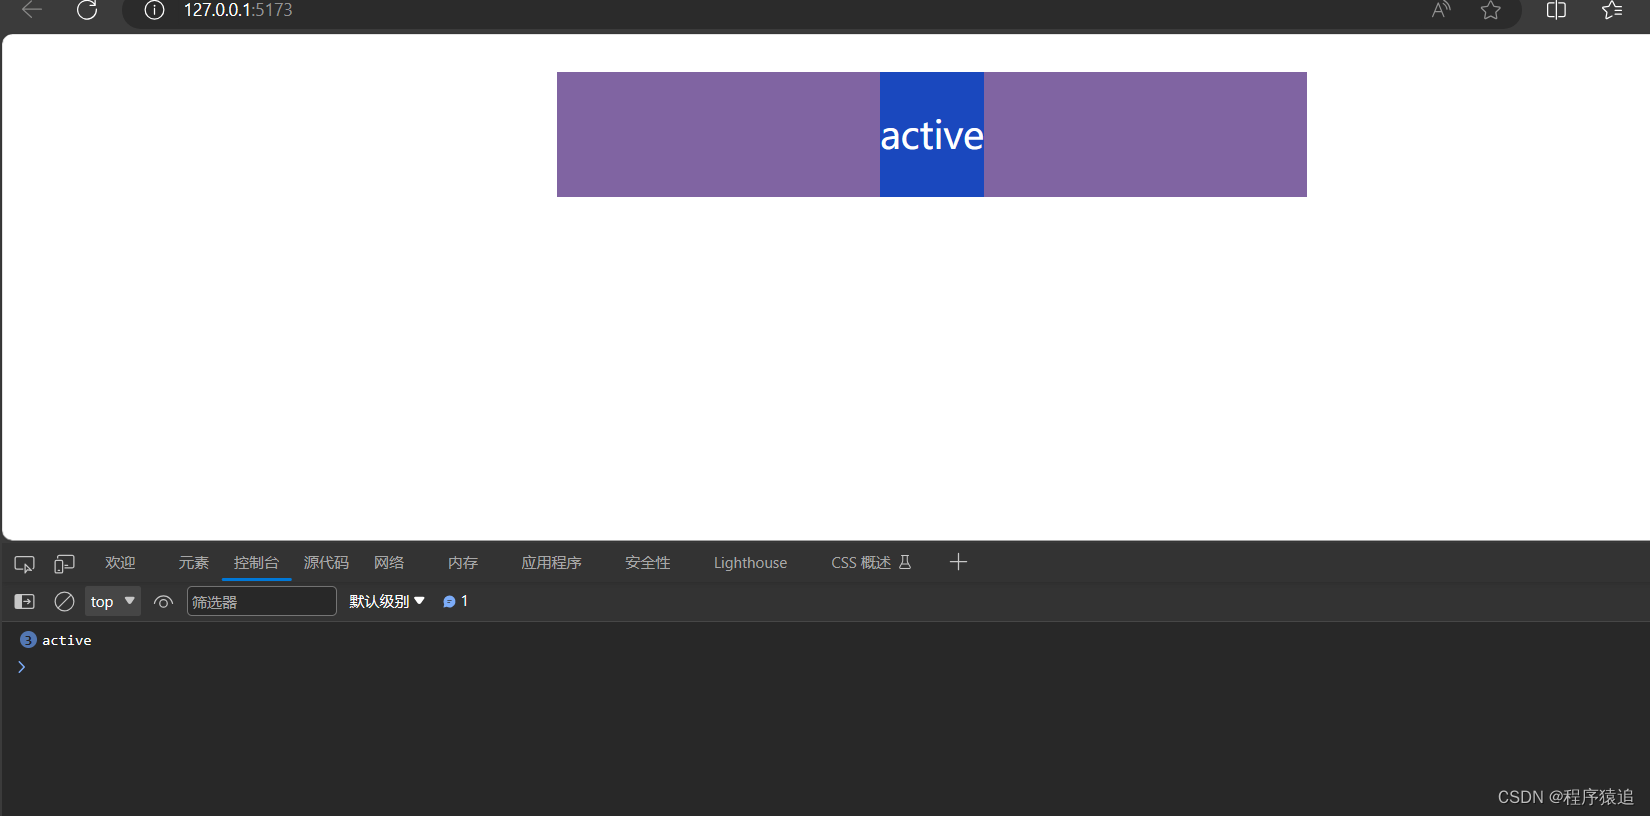
<p @click="dianji">{{ title }}</p>export default {name: "test02",props: ['title'],methods: {dianji(){console.log(this.title);}}}效果
Prop传递参数其实是没有类型限制的,以下类型都可以。
props: {title: String,likes: Number,isPublished: Boolean,commentIds: Array,author: Object,callback: Function
}
温馨提示 数据类型为数组或者对象的时候,默认值是需要返回工厂模式。
上面是父向子通信,那子向父通信是怎么样的呢?
子组件利用 $emit 通知父组件修改更新。
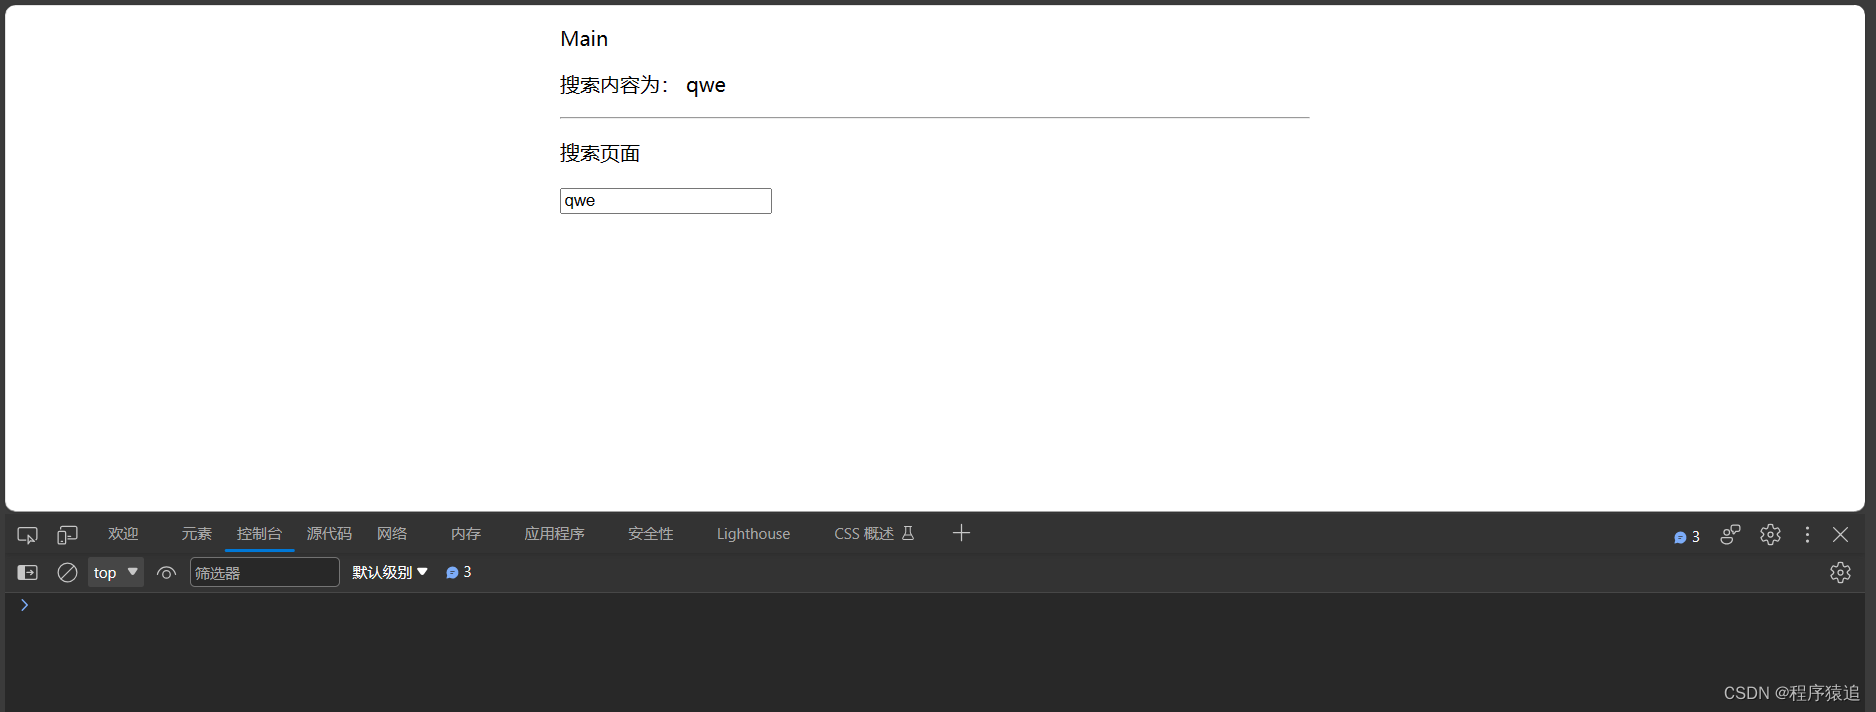
test05是父页面,test06是子页面,效果是在输入框输入文本,p标签里面自动更新(不采用v-model)。
test05
<template><p>Main</p><p>搜索内容为: {{ search }}</p><test06 @search="getSearch"/></template><script>
import test06 from './test06.vue';export default {data() {return {search: ""}},methods:{getSearch(data){this.search = data}},components: { test06 }
}</script>
test06
<template><hr><p>搜索页面</p><input type="text" v-model="search"></template><script>export default {name: "test06",data() {return {search: ""}},watch: {search(newData, oldData){this.$emit("search", newData)}}}</script>
效果
四、插槽
1、默认插槽
我们已经了解到,子组件可以接受 props,来接受父组件传递数据,它可以是任何类型的 JavaScript 值。
但是模板内容呢?在某些情况下,我们可能希望把模板片段传递给子组件,并让子组件在其自己的模板中渲染该片段。
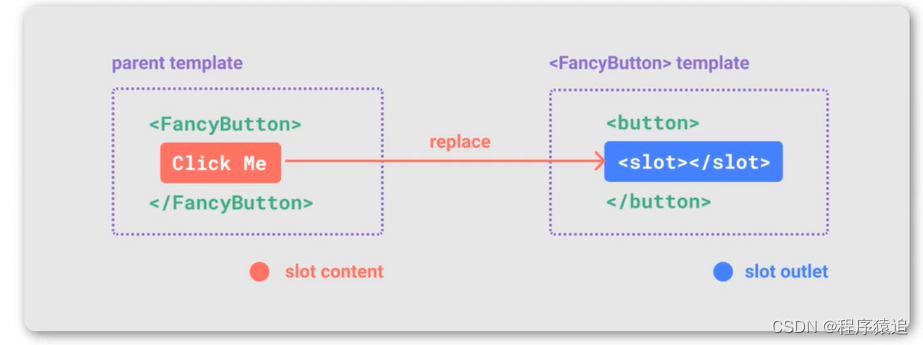
<slot>元素是一个插槽出口,表示了父元素提供的插槽内容将在哪里被渲染。
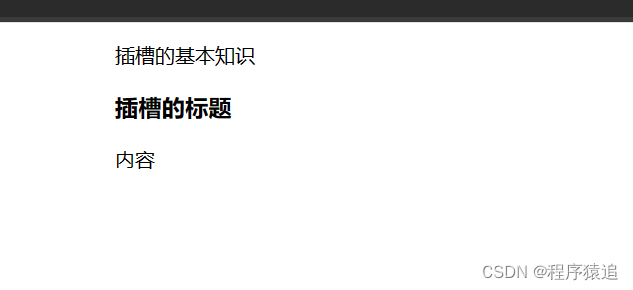
思路:将SlotsBase里面的模板显示在子组件test07里面
SlotsBase
<template><p>插槽的基本知识</p><slot></slot>
</template>
<script setup>
import SlotBase from './SlotsBase.vue'
</script><template><SlotBase><div><h3>插槽的标题</h3><p>内容</p></div></SlotBase></template><script>export default {components: {SlotBase},name: "test07"
}</script>效果
2、插槽默认值
默认槽:不带名称的插槽,或者名称是 default。
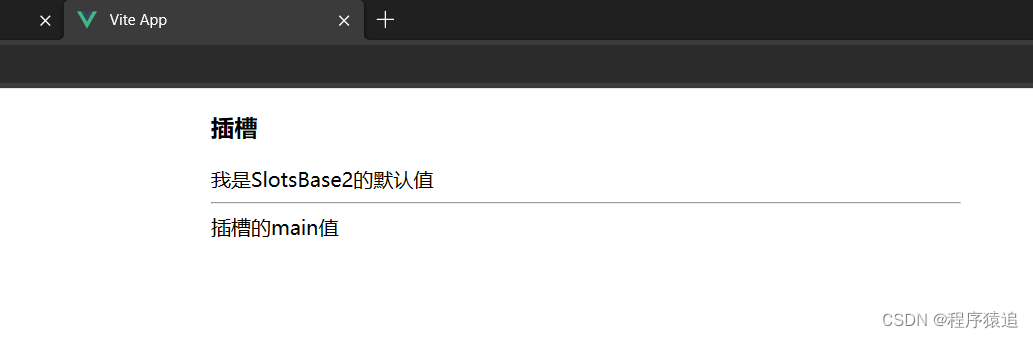
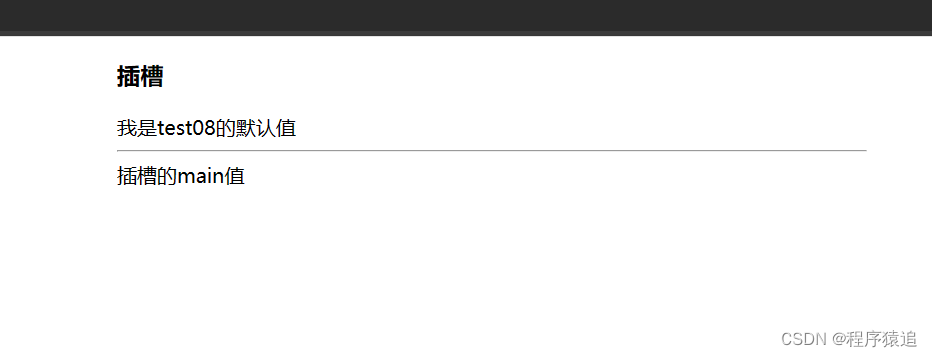
将父组件的SlotsBase2里的template的msg如果为空那么就显示子组件的默认值,不为空就显示父组件的默认值。
  <SlotsBase2><template v-slot:header> </template><template v-slot:main></template></SlotsBase2>export default {data() {return {msg: "我是test08的默认值",// num: 10}},components: {SlotsBase2},name: "test08"
}<template><h3>插槽</h3><slot name="header">我是SlotsBase2的默认值</slot>  <hr><slot name="main">插槽的main值</slot>  </template><script>export default {data() {return{}},}
效果
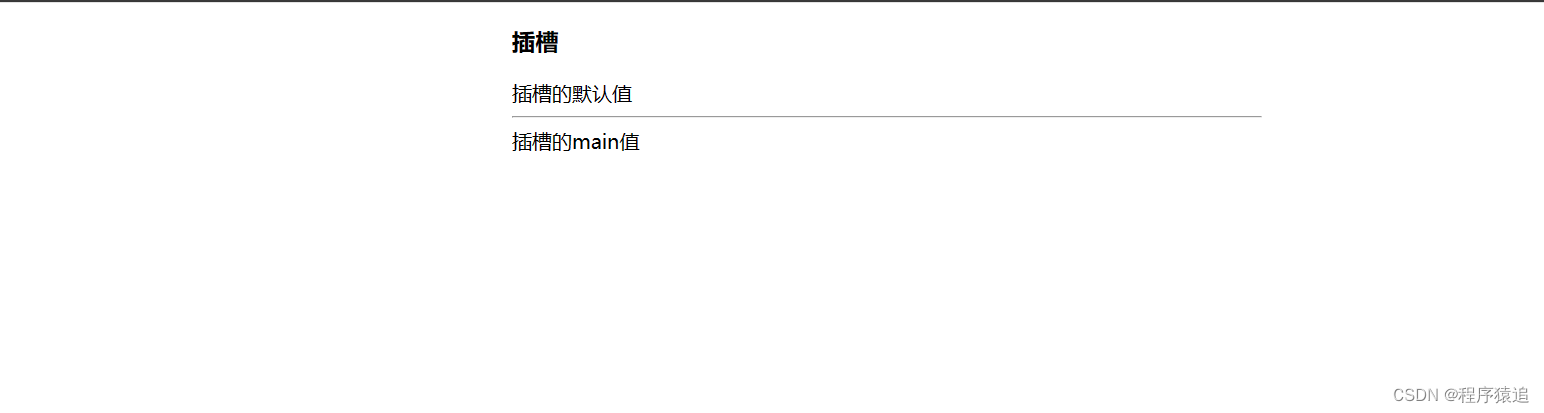
将msg加上,就显示了父组件的默认值。
3、具名插槽
有时,在一个组件中,包含多个插槽出口是很有用的。
模板如下
子级
<div class="container"><header><!-- 标题内容放这里 --></header><main><!-- 主要内容放这里 --></main><footer><!-- 底部内容放这里 --></footer>
</div>
父级
<BaseLayout><template v-slot:header><!-- header 插槽的内容放这里 --></template>
</BaseLayout>例子
test08
<script setup>
import SlotsBase2 from './SlotsBase2.vue'
</script><template><SlotsBase2><template v-slot:header></template><template v-slot:main></template></SlotsBase2></template><script>export default {components: {SlotsBase2},name: "test08"
}</script>
SlotsBase2
<template><h3>插槽</h3><slot name="header">插槽的默认值</slot> <hr><slot name="main">插槽的main值</slot> </template><script>export default {data() {return{}},}</script>效果
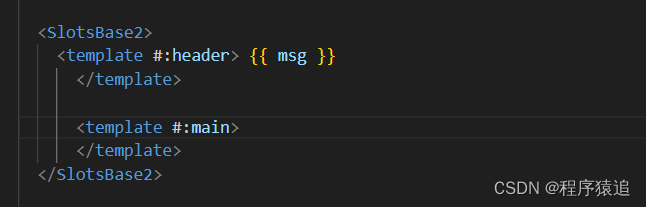
v-slot写起来太长,vue给我们提供一个简单写法 v-slot —> #
不积跬步无以至千里,趁年轻,使劲拼,给未来的自己一个交代!向着明天更好的自己前进吧!
