2五、buildroot支持Qt5
7.buildroot支持Qt5
一、升级ARM GCC编译器
1.升级的原因
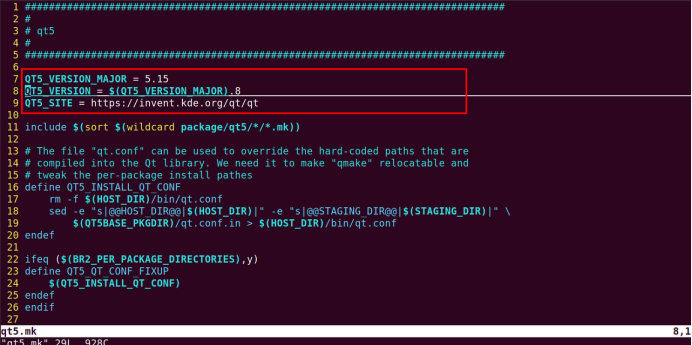
打开** buildroot-2023.02/package/qt5/qt5.mk **配置文件中可以知道buildroot-2023.02提供的Qt5是
5.15.8版本。
打开** buildroot-2023.02/package/qt5/Config.in **配置文件,找到Qt5的配置选项可以得到如下信息:
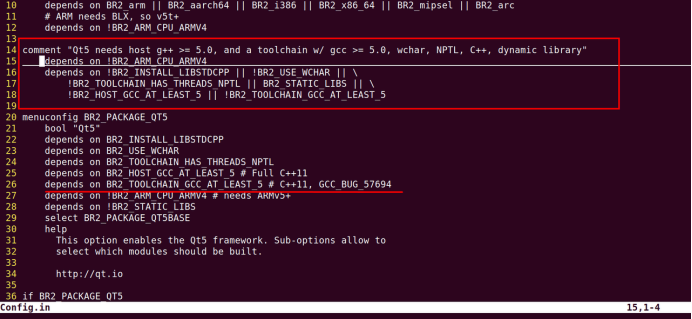
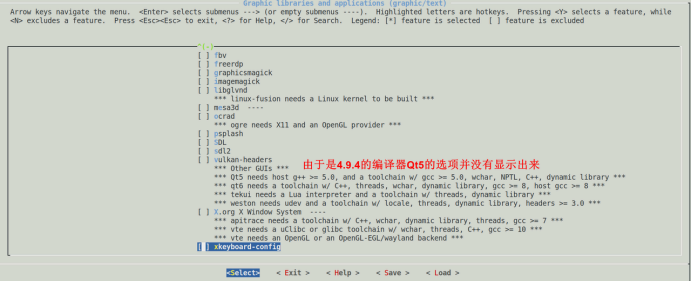
目前我们在buildroot中用的是gcc 4.9.4的编译器,我们在buildroot的menuconfig中搜索** BR2_PACKAGE_QT
5 **配置选项效果如下:
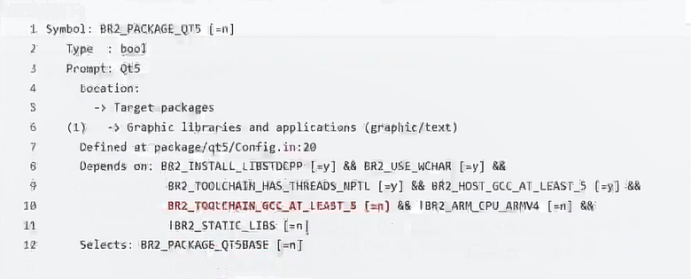
Symbol: BR2_PACKAGE_QT5 [=n]
Type : bool
Prompt: Qt5
Location:
-> Target packages
(1) -> Graphic libraries and applications (graphic/text)
Defined at package/qt5/Config.in:20
Depends on: BR2_INSTALL_LIBSTDCPP [=y] && BR2_USE_WCHAR [=y] &&
BR2_TOOLCHAIN_HAS_THREADS_NPTL [=y] && BR2_HOST_GCC_AT_LEAST_5 [=y] &&
BR2_TOOLCHAIN_GCC_AT_LEAST_5 [=n] && !BR2_ARM_CPU_ARMV4 [=n] &&
!BR2_STATIC_LIBS [=n]
Selects: BR2_PACKAGE_QT5BASE [=n]
综上原因我们需要把arm gcc编译器升级到5.0以上才可以正常在根文件系统中编译出Qt5的库。
2.下载Linaro的交叉编译器
(1)介绍
Linaro 是由ARM发起,与其它ARM SOC公司共同投资的非盈利性质的开放源代码软件工程公司,Linaro
开发了很多软件,最著名的就是 Linaro GCC 编译工具链(编译器)。
官网下载:
【老版本,稳定版】https://releases.linaro.org/components/toolchain/binaries/
【新版本,开发版】https://snapshots.linaro.org/gnu-toolchain/
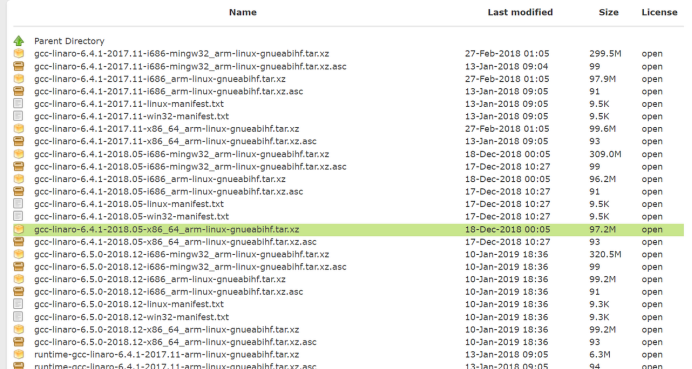
(2)选择版本号
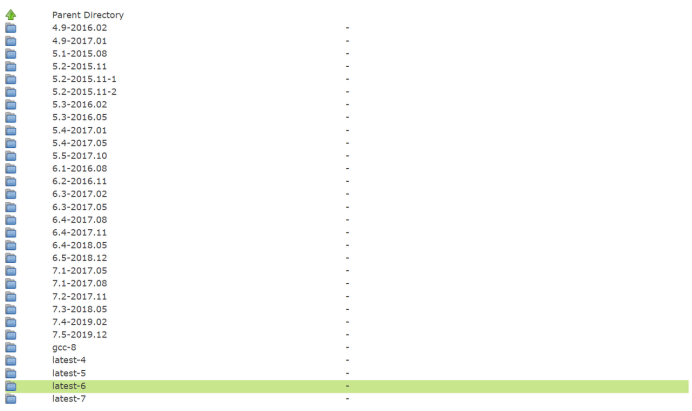
(3)选择ARM架构类型
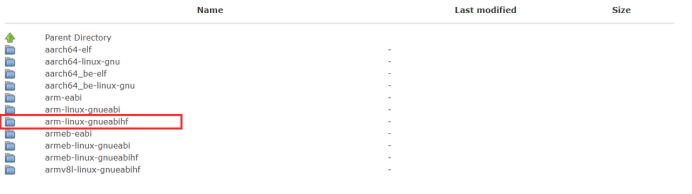
(4)选择具体的编译器平台
3.ubuntu安装交叉编译器
(1)解压工具链
将下载好的** gcc-linaro-6.4.1-2018.05-x86_64_arm-linux-gnueabihf.tar.xz **拷贝到toolchain目录
下,然后解压:
tar -xvf gcc-linaro-6.4.1-2018.05-x86_64_arm-linux-gnueabihf.tar.xz
(2)修改PATH环境变量
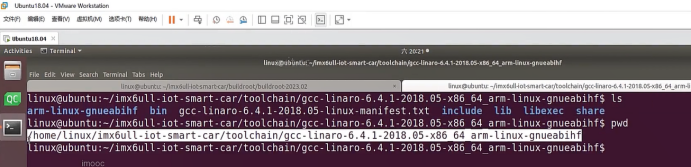
A.用cd命令进入gcc-linaro-6.4.1-2018.05-x86_64_arm-linux-gnueabihf目录下的bin子目录
B.用pwd获取bin目录的绝对路径,然后复制路径
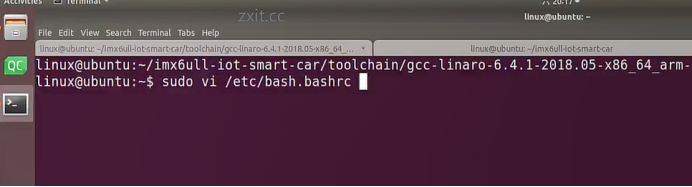
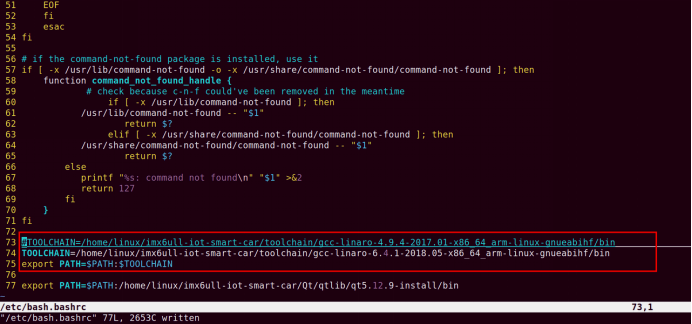
C.用sudo vi /etc/bash.bashrc打开配置文件,输入如下内容
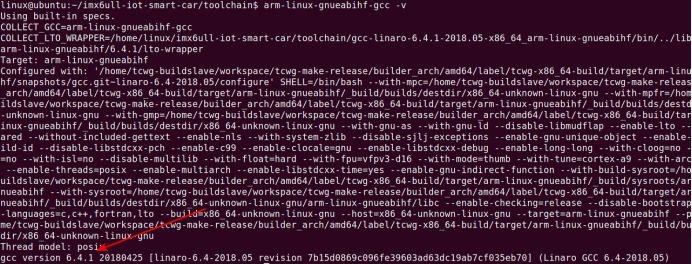
(3)测试是否成功
打开一个新的终端,测试是否添加成功
二、buildroot配置外部编译器

Toolchain --->
Toolchain type 是工具链类型,这里有 buildroot 自带的和外部我们自己添加两种选择,
我们选择 External toolchain,自己添加。
Toolchain type (External toolchain)
Toolchain 选择 Custom toolchain 自定义工具链
Toolchain (Custom toolchain)
Toolchain origin 选择 Pre-installed toolchain 预装非下载
Toolchain origin (Pre-installed toolchain)
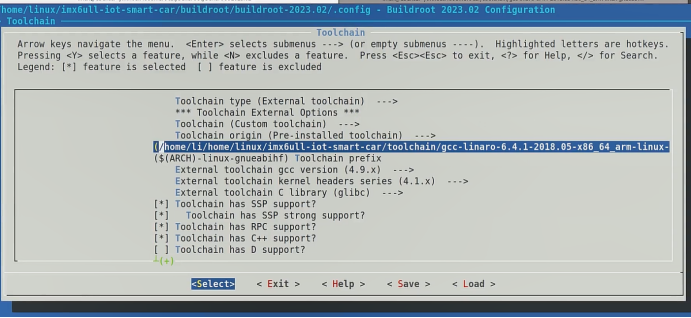
Toolchain path设置自己安装的交叉编译器绝对路径
/home/linux/imx6ull-iot-smart-car/toolchain/gcc-linaro-6.4.1-2018.05-x86_64_arm-lin
Toolchain prefix 编译器名前缀
($(ARCH)-linux-gnueabihf) Toolchain prefix
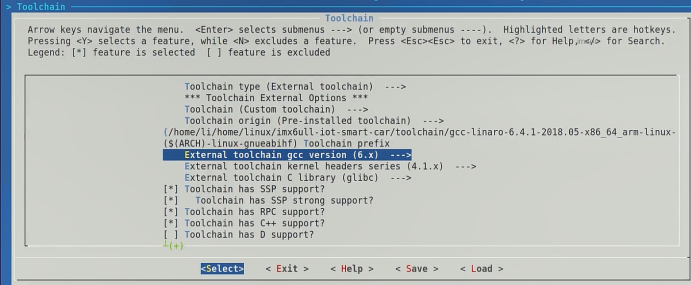
外部gcc编译器版本
External toolchain gcc version (6.x)
Linux内核版本
External toolchain kernel headers series (4.1.x)
C库选择glibc
External toolchain C library (glibc)
选择以下特性
[*] Toolchain has SSP support? (NEW)
[*] Toolchain has SSP strong support? (NEW)
[*] Toolchain has RPC support? (NEW)
[*] Toolchain has C++ support?
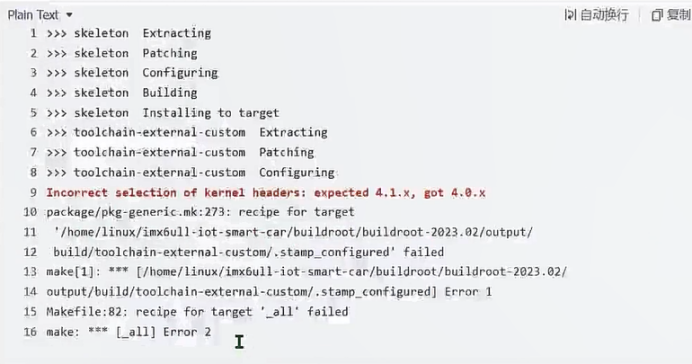
三、修改编译器的内核版本

>>> skeleton Extracting
>>> skeleton Patching
>>> skeleton Configuring
>>> skeleton Building
>>> skeleton Installing t
>>> toolchain-external-custom Extracting
>>> toolchain-external-custom Patching
>>> toolchain-external-custom Configuring
Incorrect selection of kernel headers: expected 4.1.x, got 4.0.x
package/pkg-generic.mk:273: recipe for target
'/home/linux/imx6ull-iot-smart-car/buildroot/buildroot-2023.02/output/
build/toolchain-external-custom/.stamp_configured' failed
make[1]: *** [/home/linux/imx6ull-iot-smart-car/buildroot/buildroot-2023.02/
output/build/toolchain-external-custom/.stamp_configured] Error 1
Makefile:82: recipe for target '_all' failed
make: *** [_all] Error 2
原因是配置buildroot工具链的linux内核版本与工具链本身自带的内核版本标识不一致导致的,我们只要
修改下工具链自带的内核版本表示即可。打开** gcc-linaro-6.4.1-2018.05-x86_64_arm-linux-gnueabih
f/arm-linux-gnueabihf/libc/usr/include/linux/version.h 文件,**里面有个宏定义就是内核版本标
识,修改为262415(4.1.15版本内核)

默认内容如下:
![]()

版本计算公式主要是十进制转换为16进制:
262144 = 040000(h) 对应4.0.0版本内核
262415 = 04010F(h) 对应4.1.15版本内核
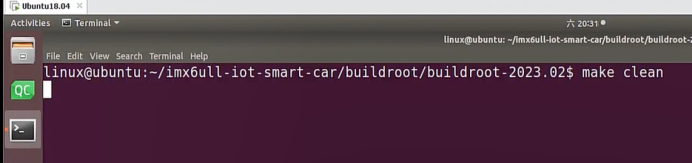
四、buildroot配置及编译Qt5
buildroot-2023.02$ make menuconfig
等等如下表
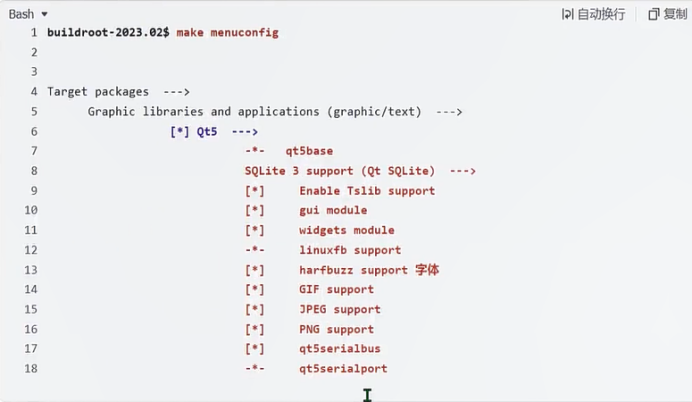
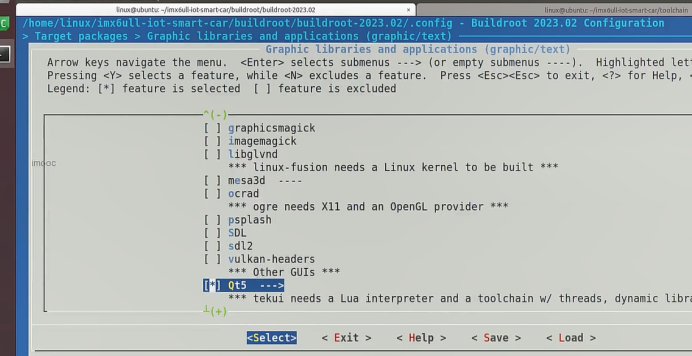
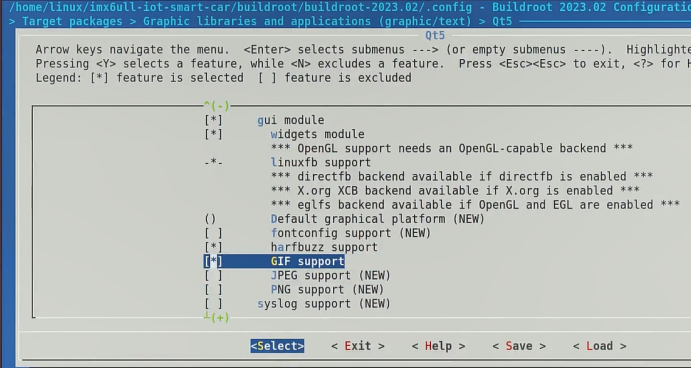
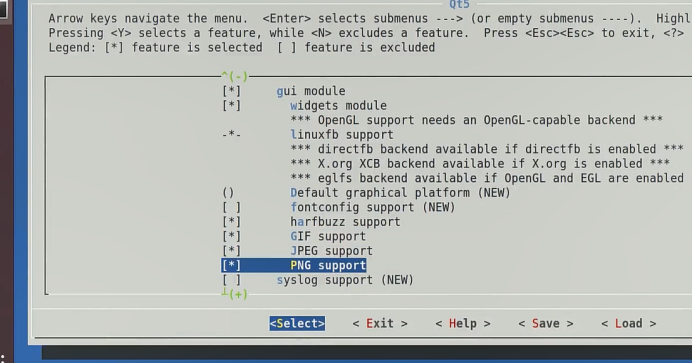
Target packages --->
Graphic libraries and applications (graphic/text) --->
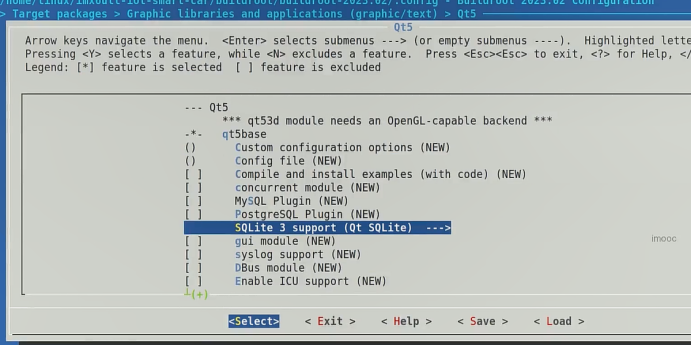
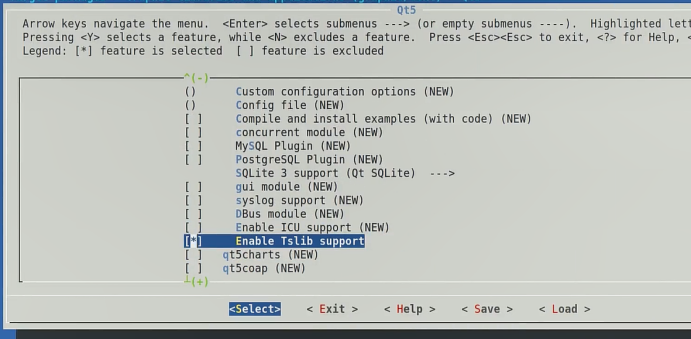
[*] Qt5 --->
-*- qt5base
SQLite 3 support (Qt SQLite) --->
[*] Enable Tslib support
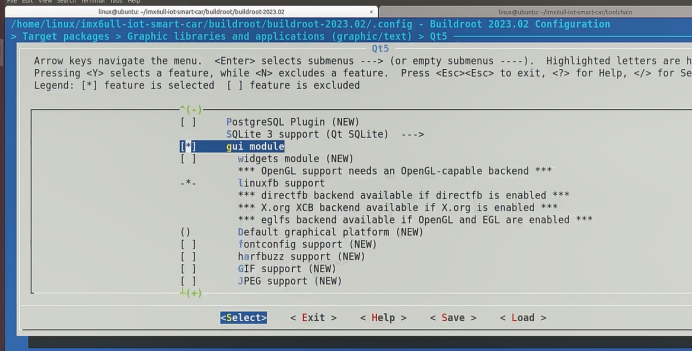
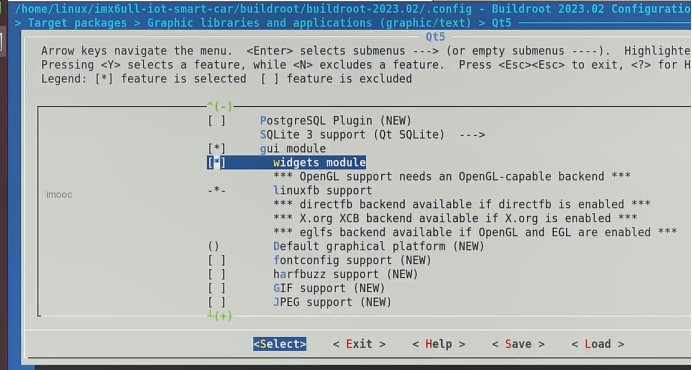
[*] gui module
[*] widgets module
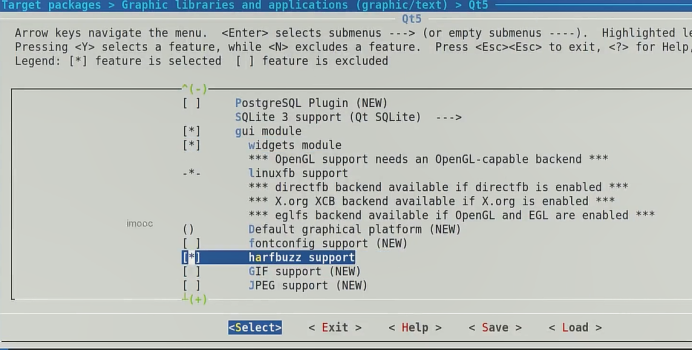
-*- linuxfb support
[*] harfbuzz support 字体
[*] GIF support
[*] JPEG support
[*] PNG support
[*] qt5serialbus
-*- qt5serialport
配置完成以后,进行编译:
buildroot-2023.02$ make -j12
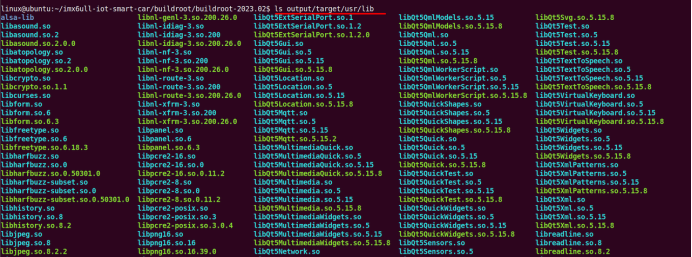
五、查看生成的Qt目标文件
1.查看Qt库
2.查看qmake工具
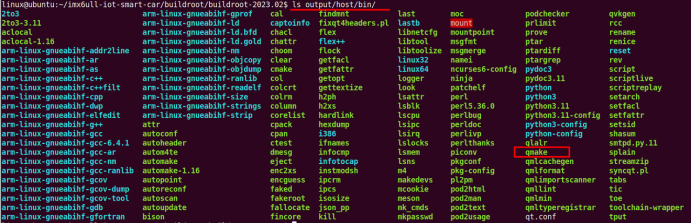

linux@ubuntu:~/imx6ull-iot-smart-car/buildroot/buildroot-2023.02/output/host/bin$ ./qmake -v
QMake version 3.1
Using Qt version 5.15.8 in /home/linux/imx6ull-iot-smart-car/buildroot/buildroot-2023.02/
output/host/arm-buildroot-linux-gnueabihf/sysroot/usr/lib
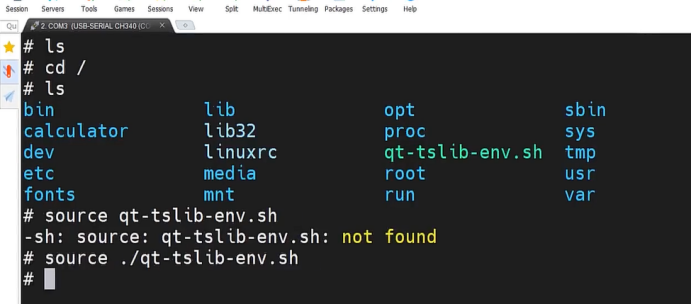
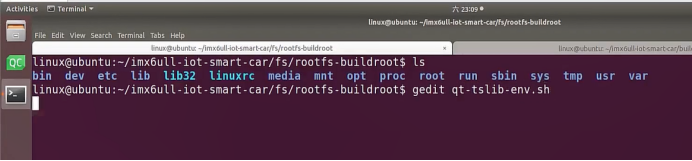
六、Qt5的根文件系统测试
- 在rootfs添加tslib和qt库配置脚本
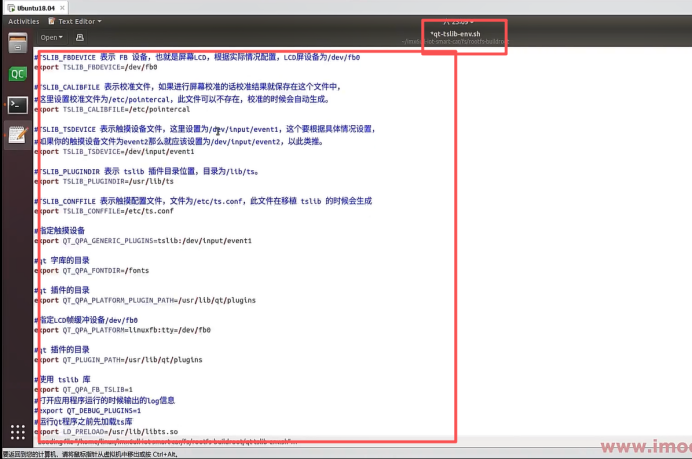

#LIB_CONSOLEDEVICE 表示控制台设置,这里不设置,因此为 none。
export TSLIB_CONSOLEDEVICE=none
#TSLIB_FBDEVICE 表示 FB 设备,也就是屏幕LCD,根据实际情况配置,LCD屏设备为/dev/fb0
export TSLIB_FBDEVICE=/dev/fb0
#TSLIB_CALIBFILE 表示校准文件,如果进行屏幕校准的话校准结果就保存在这个文件中,
#这里设置校准文件为/etc/pointercal,此文件可以不存在,校准的时候会自动生成。
export TSLIB_CALIBFILE=/etc/pointercal
#TSLIB_TSDEVICE 表示触摸设备文件,这里设置为/dev/input/event1,这个要根据具体情况设置,
#如果你的触摸设备文件为event2那么就应该设置为/dev/input/event2,以此类推。
export TSLIB_TSDEVICE=/dev/input/event1
#TSLIB_PLUGINDIR 表示 tslib 插件目录位置,目录为/lib/ts。
export TSLIB_PLUGINDIR=/usr/lib/ts
#TSLIB_CONFFILE 表示触摸配置文件,文件为/etc/ts.conf,此文件在移植 tslib 的时候会生成
export TSLIB_CONFFILE=/etc/ts.conf
#指定触摸设备
export QT_QPA_GENERIC_PLUGINS=tslib:/dev/input/event1
#qt 字库的目录
export QT_QPA_FONTDIR=/fonts
#qt 插件的目录
export QT_QPA_PLATFORM_PLUGIN_PATH=/usr/lib/qt/plugins
#指定LCD帧缓冲设备/dev/fb0
export QT_QPA_PLATFORM=linuxfb:tty=/dev/fb0
#qt 插件的目录
export QT_PLUGIN_PATH=/usr/lib/qt/plugins
#使用 tslib 库
export QT_QPA_FB_TSLIB=1
#打开应用程序运行的时候输出的log信息
#export QT_DEBUG_PLUGINS=1
#运行Qt程序之前先加载ts库
export LD_PRELOAD=/usr/lib/libts.so
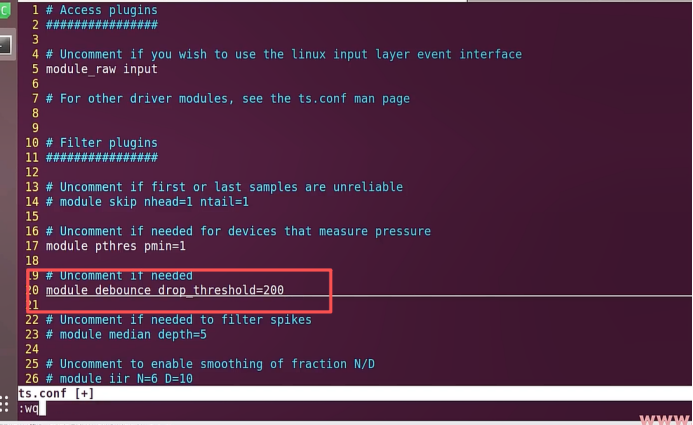
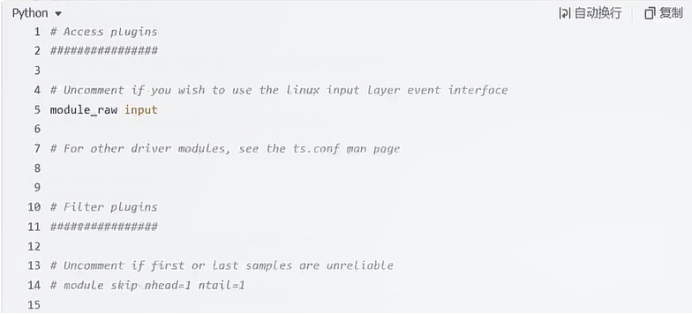
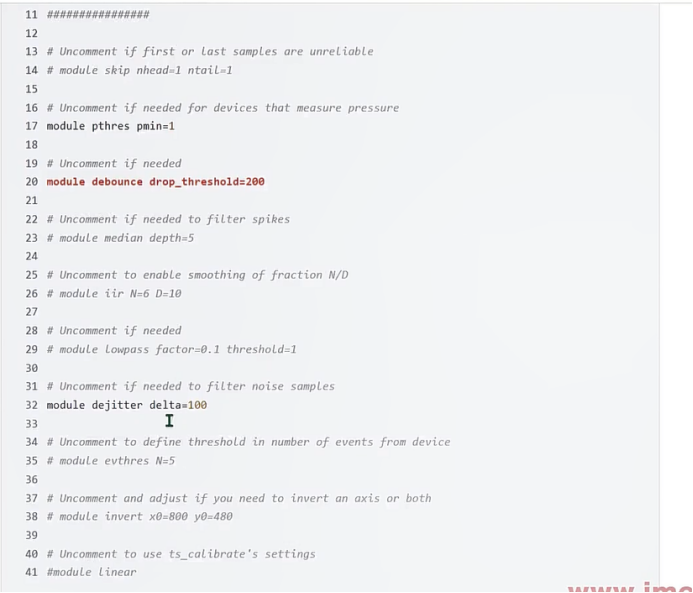
2.修改tslib配置文件/etc/ts.conf

改前
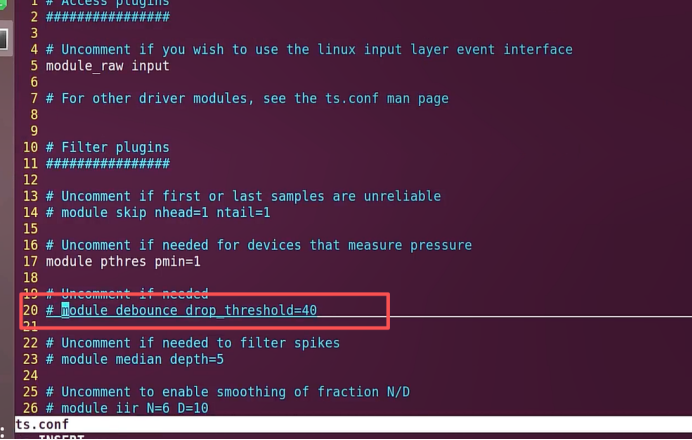
改后
# Access plugins
################
# Uncomment if you wish to use the linux input layer event interface
module_raw input
# For other driver modules, see the ts.conf man page
# Filter plugins
################
# Uncomment if first or last samples are unreliable
# module skip nhead=1 ntail=1
# Uncomment if needed for devices that measure pressure
module pthres pmin=1
# Uncomment if needed
module debounce drop_threshold=200
# Uncomment if needed to filter spikes
# module median depth=5
# Uncomment to enable smoothing of fraction N/D
# module iir N=6 D=10
# Uncomment if needed
# module lowpass factor=0.1 threshold=1
# Uncomment if needed to filter noise samples
module dejitter delta=100
# Uncomment to define threshold in number of events from device
# module evthres N=5
# Uncomment and adjust if you need to invert an axis or both
# module invert x0=800 y0=480
# Uncomment to use ts_calibrate's settings
#module linear
3.添加字体

下载字体:
https://nchc.dl.sourceforge.net/project/wqy/wqy-zenhei/0.9.45%28Fighting-state%20RC1%29/wqy-zenhei- 0.9.45.tar.gz

解压:
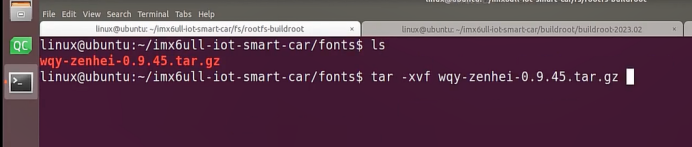
新建目录

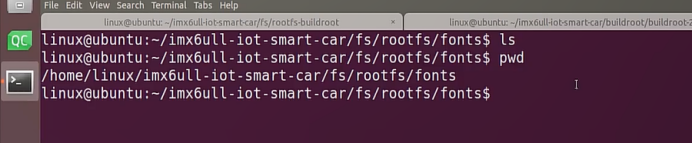
imx6ull-iot-smart-car/fonts$ tar -xvf wqy-zenhei-0.9.45.tar.gz
imx6ull-iot-smart-car/fonts/wqy-zenhei$ cp wqy-zenhei.ttc ../../fs/rootfs/fonts/

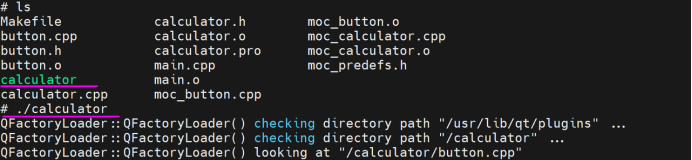
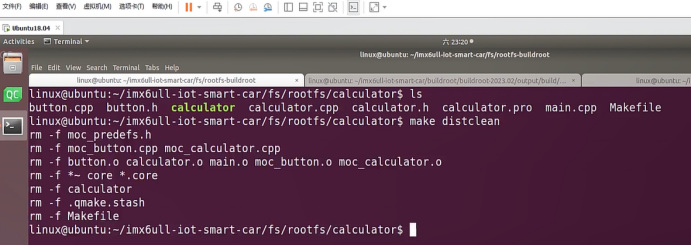
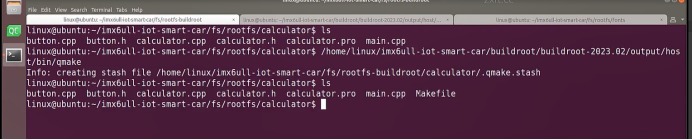
4.编译Qt测试程序
(1)拷贝测试程序到rootfs
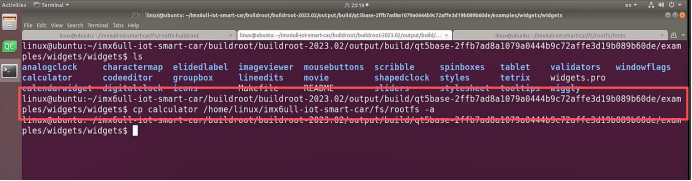
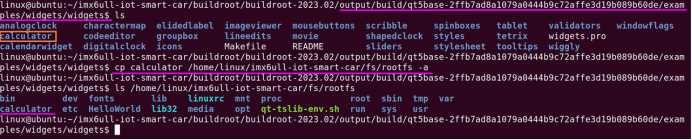
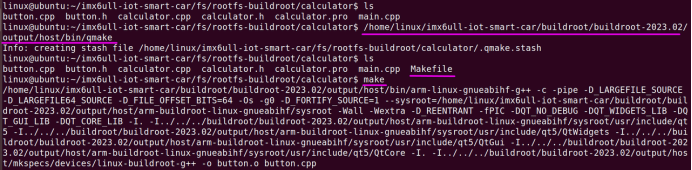
(2)编译测试程序

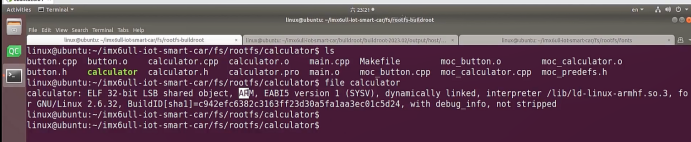
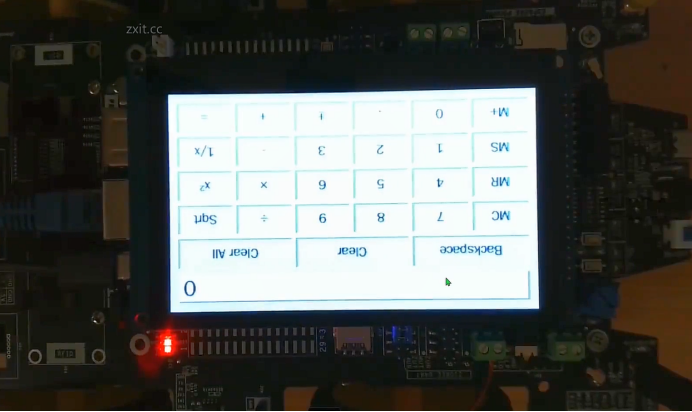
(3)在开发板上运行测试程序