在linux上训练深度学习环境配置(Ubuntu)
本篇博客为本人配置环境实际步骤。
一、本地基础配置
首先完成安装Ubuntu20.04版本,安装完成后进行本地基础配置。
1.更新系统 & 安装基础工具
首先打开终端,执行以下命令来更新软件包列表并升级系统,同时安装必要的软件包(如pip和创建虚拟环境的工具):
sudo apt update && sudo apt upgrade -y
sudo apt install -y python3-pip python3-venv
如果在执行第一行代码时遇到报错可能是由于软件源配置问题导致的,可以尝试更换软件源
# 备份原来的源列表
sudo cp /etc/apt/sources.list /etc/apt/sources.list.backup# 编辑源列表
sudo nano /etc/apt/sources.list
将内容替换为中科大镜像源
#deb cdrom:[Ubuntu 20.04.6 LTS _Focal Fossa_ - Release amd64 (20230316)]/ focal main restricted# See http://help.ubuntu.com/community/UpgradeNotes for how to upgrade to
# newer versions of the distribution.
deb http://mirrors.ustc.edu.cn/ubuntu/ focal main restricted
# deb-src http://mirrors.ustc.edu.cn/ubuntu/ focal main restricted## Major bug fix updates produced after the final release of the
## distribution.
deb http://mirrors.ustc.edu.cn/ubuntu/ focal-updates main restricted
# deb-src http://mirrors.ustc.edu.cn/ubuntu/ focal-updates main restricted## N.B. software from this repository is ENTIRELY UNSUPPORTED by the Ubuntu
## team. Also, please note that software in universe WILL NOT receive any
## review or updates from the Ubuntu security team.
deb http://mirrors.ustc.edu.cn/ubuntu/ focal universe
# deb-src http://mirrors.ustc.edu.cn/ubuntu/ focal universe
deb http://mirrors.ustc.edu.cn/ubuntu/ focal-updates universe
# deb-src http://mirrors.ustc.edu.cn/ubuntu/ focal-updates universe## N.B. software from this repository is ENTIRELY UNSUPPORTED by the Ubuntu
## team, and may not be under a free licence. Please satisfy yourself as to
## your rights to use the software. Also, please note that software in
## multiverse WILL NOT receive any review or updates from the Ubuntu
## security team.
deb http://mirrors.ustc.edu.cn/ubuntu/ focal multiverse
# deb-src http://mirrors.ustc.edu.cn/ubuntu/ focal multiverse
deb http://mirrors.ustc.edu.cn/ubuntu/ focal-updates multiverse
# deb-src http://mirrors.ustc.edu.cn/ubuntu/ focal-updates multiverse## N.B. software from this repository may not have been tested as
## extensively as that contained in the main release, although it includes
## newer versions of some applications which may provide useful features.
## Also, please note that software in backports WILL NOT receive any review
## or updates from the Ubuntu security team.
deb http://mirrors.ustc.edu.cn/ubuntu/ focal-backports main restricted universe multiverse
# deb-src http://mirrors.ustc.edu.cn/ubuntu/ focal-backports main restricted universe multiverse## Uncomment the following two lines to add software from Canonical's
## 'partner' repository.
## This software is not part of Ubuntu, but is offered by Canonical and the
## respective vendors as a service to Ubuntu users.
# deb http://archive.canonical.com/ubuntu focal partner
# deb-src http://archive.canonical.com/ubuntu focal partnerdeb http://security.ubuntu.com/ubuntu focal-security main restricted
# deb-src http://security.ubuntu.com/ubuntu focal-security main restricted
deb http://security.ubuntu.com/ubuntu focal-security universe
# deb-src http://security.ubuntu.com/ubuntu focal-security universe
deb http://security.ubuntu.com/ubuntu focal-security multiverse
# deb-src http://security.ubuntu.com/ubuntu focal-security multiverse# This system was installed using small removable media
# (e.g. netinst, live or single CD). The matching "deb cdrom"
# entries were disabled at the end of the installation process.
# For information about how to configure apt package sources,
# see the sources.list(5) manual.然后再执行前面的安装代码,安装完成后使用python3 --version查看版本,检测python是否安装成功。
2.设置Python虚拟环境
使用虚拟环境来管理项目依赖,避免冲突,虚拟环境中的安装的包不会影响系统全局环境。
创建一个名为 pytorch_env 的Python虚拟环境
python3 -m venv pytorch_env激活刚才创建的虚拟环境
source pytorch_env/bin/activate成功激活后如图

注意虚拟环境需要每次开启新的终端会话时重新激活。
后续的pip安装命令都在此激活的虚拟环境中进行。
二、配置Colab云端环境
由于我的电脑上并没有GPU,设置Colab来使用免费的GPU资源。
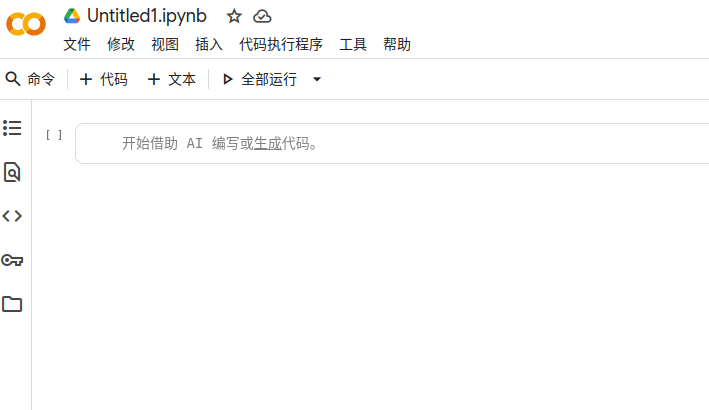
1.创建并设置Colab笔记本
在浏览器中访问 Google Colab
注意没有配置代理的需要先在虚拟机上配置网络代理才能访问此页面。
点击文件→ 在云端硬盘中新建笔记本
2.挂载Google云盘并部署代码
为了持久化保存代码和训练好的模型,需要将Google云盘挂载到Colab的虚拟机中。
点击左上角图标,进入Google云盘
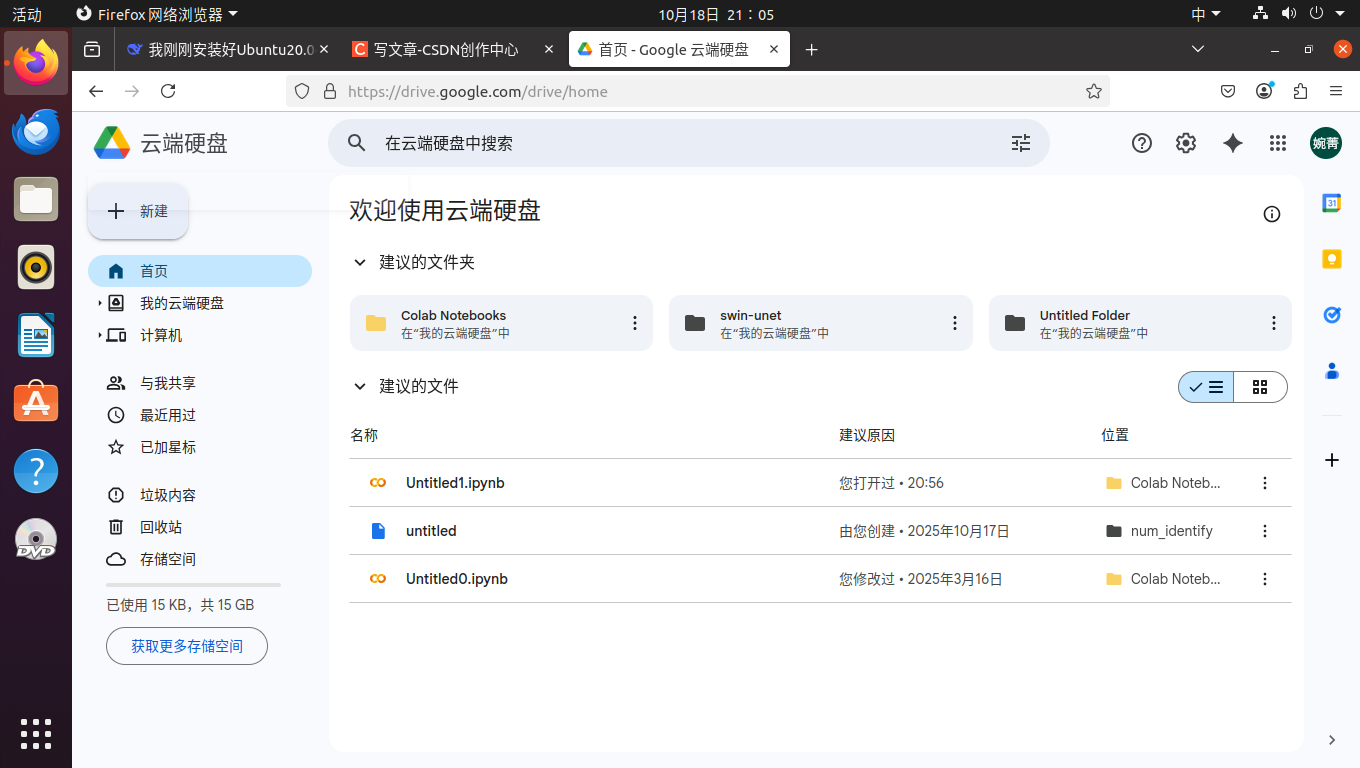
点击新建→ 上传文件夹,可以将数据上传上去
注意一定要在上传到drive→ Mydrive中,这样新建文件之后才可以使用到google云盘的文件。
回到初始界面,点击文件,进入新建笔记本中,点击文件图标→点击装载云端硬盘图标,就可以访问到之前已经上传到drive→ Mydrive中的数据了。
3.使用免费GPU资源
在顶部菜单栏,依次点击 代码执行程序 → 更改运行时类型,选择 GPU,然后点击"保存"。这一步至关重要,它确保了Colab会为你分配一个免费的NVIDIA Tesla GPU(如T4)
注意在不使用的时候换回cpu,避免免费额度用完。
三、模型训练
colab中自带了绝大部分需要用到的包,不需要每次运行代码的时候重新安装。
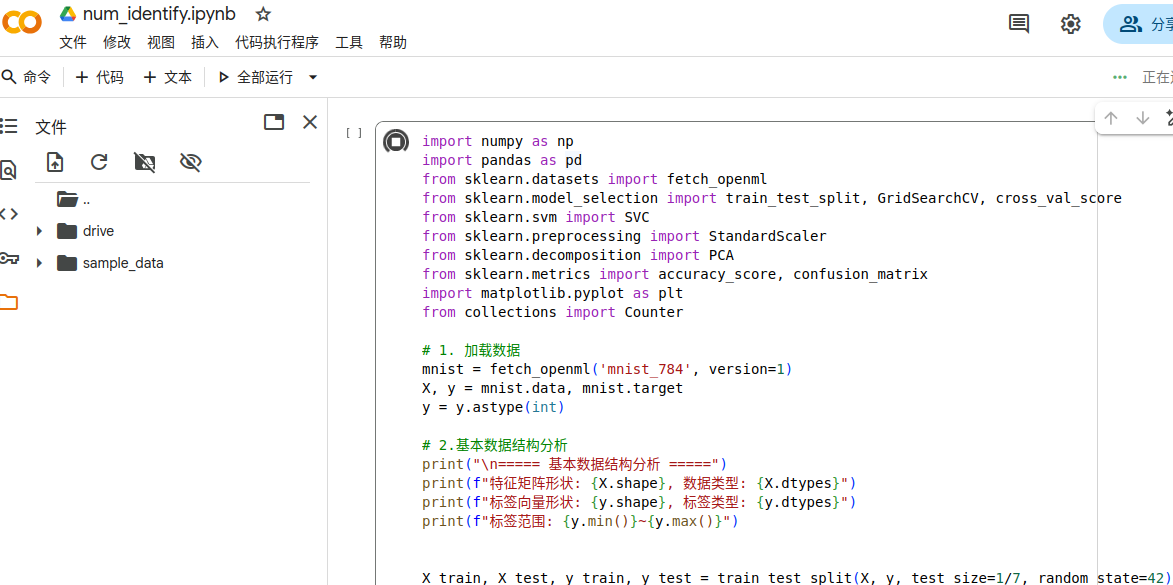
可以直接在这里进行训练了

运行成功