硅谷甄选(续2)首页
结构
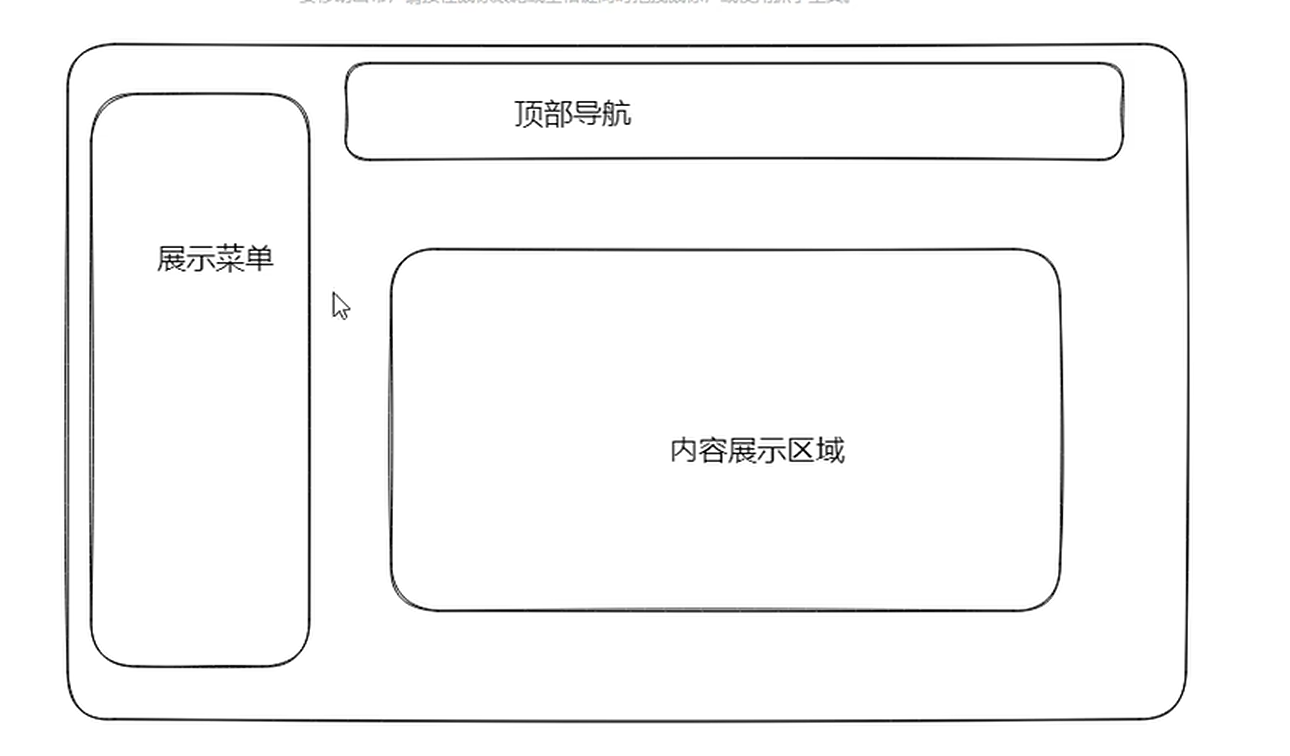
src/layout/index.vue
<template><div class="layout_container"><!-- 左侧菜单 --><div class="layout_slider">12</div><!-- 顶部导航 --><div class="layout_tabbar">34</div><!-- 内容展示区 --><div class="layout_main">56</div></div>
</template><script setup lang="ts"></script><style scoped lang="scss">.layout_container{width: 100%;height: 100vh;}.layout_slider{width: $base-menu-width;//全局变量height: 100vh;background-color: $base-menu-background;//全局变量}.layout_tabbar{position: fixed;width: calc(100% - $base-menu-width);//全局变量height: $base-tabbar-height;//全局变量background: cyan;top: 0;left:$base-menu-width//全局变量}.layout_main{position: absolute;width: calc(100% - $base-menu-width);height: calc(100vh - $base-tabbar-height);background-color: yellowgreen;left:$base-menu-width;top:$base-tabbar-height;padding: 20px;//溢出加滚动条overflow: auto;}
</style>
第一部分:展示菜单区
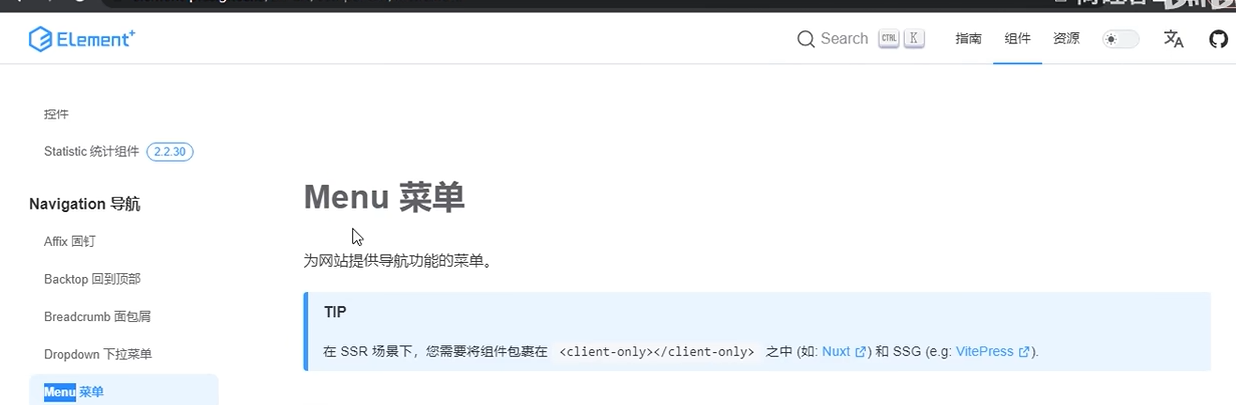
 这样可呈现出菜单(不灵活)
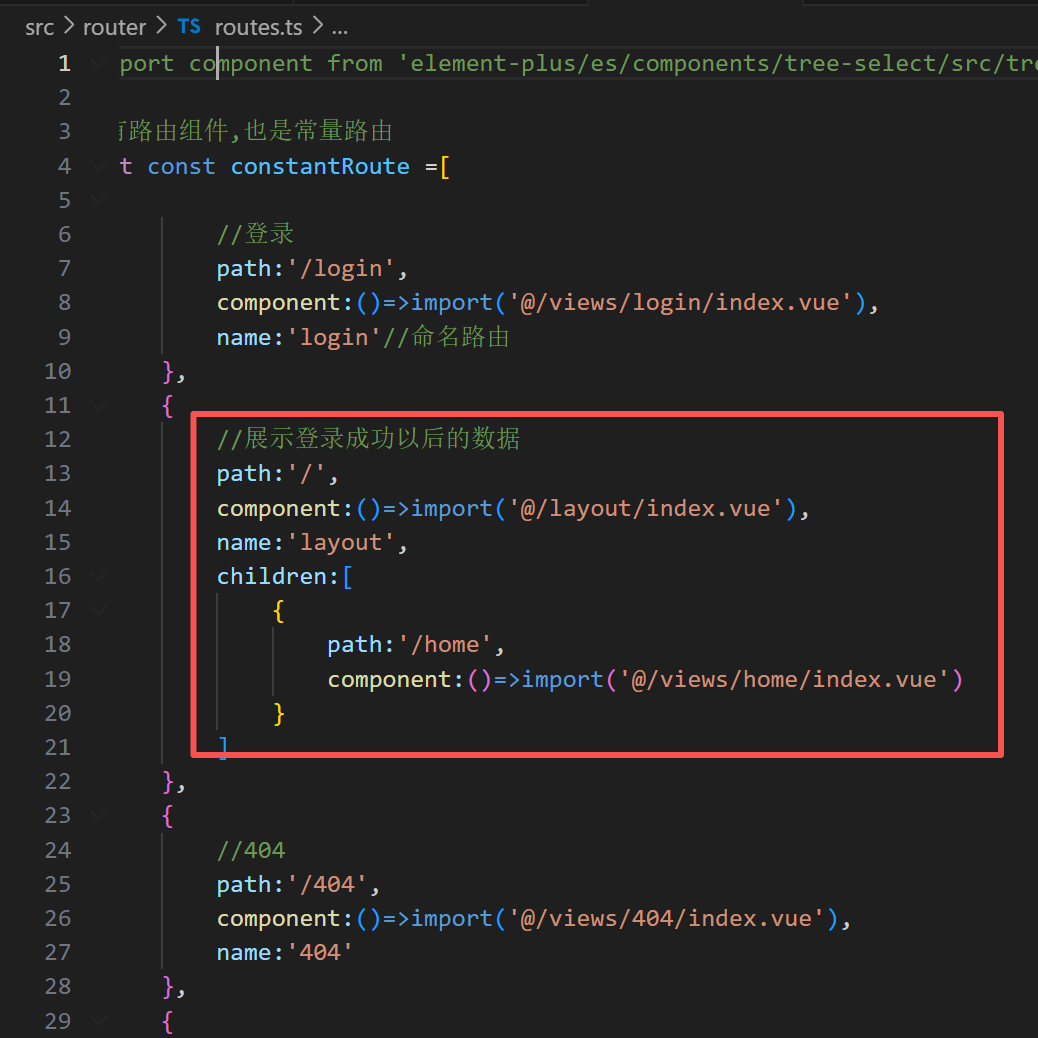
进一步封装菜单,先对路由进行一点点小小的改动src/router/routers

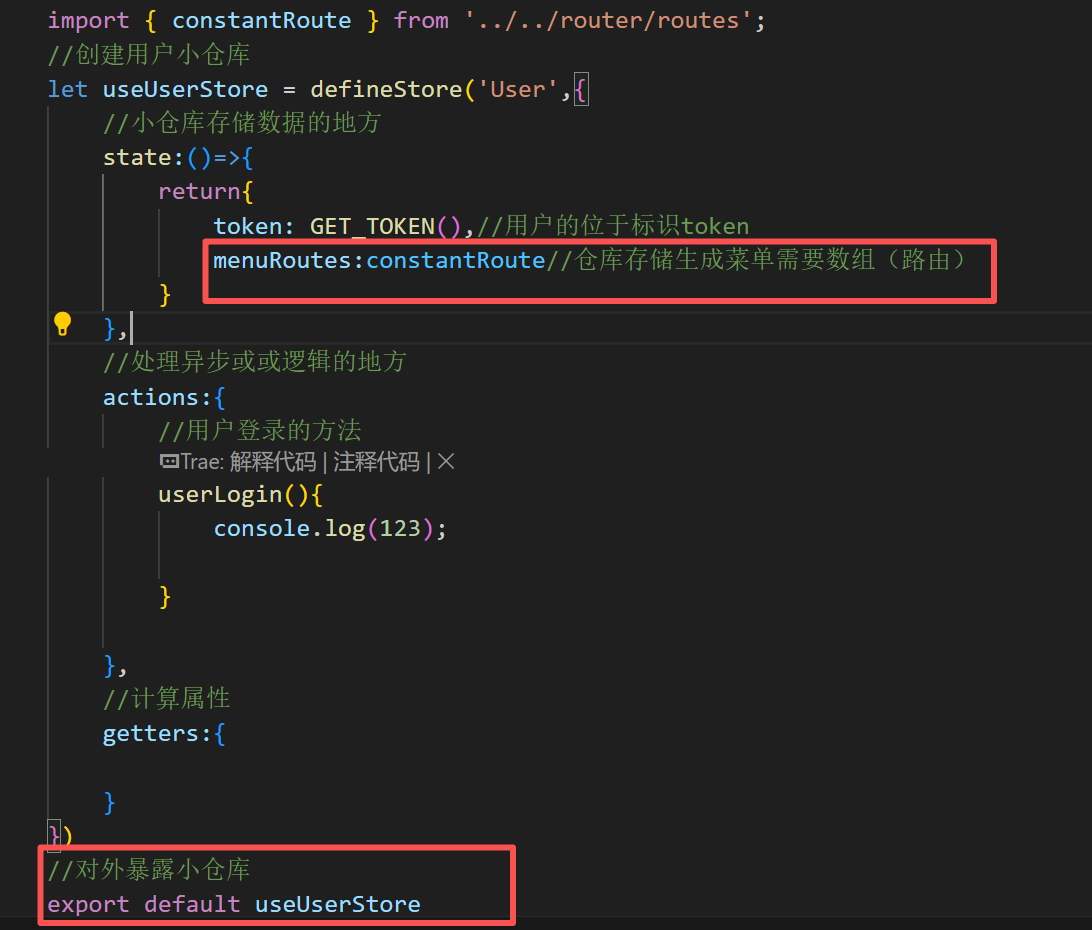
在小仓库src/store/modules/user.ts中
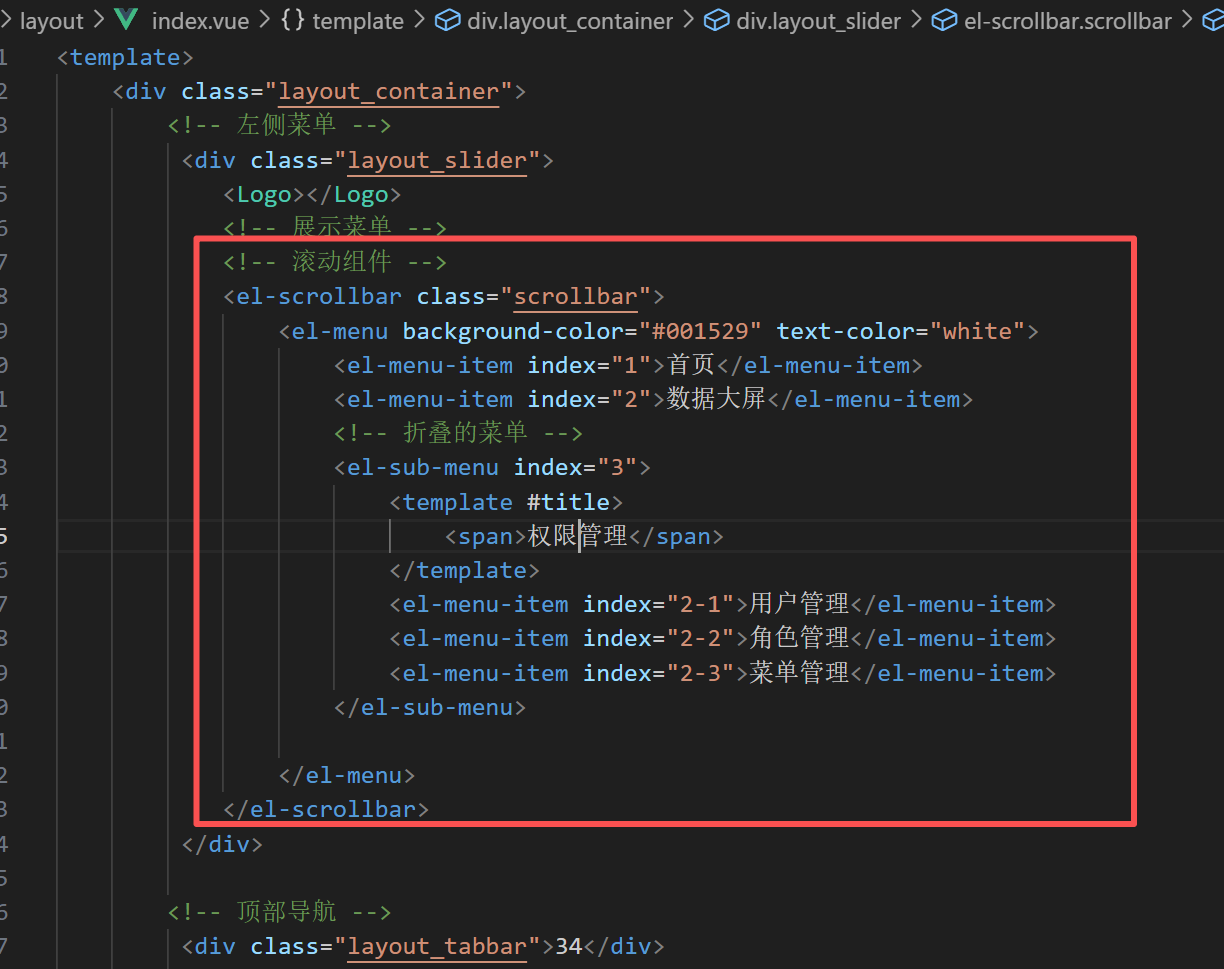
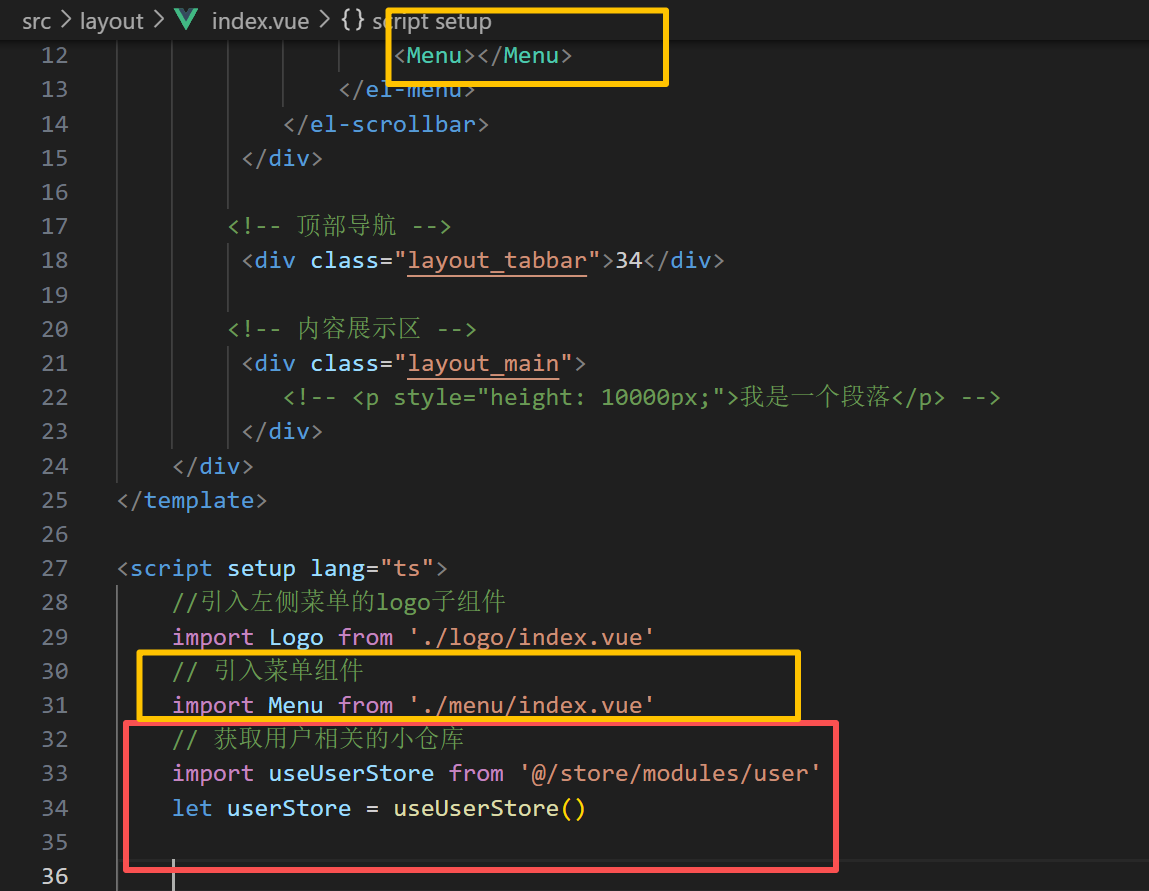
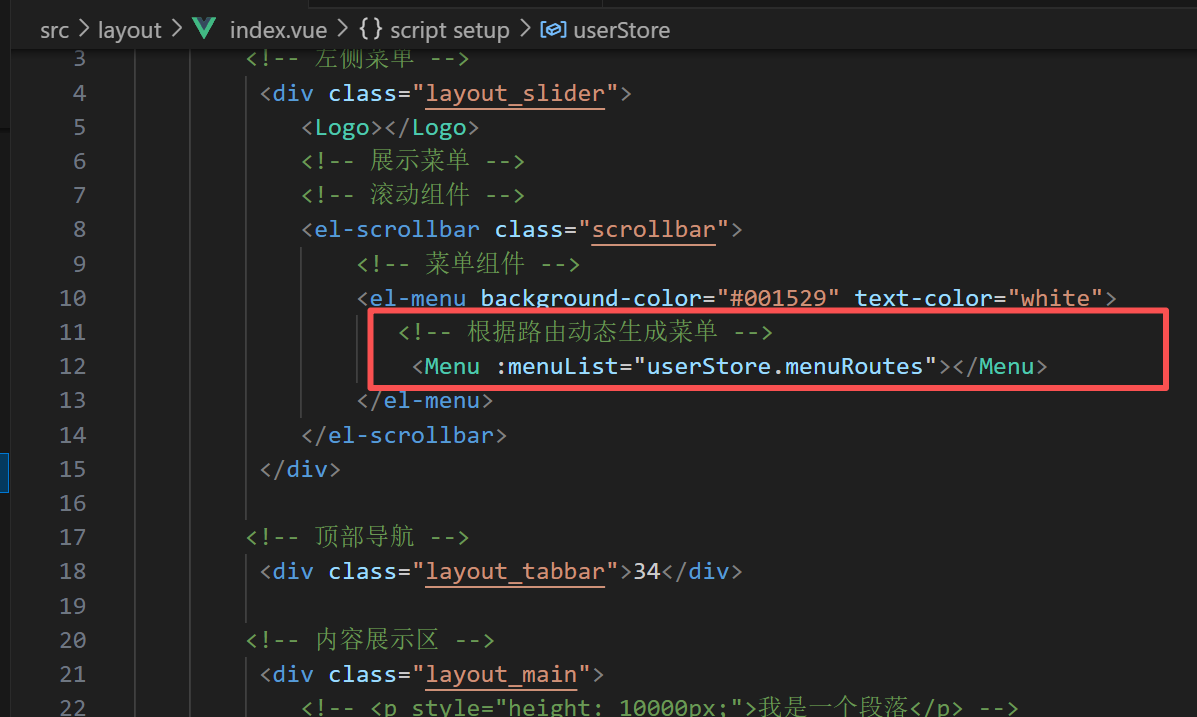
src/layout/index.vue
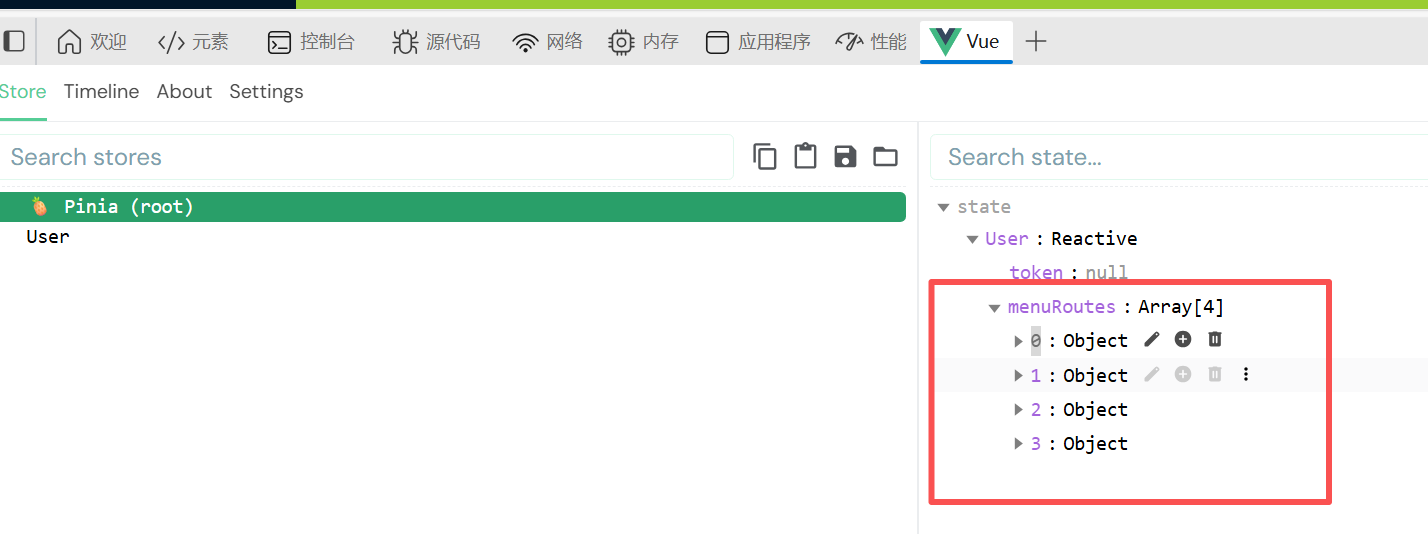
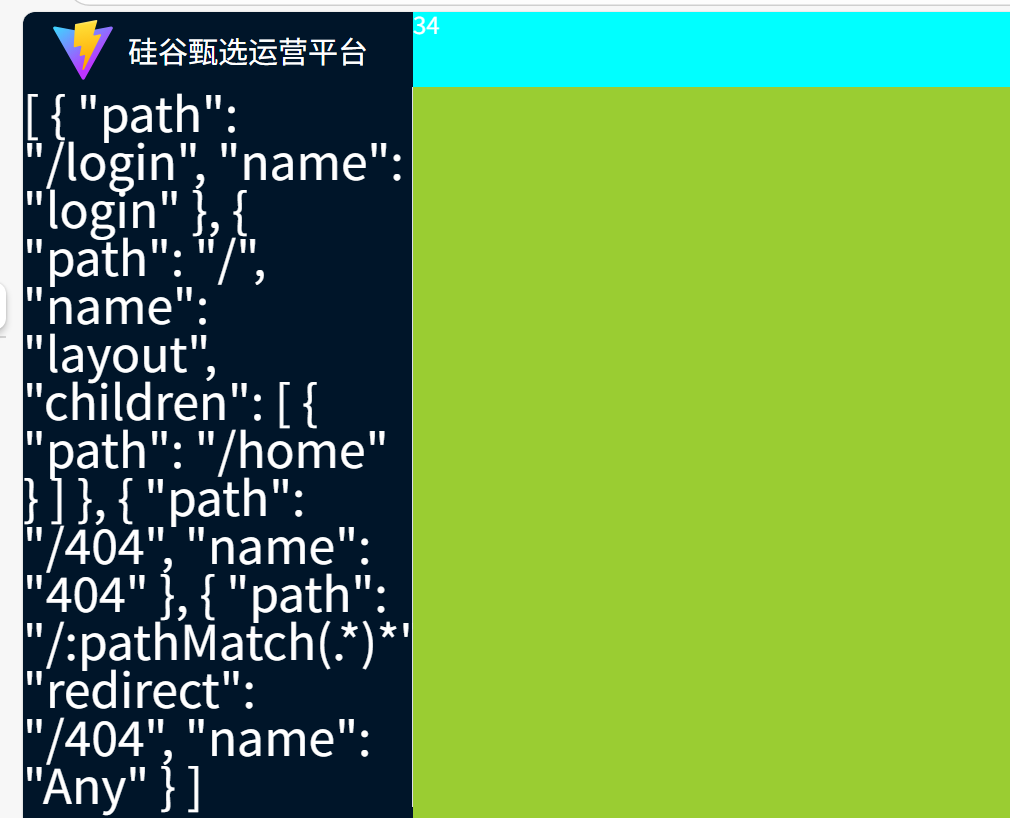
即仓库中已有菜单数组,接下来将这些数组传给menu,动态生成菜单(显示到页面上)
menu/index.vue 总体有点绕 可分成三个部分:
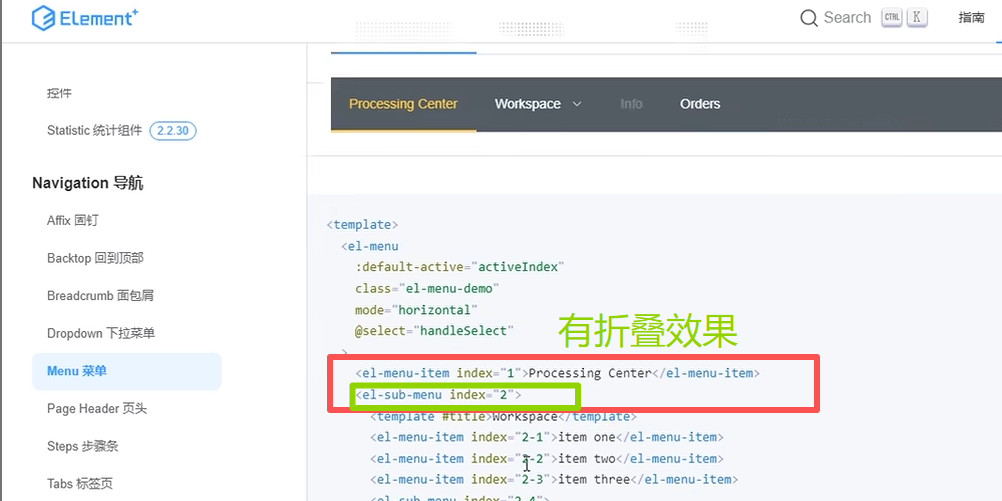
1.没有孩子,即就是单独的一个,没有下级内容
<el-menu-item>
<el-icon>图标(需提前配置)</el-icon> //这里用的是全局注册(在element-plus查阅)
<span>内容</span>
</el-menu-item>
2.只有一个孩子,即就是只有一个下级内容,结构同上
3.有多个孩子,即就是不止有一个下级内容
<el-sub-menu>
<el-icon></el-icon>
<span>内容</span>
//递归!!!
<Menu></Menu>
</el-sub-menu>
<template><div><template v-for="(item) in menuList" :key="item.path"><!-- 没有孩子 --><template v-if="!item.children"><el-menu-item v-if="!item.meta.hidden" :index="item.path" @click="goRoute"><template #title><el-icon><component :is="item.meta.icon"></component></el-icon><span>{{ item.meta.title }}</span></template></el-menu-item></template><!-- 只有一个孩子 --><template v-if="item.children&&item.children.length==1"><el-menu-item v-if="!item.children[0].meta.hidden" :index="item.children[0].path"><template #title><el-icon><component :is="item.children[0].meta.icon"></component></el-icon><span>{{ item.children[0].meta.title }}</span></template></el-menu-item></template><!-- 有多个孩子 --><el-sub-menu v-if="item.children && item.children.length>1" :index="item.path"><template #title><el-icon><component :is="item.meta.icon"></component></el-icon><span>{{ item.meta.title }}</span></template>//递归!!!<Menu :menuList="item.children"></Menu></el-sub-menu></template></div>
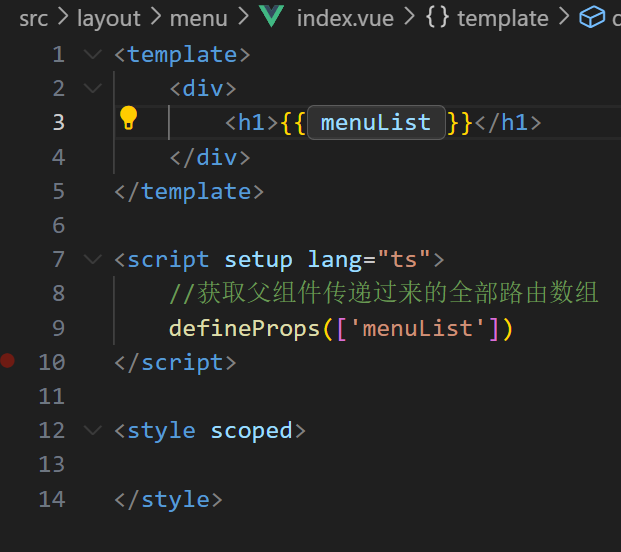
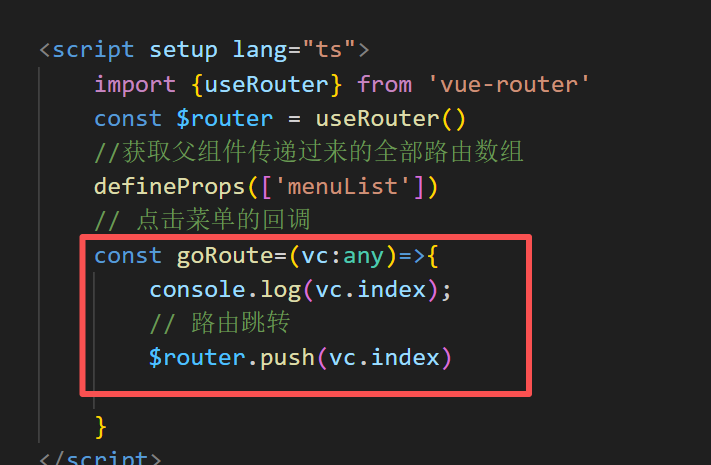
</template><script setup lang="ts">//获取父组件传递过来的全部路由数组defineProps(['menuList'])// 点击菜单的回调const goRoute=(vc:any)=>{console.log(vc.index);}
</script><script lang="ts">export default{name:'Menu'}
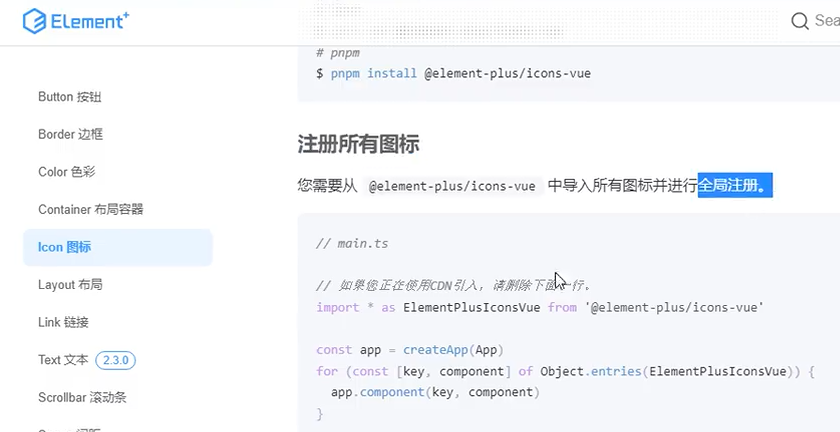
</script><style scoped></style>全局注册icon
// main.ts
import * as ElementPlusIconsVue from '@element-plus/icons-vue'const app = createApp(App)
for (const [key, component] of Object.entries(ElementPlusIconsVue)) {
app.component(key, component)
}
只要你安装了 @element-plus/icons-vue,就可以在任意版本里使用 SVG 图标。
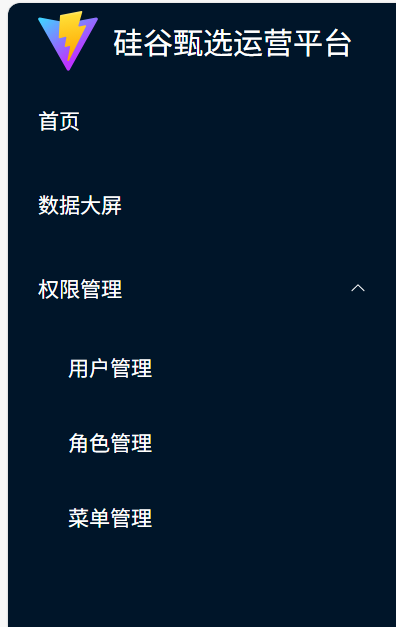
最后一步:完成菜单区
view文件夹下新建screen(数据大屏)文件夹和aci(权限管理)以及他的下级
并在router/routers下面补充他们的路由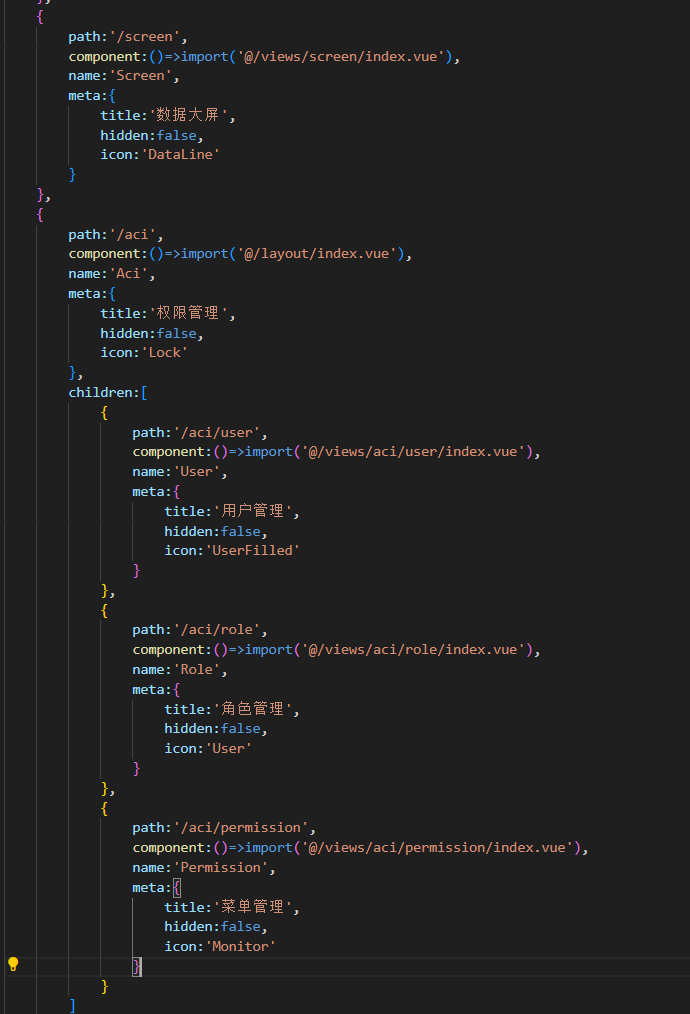
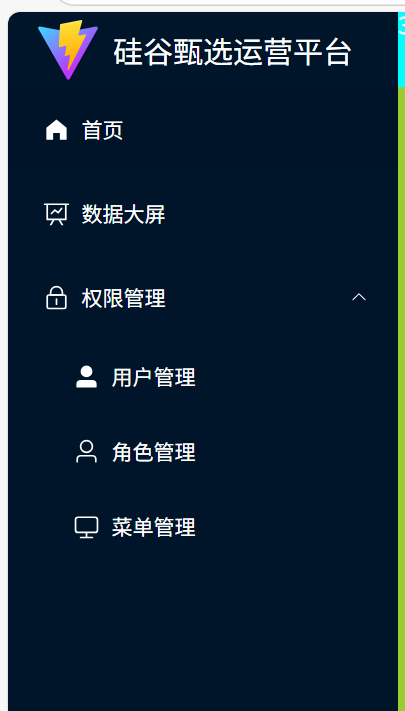
即完成菜单区的构建
第二部分 顶部导航区
分左右两部分
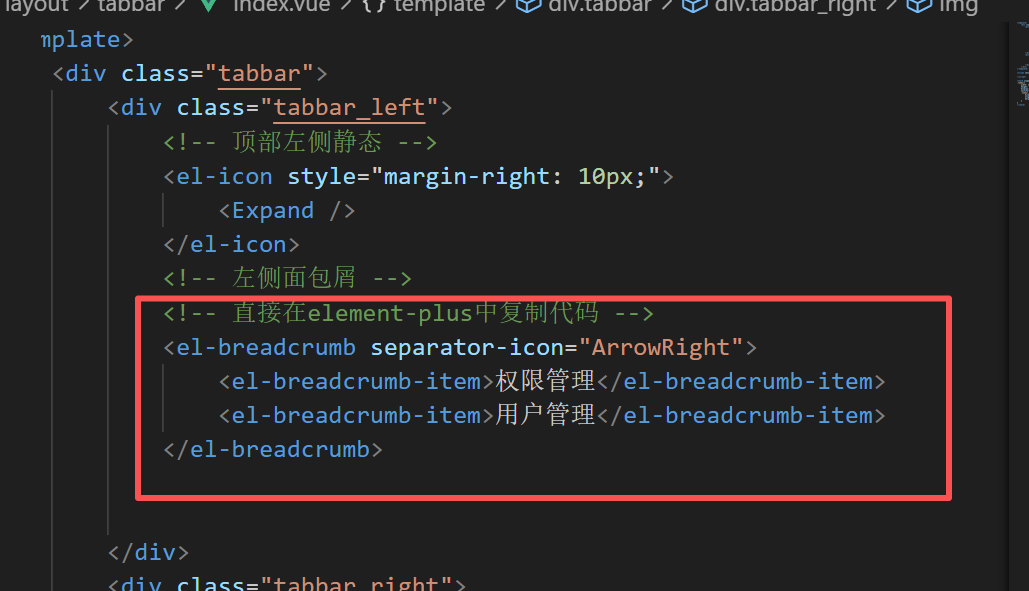
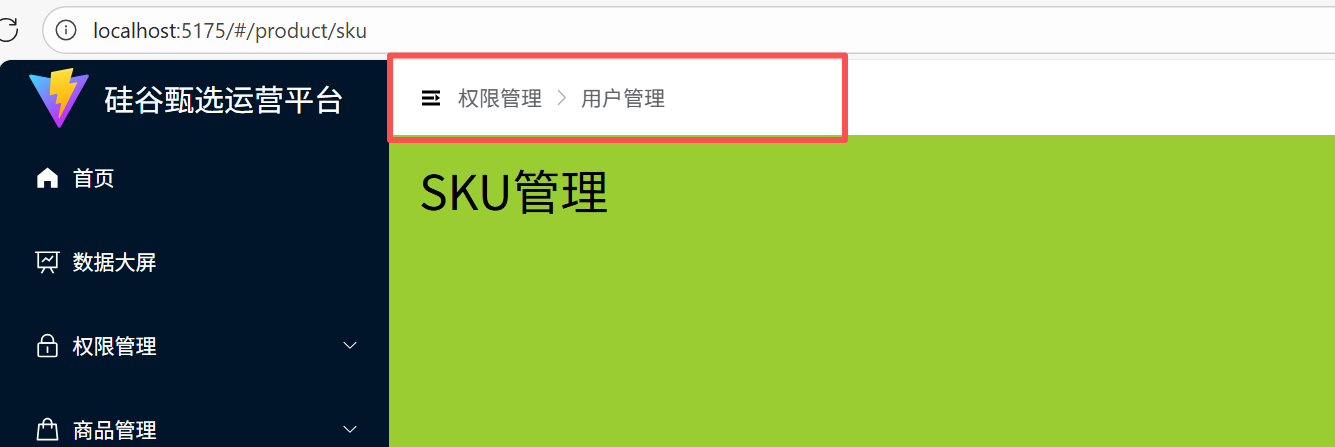
1.左边
面包屑
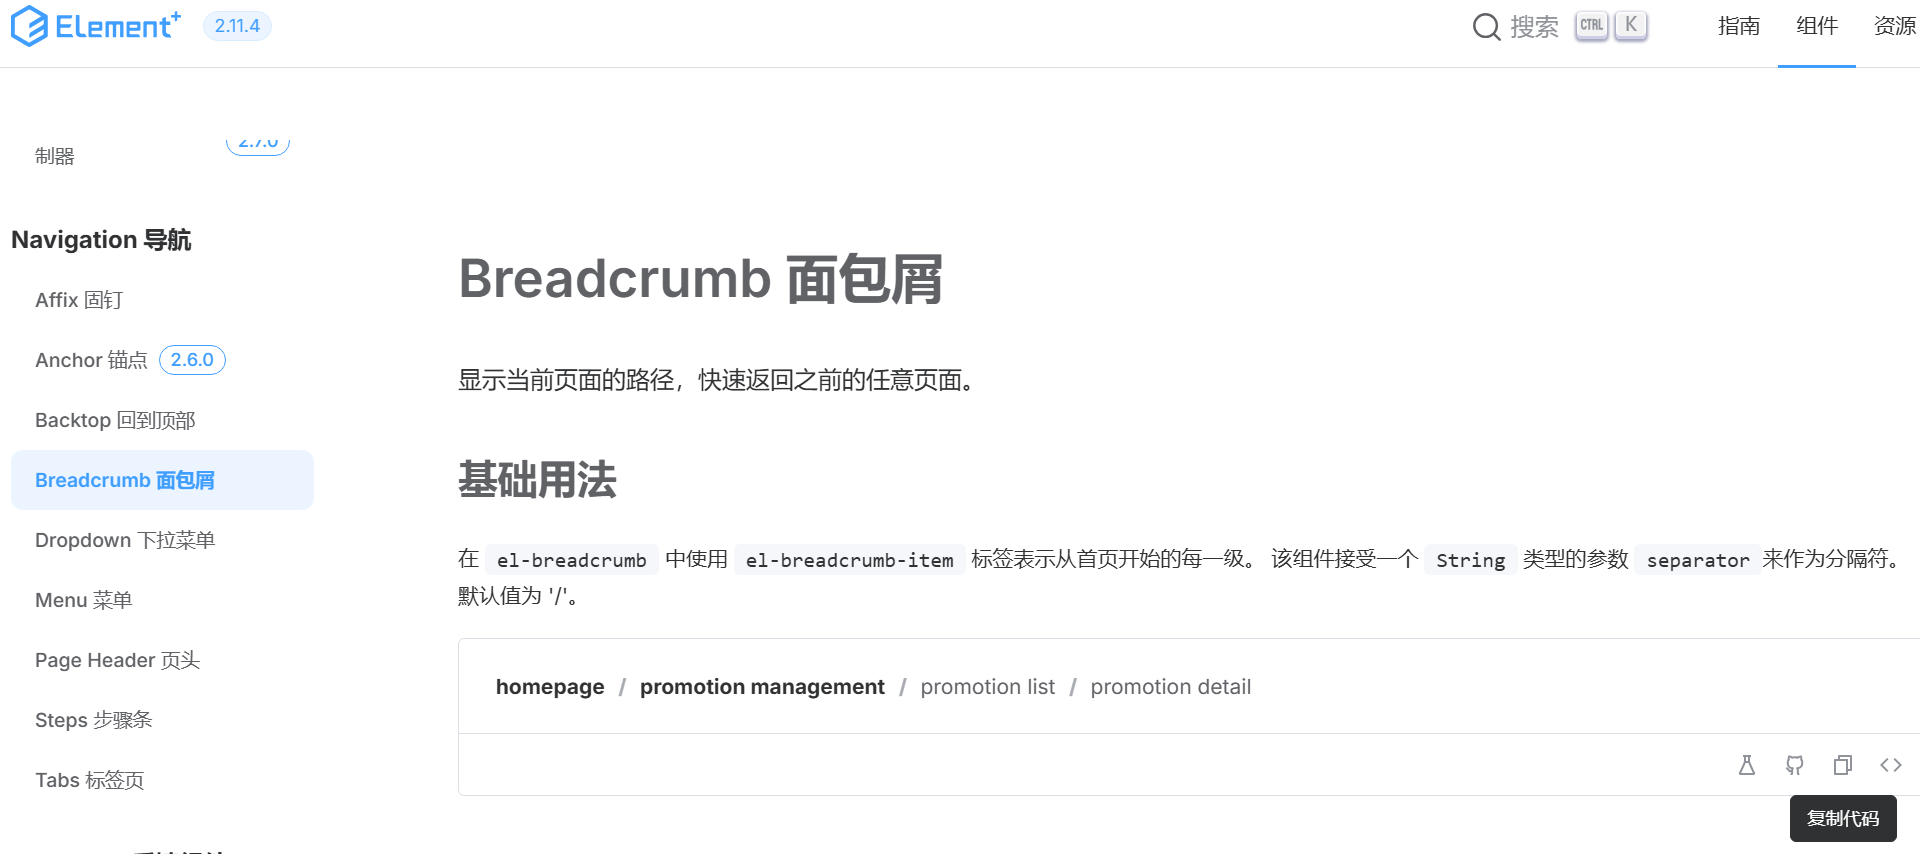
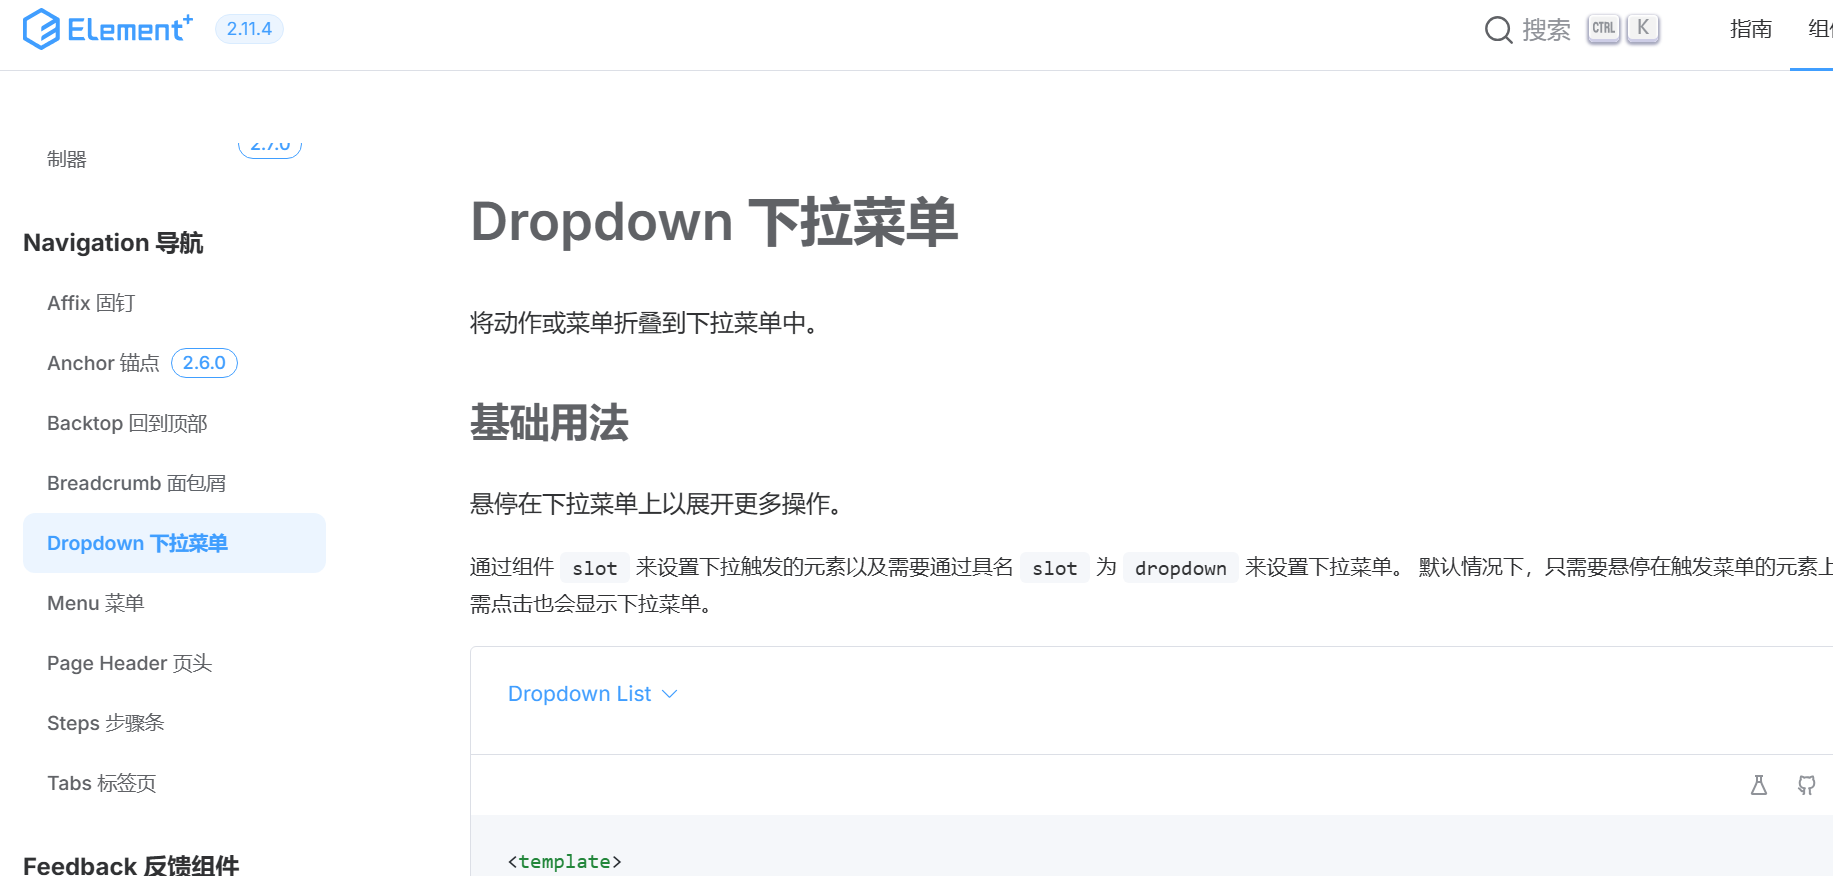
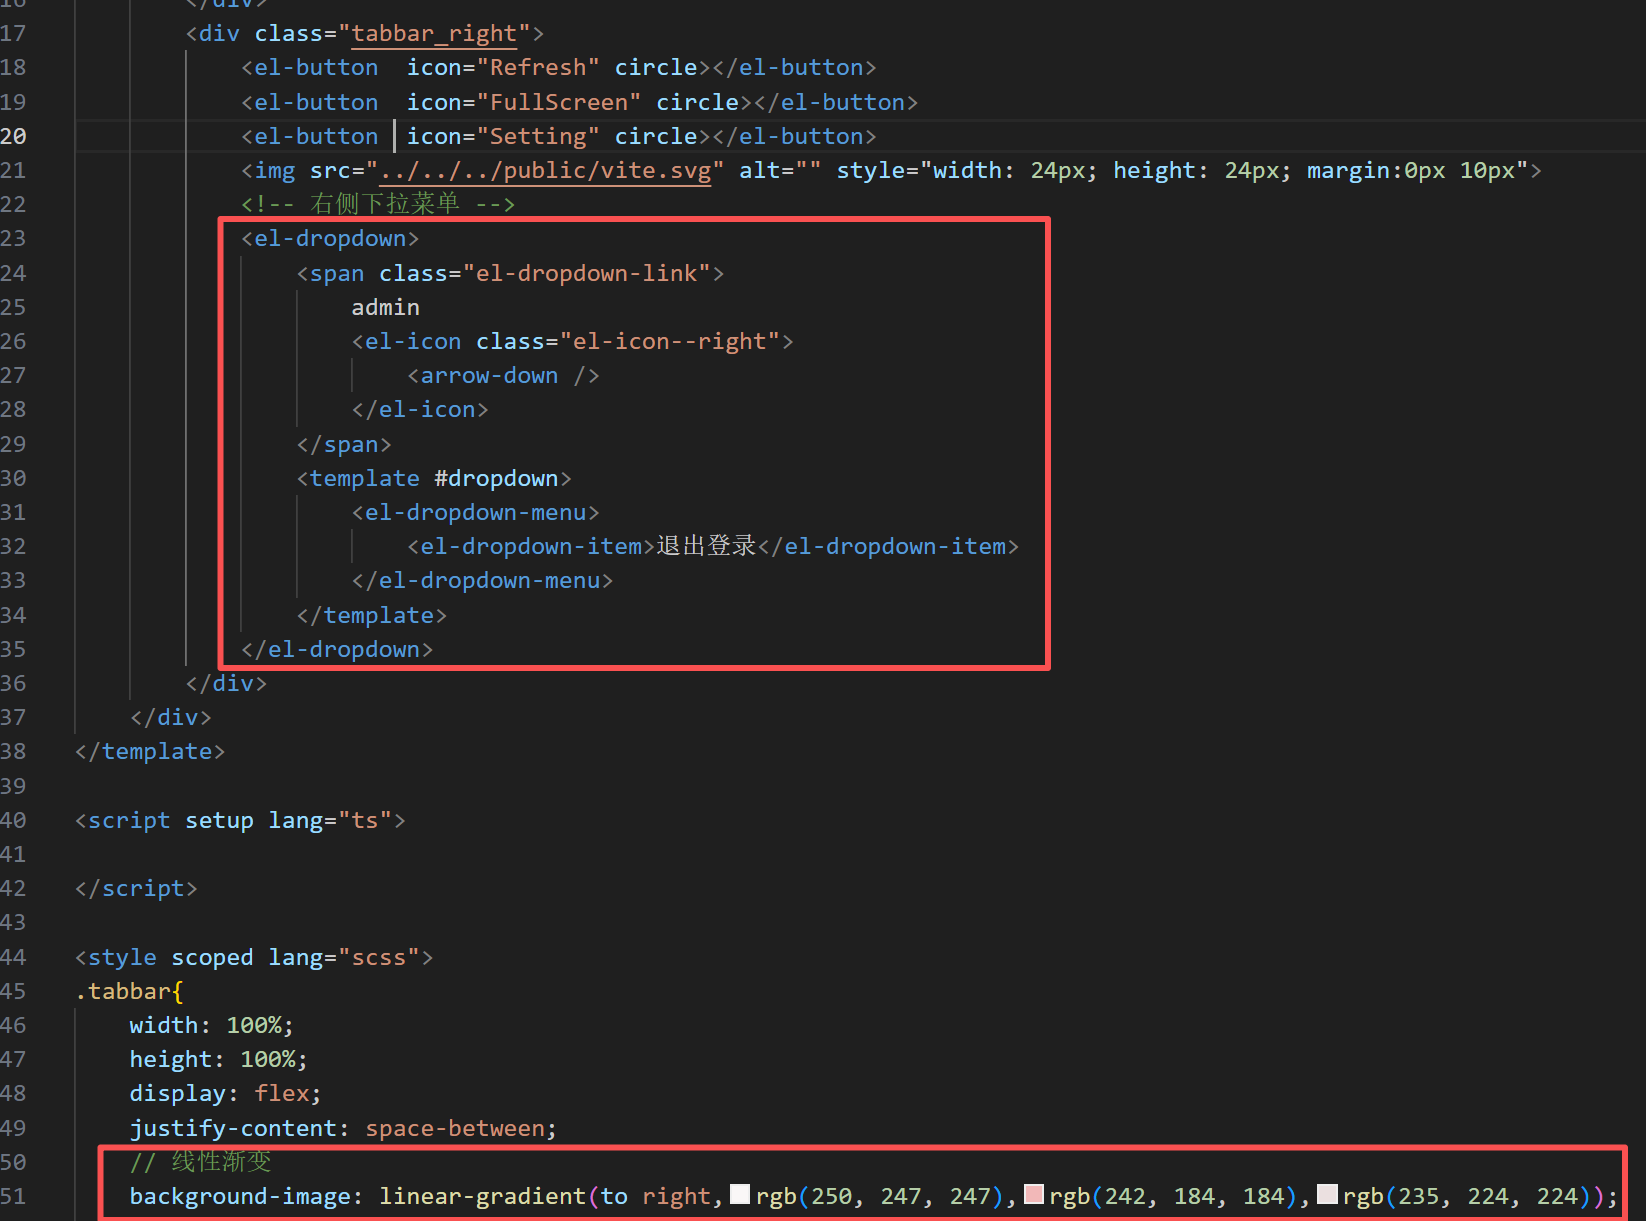
2.右边
Dropdown下拉菜单

3.菜单的折叠与收起
1.点击改变图标
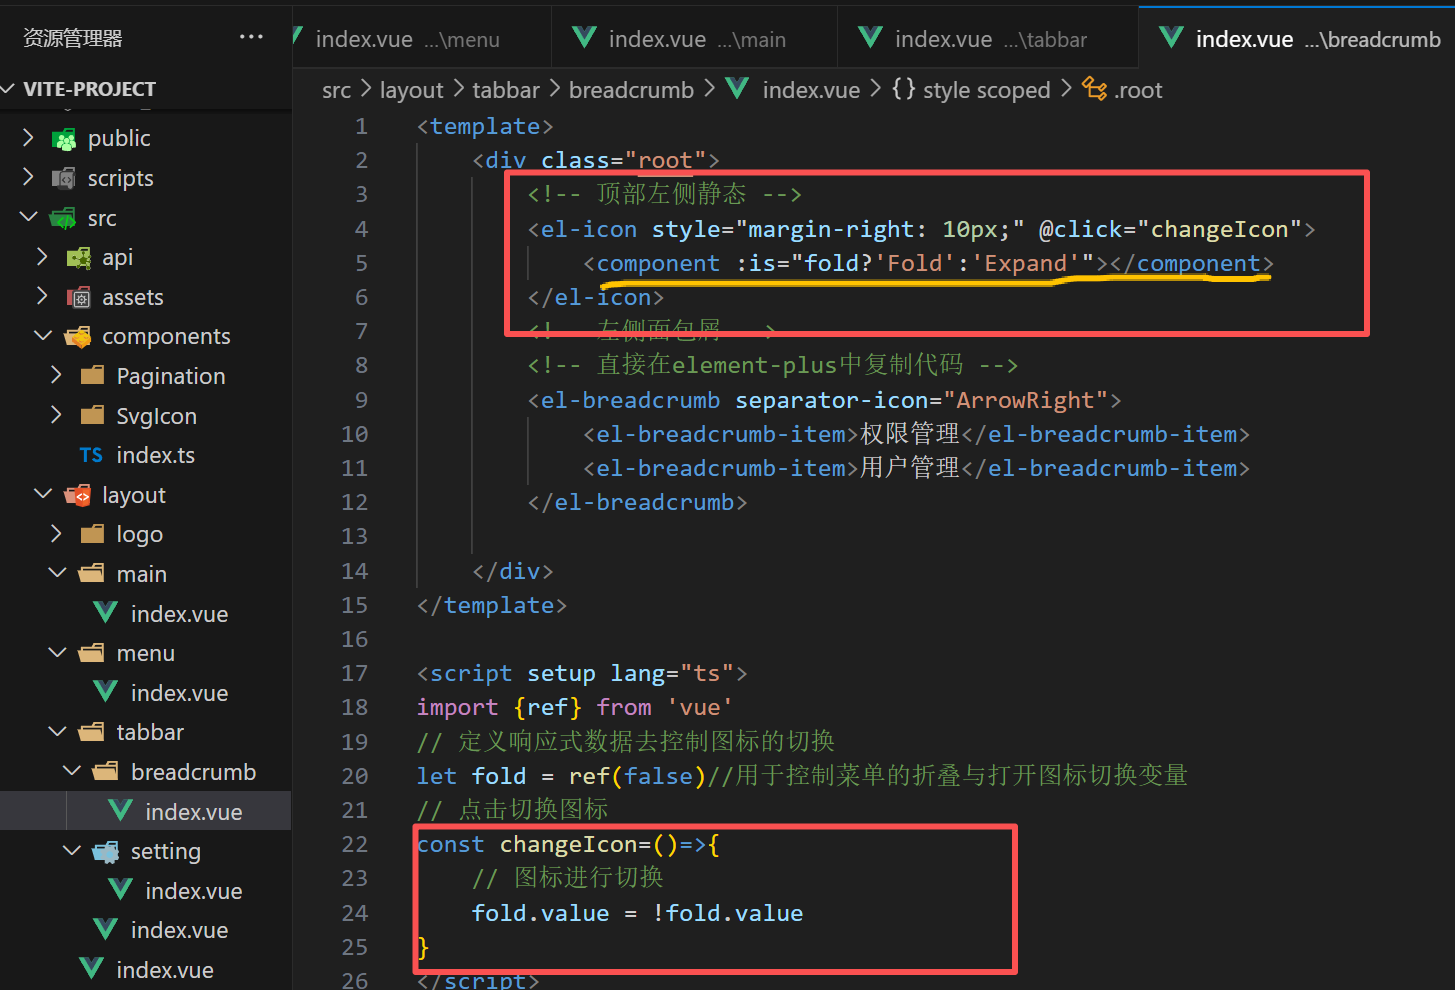
2.菜单的折叠与收起
涉及孙组件像祖组件传递数据,通过孙组件Breadcrumb中fold变量的true或false来判断是否要改变祖组件layout中的宽度
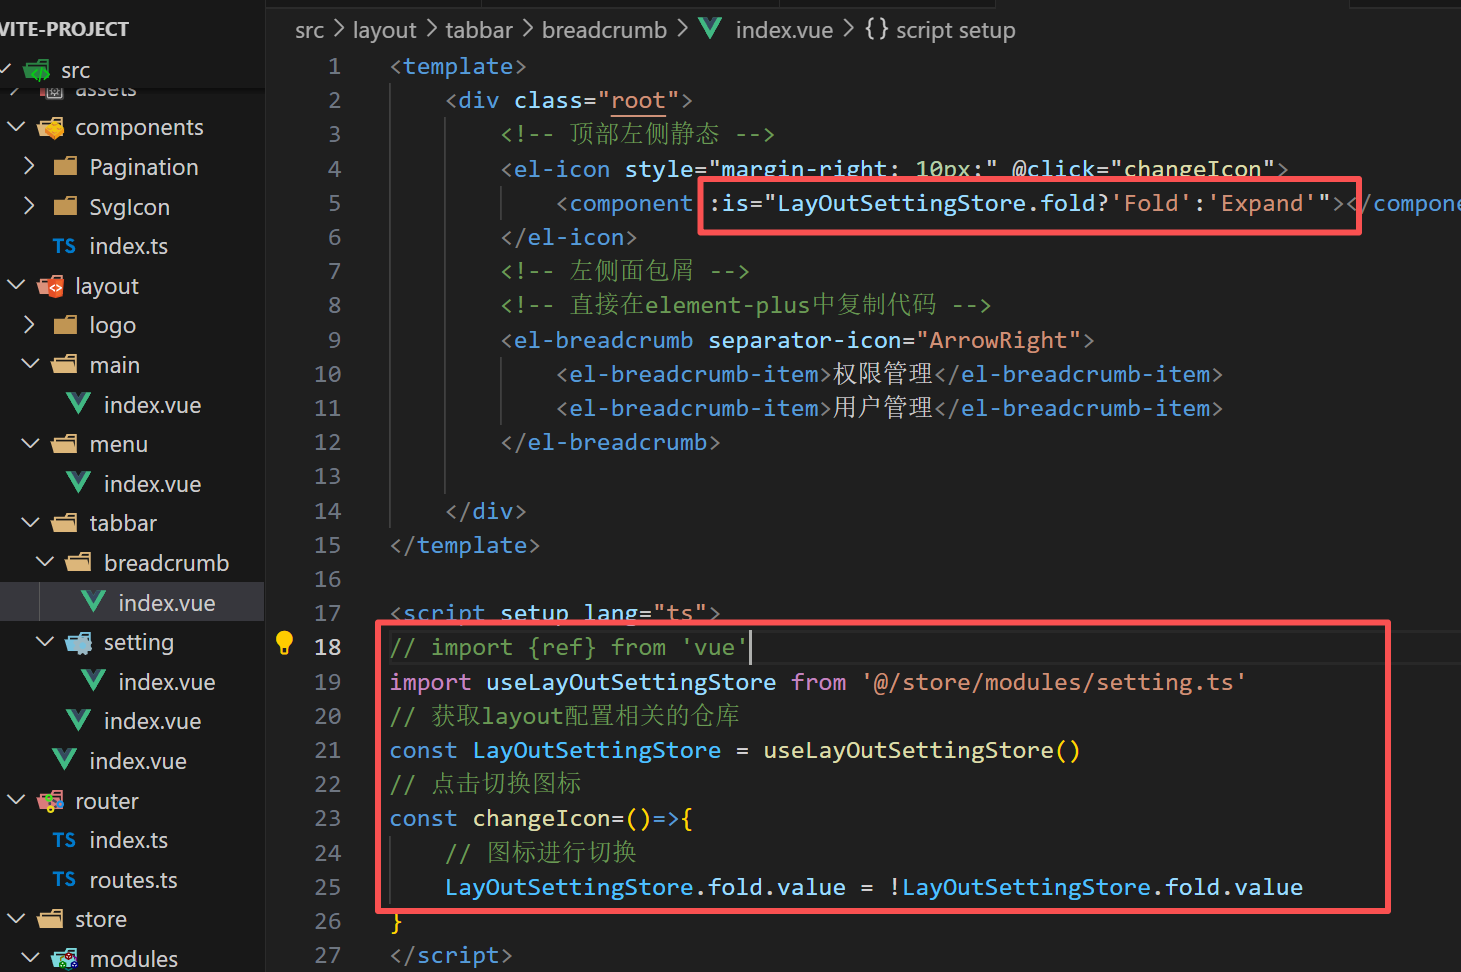
已知只要是仓库,那么组件的数据都是共享的
所以新建一个仓库 src/store/modules/setting.ts
稍微修改一下面包屑组件部分代码
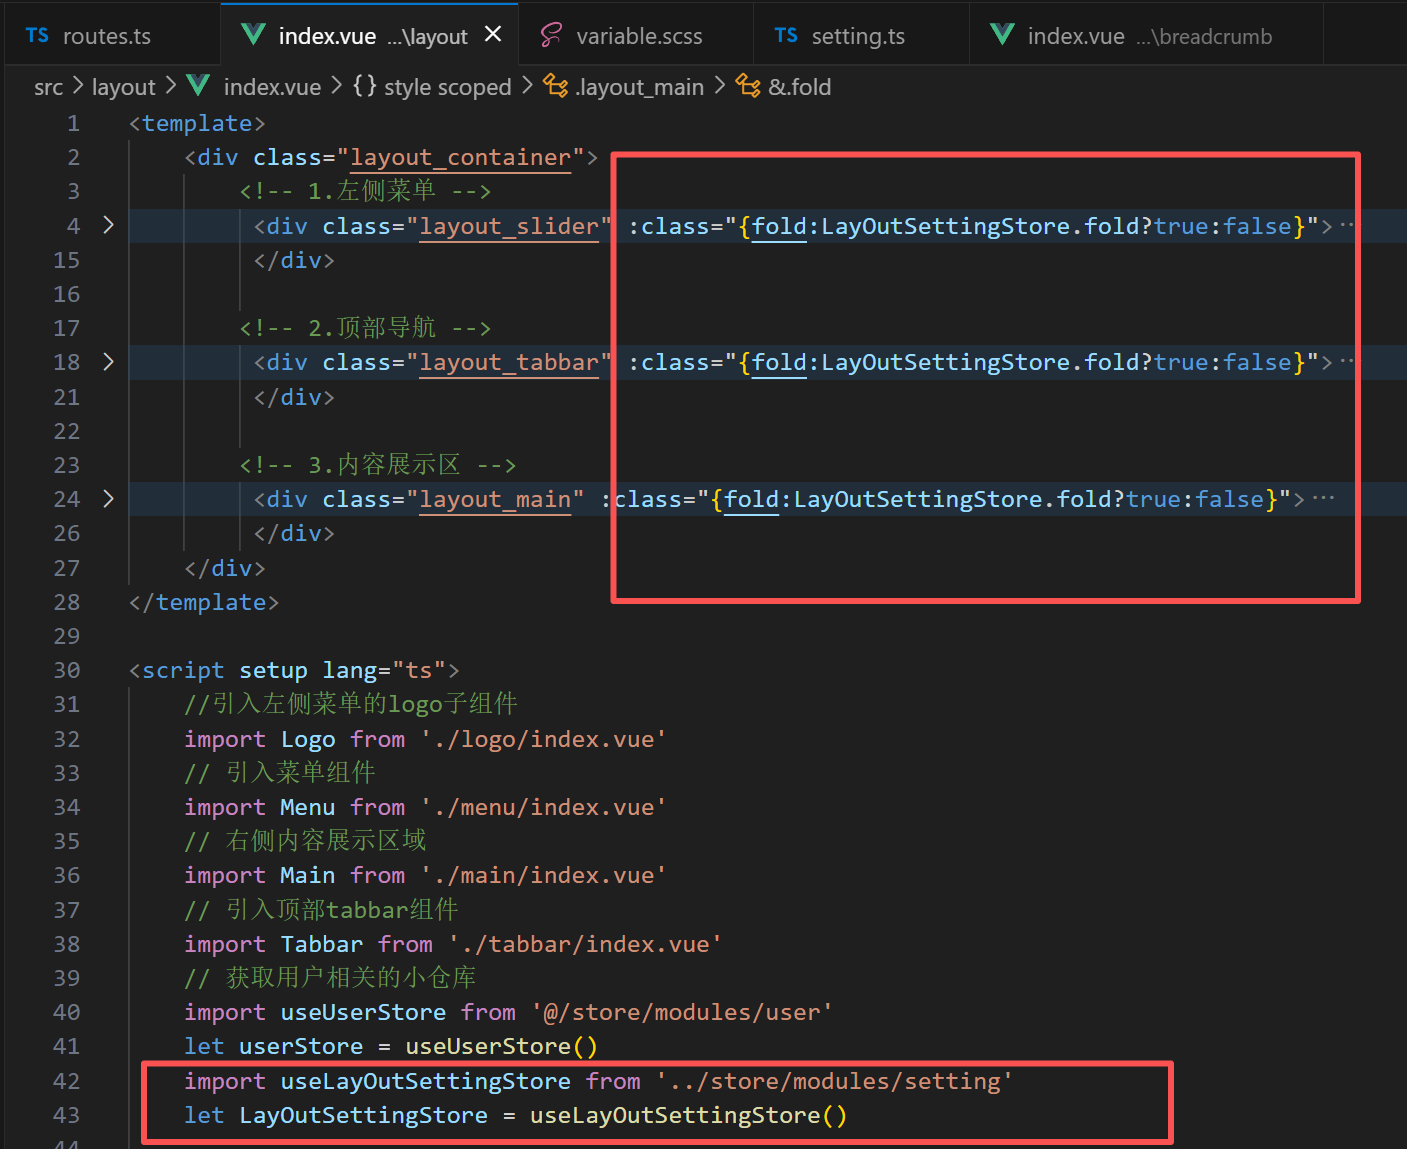
祖组件引入小仓库里面的LayOutSettingStore,加一个类,若为true,类生效,为false,类不生效
这样就做到了小仓库(pinia)的数据组件共享

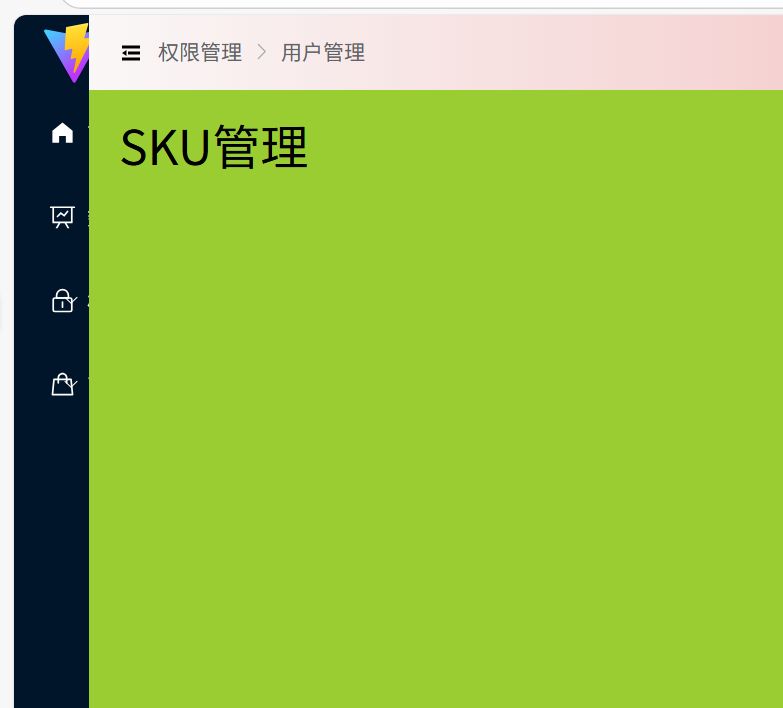
第三部分 根据菜单动态显示顶部导航区
未完待续...