linux入门5.1(Nginx服务器)
文章目录
- Nginx 服务器全方位介绍与总结
- 通过不同名称、port访问服务器
- 配置SSL/TLS
- 生成证书
- 项目实战:ecshop
- ecshop 介绍
- ecshop 安装
- 准备 LNMP 环境
- 准备数据库
- 准备 ecshop 站点
- 配置过程
- 反向代理
- 角色说明
- 代理服务器配置
- 整体总结
Nginx 服务器全方位介绍与总结
Nginx 是一款高性能的 HTTP 和反向代理服务器,凭借高效的网络 I/O 模型(如 epoll、kqueue、eventport),在高并发场景下表现卓越 —— 可支持高达 5 万个并发连接响应,且对内存、CPU 等系统资源消耗极低,运行稳定性强,广泛应用于网站服务、负载均衡、资源代理等场景。
通过不同名称、port访问服务器
[root@server ~ 09:24:23]# echo helloworld > /usr/share/nginx/html/index.html
[root@server ~ 09:27:23]# vim /etc/nginx/conf.d/vhost-name.conf
[root@server ~ 09:29:48]# mkdir /usr/share/nginx/www{1,2}
[root@server ~ 09:30:18]# echo hellowww1 > /usr/share/nginx/www1/index.html
[root@server ~ 09:31:43]# echo hellowww2 > /usr/share/nginx/www2/index.html
[root@server ~ 09:31:53]# systemctl restart nginx.service
[root@server ~ 09:32:11]# vim /etc/nginx/conf.d/vhost-port.conf
[root@server ~ 09:46:06]# echo hello8081 > /usr/share/nginx/8081/index.html
[root@server ~ 09:46:13]# echo hello8082 > /usr/share/nginx/8082/index.html
[root@server ~ 09:46:22]# systemctl restart nginx.service ###客户端登陆测试
[root@client ~ 09:27:48]# vim /etc/hosts
[root@client ~ 09:28:14]# curl http://www.wsf.cloud
helloworld
[root@client ~ 09:28:15]# vim /etc/hosts
[root@client ~ 09:30:55]# curl http://www1.wsf.cloud
helloworld
[root@client ~ 09:31:01]# curl http://www2.wsf.cloud
helloworld
[root@client ~ 09:32:17]# vim /etc/hosts
[root@client ~ 09:42:28]# curl http://www.wsf.cloud:8081
hello8081
[root@client ~ 09:46:31]# curl http://www.wsf.cloud:8082
hello8082
[root@client ~ 09:46:33]# cat /etc/hosts
127.0.0.1   localhost localhost.localdomain localhost4 localhost4.localdomain4
::1         localhost localhost.localdomain localhost6 localhost6.localdomain6
10.1.8.10   server.wsf.com server www1.wsf.cloud www2.wsf.cloud www.wsf.cloud
10.1.8.11   client.wsf.com client
配置SSL/TLS
生成证书
 openssl genrsa -out www.key 204870  openssl req -new -key www.key -out www.csr -subj "/C=CN/ST=JS/L=NJ/O=LM/OU=DEVOPS/CN=www.wsf.cloud/emailAddress=wsf@wsf.cloud"71  openssl x509 -req -days 3650 -in www.csr -signkey www.key -out www.crt
#配置站点72  mkdir /etc/ssl/certs/www.wsf.cloud73  mv www* /etc/ssl/certs/www.wsf.cloud74  vim /etc/nginx/conf.d/ssl.conf75  systemctl restart nginx76  vim /etc/nginx/nginx.conf77  systemctl restart nginx
项目实战:ecshop
ecshop 介绍
官网
ECShop多场景在线商城。
ecshop 安装
准备 LNMP 环境
### nginx/1.20.1
[root@server ~ 14:32:32]# systemctl enable nginx.service --now
Created symlink from /etc/systemd/system/multi-user.target.wants/nginx.service to /usr/lib/systemd/system/nginx.service.
[root@server ~ 14:32:45]# mv /usr/share/nginx/html/index.html{,.ori}
[root@server ~ 14:33:31]# systemctl status firewalld.service
● firewalld.service - firewalld - dynamic firewall daemonLoaded: loaded (/usr/lib/systemd/system/firewalld.service; disabled; vendor preset: enabled)Active: inactive (dead)Docs: man:firewalld(1)
### PHP 5.4.16
[root@server ~ 14:33:54]# yum install -y php php-fpm
[root@server ~ 14:36:13]# systemctl enable php-fpm.service
Created symlink from /etc/systemd/system/multi-user.target.wants/php-fpm.service to /usr/lib/systemd/system/php-fpm.service.
[root@server ~ 14:36:25]# cat > /usr/share/nginx/html/phpinfo.php << 'EOF'
> <?php phpinfo(); ?>
> EOF[root@server ~ 14:37:10]# systemctl restart nginx.service
[root@server ~ 14:38:17]# yum install -y mariadb-server
[root@server ~ 14:39:04]# systemctl enable mariadb.service --now
Created symlink from /etc/systemd/system/multi-user.target.wants/mariadb.service to /usr/lib/systemd/system/mariadb.service.
[root@server ~ 14:39:30]# systemctl enable php-fpm.service --now
## 安全初始化
# 设置root密码为redhat
# 删除匿名用户
# 删除测试数据库
[root@server ~ 14:39:58]# mysql_secure_installation
准备数据库
[root@server ~ 14:40:43]# mysql -u root -predhat
Welcome to the MariaDB monitor.  Commands end with ; or \g.
Your MariaDB connection id is 10
Server version: 5.5.68-MariaDB MariaDB ServerCopyright (c) 2000, 2018, Oracle, MariaDB Corporation Ab and others.Type 'help;' or '\h' for help. Type '\c' to clear the current input statement.MariaDB [(none)]> CREATE DATABASE ecshop;
Query OK, 1 row affected (0.00 sec)MariaDB [(none)]> CREATE USER ecshop@localhost IDENTIFIED BY 'redhat';
Query OK, 0 rows affected (0.00 sec)MariaDB [(none)]> GRANT ALL PRIVILEGES ON ecshop.* TO ecshop@localhost;
Query OK, 0 rows affected (0.00 sec)MariaDB [(none)]> FLUSH PRIVILEGES;
Query OK, 0 rows affected (0.00 sec)MariaDB [(none)]> exit
Bye
准备 ecshop 站点
准备 ecshop 站点配置文件。
[root@server ~ 14:42:52]# vim /etc/nginx/conf.d/vhost-www.wsf.cloud.conf
server {listen       80;listen       [::]:80;server_name  www.wsf.cloud;root         /usr/share/nginx/html;index index.php;location ~ \.php$ {try_files $uri =404;fastcgi_pass 127.0.0.1:9000;fastcgi_index index.php;fastcgi_param SCRIPT_FILENAME $document_root$fastcgi_script_name;include fastcgi_params;}
}
#准备 ecshop 站点数据文件,这里使用 ECShop_V4.1.20 版本。
[root@server ~ 14:50:24]# unzip ECShop_V4.1.20_UTF8.zip
[root@server ~ 14:47:00]# mv /usr/share/nginx/html/ /usr/share/nginx/html.ori
[root@server ~ 14:47:06]# cp -a ECShop_V4.1.20_UTF8_release20250416/source/ecshop /usr/share/nginx/html
[root@server ~ 14:47:13]# chown nginx:nginx -R /usr/share/nginx/html
[root@server ~ 14:47:20]# systemctl restart nginx.service
[root@server ~ 14:52:11]# yum install -y php-gd php-common php-pear php-mbstring php-mcrypt
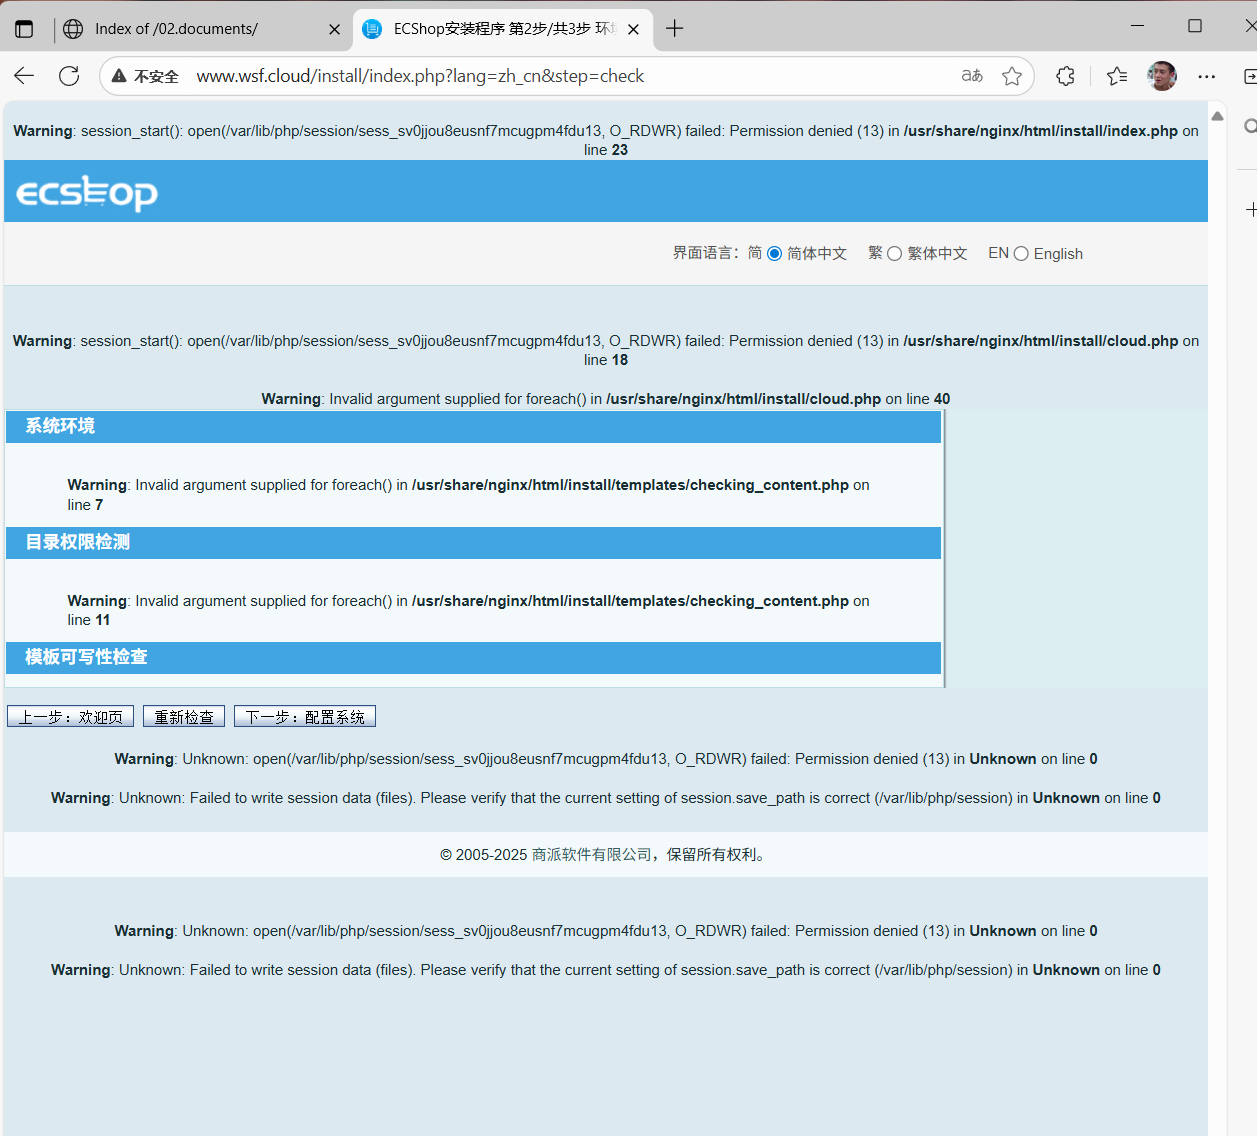
配置过程
客户端登录 http://www.wsf.cloud

# 把其他的扩展包一起安装
[root@server ~ 14:52:11]# yum install -y php-gd php-common php-pear php-mbstring php-mcrypt php-mysqlnd
#更改使用者和组为nginx
[root@server ~ 14:55:20]# vim /etc/php-fpm.d/www.conf
; RPM: apache Choosed to be able to access some dir as httpd
user = nginx
; RPM: Keep a group allowed to write in log dir.
group = nginx
[root@server ~ 14:58:44]# systemctl restart nginx.service php-fpm.service
#更改目录权限
[root@server ~ 15:11:31]# chown nginx:nginx -R /var/lib/php/
[root@server ~ 15:13:03]# systemctl restart nginx.service php-fpm.service

反向代理
客户端访问代理服务器,代理服务器会将客户端请求发送给真实服务器。
反向代理实现了隐藏内部服务器。
角色说明
-
代理服务器 proxy 10.1.8.20
-
真实服务器 server 10.1.8.10
代理服务器配置
[root@proxy ~ 15:59:39]# vim /etc/hosts
[root@proxy ~ 16:00:39]# vim /etc/nginx/conf.d/proxy.conf
[root@proxy ~ 16:07:33]# vim /etc/hosts
[root@proxy ~ 16:16:08]# cat /etc/hosts
127.0.0.1 localhost localhost.localdomain localhost4 localhost4.localdomain4
::1 localhost localhost.localdomain localhost6 localhost6.localdomain6
10.1.8.10 www.wsf.cloud
10.1.8.20 proxy
[root@proxy ~ 16:18:56]# cat /etc/nginx/conf.d/proxy.conf
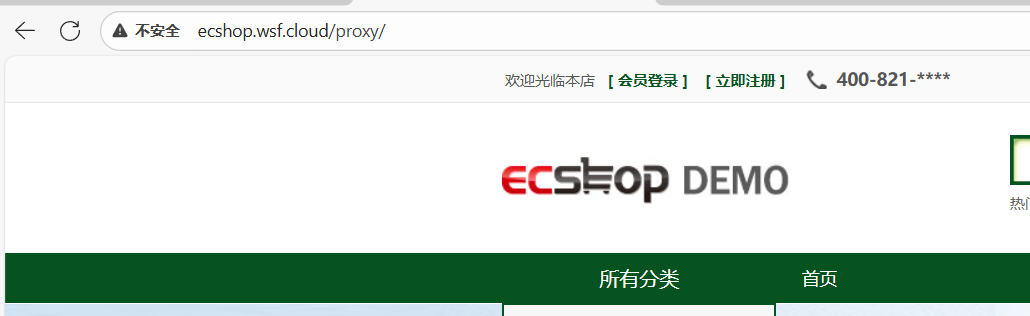
server {listen 80;listen [::]:80;server_name _;root /usr/share/nginx/html;#添加如下内容#proxy_redirect off;#proxy_set_header X-Real-IP $remote_addr;#proxy_set_header X-Forwarded-For $proxy_add_x_forwarded_for;#proxy_set_header Host $http_host;#新增 location 规则location /proxy/ {proxy_pass http://www.wsf.cloud/;}
}
#客户端访问10.1.8.20/proxy/时会打开www.wsf.cloud
#增加规则
[root@proxy ~ 16:52:04]# vim /etc/nginx/conf.d/proxy.conf
[root@proxy ~ 16:52:39]# mkdir /usr/share/nginx/8081
[root@proxy ~ 16:52:58]# echo 'welcome' > /usr/share/nginx/8081/index.html
[root@proxy ~ 16:53:29]# systemctl restart nginx.service
[root@proxy ~ 16:53:34]# cat /etc/nginx/conf.d/proxy.conf
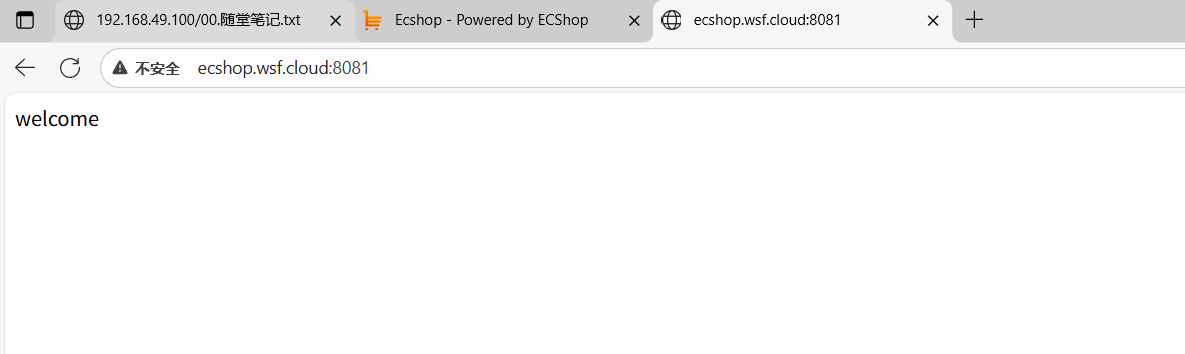
server {listen 80;listen [::]:80;server_name _;root /usr/share/nginx/html;#添加如下内容#proxy_redirect off;#proxy_set_header X-Real-IP $remote_addr;#proxy_set_header X-Forwarded-For $proxy_add_x_forwarded_for;#proxy_set_header Host $http_host;#新增 location 规则location /proxy/ {proxy_pass http://www.wsf.cloud/;}location /welcome/ {proxy_pass http://10.1.8.20:8081/;}
}
server {listen 8081;server_name _;root /usr/share/nginx/8081/;
}
#增加后会使浏览器访问10.1.8.20:8081端口时进入我们优先配置好的页面
整体总结
Nginx 作为高性能服务器,核心能力覆盖基础 Web 服务、虚拟主机、HTTPS 加密、身份认证、动态脚本支持、反向代理、动静分离等场景,其优势可总结为:
- 高性能:高效 I/O 模型支持高并发,资源消耗低;
- 多功能:集 Web 服务、代理、负载均衡、动静分离于一体,满足复杂业务需求;
- 易配置:模块化配置文件,语法清晰,便于扩展和维护;
- 高稳定:运行可靠,适合生产环境长期使用。
``