Ansible 入门到实战:自动化运维的瑞士军刀
一、Ansible 是什么?
Ansible 是一款由 Python 编写的开源自动化运维工具,用于配置管理、应用部署、任务编排等场景。
✅ 核心优势:
无需客户端:基于 SSH 协议,轻量级;
易学易用:YAML 语法,上手快;
功能强大:支持模块、剧本、变量、模板等;
社区活跃:被 Red Hat 收购,生态成熟。
二、Ansible 架构与核心组件
| 组件 | 说明 |
|---|---|
| Ansible | 核心引擎 |
| Modules | 执行具体任务的模块(如 copy、yum、service) |
| Playbooks | YAML 编写的任务剧本 |
| Inventory | 主机清单,定义目标主机与分组 |
| Plugins | 扩展功能,如连接、日志、邮件等 |
三、快速部署 Ansible
1️⃣ 环境示例
| 角色 | IP |
|---|---|
| 管理端 | 192.168.10.100 |
| 被控端 | 192.168.10.101 |
| 被控端 | 192.168.10.102 |
2️⃣ 安装 Ansible
yum install -y epel-release
yum install -y ansible
3️⃣ 配置主机清单
编辑 /etc/ansible/hosts:
[webservers]
192.168.10.101[dbservers]
192.168.10.102
4️⃣ 设置 SSH 免密登录
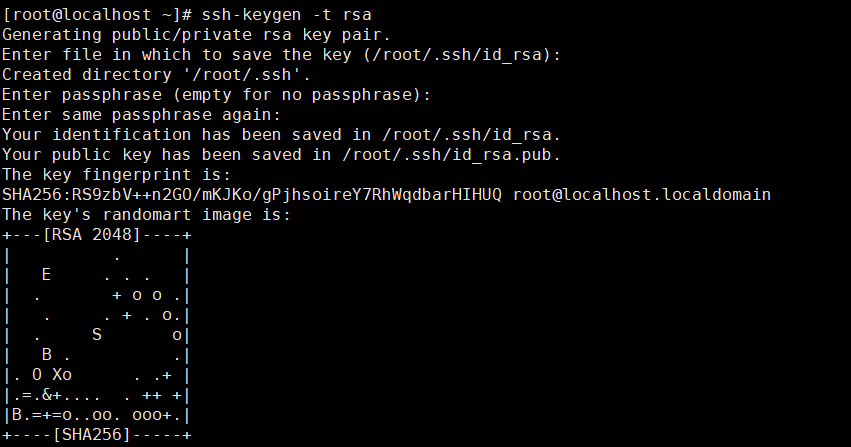
生成管理机的密钥
ssh-keygen -t rsa 生成被管理机器的密钥
sshpass -p '123456' ssh-copy-id root@192.168.10.101
sshpass -p '123456' ssh-copy-id root@192.168.10.102
当然也可以手动生成密钥
ssh-copy-id root@192.168.10.101
ssh-copy-id root@192.168.10.102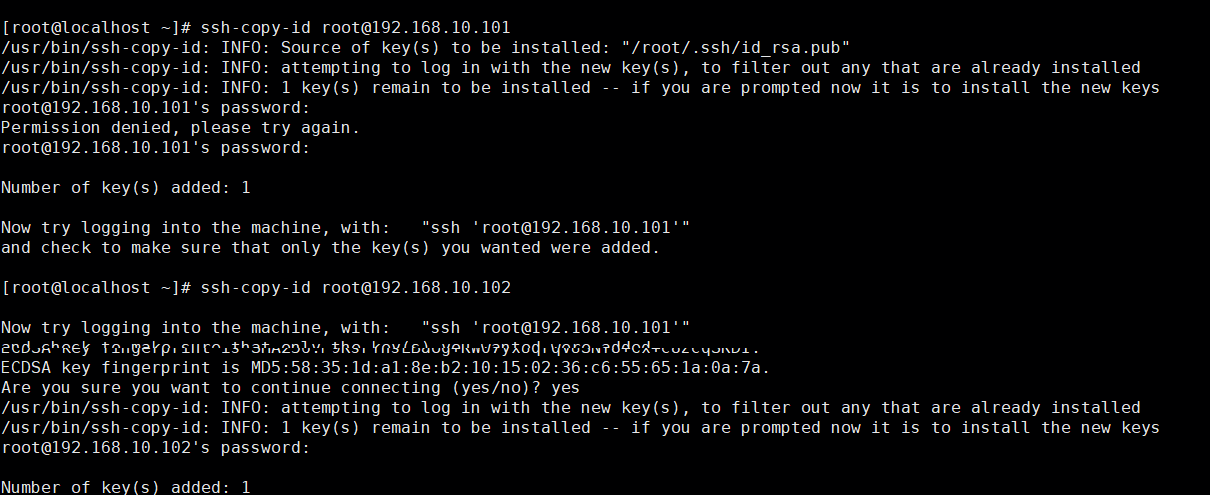
四、常用模块速查表
表格
复制
| 模块 | 功能说明 |
|---|---|
| command | 执行命令(不支持管道) |
| shell | 执行命令(支持管道、重定向) |
| copy | 拷贝文件或内容 |
| file | 设置文件属性、创建链接、删除 |
| user | 用户管理 |
| group | 用户组管理 |
| yum | 安装/卸载软件包 |
| service | 启动/停止/设置服务 |
| cron | 添加/删除计划任务 |
| script | 在远程执行本地脚本 |
| setup | 收集主机信息(facts) |
| ping | 测试主机连通性 |
五、模块使用示例
shell模块
在/home 目录下所有的文件和文件夹
ansible all -m command -a "chdir=/home ls ./"给dbserve(192.168.10.102)的test用户命设置密码
ansible dbservers -m shell -a 'echo 123456 | passwd --stdin test'获取dbserve(192.168.10.102)中的ifconfig中的ens33的第二行的第二个
ansible dbservers -m shell -a 'echo $(ifconfig ens33 | awk "NR==2 {print $2}") | cut -d " " -f2'
ansible dbservers -m shell -a 'echo $(ifconfig ens33 | awk "NR==2 {print \$2}")'
cron模块
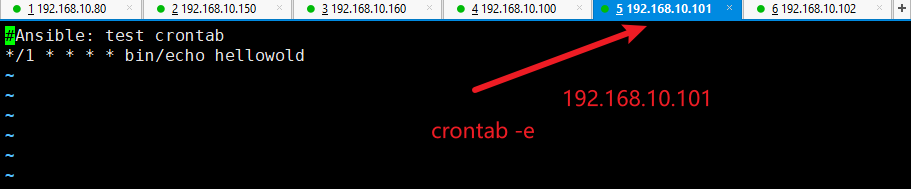
ansible webservers -m cron -a 'minute="*/1" job="/bin/echo helloworld" name="test crontab"'
webserver下面的状态
ansible webservers -a 'crontab -l'
ansible webservers -m cron -a 'name="test crontab" state=absent'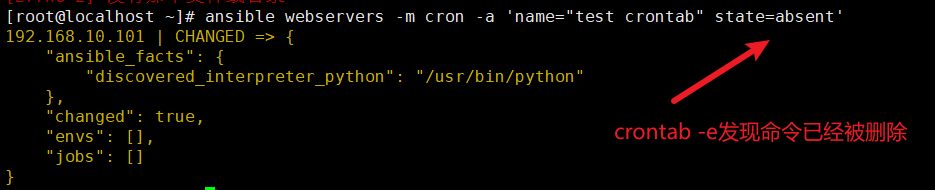
usr模块
ansible dbservers -m user -a 'name="test01"'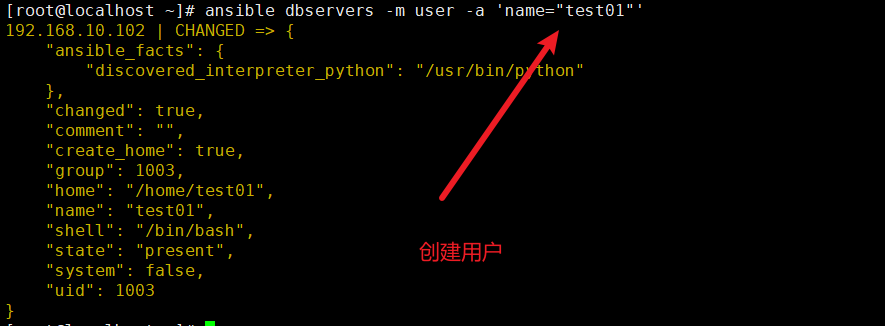
ansible dbservers -m command -a 'tail -2 /etc/passwd'
ansible dbservers -m user -a 'name="test01" state=absent'
group 模块
ansible dbservers -m group -a 'name=mysql gid=306 system=yes'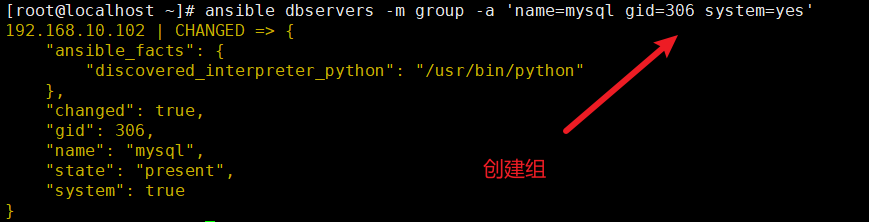
ansible dbservers -a 'tail /etc/group'
ansible dbservers -m user -a 'name=test01 uid=306 system=yes group=mysql'	#将test01用户添加到mysql组中
ansible dbservers -a 'tail /etc/passwd'
ansible dbservers -a 'id test01'
copy 模块
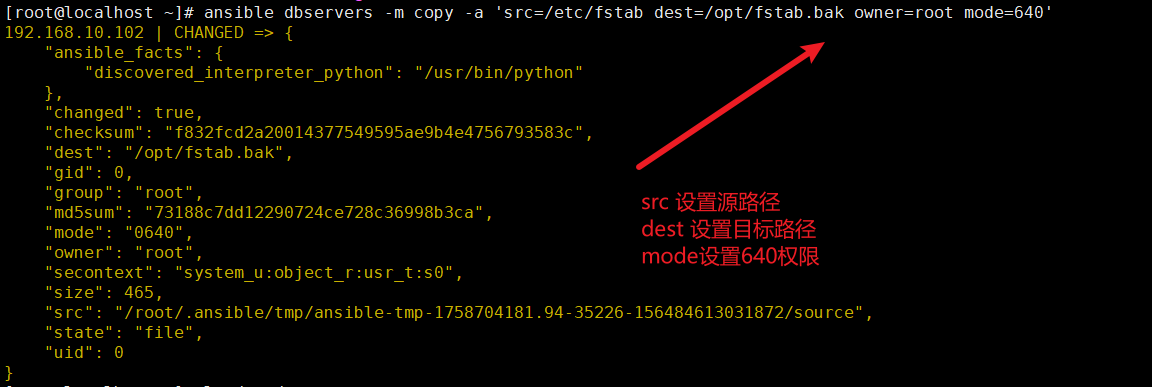
ansible dbservers -m copy -a 'src=/etc/fstab dest=/opt/fstab.bak owner=root mode=640'
ansible dbservers -a 'ls -l /opt'
ansible dbservers -a 'cat /opt/fstab.bak'
ansible dbservers -m copy -a 'content="helloworld" dest=/opt/hello.txt'
ansible dbservers -a 'cat /opt/hello.txt'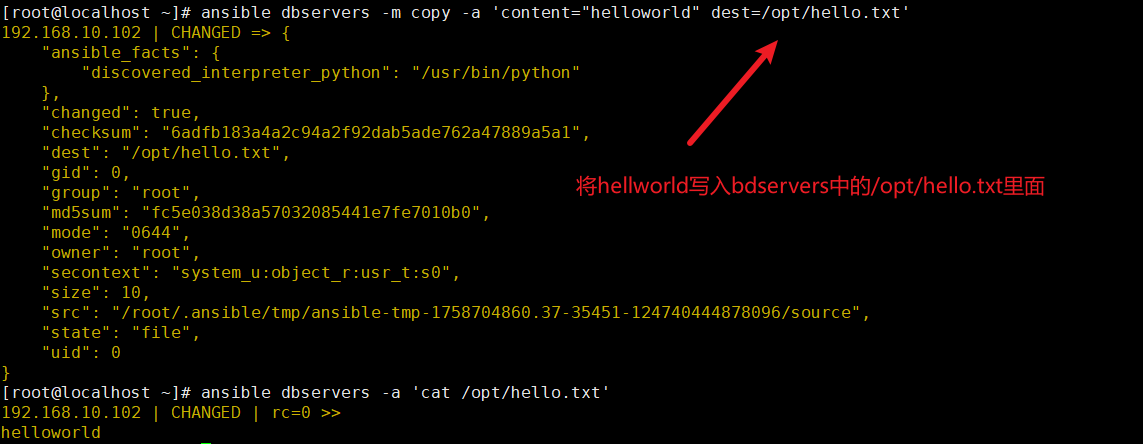
file 模块
ansible dbservers -m file -a 'owner=test01 group=mysql mode=644 path=/opt/fstab.bak'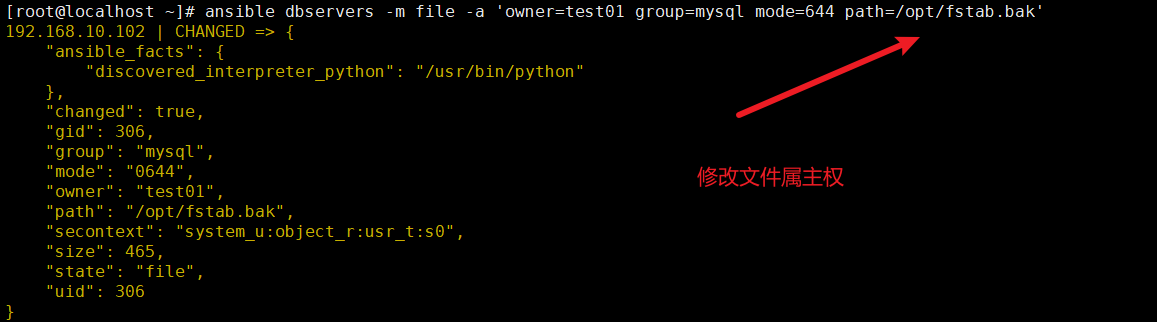
ansible dbservers -m file -a 'path=/opt/fstab.link src=/opt/fstab.bak state=link'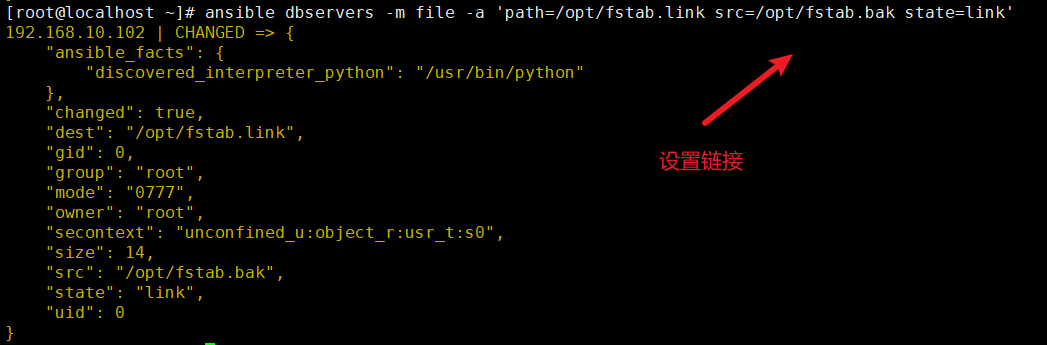
ansible dbservers -m file -a "path=/opt/abc.txt state=touch"			#创建一个文件
ansible dbservers -m file -a "path=/opt/abc.txt state=absent"			#删除一个文件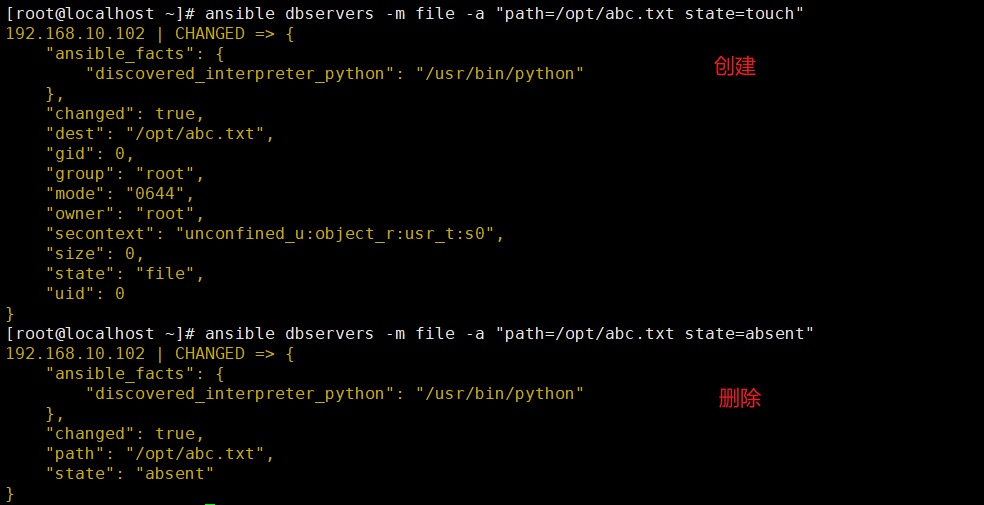
hostname 模块
ansible dbservers -m hostname -a "name=mysql01"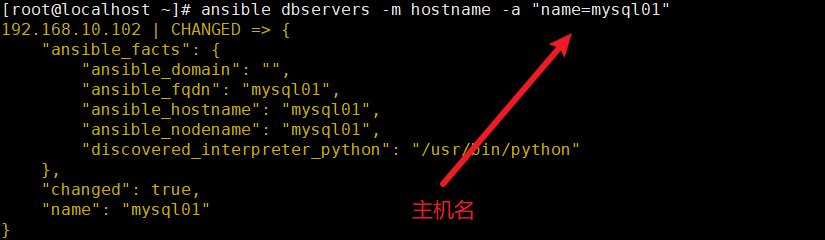
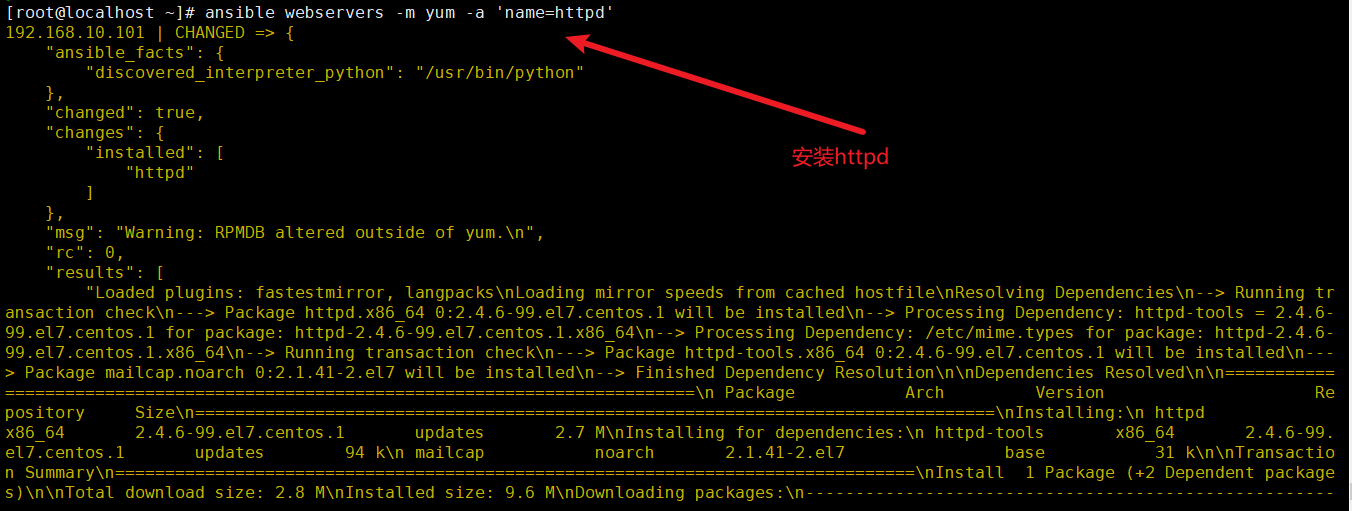
yum 模块
ansible webservers -m yum -a 'name=httpd' #安装服务
ansible webservers -m yum -a 'name=httpd state=absent' #卸载服务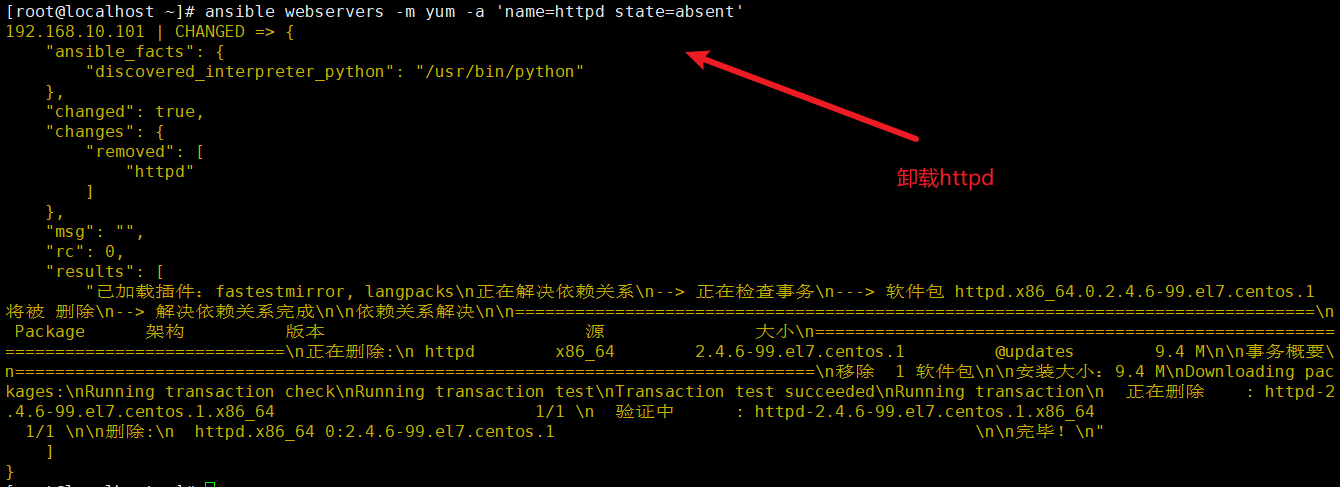
service/systemd 模块
ansible webservers -a 'systemctl status httpd'
ansible webservers -m service -a 'enabled=true name=httpd state=started' # 开启httpd
script 模块
vim test.sh
#!/bin/bash
echo "hello ansible from script" > /opt/script.txtchmod +x test.sh
ansible webservers -m script -a 'test.sh'
ansible webservers -a 'cat /opt/script.txt'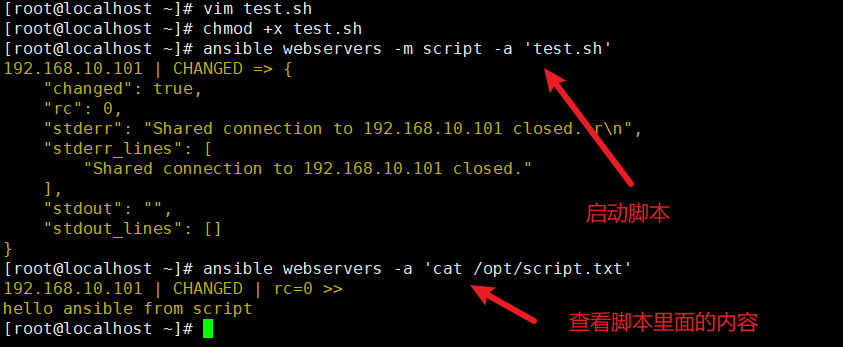
setup 模块
ansible webservers -m setup #获取mysql组主机的facts信息

ansible dbservers -m setup -a 'filter=*ipv4' #使用filter可以筛选指定的facts信息
补充
# 内存信息
ansible all -m setup -a "filter=ansible_memory_mb*"# 具体内存信息
ansible all -m setup -a "filter=ansible_memory_mb"
ansible all -m setup -a "filter=ansible_swaptotal_mb"# 磁盘信息
ansible all -m setup -a "filter=ansible_devices*"
ansible all -m setup -a "filter=ansible_mounts*"# 具体磁盘信息
ansible all -m setup -a "filter=ansible_devices"
ansible all -m setup -a "filter=ansible_mounts"
ansible all -m setup -a "filter=ansible_device_links"# 网络信息
ansible all -m setup -a "filter=ansible_*ipv4*"
ansible all -m setup -a "filter=ansible_default_ipv4*"# 具体 IP 信息
ansible all -m setup -a "filter=ansible_default_ipv4"
ansible all -m setup -a "filter=ansible_all_ipv4_addresses"
六、Inventory 高级用法
1️⃣ 分组与范围
[webservers]
192.168.10.10[1:5][dbservers]
db-[a:f].example.org
2️⃣ 主机变量
192.168.10.101 ansible_port=22 ansible_user=root ansible_password=abc12343️⃣ 组变量
[webservers:vars]
ansible_user=root
ansible_password=abc1234
4️⃣ 组嵌套
[nginx]
192.168.10.20[apache]
192.168.10.30[webs:children]
nginx
apache
七、总结与建议
✅ 初学者:先掌握常用模块 + Inventory + Playbook 基础;
✅ 进阶者:学习角色(Role)、变量、模板、条件判断;
✅ 生产环境:使用 Ansible Tower/AWX 做可视化与权限管理;
✅ 最佳实践:保持 Playbook 简洁、复用性强,使用 Git 做版本控制。