容器化部署番外篇之Nexus3搭建私有仓库09
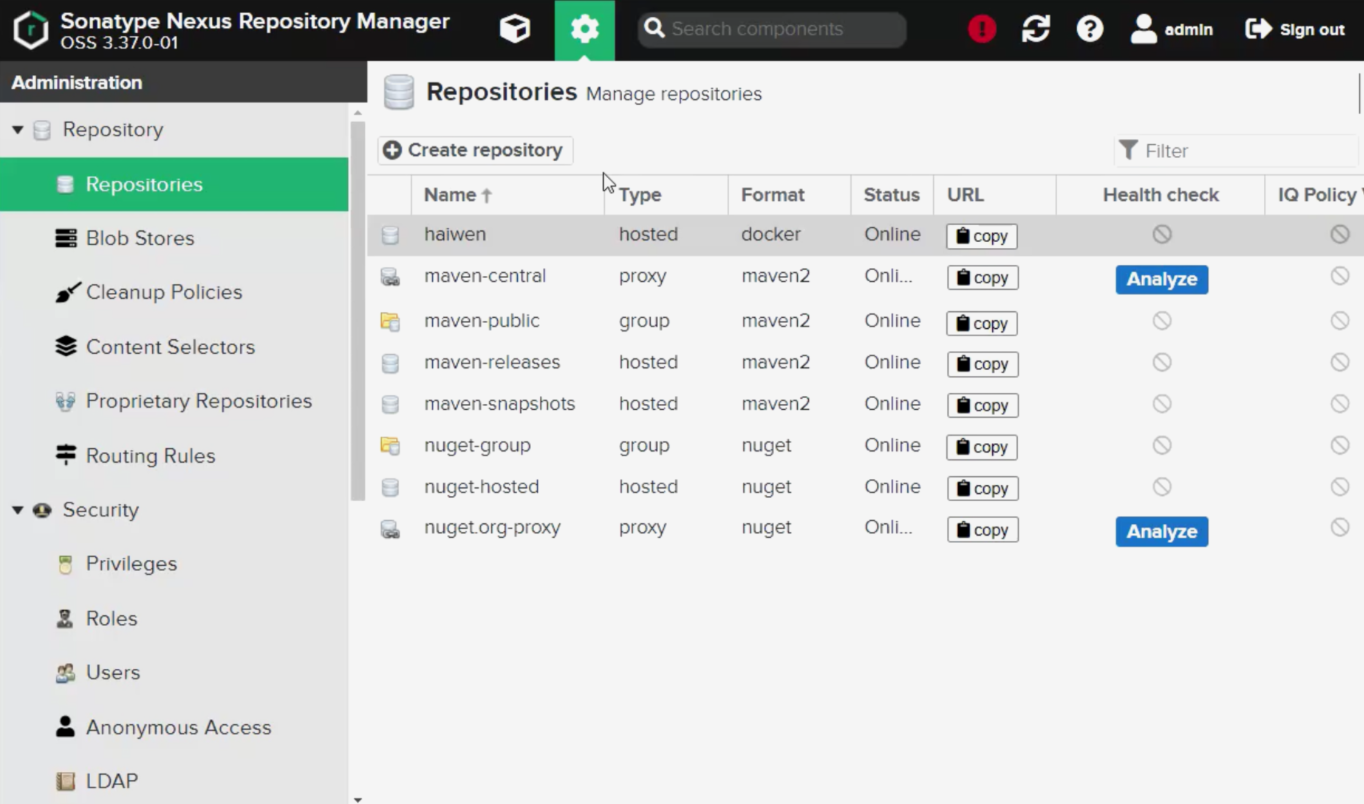
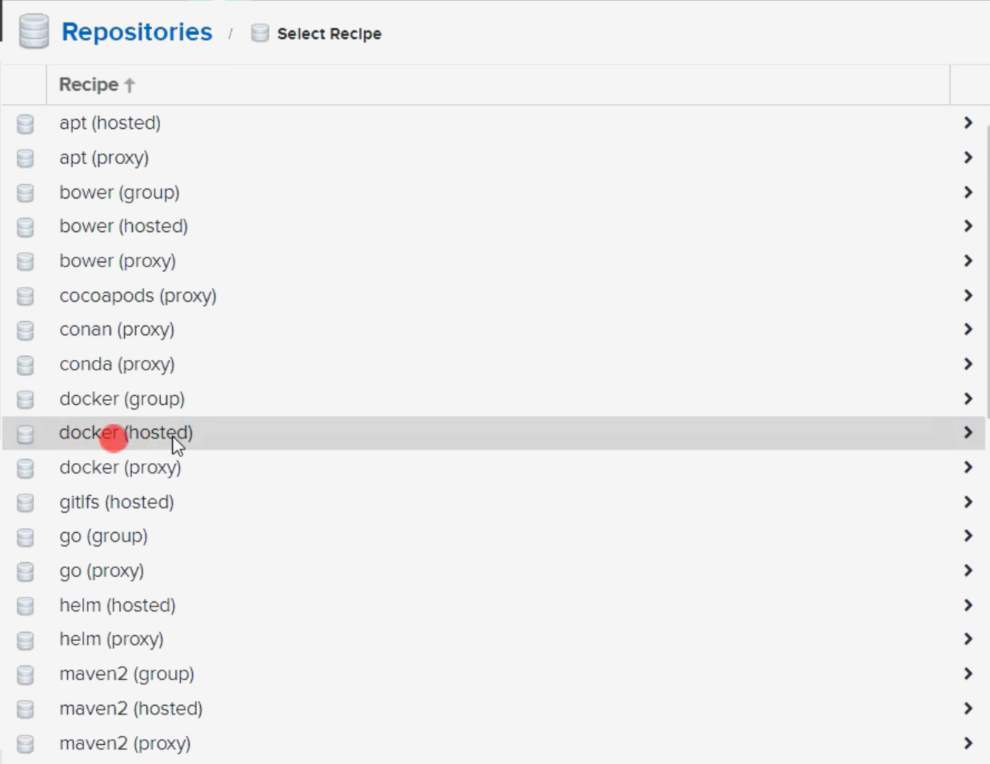
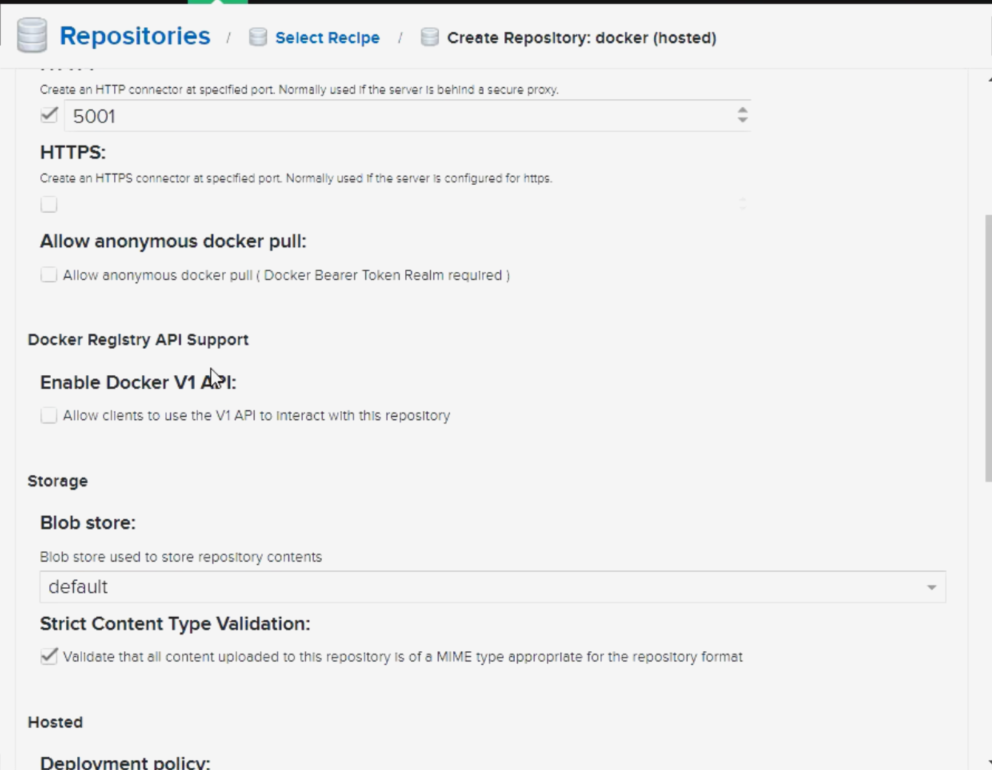
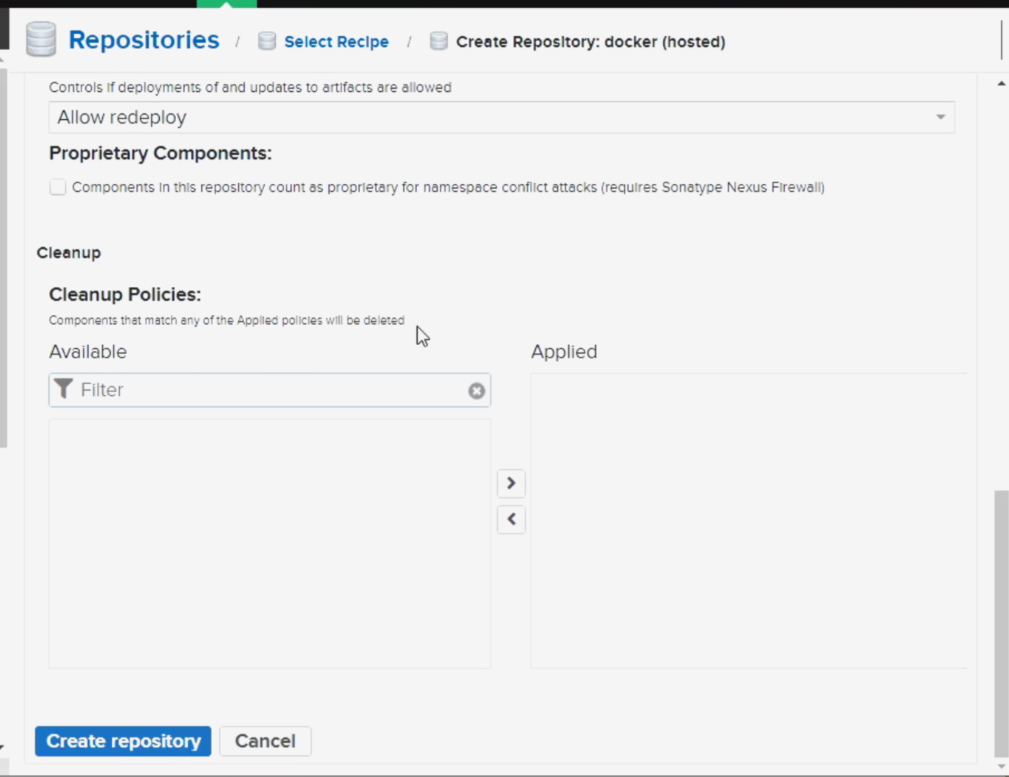
一、Nexus3搭建私有镜像仓库
公有:dockerhub 阿里云等
私有:docker-registry Nexus3
安装:
docker run -d --name nexus3 --restart=always -p 8088:8082 -p 5001:5001 --mount src=nexus-data,target=/nexus-data sonatype/nexus3
访问:IP:8088
查看密码:docker exec nexus3 cat /nexus-data/admin.password
需要修改密码:admin/密码
步骤:
1)创建私有镜像仓库
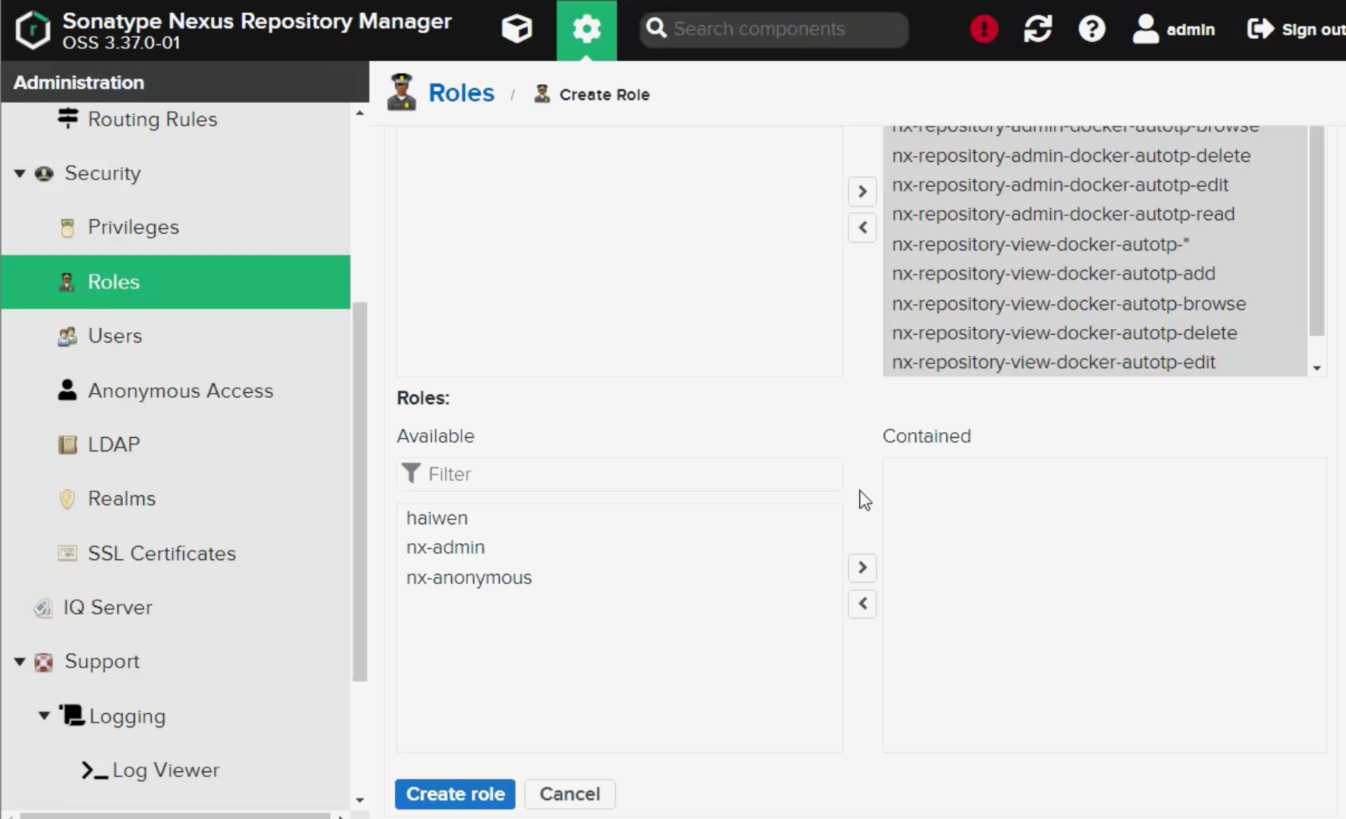
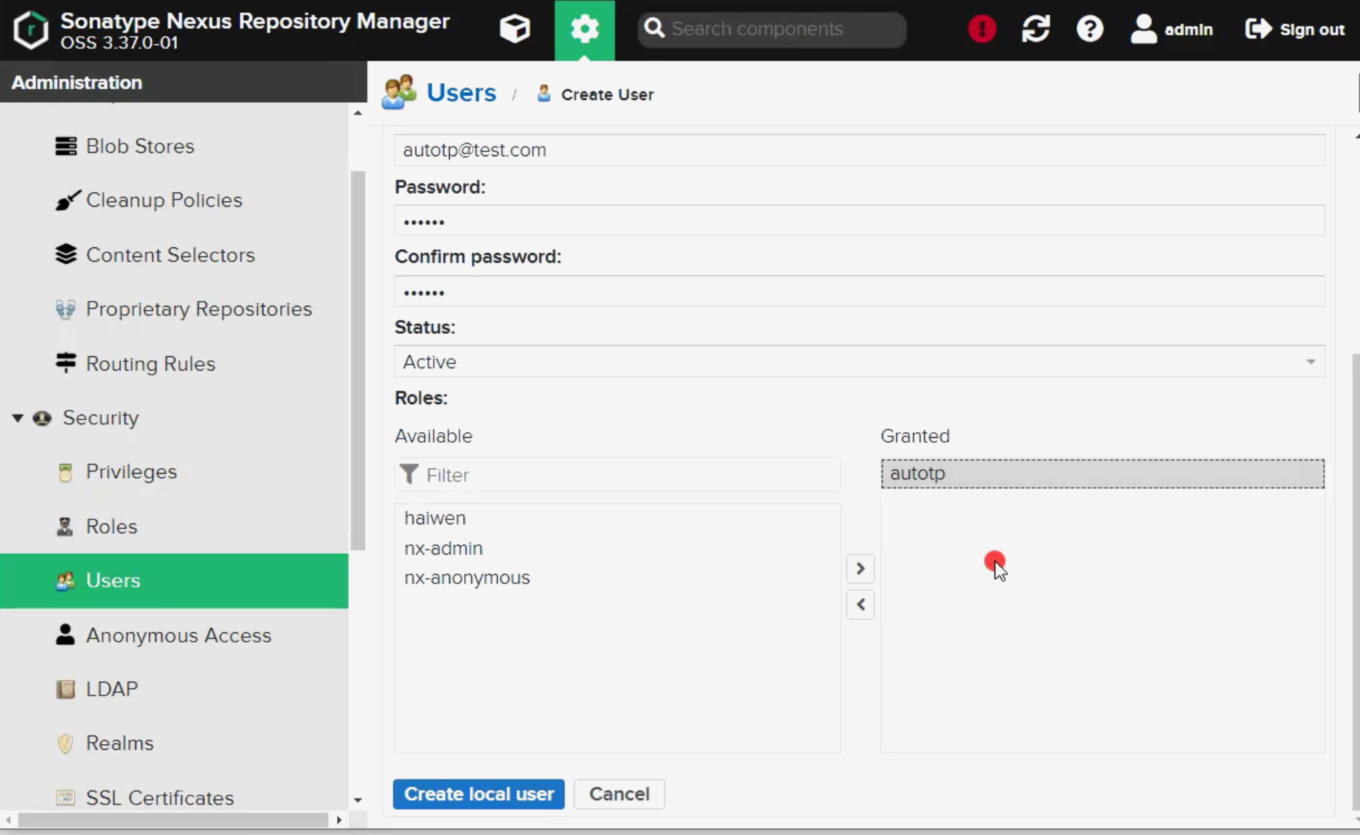
2)创建角色、用户
3)推送镜像到镜像仓库
解除http推送镜像:vim /etc/docker/daemon.json
{"insecure-registries":["192.168.xx.xx:5001"]}
本地镜像打上标签:
docker tag nginx:latest 192.168.21.142:5001/autotpnginx:v1

登录远程仓库:
docker login 192.168.21.142:5001
登录后推送标记后的镜像:
docker push 192.168.21.142:5001/autotpnginx:v1
拉取镜像(需要先登录\docker配置文件修改重启):
docker pull 192.168.21.142:5001/autotpnginx:v1
输入用户名、密码退出:docker logout 192.168.21.142:5001