【办公类-109-04】20250913圆牌卡片(接送卡被子卡床卡入园卡_word编辑单面)
背景需求:
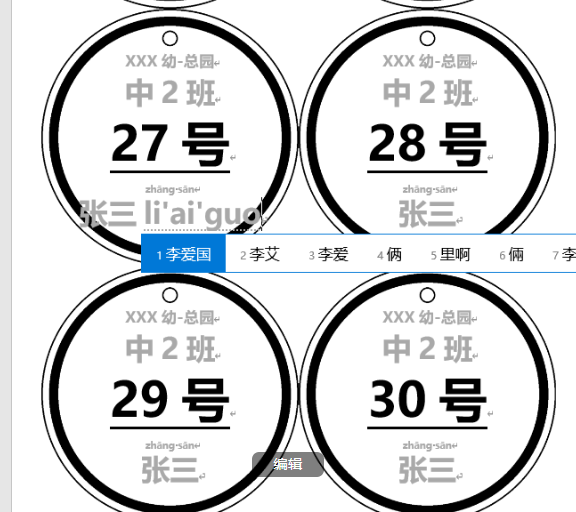
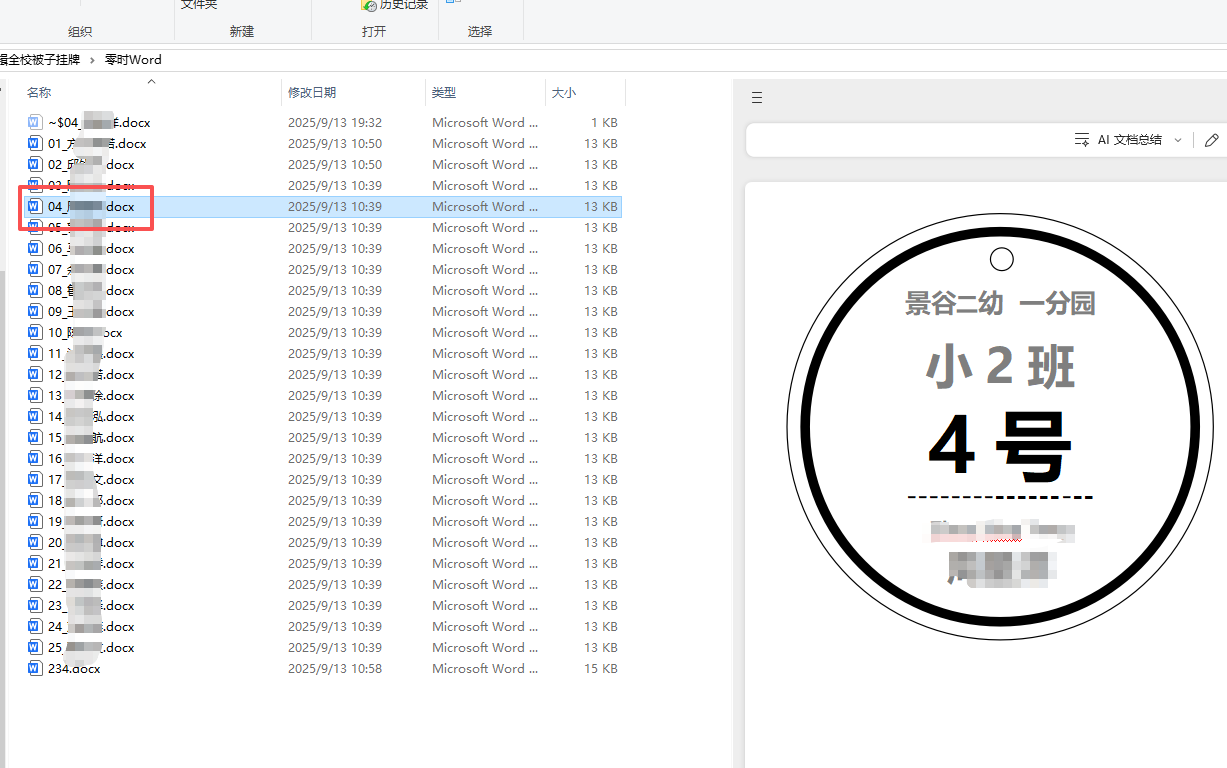
为了发被子,我做了全校批量的圆形挂牌,可以绑在“被子包”提手上,便于再操场上发放被子时,很多老师可以协助根据学号发放。
https://blog.csdn.net/reasonsummer/article/details/149755556?spm=1011.2415.3001.5331![]() https://blog.csdn.net/reasonsummer/article/details/149755556?spm=1011.2415.3001.5331
https://blog.csdn.net/reasonsummer/article/details/149755556?spm=1011.2415.3001.5331
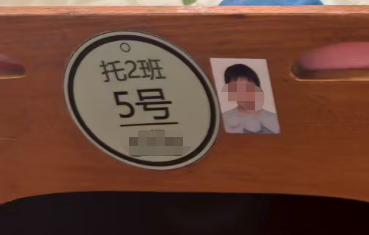
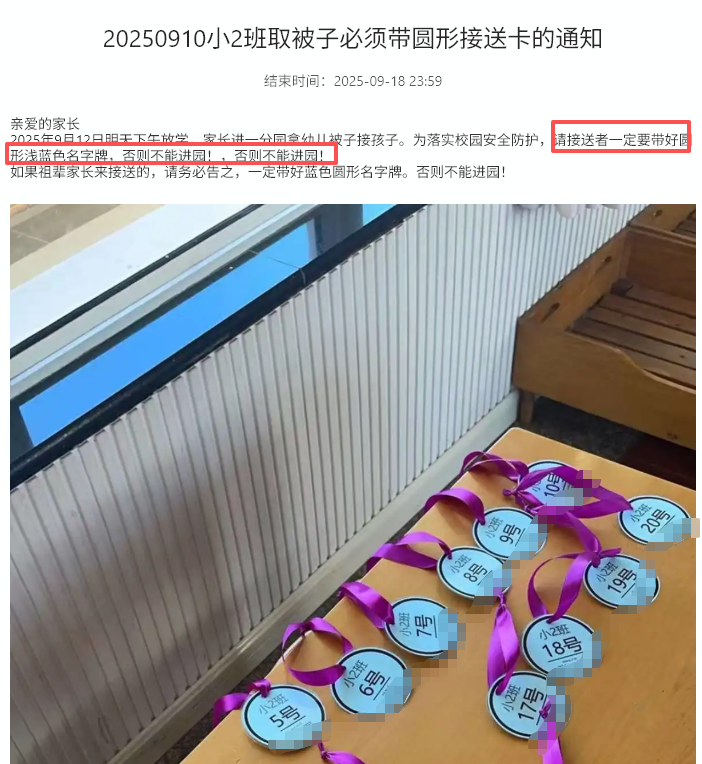
没想到,除了被子提示,领导和班主任还拓展出“家长接孩子排队卡”“床卡”“入园卡”的功能。


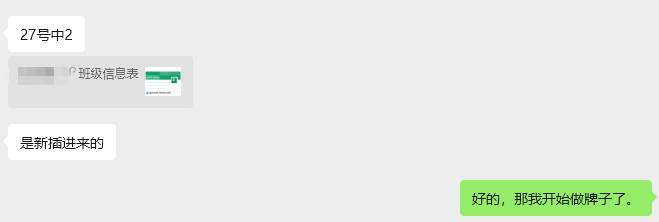
但是问题也随之出现。9月1-8日,中班陆续插了6位孩子。班主任需要新孩子的“圆牌”“长方挂牌卡”。可是由于我做的PDF版本,而且内容本身就是图片(做成图片插入docx),
所以班主任自己改不了。就只能找我来修改。

(点名册已经做了PDF和excle编辑版,所以班主任没有索要)
因为我也带班,所以要放学才能看到消息,然后再用程序批量做,虽然我尝试只批量几个班级(中班),但这只是快了一点点时间,加上发送,耗费我的精力和时间(来一个批量一次,很琐碎。对班主任来说,无法及时获取打印素材,增加焦虑感(这个任务实在很小,但是很需要)。
所以必须做一个班主任自己可以编辑的圆牌和长方牌版本,后续就不用我再反复修改了。

设计过程
1,模板展位:
我尝试了”形状圆形+文本框文字”,但是deepseek写了几十次代码,都无法把文本框文字合并到一起,最终会缺少或者重叠。
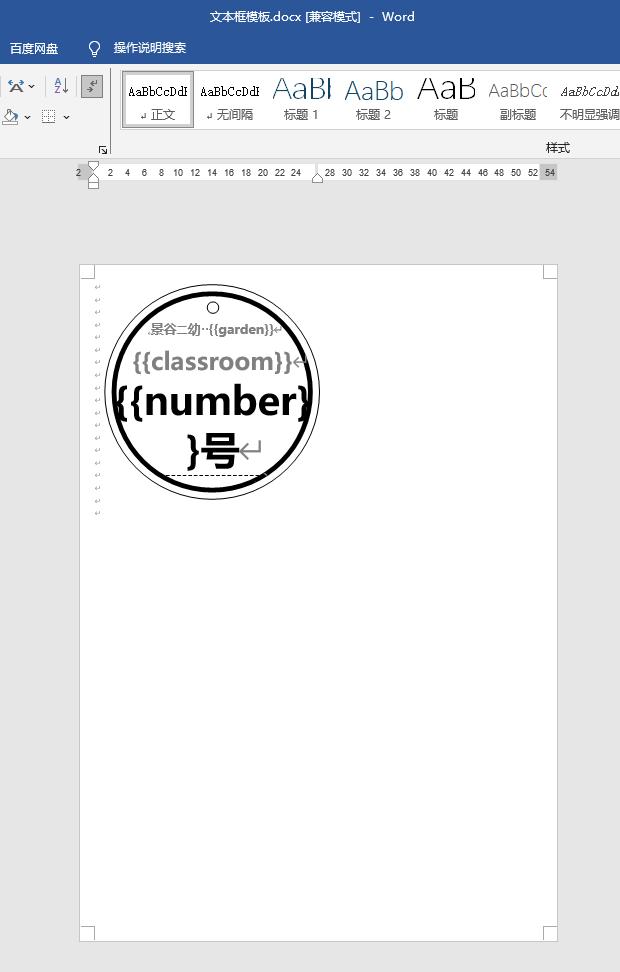
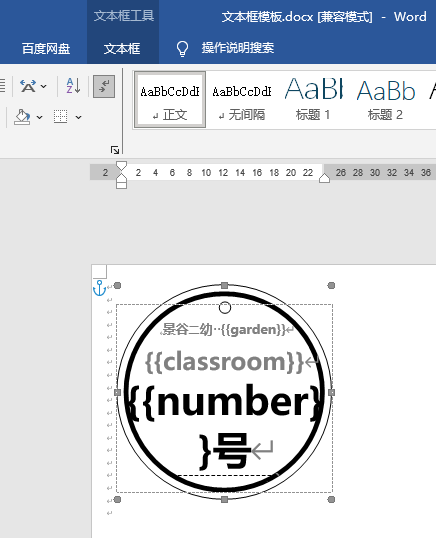
单个docx可以
但是无法合并在一个docx里(即时能合并,也不能保证一页撑满6图,因为这是文本框,会动来动去的)
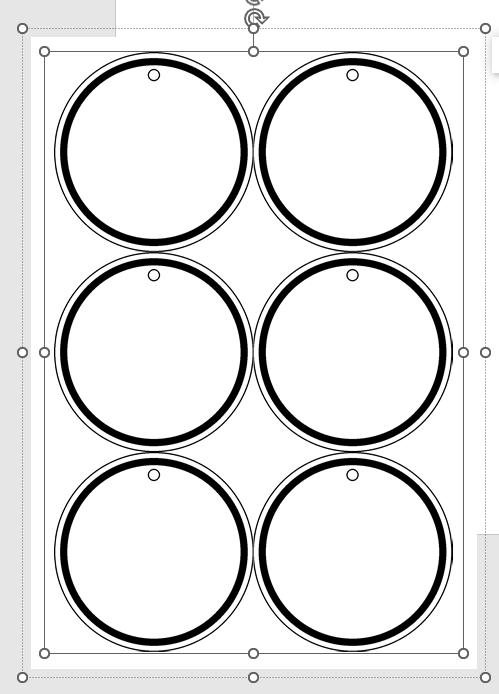
2、图片浮于文字下方
在2列3行里插入空白圆形背景图片
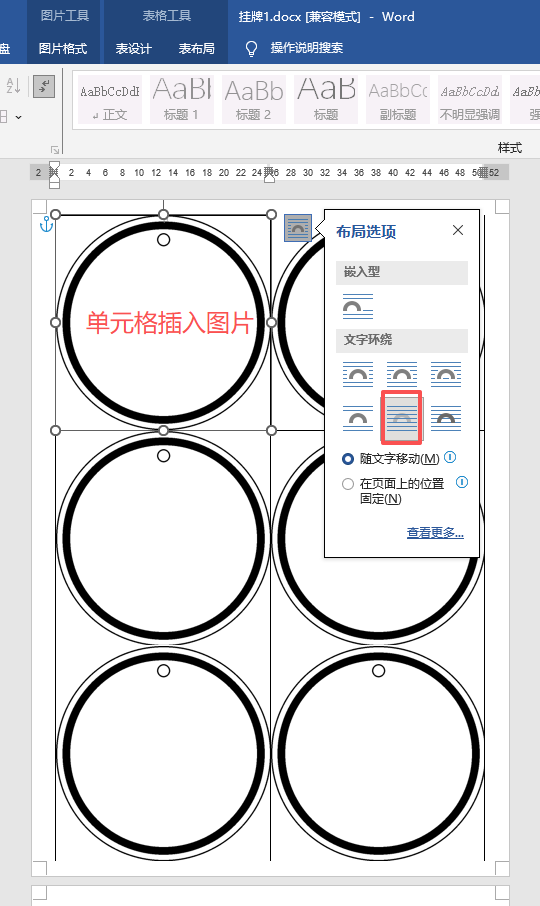
插入图片后,光标就移到顶部中间,我设置了浮于文字下方,但是因为是在表格里,所以默认图片占了位置。
如果按回车,文字和图片会一起向下
以上两种都不行,最后我只能考虑word插入背景图
3、word背景图
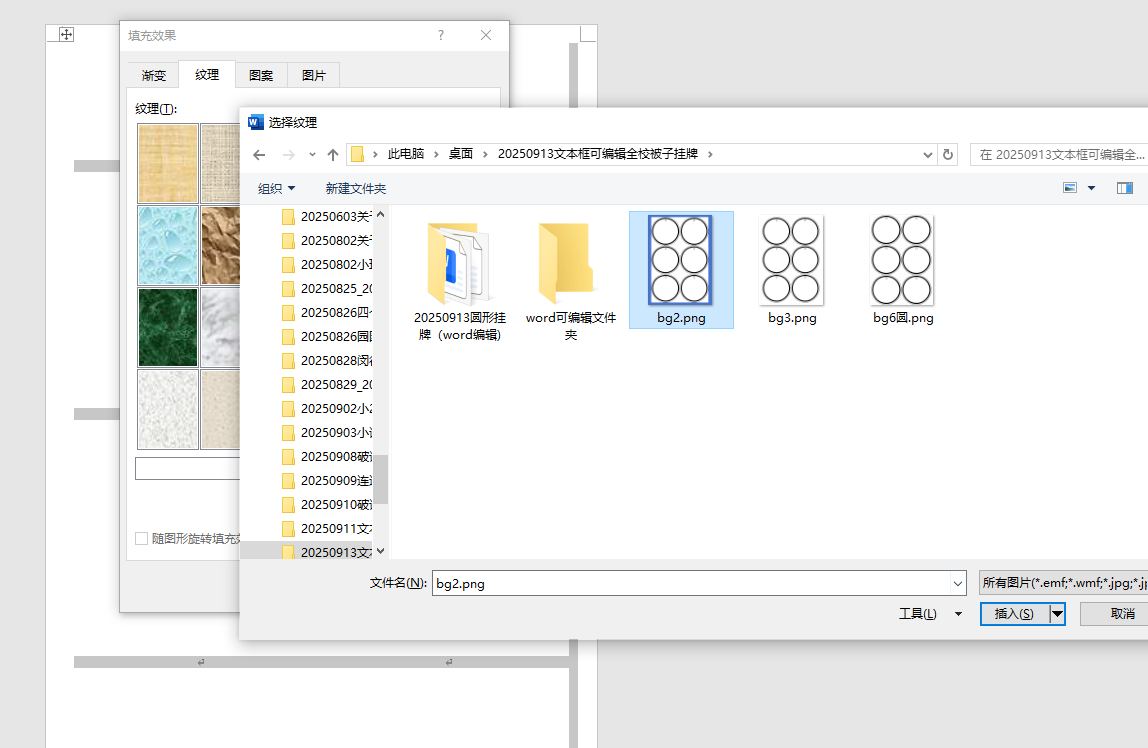
将第2次测试的模板图案(图片浮于文字上方+隐藏边框)全部复制到ppt,做成图片
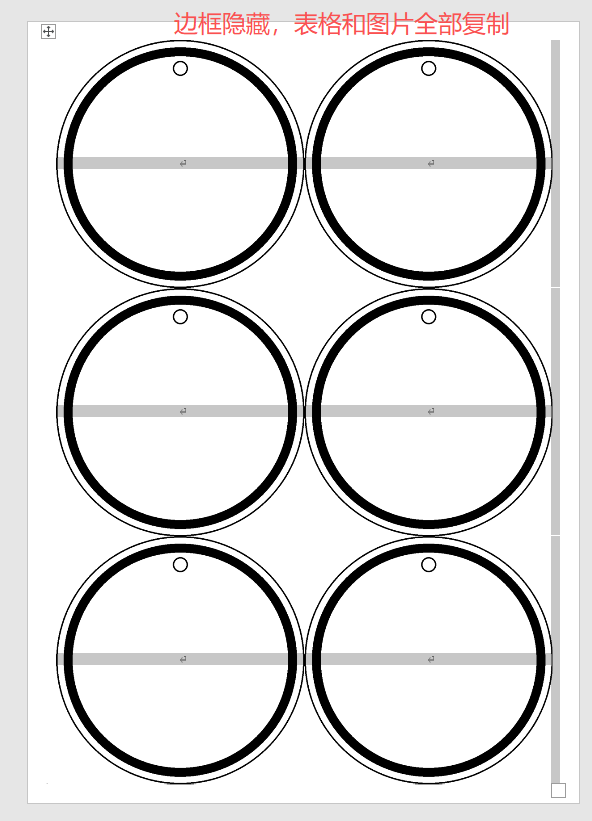
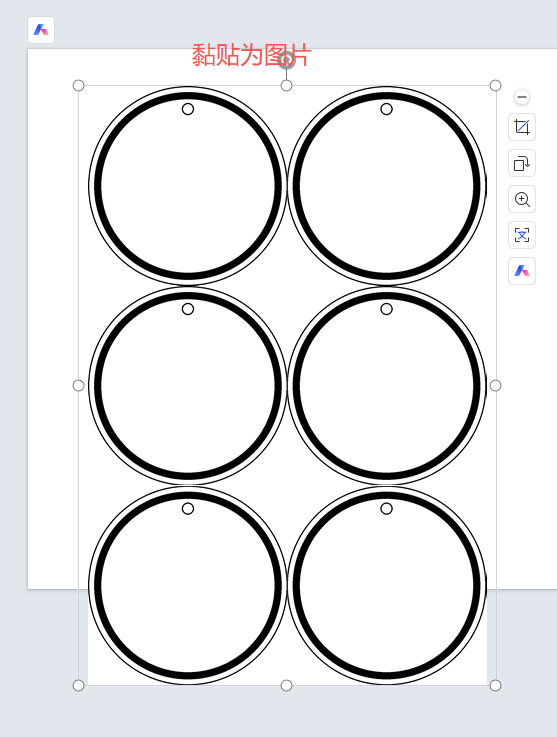
这个图片差不多就是A4-0.7CM边距的大小。
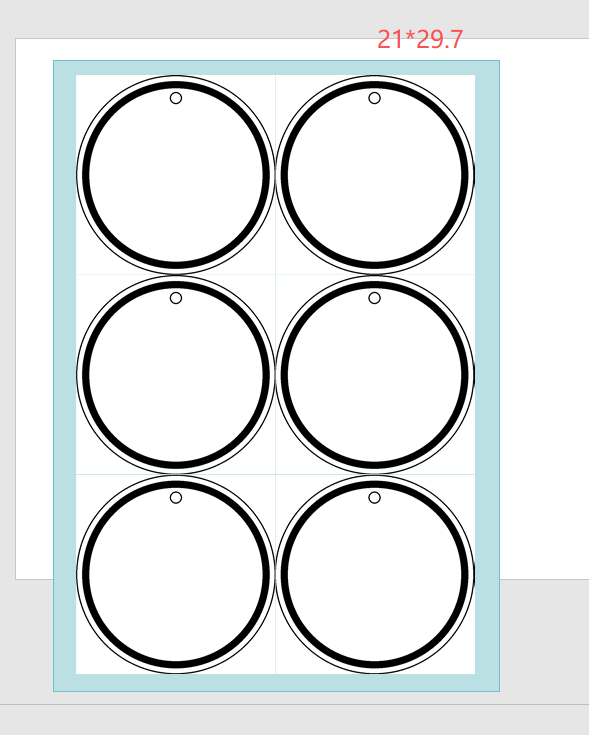
再贴一个A4大小的蓝色背景做区分
原始word,插入2*3,边框隐藏
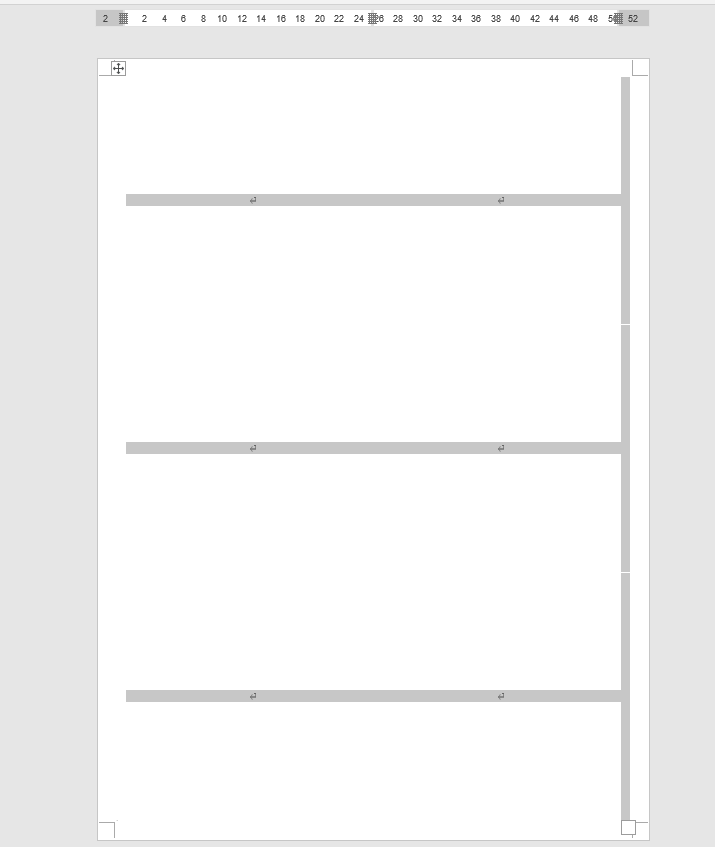
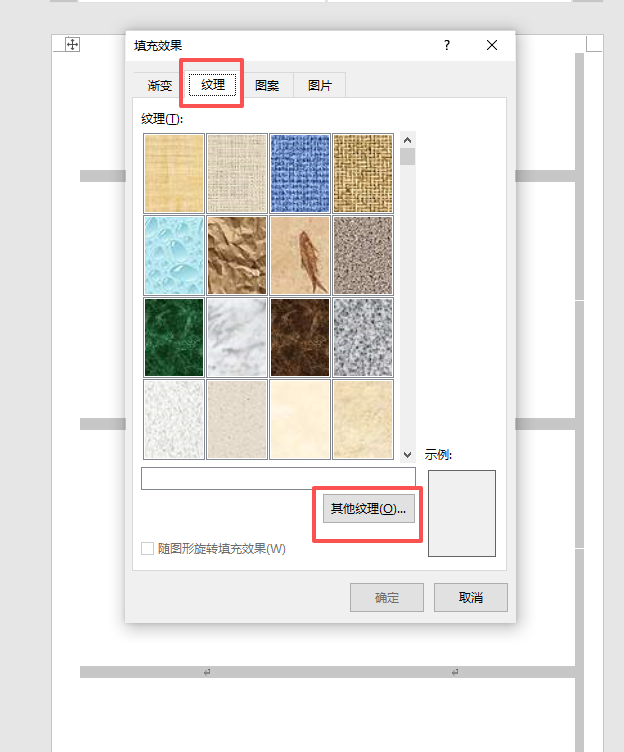
再设计里面找到页面颜色

选“纹理”,不是'图片"(图片做背景会填充,就有10-18个圆)
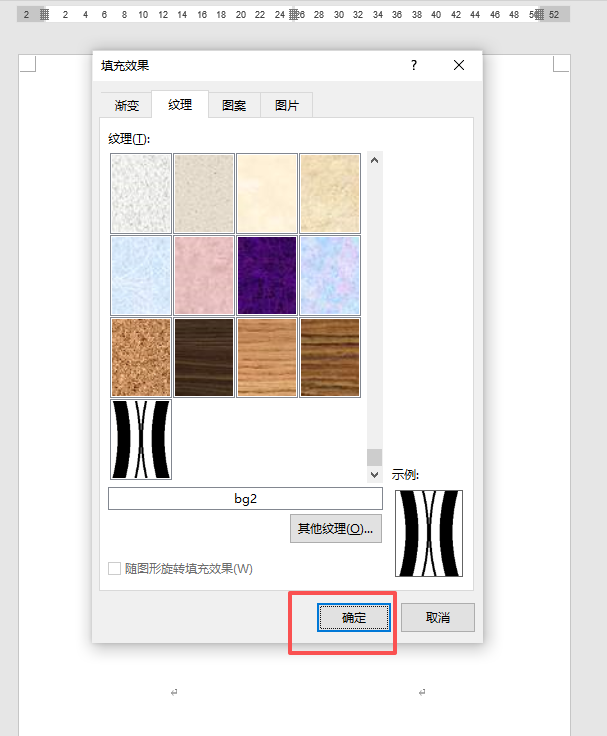
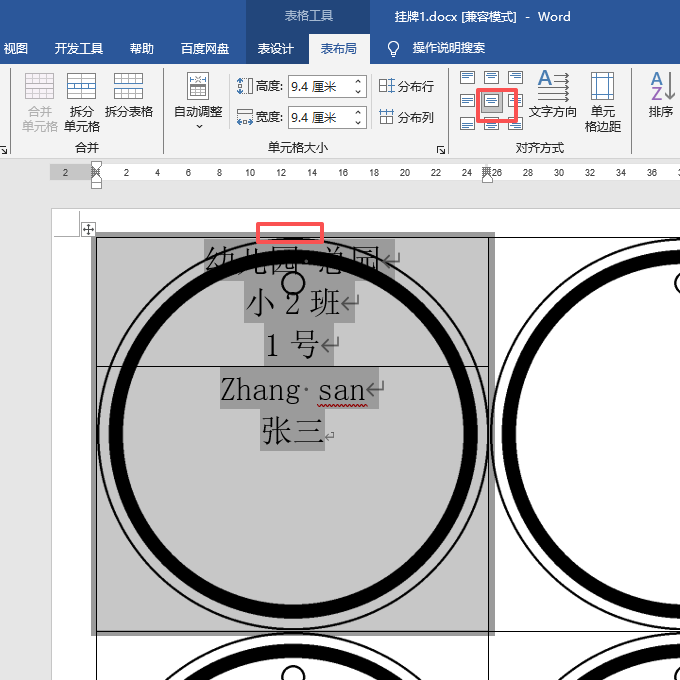
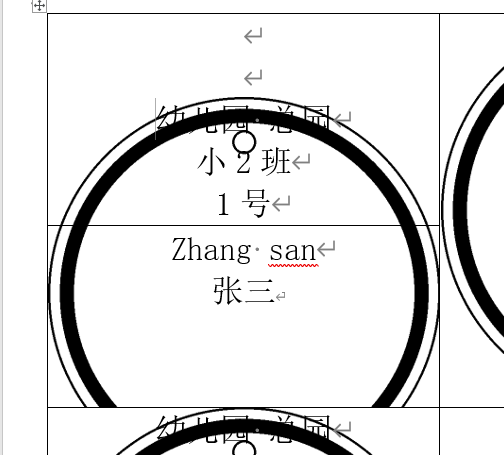
此时,六个圆形是背景图,不占文字的位置,所以单元格的光标都上下左右居中。
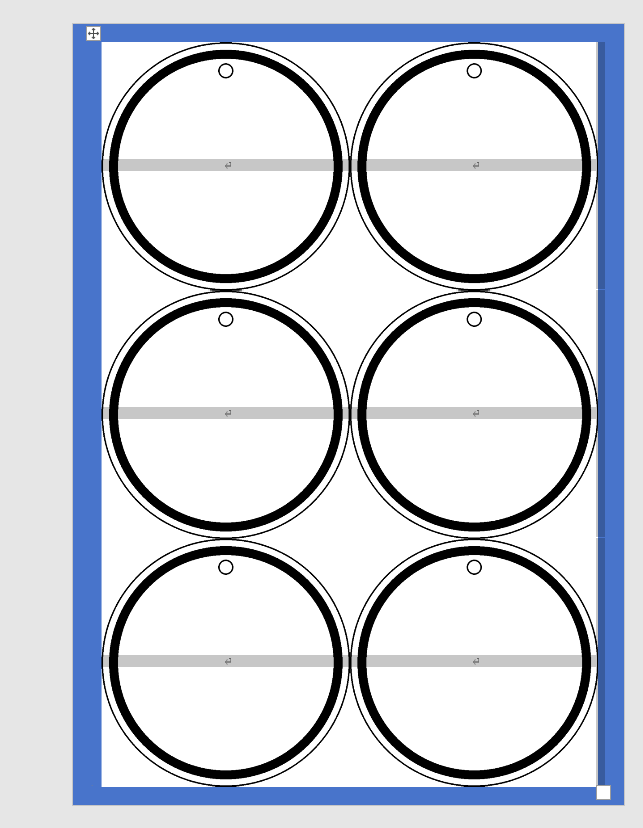
然后蓝色填充白色,这样就是和A4一样大小的白色背景图
代码部分(4次优化)
1、制作一个班级的基础模板
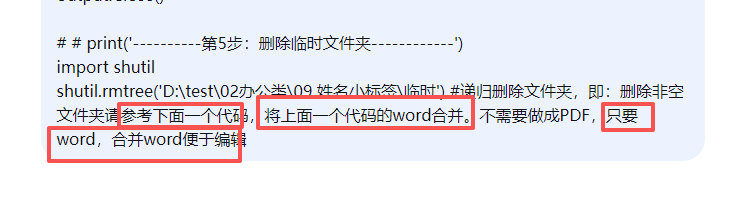
6个分组保存一个docx,把第2:5的docx的内容用win32原样复制到第1个docx里,用第1个背景图和框架。
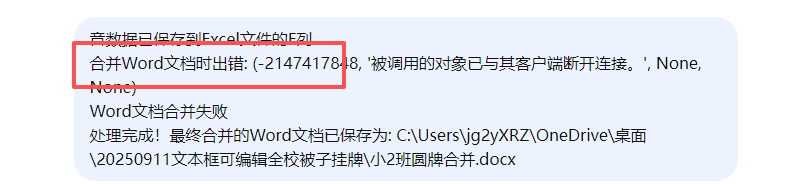
今天大部分时间都遇到“合并出错”
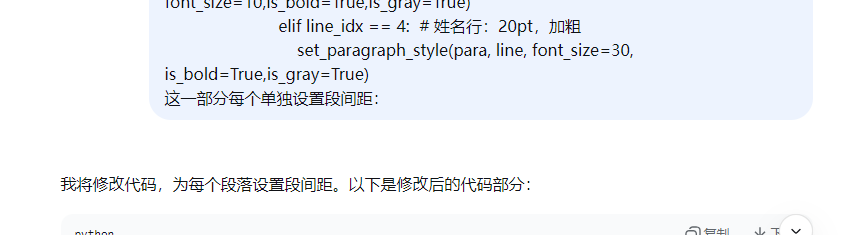
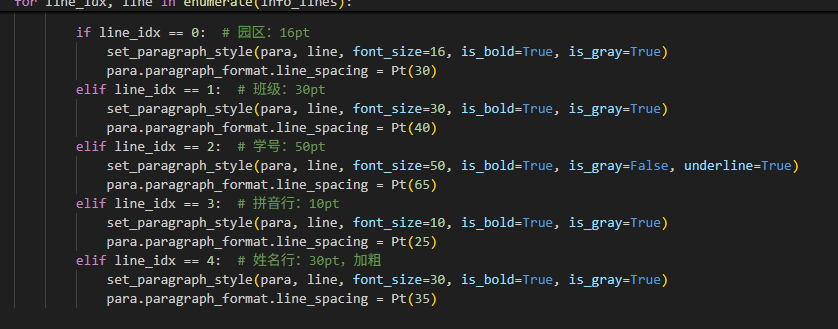
文字的位置:通过反复的计算,确定每个文字的大小,间距、灰度。

# -*- coding:utf-8 -*-
'''
制作被子圆牌(word合并)一个班级
预先再word里面页面背景-纹理,插入A4大小的图片背景(有6个园),
deepseek,豆包 阿夏
20250913'''
import os
import pandas as pd
from docx import Document
from docx.shared import Cm
from docx.enum.text import WD_PARAGRAPH_ALIGNMENT
from docx.shared import Pt  # 用于设置字体大小
from docx.oxml.ns import qn  # 用于设置中文字体
from pypinyin import pinyin, Style
from docx.enum.table import WD_CELL_VERTICAL_ALIGNMENT
from docx.shared import RGBColor  # 用于设置字体颜色
import shutil# ========== 1. 核心配置(仅修改此部分路径) ==========
base_dir = r'c:\Users\jg2yXRZ\OneDrive\桌面\20250913文本框可编辑全校被子挂牌'
excel_file = os.path.join(base_dir, "班级信息表.xlsx")  # Excel数据路径
template_word = os.path.join(base_dir, "挂牌.docx")     # 现有3行2列表格模板
output_dir = os.path.join(base_dir, "小2班挂牌结果")     # 结果保存目录
editable_dir = os.path.join(base_dir, "word可编辑文件夹")  # 新建的可编辑文件夹
os.makedirs(output_dir, exist_ok=True)  # 创建结果目录
os.makedirs(editable_dir, exist_ok=True)  # 创建可编辑文件夹# ========== 2. Excel数据读取与拼音生成(保留核心逻辑) ==========
def read_excel_and_generate_pinyin(file_path):"""读取Excel数据,生成带声调的姓名拼音,返回{班级名: 学生数据列表}"""# 特殊姓氏读音校正(确保拼音准确性)SPECIAL_SURNAMES = {"乐": "Yuè", "单": "Shàn", "解": "Xiè", "查": "Zhā","盖": "Gě", "仇": "Qiú", "种": "Chóng", "朴": "Piáo","翟": "Zhái", "区": "Ōu", "繁": "Pó", "覃": "Qín","召": "Shào", "华": "Huà", "纪": "Jǐ", "曾": "Zēng","缪": "Miào", "员": "Yùn", "车": "Chē", "过": "Guō","尉": "Yù", "万": "Wàn"}COMPOUND_SURNAMES = {"欧阳": "Ōu yáng", "上官": "Shàng guān", "皇甫": "Huáng fǔ","尉迟": "Yù chí", "万俟": "Mò qí", "长孙": "Zhǎng sūn","司徒": "Sī tú", "司空": "Sī kōng", "司马": "Sī mǎ","诸葛": "Zhū gě", "东方": "Dōng fāng", "独孤": "Dú gū","慕容": "Mù róng", "宇文": "Yǔ wén"}def correct_name_pinyin(name):"""生成带声调的姓名拼音(姓氏校正)"""if not name or not isinstance(name, str):return ""name = name.strip()# 优先处理复姓for compound_surn in COMPOUND_SURNAMES:if name.startswith(compound_surn):surn_pinyin = COMPOUND_SURNAMES[compound_surn]given_name = name[len(compound_surn):]given_pinyin = ' '.join([p[0] for p in pinyin(given_name, style=Style.TONE)])return f"{surn_pinyin} {given_pinyin}"# 处理单姓多音字first_char = name[0]if first_char in SPECIAL_SURNAMES:surn_pinyin = SPECIAL_SURNAMES[first_char]given_name = name[1:]given_pinyin = ' '.join([p[0] for p in pinyin(given_name, style=Style.TONE)])return f"{surn_pinyin} {given_pinyin}"# 普通姓名拼音return ' '.join([p[0] for p in pinyin(name, style=Style.TONE)])try:# 只读取小2班工作表df = pd.read_excel(file_path, sheet_name="小2班", usecols=range(5), header=None, dtype={0: str})df = df.iloc[1:]  # 跳过第1行标题student_list = []for idx, row in df.iterrows():# 过滤无效数据(学号为空、姓名为空)raw_id = str(row[0]).strip() if pd.notna(row[0]) else ""name = str(row[3]).strip() if pd.notna(row[3]) else ""if not raw_id.isdigit() or not name:continue# 提取核心信息student_info = {"campus": "XXX幼(" + (str(row[1]).strip() if pd.notna(row[1]) else "") + ")",  # 园区"class_name": str(row[2]).strip() if pd.notna(row[2]) else "",  # 班级"student_id": f"{int(raw_id)}号",  # 学号(如:1号)"name": name,  # 姓名"name_pinyin": correct_name_pinyin(name)  # 带声调拼音}student_list.append(student_info)if student_list:print(f"读取[小2班]:{len(student_list)}个有效学生")return {"小2班": student_list}return {}except Exception as e:print(f"Excel读取失败:{str(e)}")return {}# ========== 3. 写入Word表格(3行2列,单个单元格含5种信息+回车) ==========
def write_student_to_word(student_list, template_path, output_path, class_name):"""将学生数据写入Word模板的3行2列表格单个单元格内容:园区\n班级\n学号\n拼音\n姓名(按此顺序换行)字体:微软雅黑;拼音大小:10pt;姓名大小:20pt;其他信息:14pt颜色:班级、拼音、姓名为灰色,学号为黑色"""# 按6个学生一组分割(3行2列表格可容纳6个学生)student_groups = [student_list[i:i+6] for i in range(0, len(student_list), 6)]generated_files = []  # 存储生成的文件路径for group_idx, group in enumerate(student_groups, 1):# 复制模板文件(避免修改原模板)temp_template = os.path.join(output_path, f"temp_{group_idx}.docx")shutil.copy2(template_path, temp_template)# 打开复制后的模板,操作表格doc = Document(temp_template)# 获取模板中的第一个表格(需确保"挂牌2.docx"的第一个表格是3行2列")if not doc.tables:print(f"模板{template_path}中未找到表格,跳过此组")os.remove(temp_template)continuetable = doc.tables[0]# 清除表格原有内容for row in table.rows:for cell in row.cells:for para in cell.paragraphs:p = para._elementp.getparent().remove(p)cell._element.clear()  # 完全清空单元格# 定义字体样式def set_paragraph_style(para, text, font_size, is_bold=False, is_gray=True, underline=False):"""设置段落的字体、大小、对齐(居中)和颜色"""if not text:  # 跳过空文本returnrun = para.add_run(text)# 设置中文字体为微软雅黑run.font.name = '微软雅黑'run.element.rPr.rFonts.set(qn('w:eastAsia'), '微软雅黑')run.font.size = Pt(font_size)run.font.bold = is_boldrun.font.underline = underline  # 设置下划线# 设置颜色:灰色或黑色if is_gray:run.font.color.rgb = RGBColor(169, 169, 169)  # DarkGrayelse:run.font.color.rgb = RGBColor(0, 0, 0)  # 黑色para.alignment = WD_PARAGRAPH_ALIGNMENT.CENTER  # 文字居中# 逐个单元格写入学生信息(3行2列,共6个单元格)cell_index = 0  # 单元格索引(0-5对应3行2列的6个单元格)for row_idx, row in enumerate(table.rows):for cell_idx, cell in enumerate(row.cells):if cell_index >= len(group):break  # 学生不足6个时,空单元格跳过# 添加这行代码:设置单元格垂直居中cell.vertical_alignment = WD_CELL_VERTICAL_ALIGNMENT.CENTER# 当前学生的5种信息(按"园区→班级→学号→拼音→姓名"顺序")student = group[cell_index]info_lines = [student["campus"],          # 第1行:园区student["class_name"],      # 第2行:班级student["student_id"],      # 第3行:学号student["name_pinyin"],     # 第4行:拼音(10pt)student["name"]             # 第5行:姓名(20pt,加粗)]# 向单元格写入内容(每行单独设置字体大小和颜色)for line_idx, line in enumerate(info_lines):if line:  # 只写入非空内容para = cell.add_paragraph()if line_idx == 0:  # 园区:16ptset_paragraph_style(para, line, font_size=16, is_bold=True, is_gray=True)para.paragraph_format.line_spacing = Pt(30)elif line_idx == 1:  # 班级:30ptset_paragraph_style(para, line, font_size=30, is_bold=True, is_gray=True)para.paragraph_format.line_spacing = Pt(40)elif line_idx == 2:  # 学号:50ptset_paragraph_style(para, line, font_size=50, is_bold=True, is_gray=False, underline=True)para.paragraph_format.line_spacing = Pt(65)elif line_idx == 3:  # 拼音行:10ptset_paragraph_style(para, line, font_size=10, is_bold=True, is_gray=True)para.paragraph_format.line_spacing = Pt(25)elif line_idx == 4:  # 姓名行:30pt,加粗set_paragraph_style(para, line, font_size=30, is_bold=True, is_gray=True)para.paragraph_format.line_spacing = Pt(35)cell_in