10-SpringBoot入门案例(下)
文章目录
- 1 文章介绍
- 2 在com.itheima包中新建请求处理类,并运行
- 3 在浏览器输出网址,并验证效果
- 4 课堂练习
- 5 详细解释
1 文章介绍
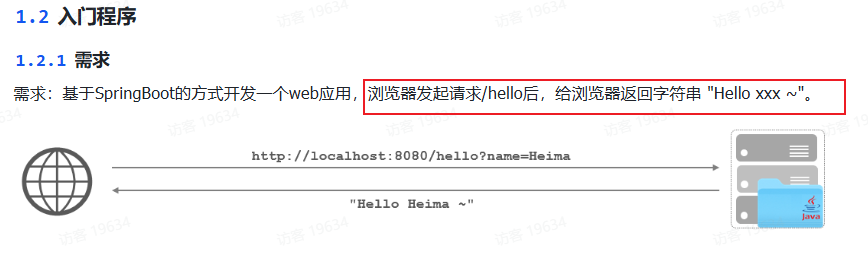
项目需求
2 在com.itheima包中新建请求处理类,并运行
在com.itheima包中新建请求处理类HelloController
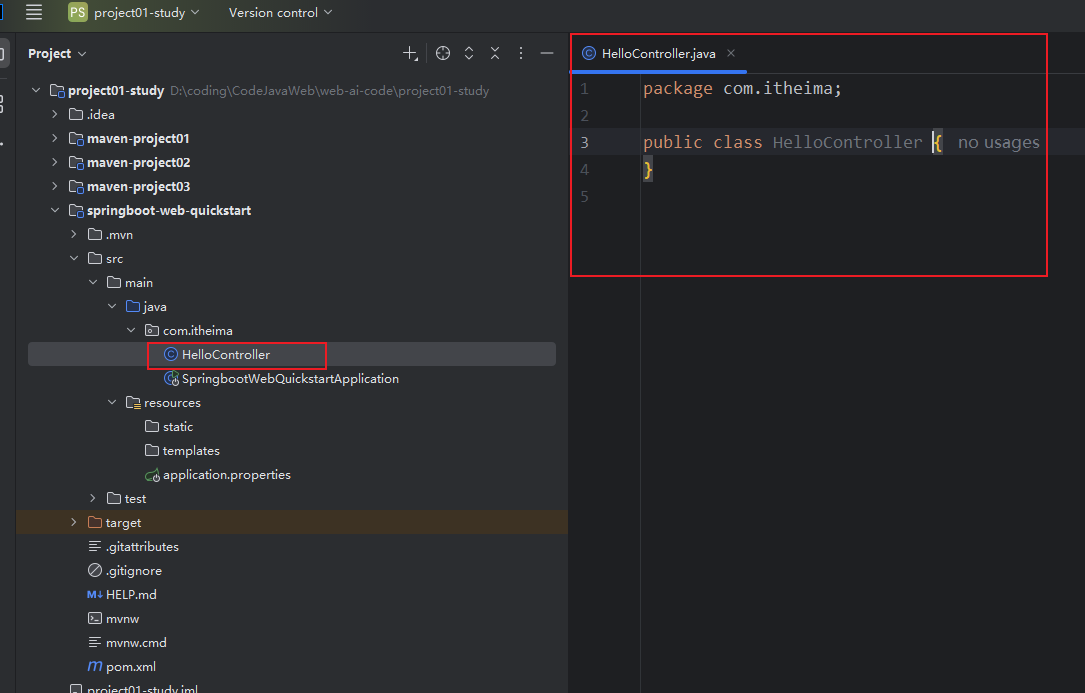
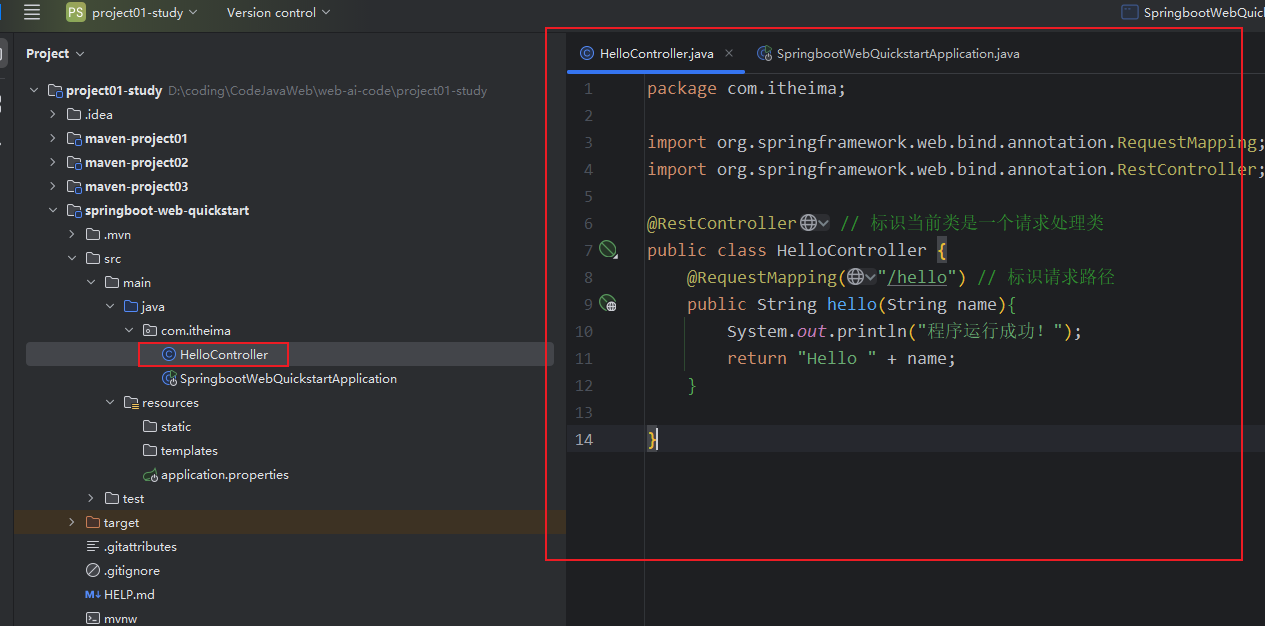
粘贴如下代码
package com.itheima;import org.springframework.web.bind.annotation.RequestMapping;
import org.springframework.web.bind.annotation.RestController;@RestController // 标识当前类是一个请求处理类
public class HelloController {@RequestMapping("/hello") // 标识请求路径public String hello(String name){System.out.println("程序运行成功!");return "Hello " + name;}}
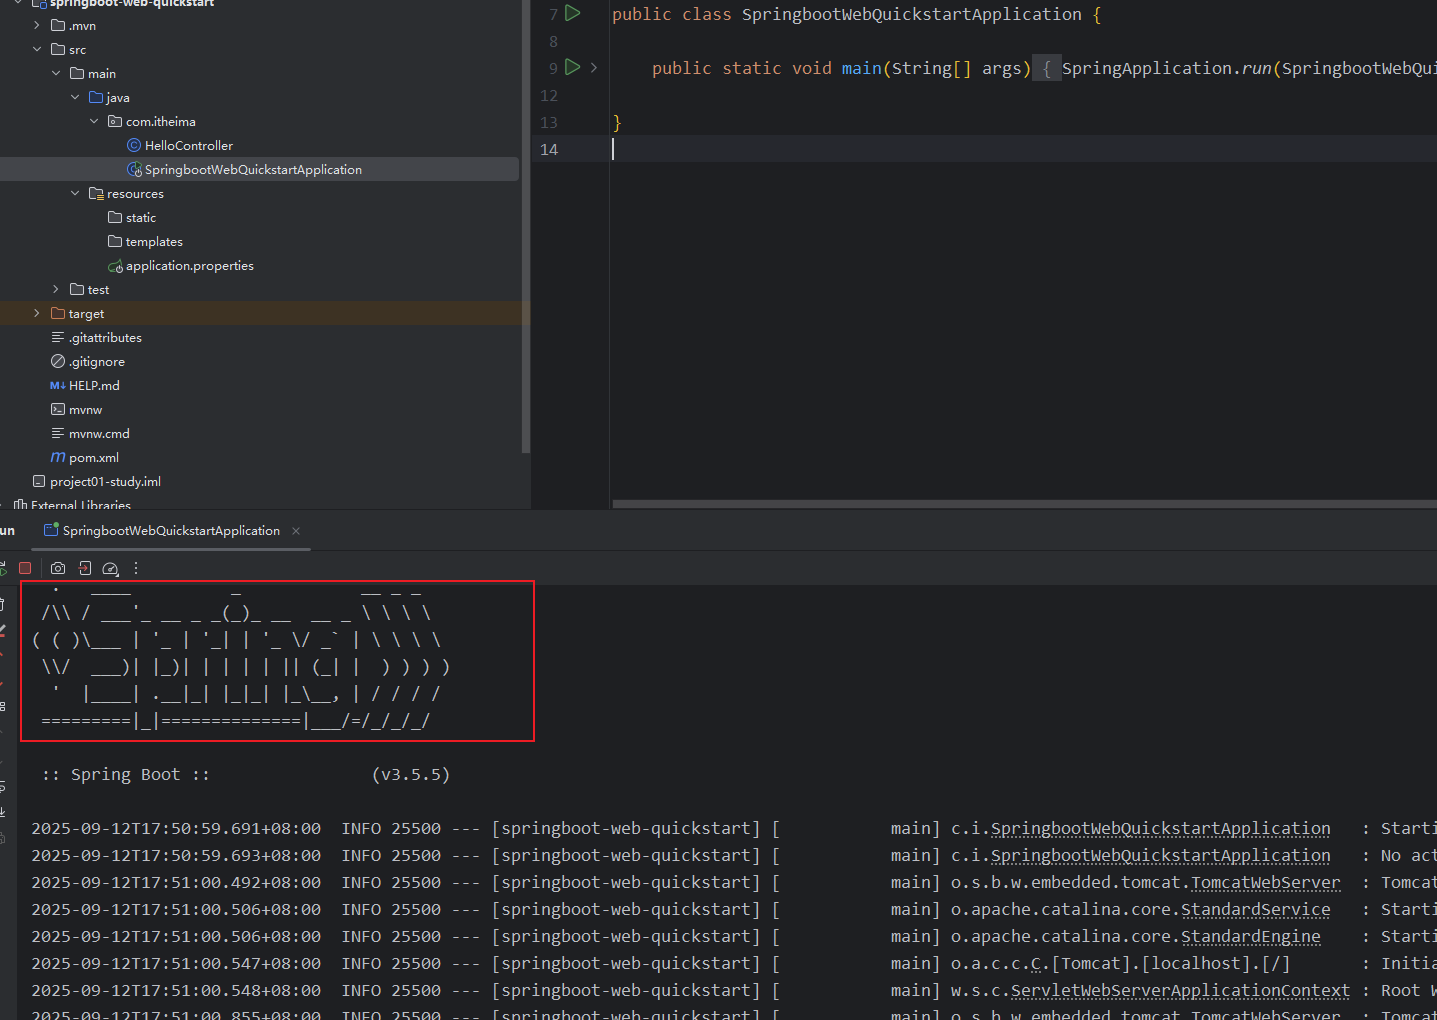
效果图
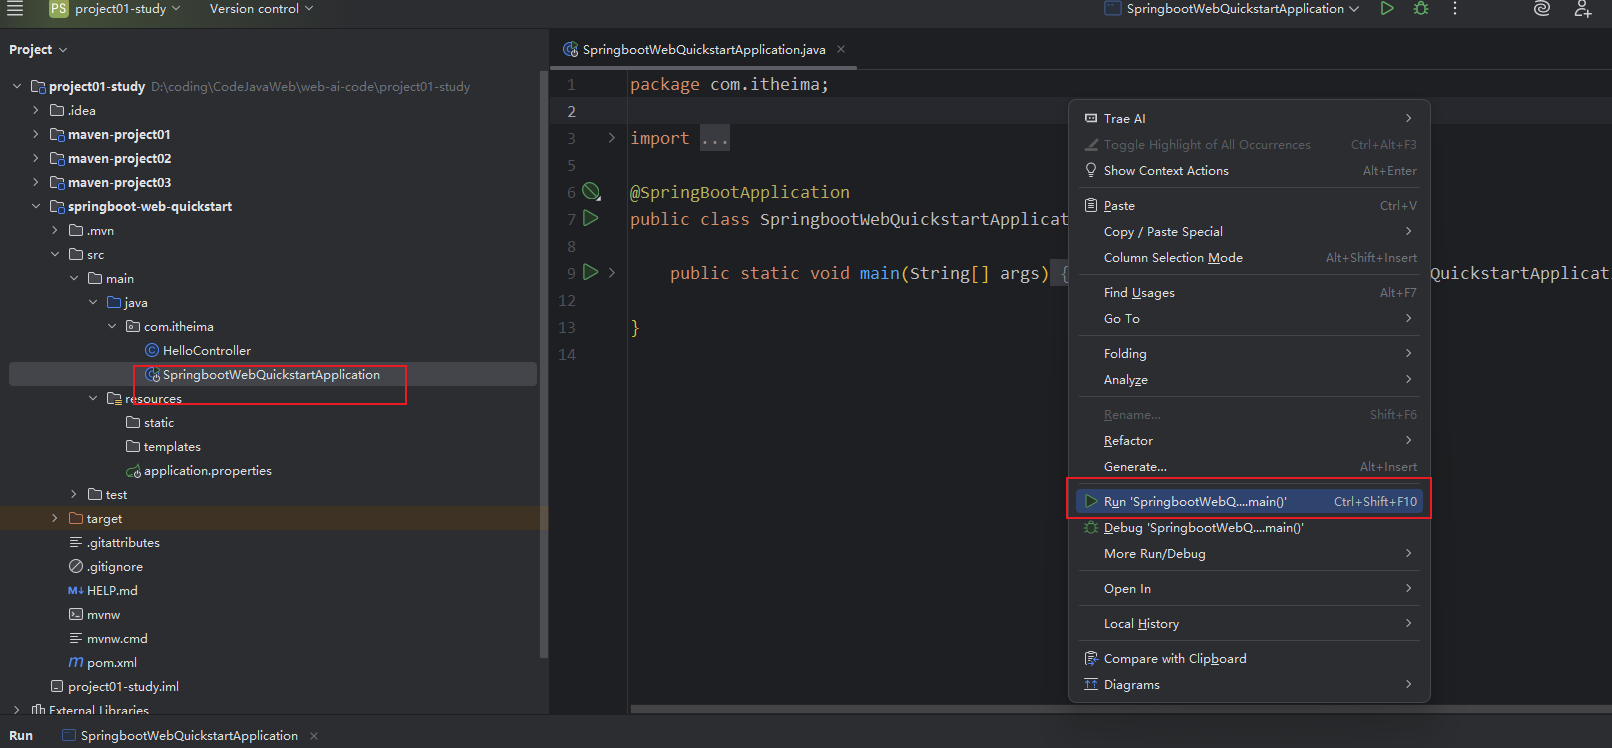
切换到启动类运行程序,然后保持程序运行不停止。
代码解释
// 指定该类所在的包名(项目目录结构为 com/itheima)
package com.itheima;// 导入 Spring 的 @RequestMapping 注解,用于映射请求路径
import org.springframework.web.bind.annotation.RequestMapping;// 导入 Spring 的 @RestController 注解,表示这是一个 REST 控制器
import org.springframework.web.bind.annotation.RestController;// 标注当前类为 REST 控制器,返回的结果直接作为 HTTP 响应体
@RestController
// 定义一个公共类 HelloController,用来处理请求
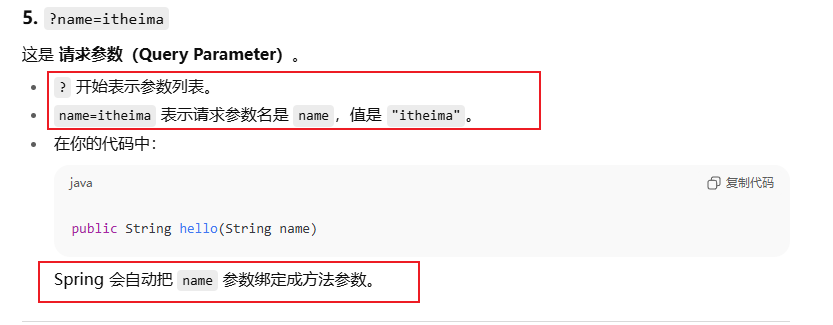
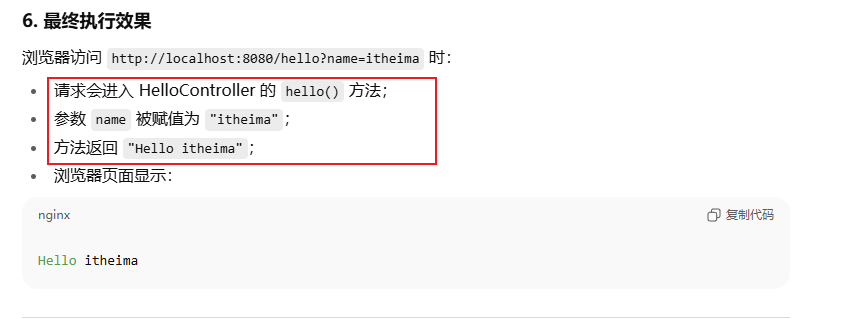
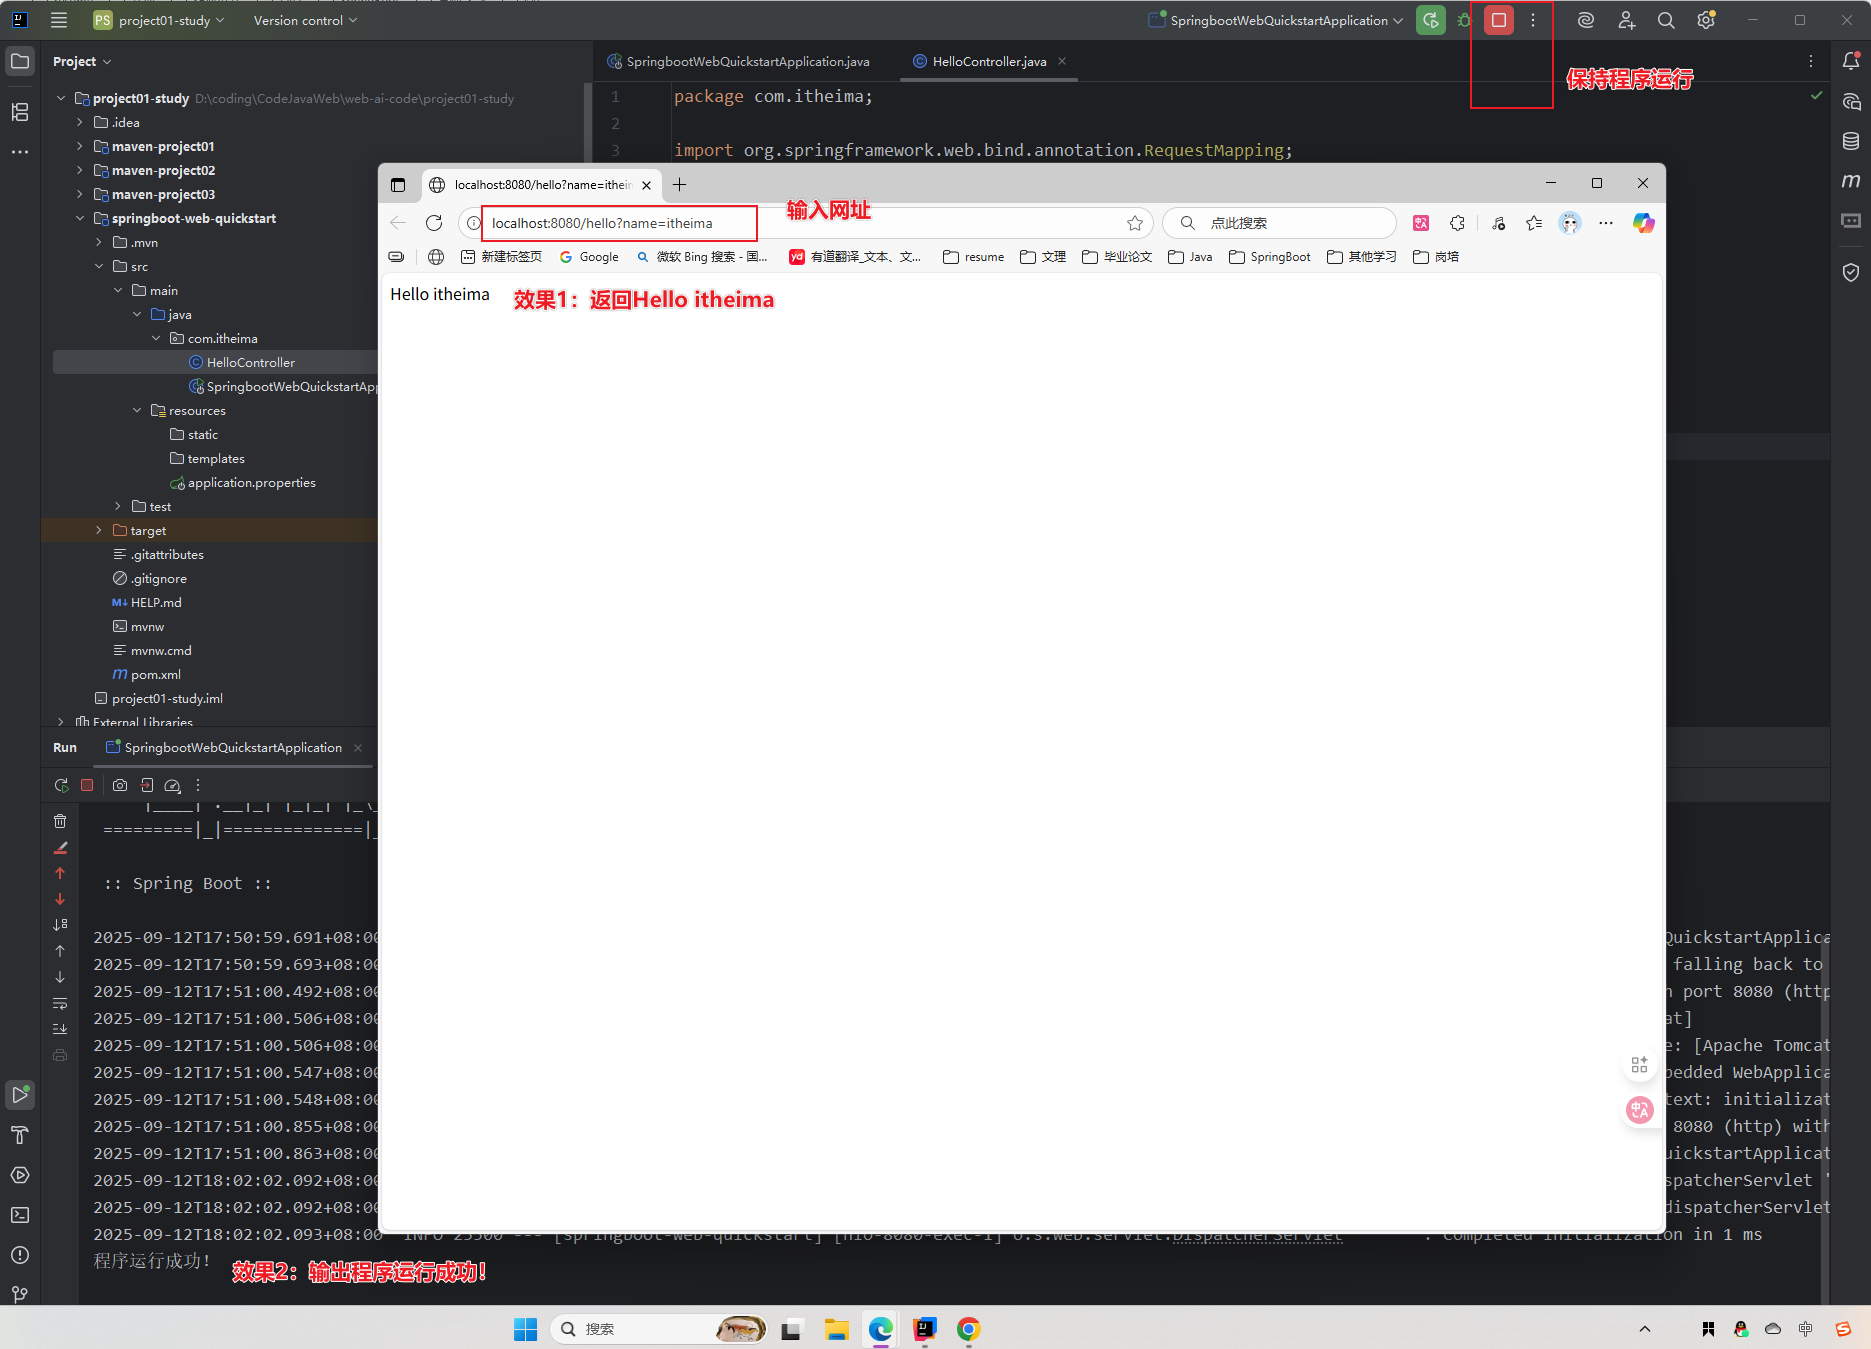
public class HelloController {// 把 HTTP 请求路径 "/hello" 映射到下面的方法@RequestMapping("/hello") // 定义一个方法 hello,请求时会自动把 name 参数传入public String hello(String name){ // 返回字符串 "Hello " + name,作为响应内容return "Hello " + name; }}3 在浏览器输出网址,并验证效果
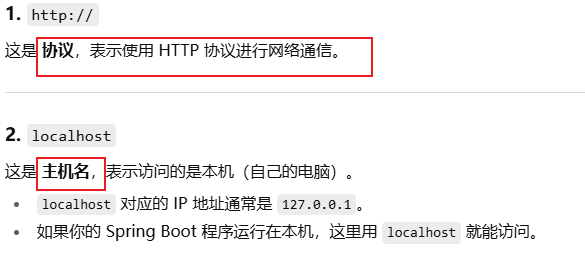
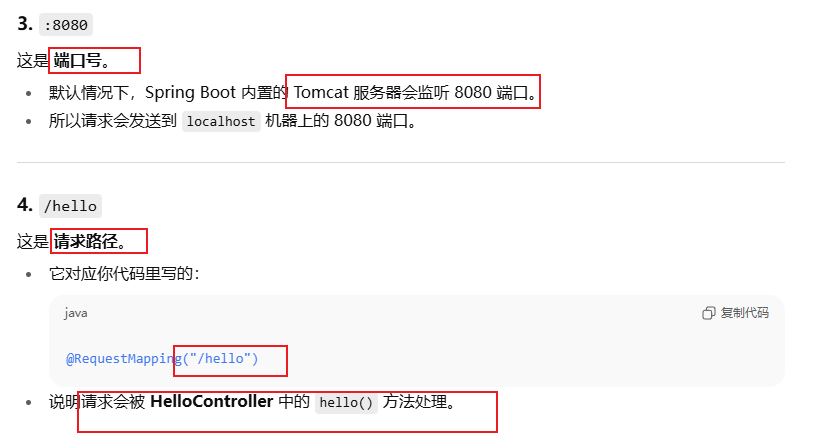
打开浏览器,输入 http://localhost:8080/hello?name=itheima
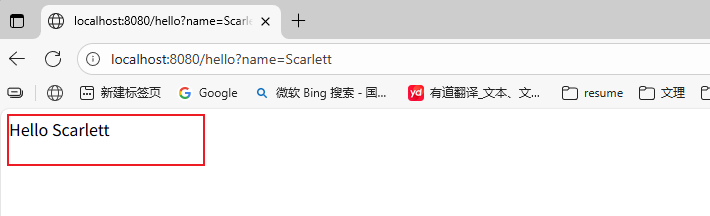
4 课堂练习
将网址上的Hello itheima改为Hello + 你的名字缩写
5 详细解释