【Vue2 ✨】Vue2 入门之旅(九):Vue Router 入门
在前面几篇文章中,我们学习了 Vue 的模板、组件、动画等知识。本篇将介绍 Vue Router,它是 Vue 官方提供的路由管理器,用于构建单页应用(SPA)。
目录
- 什么是路由
- Vue Router 安装与引入
- 基本用法
- 动态路由
- 嵌套路由
- 编程式导航
- 小结
什么是路由
在传统网站中,点击链接会向服务器发送请求,返回新的 HTML 页面。
在 单页应用(SPA) 中,页面只有一个 HTML,切换页面其实是切换 组件,路由负责管理这种组件切换。
Vue Router 安装与引入
在 HTML 中直接引入:
<script src="https://cdn.jsdelivr.net/npm/vue@2/dist/vue.js"></script>
<script src="https://cdn.jsdelivr.net/npm/vue-router@3/dist/vue-router.js"></script>
或者在项目中安装:
npm install vue-router@3
基本用法
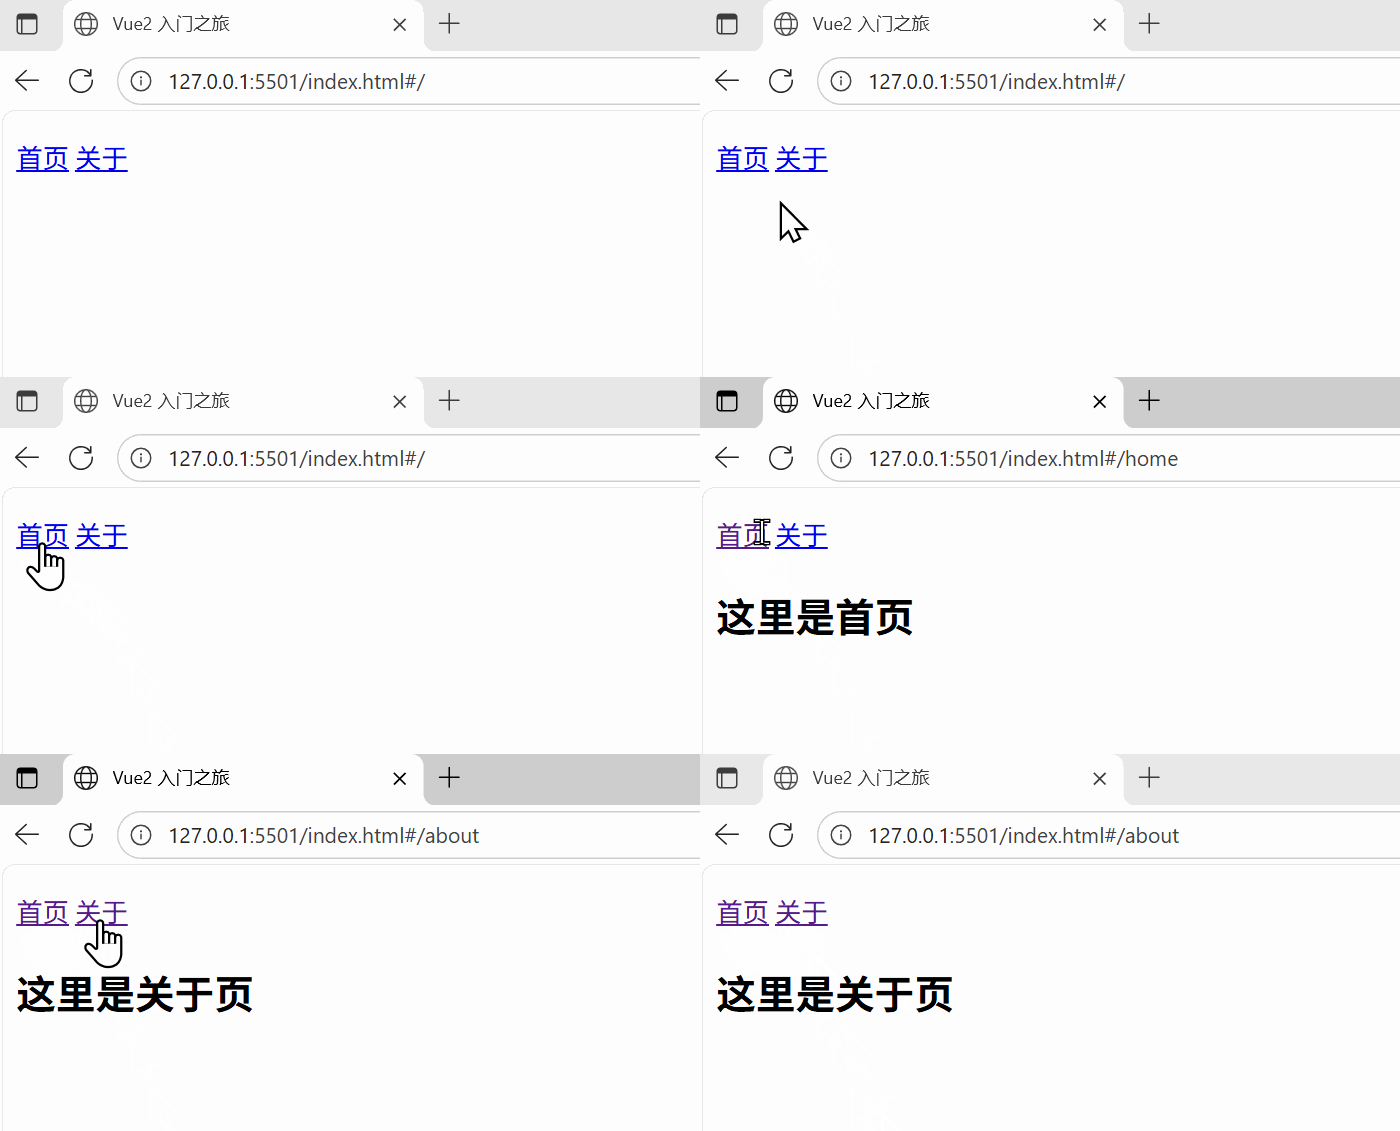
<div id="app"><p><router-link to="/home">首页</router-link><router-link to="/about">关于</router-link></p><router-view></router-view>
</div><script>
// 定义组件
const Home = { template: '<h2>这里是首页</h2>' }
const About = { template: '<h2>这里是关于页</h2>' }// 定义路由
const routes = [{ path: '/home', component: Home },{ path: '/about', component: About }
]// 创建路由实例
const router = new VueRouter({ routes })// 创建 Vue 实例
new Vue({el: '#app',router
})
</script>

<router-link>用来生成导航链接<router-view>用来显示匹配到的组件
动态路由
可以在路径中使用参数:
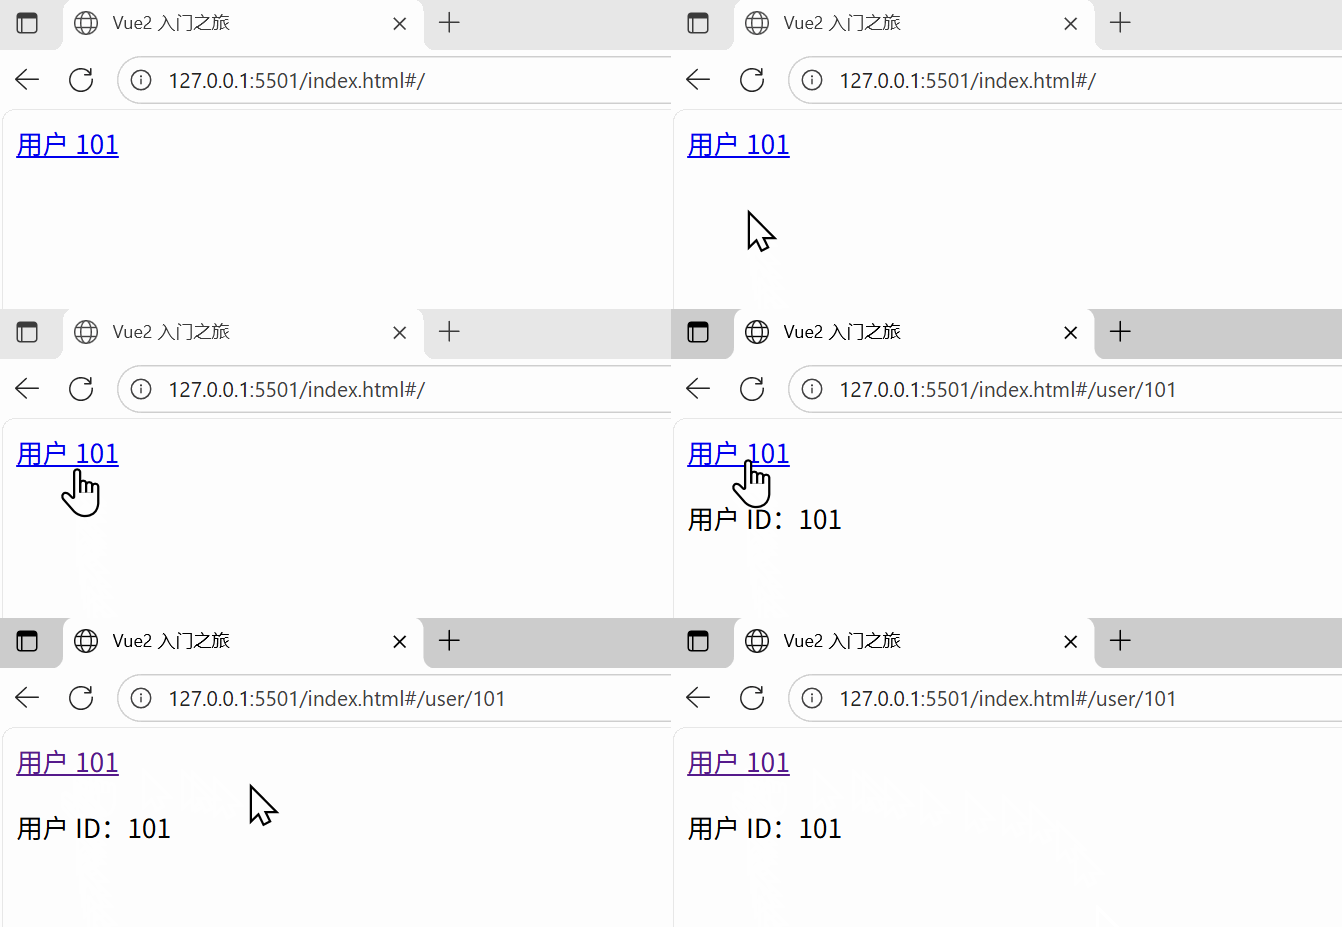
<div id="app"><router-link to="/user/101">用户 101</router-link><router-view></router-view>
</div><script>
const User = { template: '<p>用户 ID:{{ $route.params.id }}</p>'
}const routes = [{ path: '/user/:id', component: User }
]const router = new VueRouter({ routes })new Vue({el: '#app',router
})
</script>

访问 /user/101 时,会显示 用户 ID:101。
嵌套路由
路由里还可以嵌套子路由。
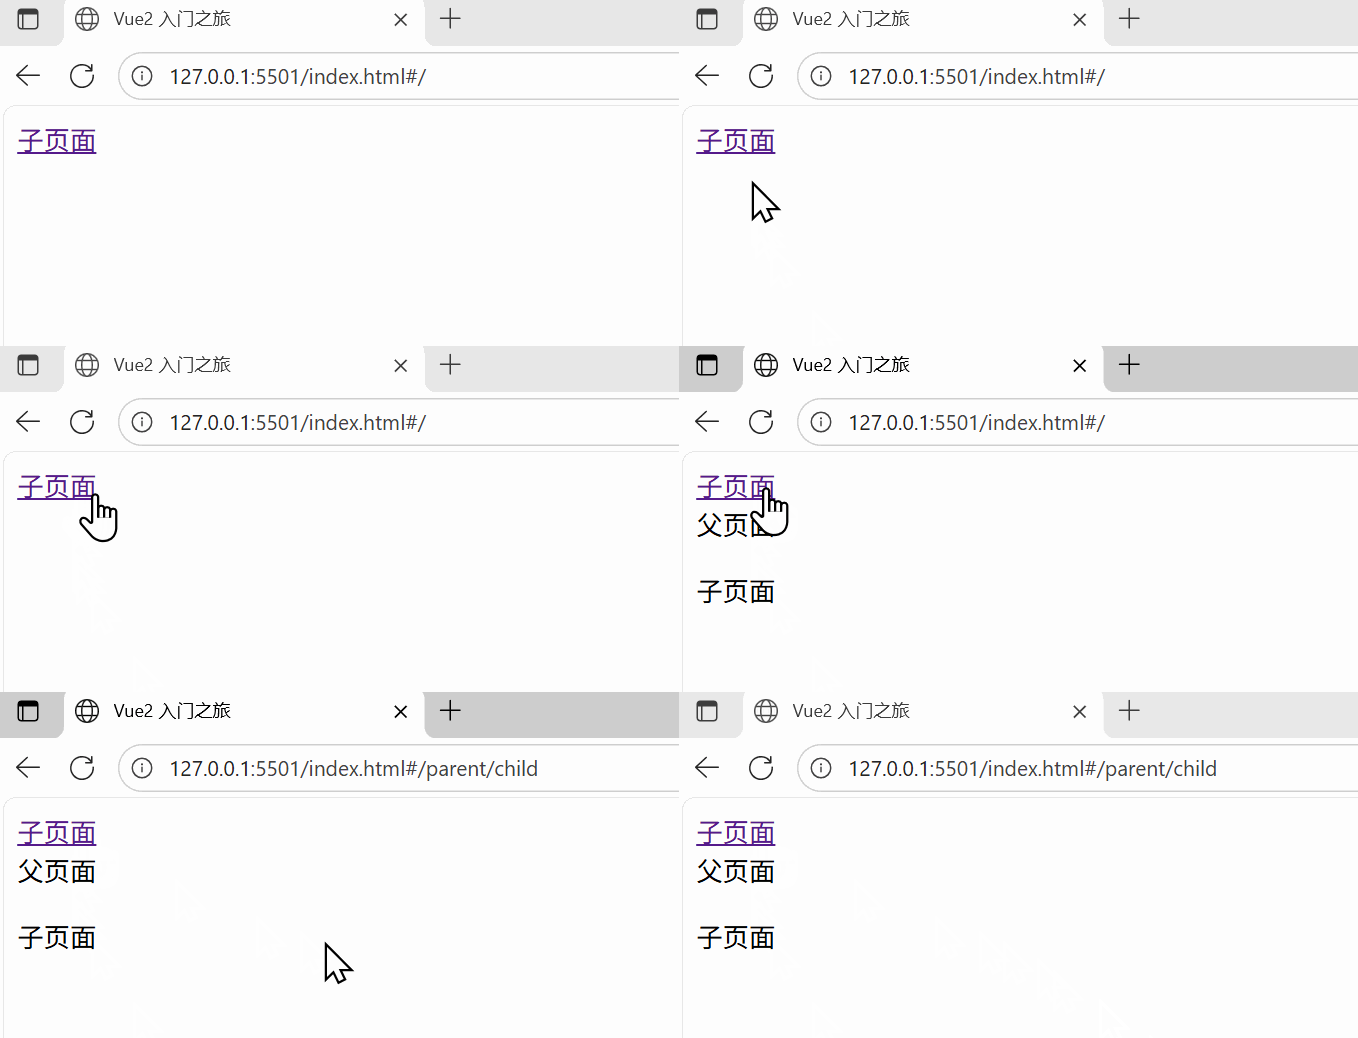
<div id="app"><router-link to="/parent/child">子页面</router-link><router-view></router-view>
</div><script>
const Parent = { template: '<div>父页面 <router-view></router-view></div>' }
const Child = { template: '<p>子页面</p>' }const routes = [{ path: '/parent', component: Parent,children: [{ path: 'child', component: Child }]}
]const router = new VueRouter({ routes })new Vue({el: '#app',router
})
</script>

编程式导航
除了 <router-link>,我们也可以在代码里跳转。
this.$router.push('/home')
this.$router.replace('/about')
this.$router.go(-1) // 后退一步
小结
- Vue Router 用于管理 SPA 的页面切换。
- 核心组件:
<router-link>(导航)、<router-view>(渲染)。 - 常见功能:基本路由、动态路由、嵌套路由、编程式导航。
📚 下一篇文章,我们将学习 Vuex 入门,理解状态管理的思想。
