kubernetes集群搭建
kubernetes集群搭建
在搭建集群之前我们需要准备好harbor仓库为node节点提供镜像拉取
下载软件包地址
https://github.com/goharbor/harbor/releases
我这里直接导入本地下载好的包进行配置安装
[root@harbor ~]# tar zxf harbor-offline-installer-v2.5.4.tgz
[root@harbor ~]# ll
total 721488
-rw-------. 1 root root      1030 Jul  8 12:07 anaconda-ks.cfg
drwxr-xr-x  2 root root       122 Aug 21 20:35 harbor
-rw-r--r--  1 root root 738797440 Aug 21 20:35 harbor-offline-installer-v2.5.4.tgz
[root@harbor ~]# cd harbor/
[root@harbor harbor]# ls
common.sh  harbor.v2.5.4.tar.gz  harbor.yml.tmpl  install.sh  LICENSE  prepare
[root@harbor harbor]# cp harbor.yml.tmpl harbor.yml
[root@harbor harbor]# vim harbor.yml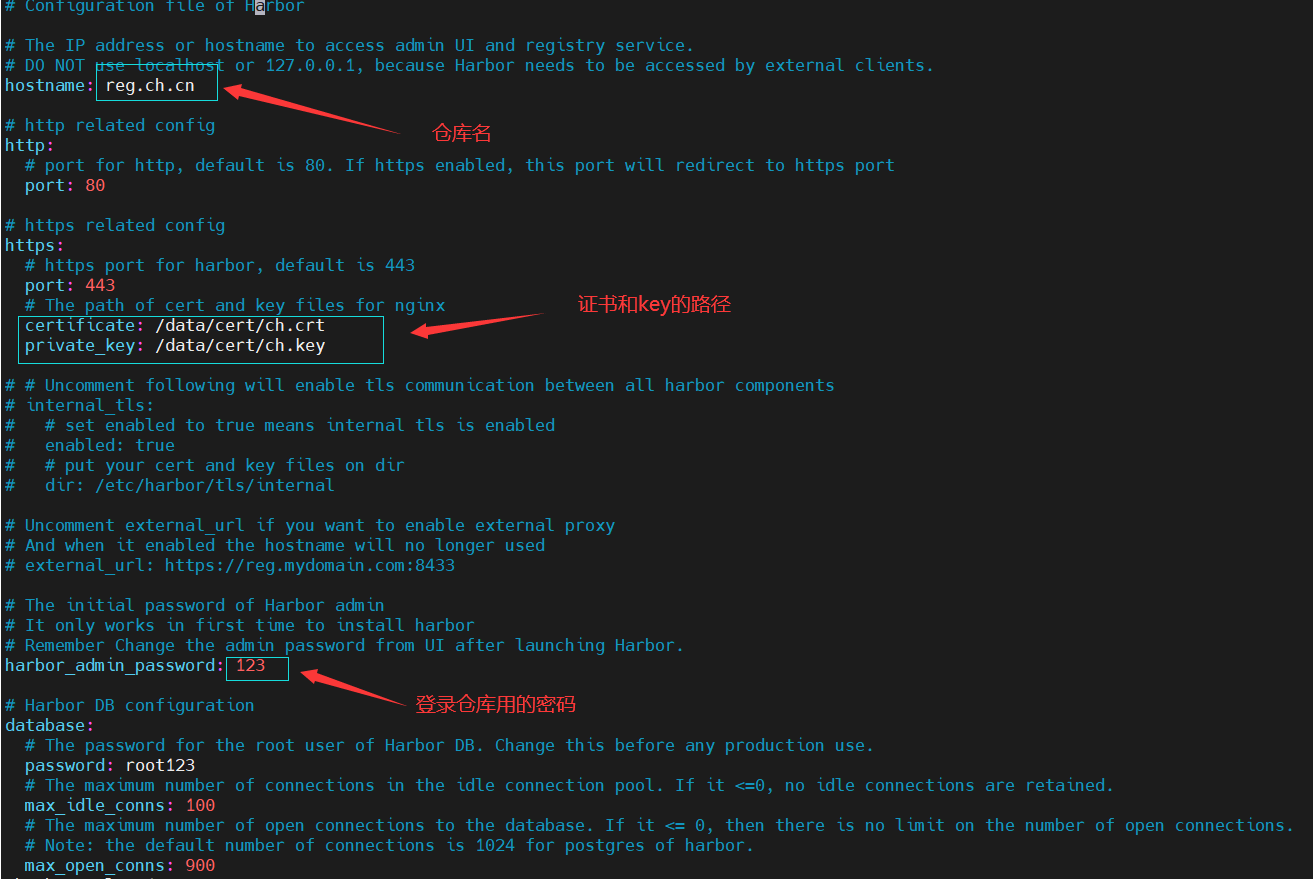
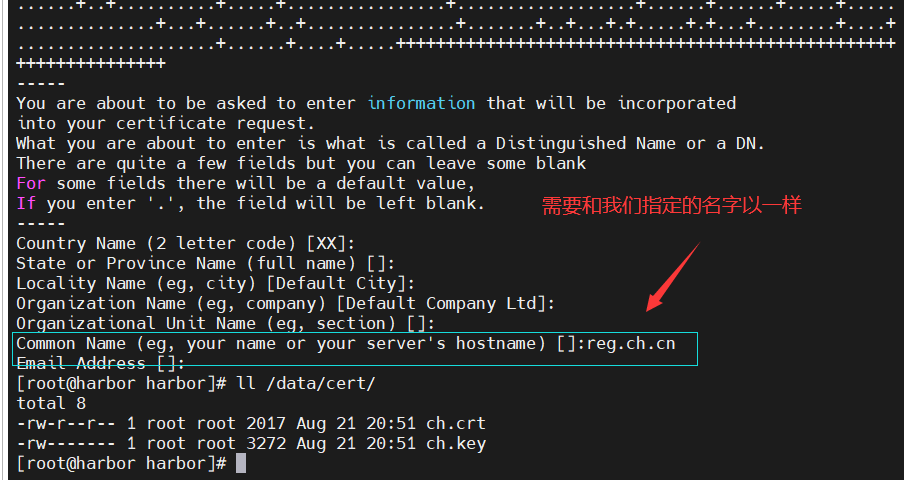
接下来为harbor仓库生成证书和key
[root@harbor harbor]# mkdir -p /data/cert
[root@harbor harbor]# openssl req -newkey rsa:4096 -nodes -sha256 -keyout /data/cert/ch.key -addext "subjectAltName = DNS:reg.ch.cn" -x509 -days 365 -out /data/cert/ch.crt
执行安装程序
[root@harbor harbor]# ./install.sh --with-chartmuseum
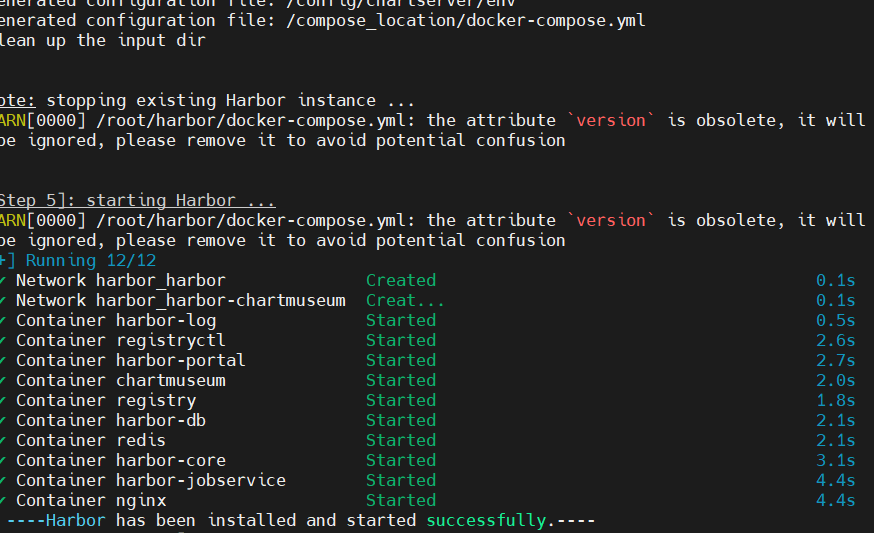
执行完毕后
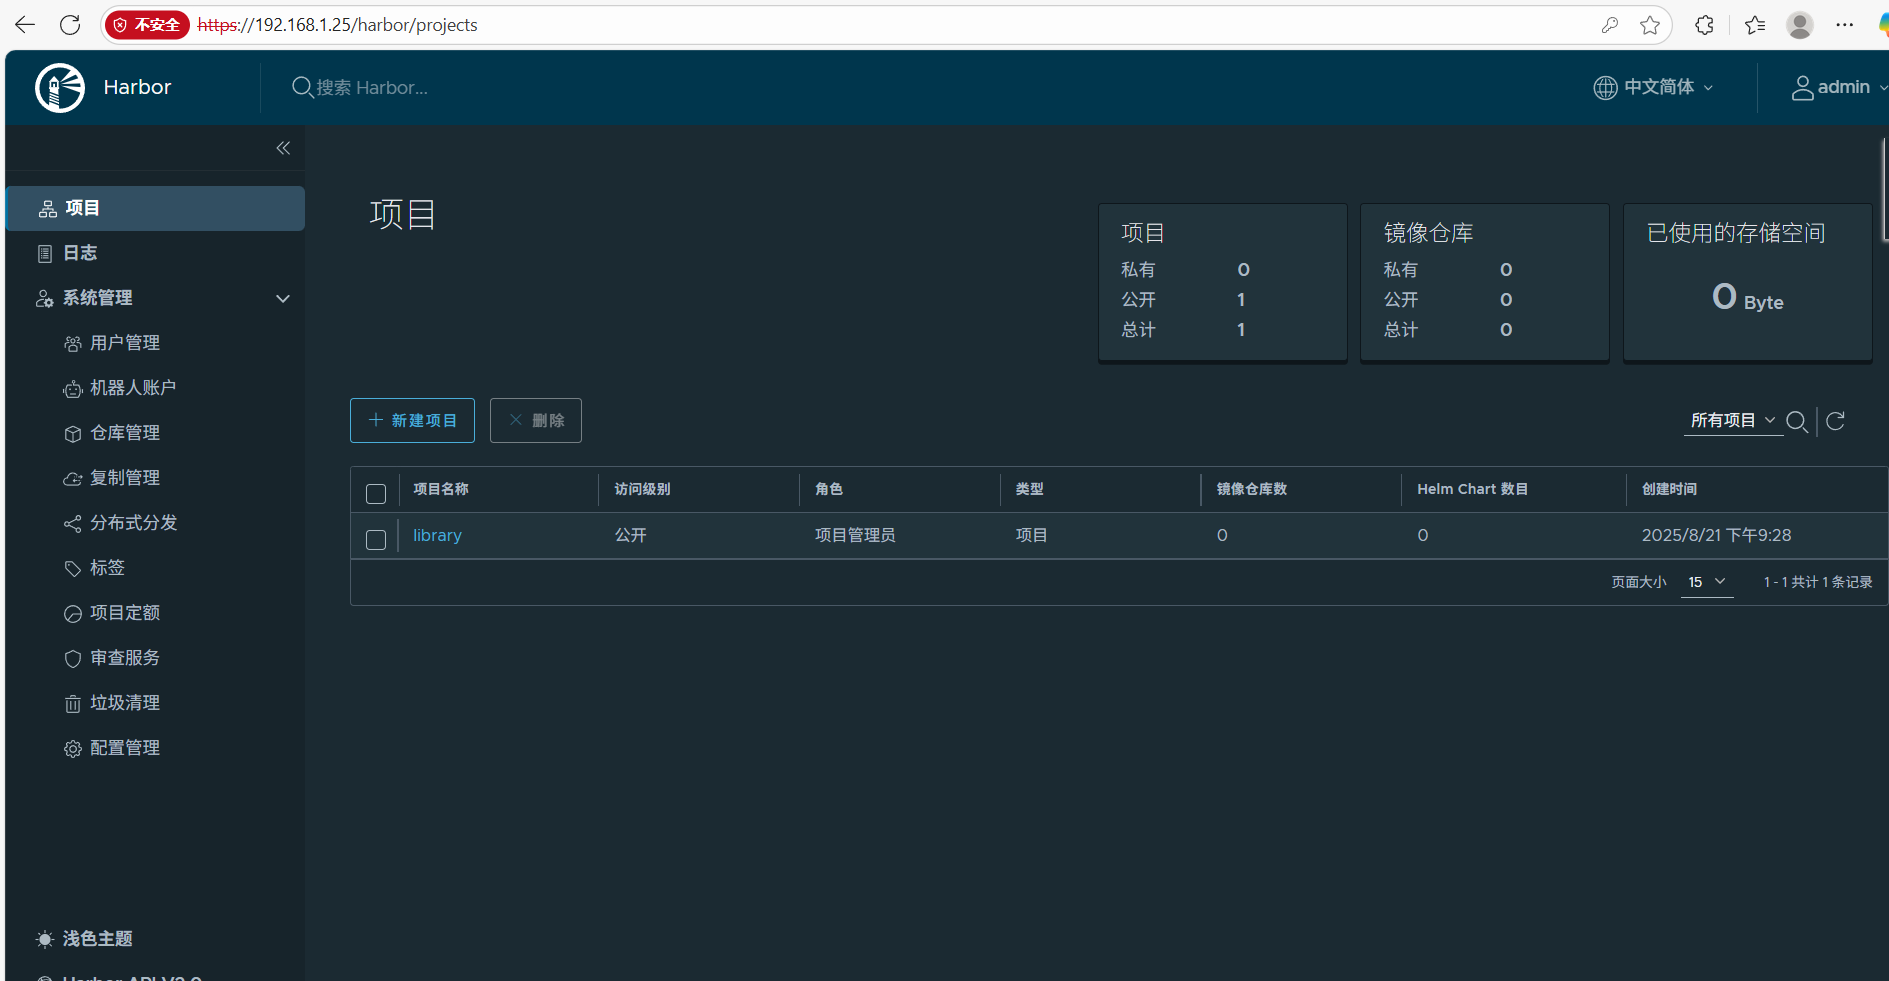
在浏览器登录输入我们在配置文件中设置的密码进行访问
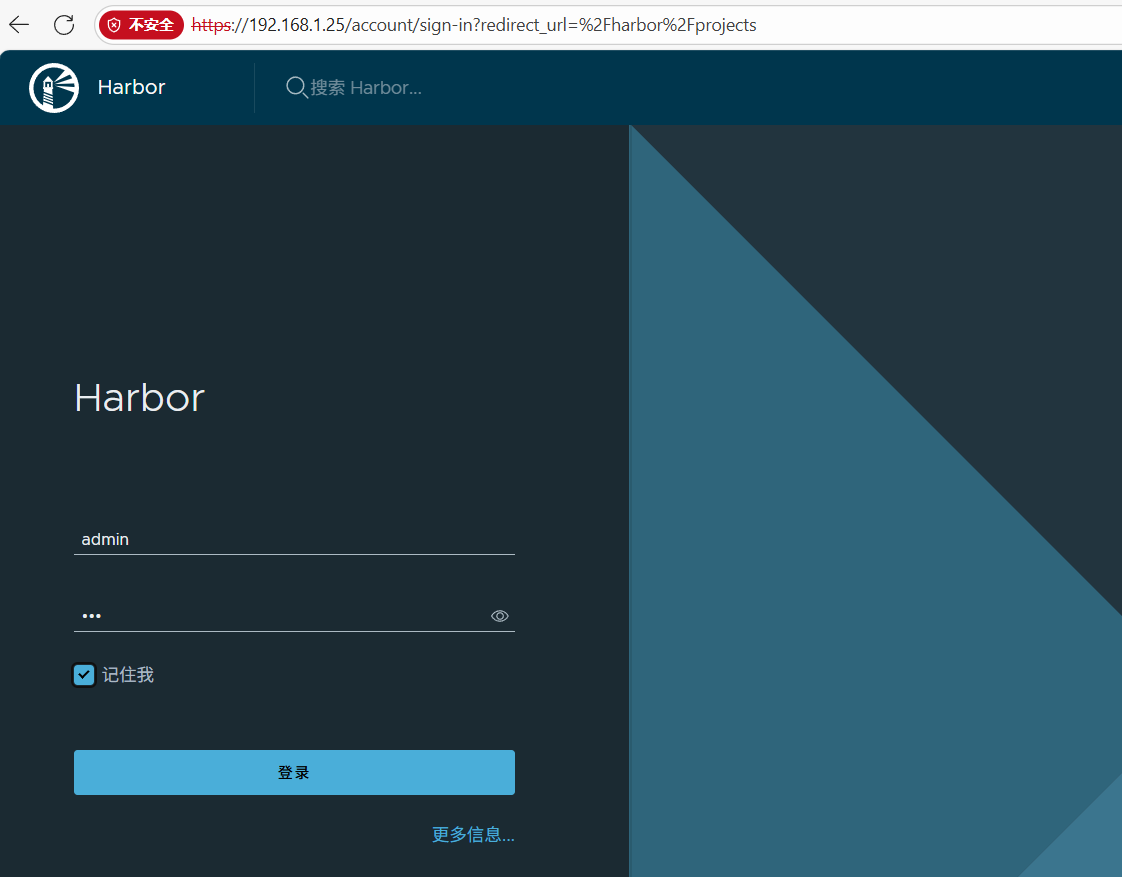
成功
建立认证本地才能登录
[root@harbor harbor]# mkdir -p /etc/docker/certs.d/reg.ch.cn
[root@harbor harbor]# cp /data/cert/ch.crt /etc/docker/certs.d/reg.ch.cn/ca.crt
[root@harbor harbor]# docker login reg.ch.cn		#需要配置域名解析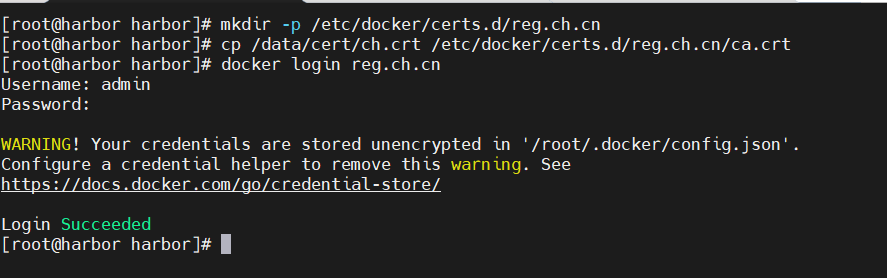
仓库建立完毕。
然后需要在所有主机下修改默认仓库为我们自己搭建的仓库
#编写daemon.json文件
[root@k8s-master ~]# vim /etc/docker/daemon.json
{"registry-mirrors": ["https://reg.ch.cn"]
}
#重启docker并查看
[root@k8s-master ~]# systemctl restart docker.service
[root@k8s-master ~]# docker info

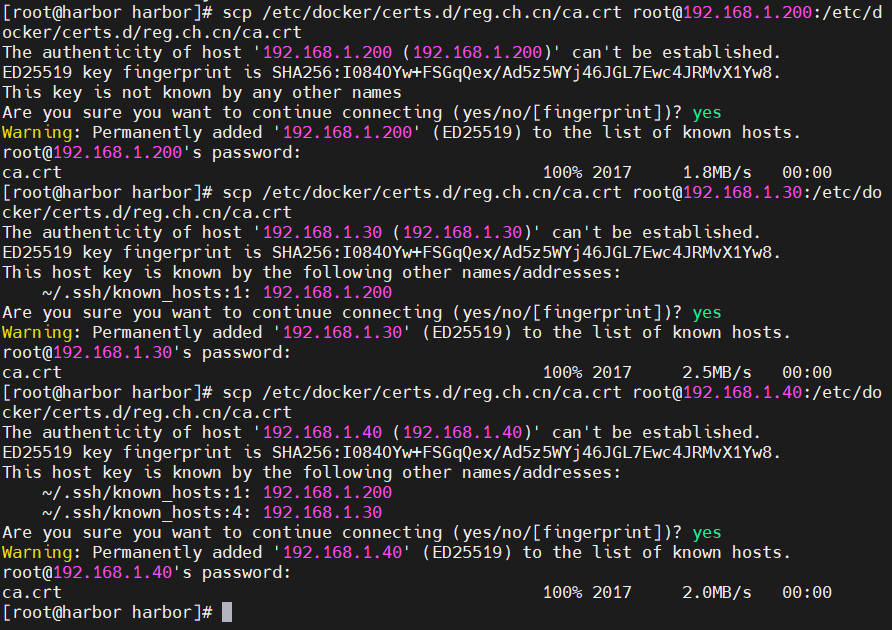
将harbor仓库的登录认证拷贝至各个节点,同时做好域名解析
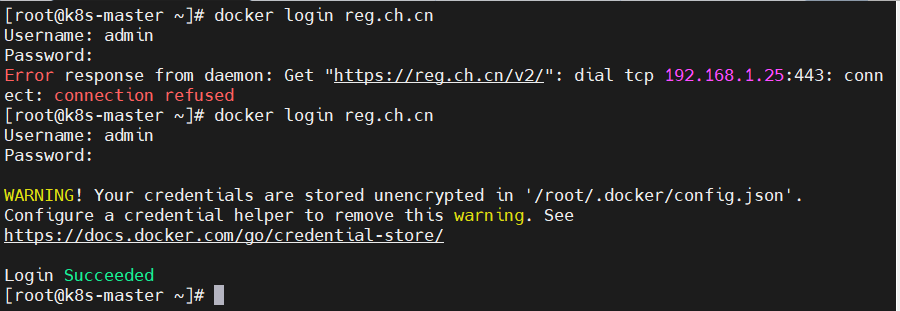
登录测试
1.环境准备
本次搭建是基于rhel9,规划如下
| 主机名 | ip | 角色 |
|---|---|---|
| harbor | 192.168.1.25 | harbor仓库 |
| k8s-master | 192.168.1.200 | master,k8s集群控制节点 |
| k8s-node1 | 192.168.1.30 | worker,k8s集群工作节点 |
| k8s-node2 | 192.168.1.40 | worker,k8s集群工作节点 |
-
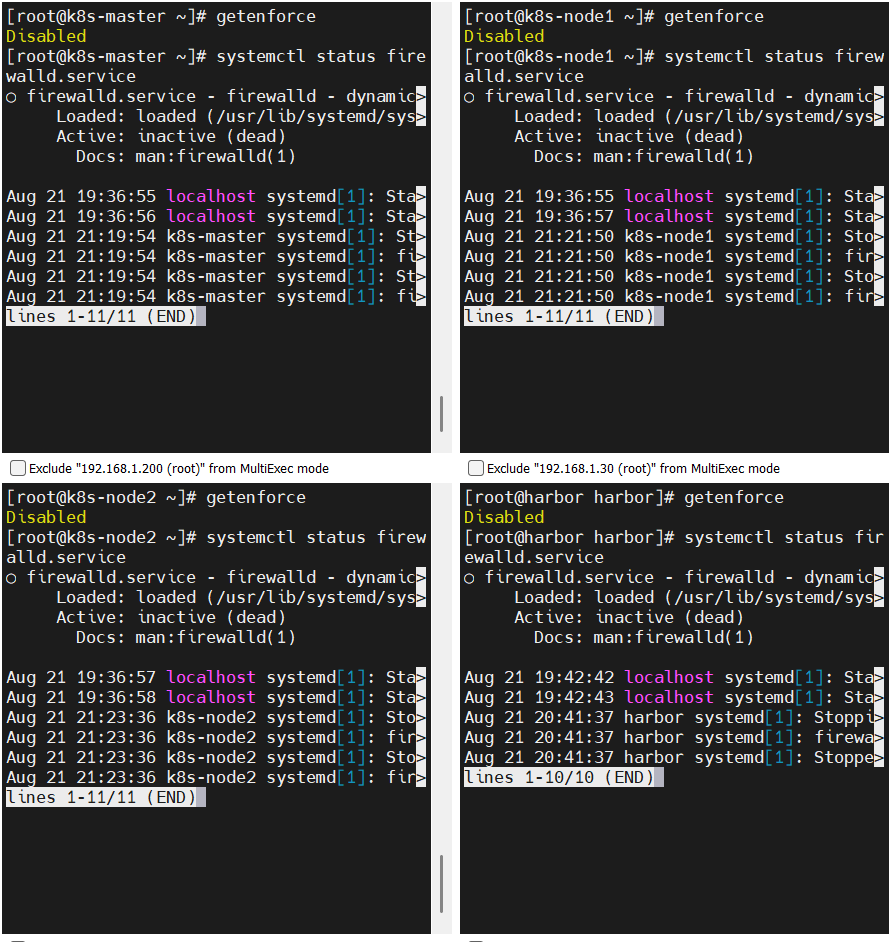
所有节点禁用selinux和防火墙
-
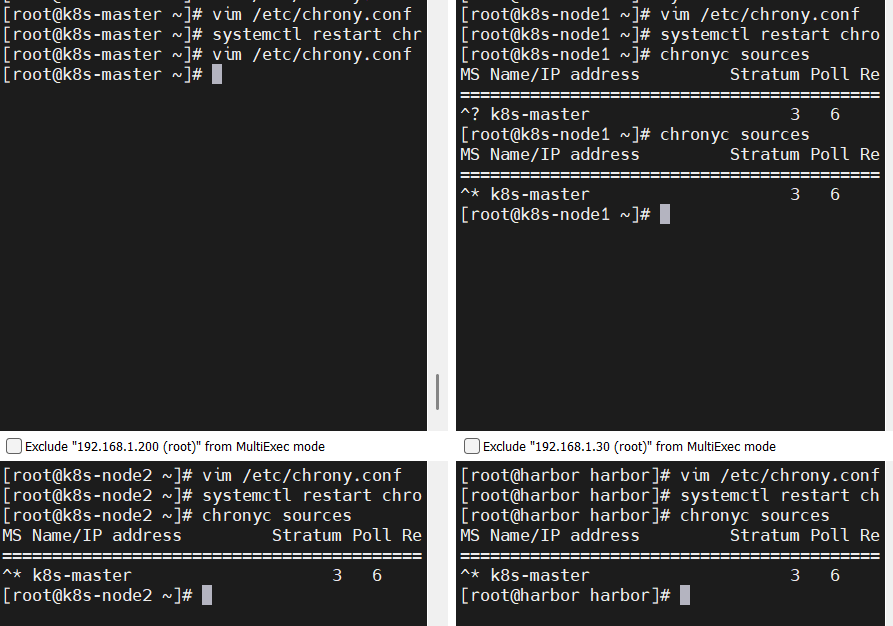
所有节点同步时间和解析
时间
解析
127.0.0.1 localhost localhost.localdomain localhost4 localhost4.localdomain4 ::1 localhost localhost.localdomain localhost6 localhost6.localdomain6 192.168.1.130 localhost 192.168.1.25 harbor reg.ch.cn 192.168.1.200 k8s-master 192.168.1.30 k8s-node1 192.168.1.40 k8s-node2 -
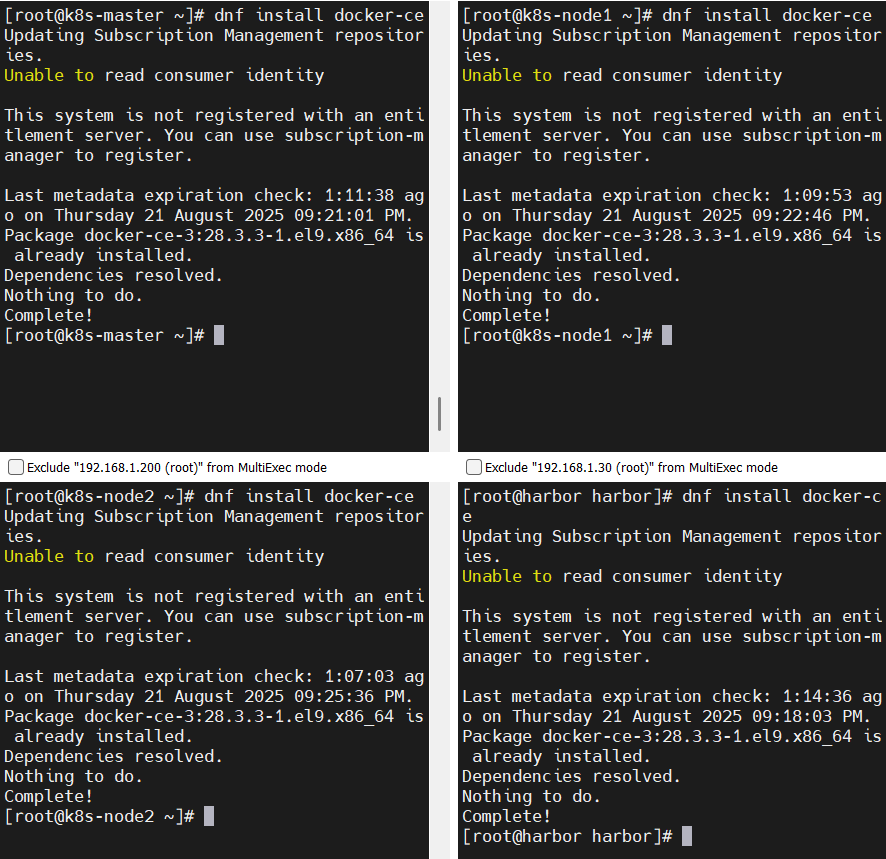
所有节点安装docker-ce
-
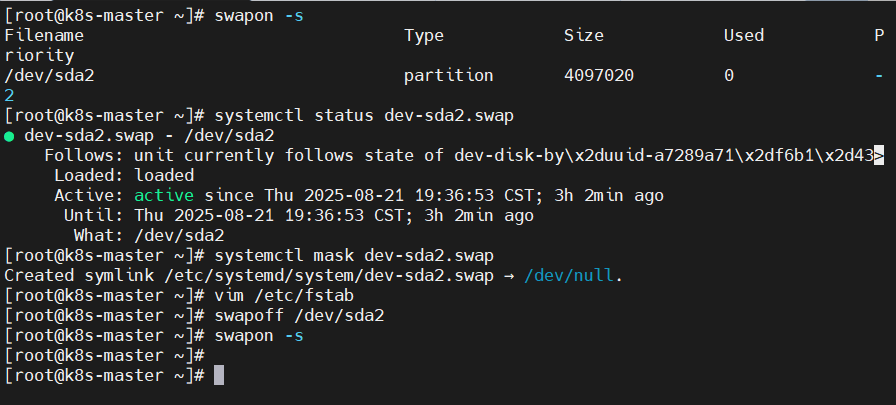
所有节点禁用swap,注意注释掉/etc/fstab文件中的定义(需要重启)
2.集群部署
2.1在所有节点安装cri-docker
k8s从1.24版本开始移除了dockershim,所以需要安装cri-docker插件才能使用docker
软件下载:https://github.com/Mirantis/cri-dockerd
[root@k8s-master ~]# yum install *.rpm -y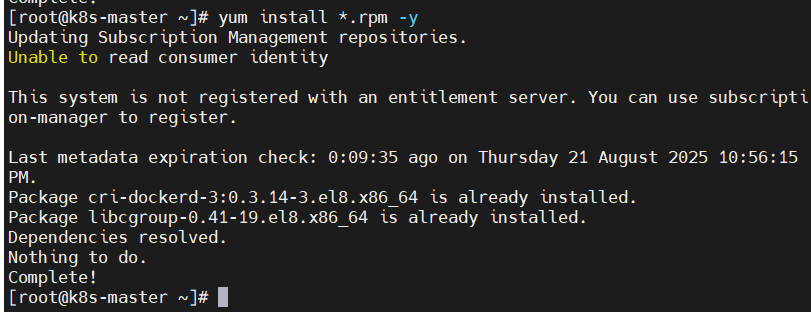
修改cri-docker启动文件,然后再启动
[root@k8s-master ~]# vim /lib/systemd/system/cri-docker.service#指定网络插件名称及基础容器镜像
ExecStart=/usr/bin/cri-dockerd --container-runtime-endpoint fd:// --network-plugin=cni --pod-infra-container-image=reg.ch.cn/k8s/pause:3.9[root@k8s-master ~]# systemctl daemon-reload
[root@k8s-master ~]# systemctl restart cri-docker.service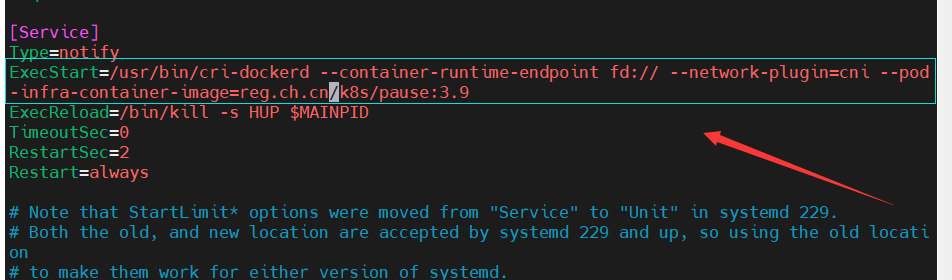

2.2安装部署工具
所有节点安装kubelet,kubeadm
[root@k8s-master ~]# tar zxf k8s-1.30.tar.gz
[root@k8s-master ~]# ll
total 121064
-rw-------. 1 root root     1030 Jul  8 12:07 anaconda-ks.cfg
-r--r--r--  1 root root   245151 Aug  9 17:07 conntrack-tools-1.4.7-2.el9.x86_64.rpm
-rw-r--r--  1 root root 56297924 Aug 21 23:28 k8s-1.30.tar.gz
-rw-r--r--  1 root root 10496672 Aug  9 17:07 kubeadm-1.30.0-150500.1.1.x86_64.rpm
-rw-r--r--  1 root root 10885020 Aug  9 17:07 kubectl-1.30.0-150500.1.1.x86_64.rpm
-rw-r--r--  1 root root 18281364 Aug  9 17:07 kubelet-1.30.0-150500.1.1.x86_64.rpm
-rw-r--r--  1 root root  7046800 Aug  9 17:07 kubernetes-cni-1.4.0-150500.1.1.x86_64.rpm
-rw-r--r--  1 root root    70188 Aug 21 23:02 libcgroup-0.41-19.el8.x86_64.rpm
-r--r--r--  1 root root    26117 Aug  9 17:07 libnetfilter_cthelper-1.0.0-22.el9.x86_64.rpm
-r--r--r--  1 root root    25961 Aug  9 17:07 libnetfilter_cttimeout-1.0.0-19.el9.x86_64.rpm
-r--r--r--  1 root root    31359 Aug  9 17:07 libnetfilter_queue-1.0.5-1.el9.x86_64.rpm
-r--r--r--  1 root root   316179 Aug  9 17:07 socat-1.7.4.1-5.el9.x86_64.rpm
[root@k8s-master ~]# yum install *.rpm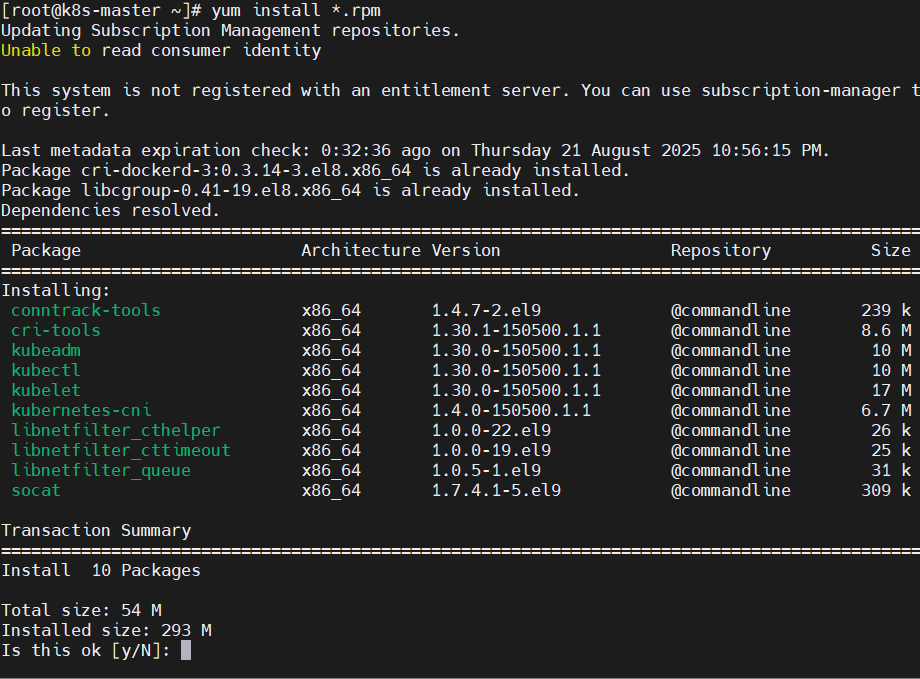
在master设置命令补齐
[root@k8s-master ~]# echo "source <(kubectl completion bash)" >> ~/.bashrc
[root@k8s-master ~]# source ~/.bashrc
2.3在master将部署所需镜像上传至仓库
[root@k8s-master ~]# docker load -i k8s_docker_images-1.30.tar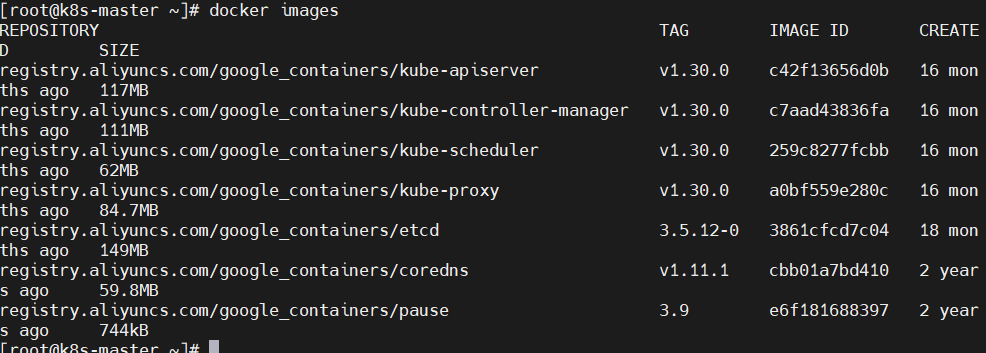
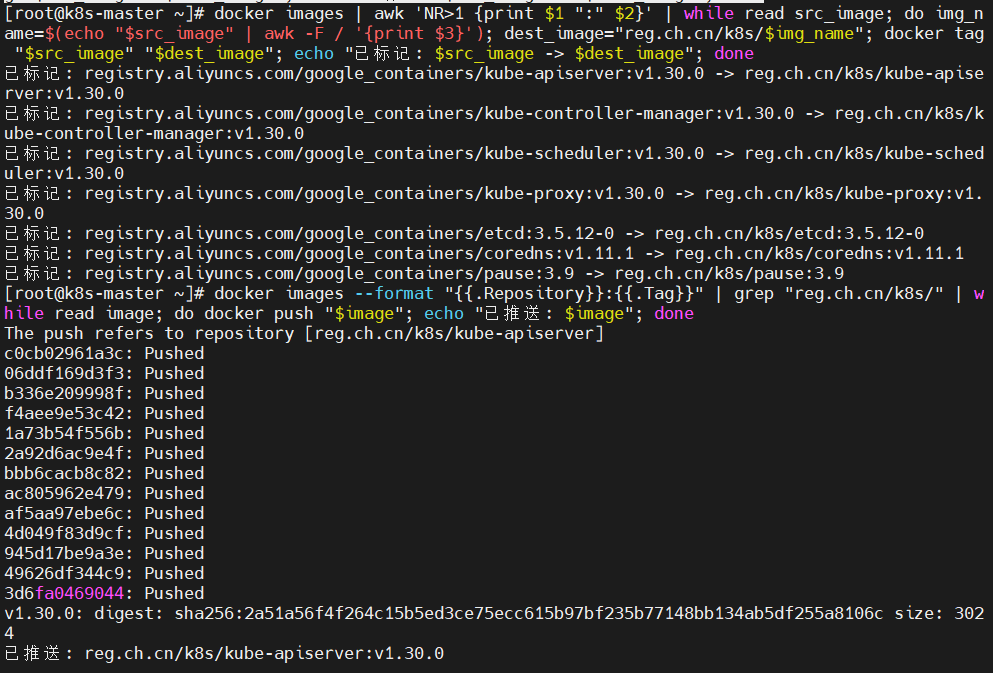
#标记镜像
[root@k8s-master ~]# docker images | awk 'NR>1 {print $1 ":" $2}' | while read src_image; do img_name=$(echo "$src_image" | awk -F / '{print $3}'); dest_image="reg.ch.cn/k8s/$img_name"; docker tag "$src_image" "$dest_image"; echo "已标记: $src_image -> $dest_image"; done#上传镜像
[root@k8s-master ~]# docker images --format "{{.Repository}}:{{.Tag}}" | grep "reg.ch.cn/k8s/" | while read image; do docker push "$image"; echo "已推送: $image"; done
2.4集群初始化
#所有节点启动kubelet服务
[root@k8s-master ~]# systemctl enable --now kubelet.service#执行初始化命令
[root@k8s-master ~]# kubeadm init --pod-network-cidr=10.244.0.0/16 \
--image-repository reg.ch.cn/k8s \
--kubernetes-version v1.30.0 \
--cri-socket=unix:///var/run/cri-dockerd.sock
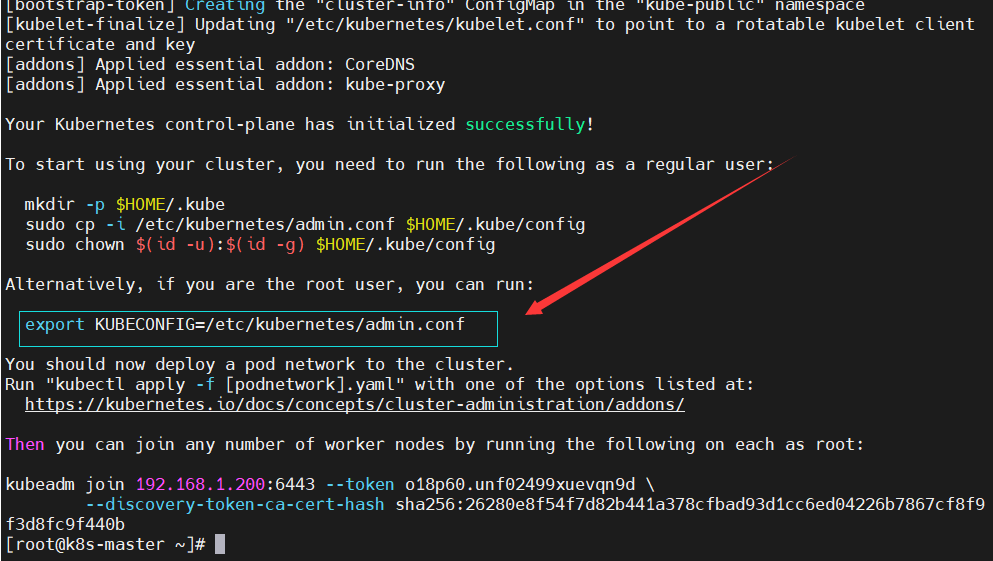
#指定集群配置文件变量
[root@k8s-master ~]# echo "export KUBECONFIG=/etc/kubernetes/admin.conf" >> ~/.bash_profile
[root@k8s-master ~]# source ~/.bash_profile#当前节点没有就绪,因为还没有安装网络插件,容器没有运行
[root@k8s-master ~]# kubectl get nodes
NAME         STATUS     ROLES           AGE    VERSION
k8s-master   NotReady   control-plane   117s   v1.30.0
[root@k8s-master ~]# kubectl get pods
No resources found in default namespace.
[root@k8s-master ~]# kubectl get pod -A
NAMESPACE     NAME                                 READY   STATUS    RESTARTS   AGE
kube-system   coredns-cff7d47c9-bsh4j              0/1     Pending   0          118s
kube-system   coredns-cff7d47c9-gjttg              0/1     Pending   0          118s
kube-system   etcd-k8s-master                      1/1     Running   0          2m12s
kube-system   kube-apiserver-k8s-master            1/1     Running   0          2m12s
kube-system   kube-controller-manager-k8s-master   1/1     Running   0          2m12s
kube-system   kube-proxy-hrqf7                     1/1     Running   0          118s
kube-system   kube-scheduler-k8s-master            1/1     Running   0          2m12s
[!NOTE]
在此阶段如果生成的集群token找不到了可以重新生成
[root@k8s-master ~]#   kubeadm token create --print-join-command
kubeadm join 192.168.1.200:6443 --token o18p60.unf02499xuevqn9d \--discovery-token-ca-cert-hash sha256:26280e8f54f7d82b441a378cfbad93d1cc6ed04226b7867cf8f9f3d8fc9f440b
2.5安装网络插件以让节点加入
官方网站:https://github.com/flannel-io/flannel
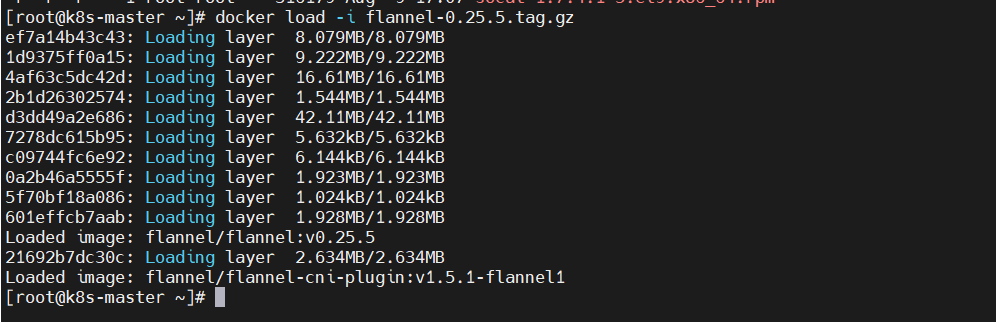
#加载镜像
[root@k8s-master ~]# docker load -i flannel-0.25.5.tag.gz
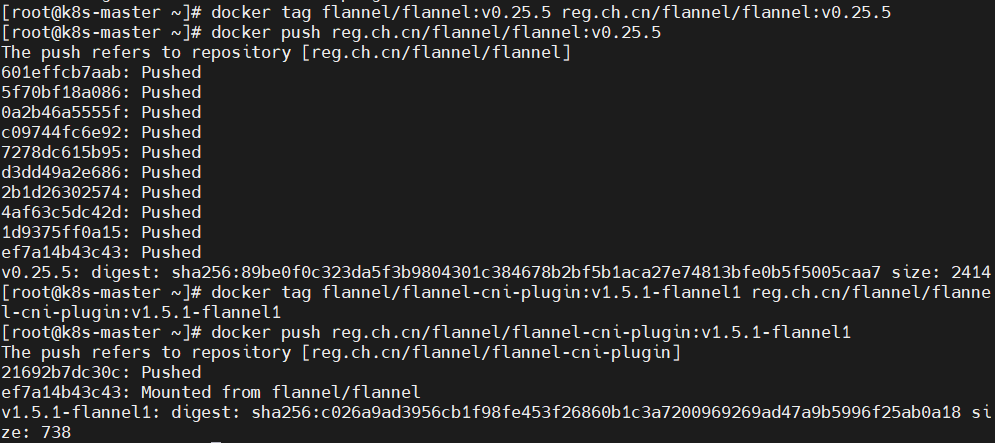
#上传镜像到仓库
[root@k8s-master ~]# docker tag flannel/flannel:v0.25.5 reg.ch.cn/flannel/flannel:v0.25.5
[root@k8s-master ~]# docker push reg.ch.cn/flannel/flannel:v0.25.5[root@k8s-master ~]# docker tag flannel/flannel-cni-plugin:v1.5.1-flannel1 reg.ch.cn/flannel/flannel-cni-plugin:v1.5.1-flannel1
[root@k8s-master ~]# docker push reg.ch.cn/flannel/flannel-cni-plugin:v1.5.1-flannel1
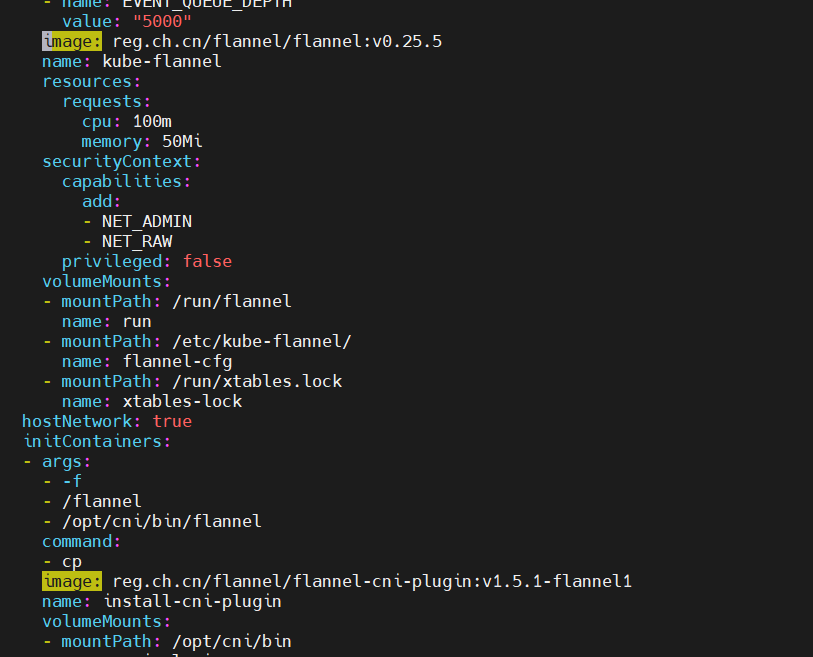
#编辑kube-flannel.yml 修改镜像下载位置
[root@k8s-master ~]# vim kube-flannel.yml#需要修改以下几行
[root@k8s-master ~]# grep -n image kube-flannel.yml
146:        image: reg.ch.cn/flannel/flannel:v0.25.5
173:        image: reg.ch.cn/flannel/flannel-cni-plugin:v1.5.1-flannel1
184:        image: reg.ch.cn/flannel/flannel:v0.25.5#安装flannel网络插件
[root@k8s-master ~]# kubectl apply -f kube-flannel.yml
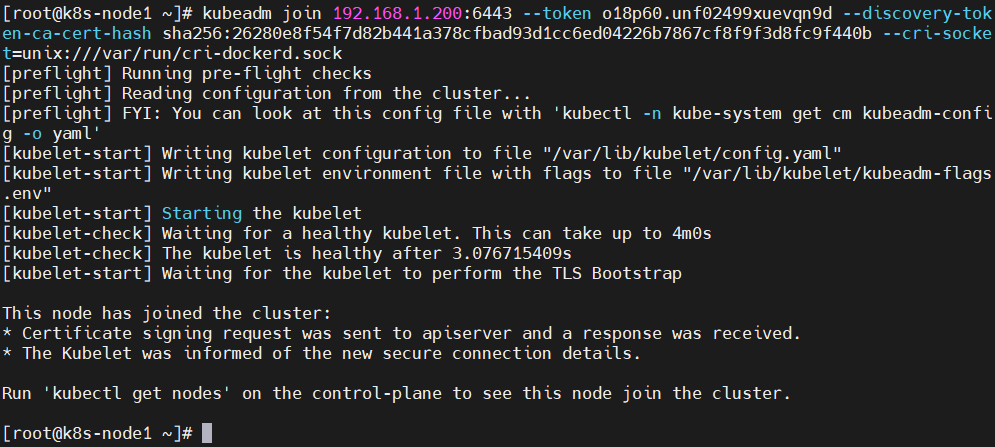
2.6加入节点
[root@k8s-node1 ~]# kubeadm join 192.168.1.200:6443 --token o18p60.unf02499xuevqn9d --discovery-token-ca-cert-hash sha256:26280e8f54f7d82b441a378cfbad93d1cc6ed04226b7867cf8f9f3d8fc9f440b --cri-socket=unix:///var/run/cri-dockerd.sock
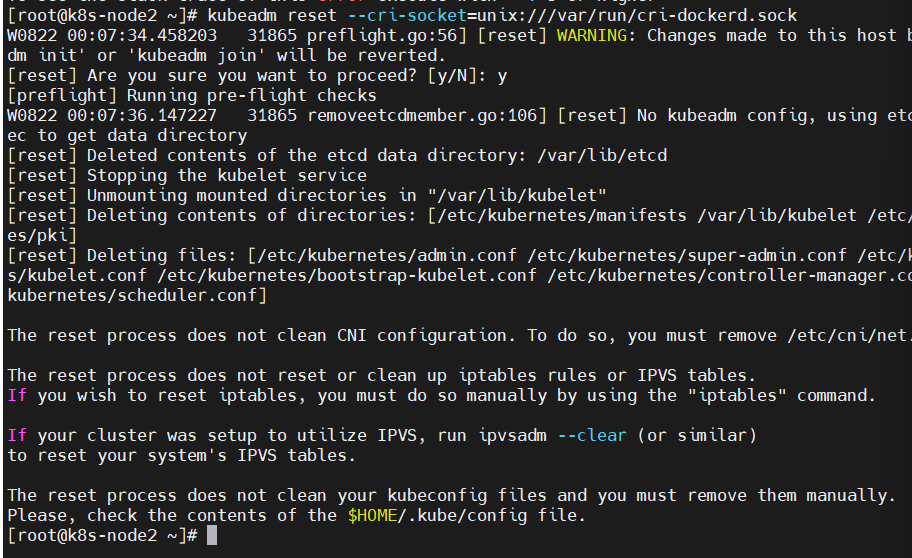
#若执行出错,可以执行以下命令清除
[root@k8s-node2 ~]# kubeadm reset --cri-socket=unix:///var/run/cri-dockerd.sock
在master上查看状态
[root@k8s-master ~]# kubectl get nodes

至此集群搭建完成