MySQL 高级主题:索引优化、ORM 与数据库迁移
第五部分:索引优化
1. 为什么需要索引?
索引是提高数据库查询性能的关键数据结构,它类似于书籍的目录,可以帮助数据库快速定位到所需数据,而不必扫描整个表。
2. 索引类型
主键索引 (PRIMARY KEY): 唯一且非空,每个表只能有一个
唯一索引 (UNIQUE): 确保列中所有值都是唯一的
普通索引 (INDEX): 最基本的索引,没有唯一性限制
复合索引 (COMPOSITE INDEX): 基于多个列的索引
全文索引 (FULLTEXT): 用于全文搜索
空间索引 (SPATIAL): 用于地理空间数据类型
3. 创建索引的最佳实践
sql
-- 创建普通索引
CREATE INDEX idx_email ON users(email);-- 创建唯一索引
CREATE UNIQUE INDEX idx_unique_username ON users(username);-- 创建复合索引(注意列的顺序很重要)
CREATE INDEX idx_name_age ON users(last_name, first_name, age);-- 删除索引
DROP INDEX idx_email ON users;
4. 使用 EXPLAIN 分析查询性能
sql
-- 分析查询执行计划
EXPLAIN SELECT * FROM users WHERE email = 'test@example.com';-- 更详细的分析
EXPLAIN FORMAT=JSON SELECT * FROM users WHERE age > 25;
5. 索引优化建议
为经常用于 WHERE、JOIN、ORDER BY 和 GROUP BY 的列创建索引
避免在频繁更新的列上创建过多索引
使用复合索引而不是多个单列索引
定期分析慢查询日志,优化性能瓶颈
使用覆盖索引(索引包含所有查询字段)避免回表操作
第六部分:使用 ORM(对象关系映射)
Python - SQLAlchemy 高级用法
1. 安装与配置
bash
pip install sqlalchemy
2. 定义模型与关系
python
from sqlalchemy import create_engine, Column, Integer, String, DateTime, ForeignKey, Text
from sqlalchemy.ext.declarative import declarative_base
from sqlalchemy.orm import sessionmaker, relationship
from datetime import datetimeBase = declarative_base()class User(Base):__tablename__ = 'users'id = Column(Integer, primary_key=True)username = Column(String(50), unique=True, nullable=False)email = Column(String(100), nullable=False)password_hash = Column(String(128), nullable=False)created_at = Column(DateTime, default=datetime.utcnow)updated_at = Column(DateTime, default=datetime.utcnow, onupdate=datetime.utcnow)# 定义关系posts = relationship("Post", back_populates="author", cascade="all, delete-orphan")profile = relationship("Profile", back_populates="user", uselist=False, cascade="all, delete-orphan")class Profile(Base):__tablename__ = 'profiles'id = Column(Integer, primary_key=True)user_id = Column(Integer, ForeignKey('users.id'), unique=True)first_name = Column(String(50))last_name = Column(String(50))bio = Column(Text)user = relationship("User", back_populates="profile")class Post(Base):__tablename__ = 'posts'id = Column(Integer, primary_key=True)title = Column(String(200), nullable=False)content = Column(Text, nullable=False)author_id = Column(Integer, ForeignKey('users.id'))created_at = Column(DateTime, default=datetime.utcnow)author = relationship("User", back_populates="posts")categories = relationship("Category", secondary="post_categories", back_populates="posts")class Category(Base):__tablename__ = 'categories'id = Column(Integer, primary_key=True)name = Column(String(50), unique=True, nullable=False)posts = relationship("Post", secondary="post_categories", back_populates="categories")# 多对多关联表
post_categories = Table('post_categories', Base.metadata,Column('post_id', Integer, ForeignKey('posts.id')),Column('category_id', Integer, ForeignKey('categories.id'))
)# 创建引擎和会话
engine = create_engine('mysql+pymysql://user:password@localhost/mydatabase?charset=utf8mb4')
Session = sessionmaker(bind=engine)
session = Session()# 创建所有表
Base.metadata.create_all(engine)
3. 高级查询示例
python
# 复杂查询
from sqlalchemy import and_, or_, func# 基本查询
users = session.query(User).filter(User.email.like('%@example.com')).all()# 使用join查询
posts_with_authors = (session.query(Post, User.username).join(User, Post.author_id == User.id).filter(Post.created_at >= '2023-01-01').order_by(Post.created_at.desc()).all())# 聚合查询
user_post_counts = (session.query(User.username, func.count(Post.id).label('post_count')).join(Post, User.id == Post.author_id).group_by(User.id).having(func.count(Post.id) > 5).all())# 使用子查询
subquery = (session.query(Post.author_id, func.max(Post.created_at).label('last_post')).group_by(Post.author_id).subquery())recent_authors = (session.query(User, subquery.c.last_post).join(subquery, User.id == subquery.c.author_id).all())# 事务处理
try:new_user = User(username='newuser', email='new@example.com', password_hash='hashed_password')session.add(new_user)session.flush()  # 获取新用户的ID但不提交事务new_profile = Profile(user_id=new_user.id, first_name='John', last_name='Doe')session.add(new_profile)session.commit()
except Exception as e:session.rollback()print(f"Error: {e}")
Node.js - TypeORM 高级用法
1. 安装与配置
bash
npm install typeorm reflect-metadata mysql2
npm install @types/node --save-dev
2. 创建实体与关系
typescript
// src/entity/User.ts
import { Entity, PrimaryGeneratedColumn, Column, CreateDateColumn, UpdateDateColumn, OneToOne, OneToMany } from "typeorm";
import { Profile } from "./Profile";
import { Post } from "./Post";@Entity()
export class User {@PrimaryGeneratedColumn()id: number;@Column({ unique: true, length: 50 })username: string;@Column({ length: 100 })email: string;@Column({ length: 128 })passwordHash: string;@CreateDateColumn()createdAt: Date;@UpdateDateColumn()updatedAt: Date;@OneToOne(() => Profile, profile => profile.user, { cascade: true })profile: Profile;@OneToMany(() => Post, post => post.author, { cascade: true })posts: Post[];
}// src/entity/Profile.ts
import { Entity, PrimaryGeneratedColumn, Column, OneToOne, JoinColumn } from "typeorm";
import { User } from "./User";@Entity()
export class Profile {@PrimaryGeneratedColumn()id: number;@Column({ nullable: true, length: 50 })firstName: string;@Column({ nullable: true, length: 50 })lastName: string;@Column({ type: "text", nullable: true })bio: string;@OneToOne(() => User, user => user.profile)@JoinColumn()user: User;
}// src/entity/Post.ts
import { Entity, PrimaryGeneratedColumn, Column, ManyToOne, ManyToMany, JoinTable, CreateDateColumn } from "typeorm";
import { User } from "./User";
import { Category } from "./Category";@Entity()
export class Post {@PrimaryGeneratedColumn()id: number;@Column({ length: 200 })title: string;@Column({ type: "text" })content: string;@CreateDateColumn()createdAt: Date;@ManyToOne(() => User, user => user.posts)author: User;@ManyToMany(() => Category, category => category.posts)@JoinTable()categories: Category[];
}// src/entity/Category.ts
import { Entity, PrimaryGeneratedColumn, Column, ManyToMany } from "typeorm";
import { Post } from "./Post";@Entity()
export class Category {@PrimaryGeneratedColumn()id: number;@Column({ unique: true, length: 50 })name: string;@ManyToMany(() => Post, post => post.categories)posts: Post[];
}
3. 数据源配置与查询
typescript
// src/data-source.ts
import "reflect-metadata";
import { DataSource } from "typeorm";
import { User } from "./entity/User";
import { Profile } from "./entity/Profile";
import { Post } from "./entity/Post";
import { Category } from "./entity/Category";export const AppDataSource = new DataSource({type: "mysql",host: "localhost",port: 3306,username: "test",password: "test",database: "test",synchronize: true, // 生产环境应该设为false,使用迁移logging: false,entities: [User, Profile, Post, Category],migrations: [],subscribers: [],
});// src/index.ts
import { AppDataSource } from "./data-source";
import { User } from "./entity/User";
import { Profile } from "./entity/Profile";
import { Post } from "./entity/Post";
import { Category } from "./entity/Category";
import { In } from "typeorm";AppDataSource.initialize().then(async () => {console.log("Data Source has been initialized!");// 创建新用户const user = new User();user.username = "timber";user.email = "timber@example.com";user.passwordHash = "hashed_password";const profile = new Profile();profile.firstName = "Timber";profile.lastName = "Saw";user.profile = profile;await AppDataSource.manager.save(user);// 复杂查询const userRepository = AppDataSource.getRepository(User);const users = await userRepository.find({where: {email: Like("%@example.com")},relations: {profile: true,posts: true}});// 使用QueryBuilderconst posts = await AppDataSource.getRepository(Post).createQueryBuilder("post").leftJoinAndSelect("post.author", "author").leftJoinAndSelect("post.categories", "category").where("post.createdAt > :date", { date: new Date("2023-01-01") }).orderBy("post.createdAt", "DESC").getMany();// 事务处理await AppDataSource.manager.transaction(async transactionalEntityManager => {const newUser = new User();newUser.username = "transaction_user";newUser.email = "transaction@example.com";newUser.passwordHash = "hashed_password";await transactionalEntityManager.save(newUser);const newPost = new Post();newPost.title = "Transaction Post";newPost.content = "This post was created in a transaction";newPost.author = newUser;await transactionalEntityManager.save(newPost);});}).catch((error) => console.log(error));
第七部分:数据库迁移工具
Python - Alembic 高级用法
1. 初始化与配置
bash
# 安装
pip install alembic# 初始化
alembic init alembic# 修改 alembic.ini 中的数据库连接
sqlalchemy.url = mysql+pymysql://user:password@localhost/mydatabase
2. 配置环境脚本 (alembic/env.py)
python
import sys
from os.path import abspath, dirname# 添加项目根目录到Python路径
sys.path.insert(0, dirname(dirname(abspath(__file__))))from myapp.models import Base  # 导入你的Base
target_metadata = Base.metadata# 其他配置...
3. 创建与运行迁移
bash
# 创建自动迁移脚本
alembic revision --autogenerate -m "添加用户个人资料表"# 检查生成的迁移脚本,必要时手动调整
# 运行迁移
alembic upgrade head# 降级迁移
alembic downgrade -1# 查看迁移历史
alembic history# 查看当前版本
alembic current
4. 复杂迁移示例
python
# 迁移脚本示例
from alembic import op
import sqlalchemy as sa
from sqlalchemy.dialects import mysqldef upgrade():# 创建新表op.create_table('profiles',sa.Column('id', sa.Integer(), nullable=False),sa.Column('user_id', sa.Integer(), nullable=False),sa.Column('first_name', sa.String(length=50), nullable=True),sa.Column('last_name', sa.String(length=50), nullable=True),sa.Column('bio', sa.Text(), nullable=True),sa.ForeignKeyConstraint(['user_id'], ['users.id'], ),sa.PrimaryKeyConstraint('id'),sa.UniqueConstraint('user_id'))# 添加新列op.add_column('users', sa.Column('updated_at', sa.DateTime(), nullable=True))# 创建索引op.create_index(op.f('ix_users_email'), 'users', ['email'], unique=True)# 数据迁移conn = op.get_bind()conn.execute(sa.text("UPDATE users SET updated_at = created_at WHERE updated_at IS NULL"))# 修改列属性op.alter_column('users', 'updated_at',existing_type=mysql.DATETIME(),nullable=False)def downgrade():# 删除索引op.drop_index(op.f('ix_users_email'), table_name='users')# 删除列op.drop_column('users', 'updated_at')# 删除表op.drop_table('profiles')
Node.js - TypeORM 迁移
1. 配置迁移
json
// package.json 中添加脚本
{"scripts": {"typeorm": "typeorm-ts-node-commonjs","migration:generate": "npm run typeorm -- migration:generate -d src/data-source.ts","migration:run": "npm run typeorm -- migration:run -d src/data-source.ts","migration:revert": "npm run typeorm -- migration:revert -d src/data-source.ts"}
}
2. 生成与运行迁移
bash
# 生成迁移(根据实体变更自动生成)
npm run migration:generate -- src/migrations/CreateProfileTable# 运行迁移
npm run migration:run# 回滚迁移
npm run migration:revert
3. 迁移文件示例
typescript
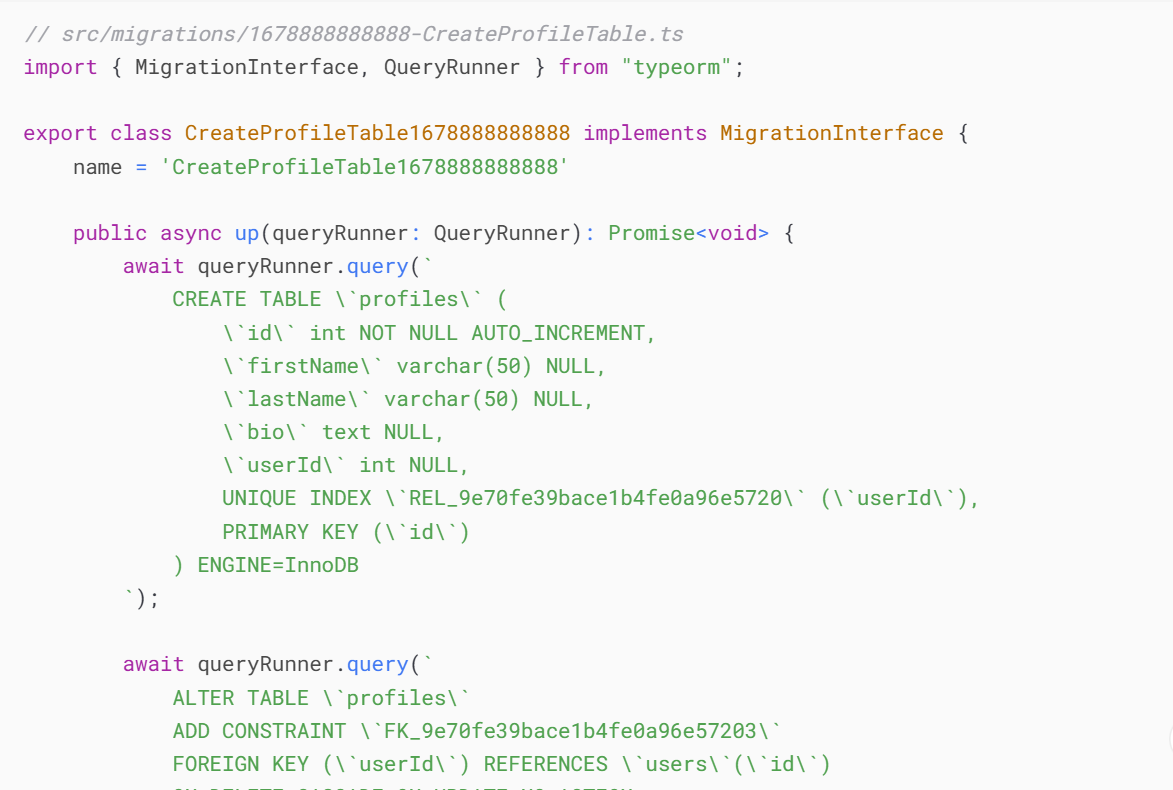
// src/migrations/1678888888888-CreateProfileTable.ts
import { MigrationInterface, QueryRunner } from "typeorm";export class CreateProfileTable1678888888888 implements MigrationInterface {name = 'CreateProfileTable1678888888888'public async up(queryRunner: QueryRunner): Promise<void> {await queryRunner.query(`CREATE TABLE \`profiles\` (\`id\` int NOT NULL AUTO_INCREMENT,\`firstName\` varchar(50) NULL,\`lastName\` varchar(50) NULL,\`bio\` text NULL,\`userId\` int NULL,UNIQUE INDEX \`REL_9e70fe39bace1b4fe0a96e5720\` (\`userId\`),PRIMARY KEY (\`id\`)) ENGINE=InnoDB`);await queryRunner.query(`ALTER TABLE \`profiles\`ADD CONSTRAINT \`FK_9e70fe39bace1b4fe0a96e57203\`FOREIGN KEY (\`userId\`) REFERENCES \`users\`(\`id\`)ON DELETE CASCADE ON UPDATE NO ACTION`);// 数据迁移await queryRunner.query(`INSERT INTO profiles (firstName, lastName, userId)SELECT 'Default', 'User', id FROM users`);}public async down(queryRunner: QueryRunner): Promise<void> {await queryRunner.query(`ALTER TABLE \`profiles\` DROP FOREIGN KEY \`FK_9e70fe39bace1b4fe0a96e57203\``);await queryRunner.query(`DROP INDEX \`REL_9e70fe39bace1b4fe0a96e5720\` ON \`profiles\``);await queryRunner.query(`DROP TABLE \`profiles\``);}
}
第八部分:最佳实践总结
1. 索引优化
使用 EXPLAIN 分析查询性能
为频繁查询的字段创建索引
使用复合索引优化多条件查询
定期检查和优化索引
2. ORM 使用
合理定义实体关系(一对一、一对多、多对多)
使用懒加载避免 N+1 查询问题
利用 ORM 的查询构建器进行复杂查询
使用事务确保数据一致性
3. 数据库迁移
所有数据库变更都应通过迁移脚本进行
迁移脚本应该是可逆的(提供 up 和 down 方法)
在生产环境运行迁移前,先在测试环境验证
使用版本控制系统管理迁移脚本
4. 性能优化
使用连接池管理数据库连接
批量操作数据而不是逐条处理
使用分页处理大量数据
定期清理不再需要的数据
5. 安全考虑
使用预处理语句防止 SQL 注入
对敏感数据进行加密
遵循最小权限原则设置数据库用户权限
定期备份数据库