【项目实践】在系统接入天气api,根据当前天气提醒,做好plan
前期调研
经多方查找,发现和风天气对于个人开发人相对有好,有详细的api接口文档以及实现案例。
优点:
- 只需要提供城市、授权ID和Key,就会进行返回 跟天气相关的多样态数据;
- 响应数据种类多,提供各类svg图标样式,后续扩展性可以延伸;
详情查看官网
- 和风天气开发文档
- 和风天气图标
准备工作
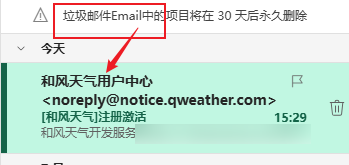
注册和风天气账号
- 注册时需要准备邮箱,手机账号
- 验证码注意检查下垃圾邮件,有可能被默认规则拦截
- 添加项目,这里就开始注册需要使用 的api了
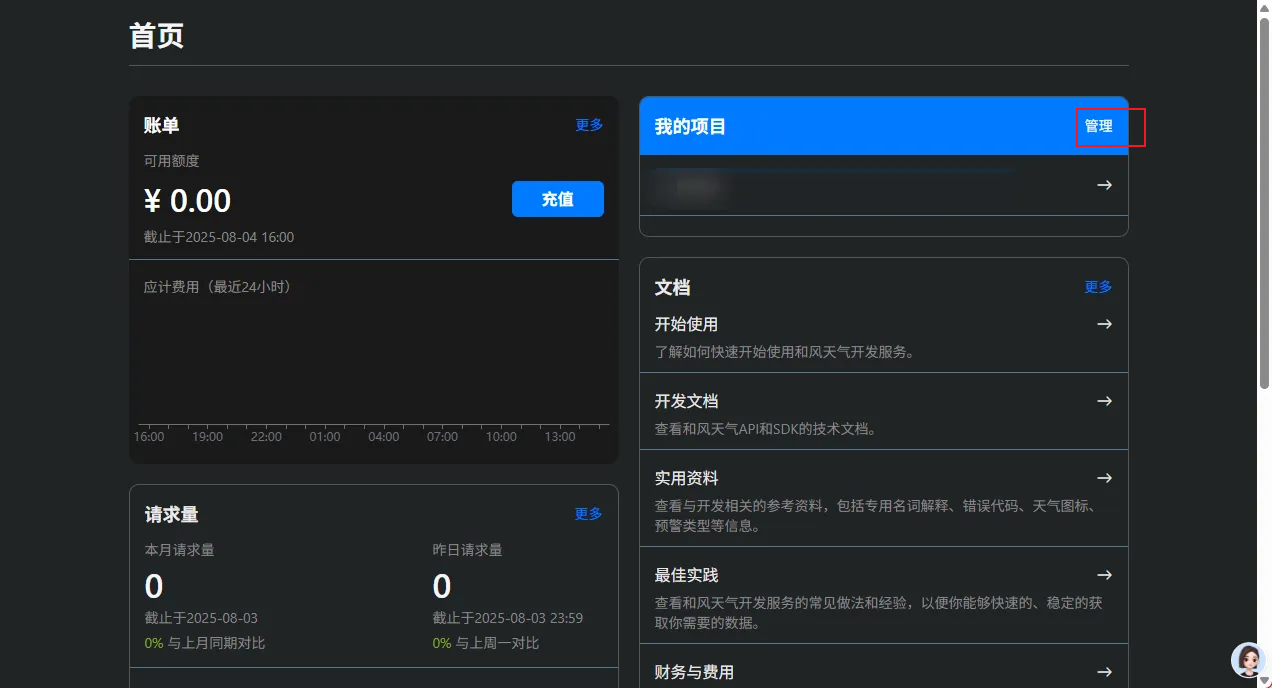
- 注册项目

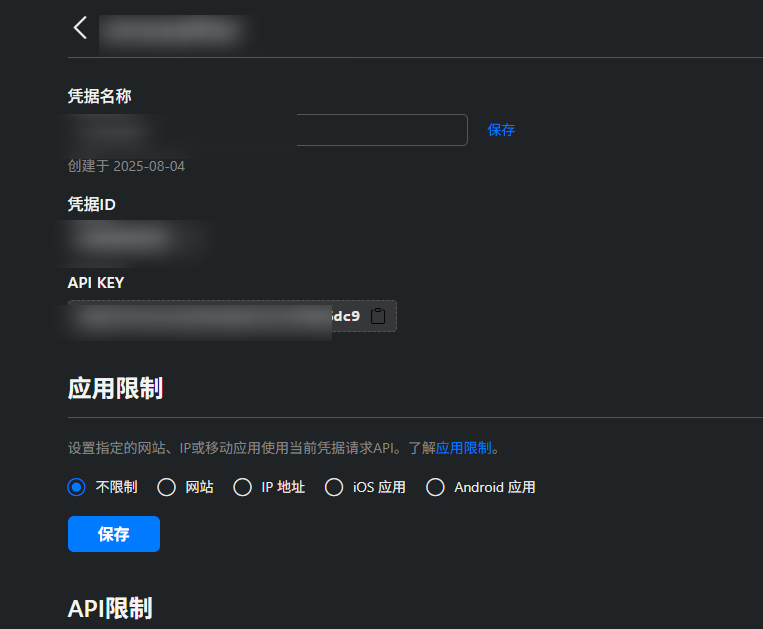
- 创建完成后会显示这个,下面的凭据 点击;

- api Key 就是我们需要用的APIKey
- 详细设置参照官方文档进行:
开发配置
开始实行
导入依赖
- 返回JSON数据,所以数据格式转换是必须的,需要
jaskson; - 和风天气 API响应的数据使用
Gzip压缩,正常显示失败,需要设置HttpComponentsClientHttpRequestFactory,为了解决API响应压缩导致的解析问题,确保能够正确处理和风天气 API 返回的可能经过 gzip 压缩的 JSON 数据。
<!-- Jackson(解析JSON) --><dependency><groupId>com.fasterxml.jackson.core</groupId><artifactId>jackson-databind</artifactId><version>2.13.4.2</version></dependency><!-- HttpClient --><dependency><groupId>org.apache.httpcomponents</groupId><artifactId>httpclient</artifactId><version>4.5.13</version></dependency>
bean注入需要扫描的包
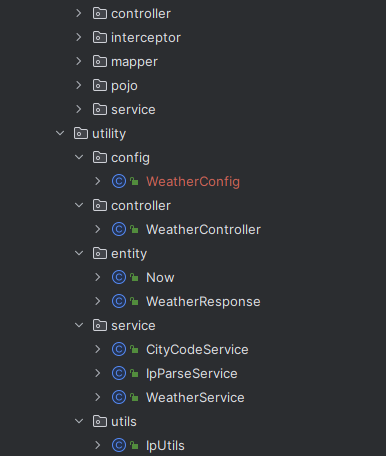
- 我将所有的外置工具都放到
utility中; - 配置
RestTemplate(用于发送HTTP请求)
<!-- 扫描Controller和Service所在的包 --><context:component-scan base-package="com.utility"/><!-- 配置RestTemplate(用于发送HTTP请求) --><bean id="restTemplate" class="org.springframework.web.client.RestTemplate"/>
目录如下:
配置秘钥
public class WeatherConfig {// 和风天气API配置public static final String API_URL = "https://devapi.qweather.com/v7/weather/now";public static final String API_KEY = "你的密钥"; // 替换为实际密钥public static final String CITY_ID = "101010100"; // 北京
}
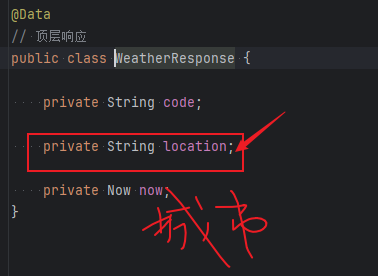
编写实体类
- 返回显示的数据,
应答代码,所需数据;
// 顶层响应
public class WeatherResponse {private String code;private Now now;// getter + setter
}
// 当前天气详情
public class Now {private String temp;private String text;private String windDir;private String humidity;// getter + setter
}
编写逻辑层代码
- 调用和风天气API
- 处理数据,符合URL规范,参考官方文档进行
import org.springframework.beans.factory.annotation.Autowired;
import org.springframework.stereotype.Service;
import org.springframework.web.client.RestTemplate;
import com.weather.config.WeatherConfig;@Service
public class WeatherService {@Autowiredprivate RestTemplate restTemplate;// 获取当前天气public WeatherResponse getCurrentWeather() {// 拼接请求URLString url = String.format("%s?location=%s&key=%s",WeatherConfig.API_URL,WeatherConfig.CITY_ID,WeatherConfig.API_KEY);// 调用API并返回结果return restTemplate.getForObject(url, WeatherResponse.class);}
}
控制层代码
- 返回视图解析器,返回页面显示详情信息
- 返回ajax,动态加载页面,在页面小地方加载内容
@Controller
@RequestMapping("/weather")
public class WeatherController {@Autowiredprivate WeatherService weatherService;@Autowiredprivate IpParseService ipParseService;// 响应JSON格式的天气数据@GetMapping("/current/json")@ResponseBody // 表示返回JSON而非视图public WeatherResponse getCurrentWeather(HttpServletRequest request) {String city = ipParseService.getCityByIp(IpUtils.getRealIp(request));WeatherResponse weather = weatherService.getCurrentWeather(city);weather.setLocation(city);return weather;}@GetMapping("/current")public String getCurrentWeather(HttpServletRequest request, Model mode) {String city = ipParseService.getCityByIp(IpUtils.getRealIp(request));WeatherResponse weather = weatherService.getCurrentWeather(city);weather.setLocation(city);mode.addAttribute("weather", weather);return "weather";}
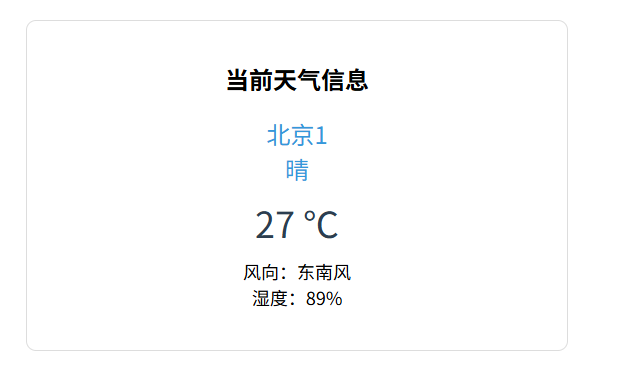
View层视图显示
- 动态加载的 使用ajax
$.ajax({url: "/weather/current/json",type: "GET",dataType: "json",success: function (data) {console.log("天气数据:", data);if (data && data.now !== null) {// $("#weather_info").text(data.now.text);$("#weather-info").html("天气:" + data.now.text);}},error: function (xhr, status, error) {console.log("获取天气数据失败:", error);$("#weather-info").html("天气:获取失败");}})
- 视图跳转,显示视图的内容
<%@ page contentType="text/html;charset=UTF-8" language="java" %>
<%@ taglib prefix="c" uri="http://java.sun.com/jsp/jstl/core" %>
<!DOCTYPE html>
<html>
<head><title>当前天气</title><style>.weather-container {width: 500px;margin: 50px auto;padding: 20px;border: 1px solid #ddd;border-radius: 10px;text-align: center;}.weather-info {margin: 20px 0;font-size: 18px;}.temp {font-size: 36px;color: #2c3e50;margin: 10px 0;}.text {font-size: 24px;color: #3498db;}</style>
</head>
<body>
<div class="weather-container"><h2>当前天气信息</h2><!-- 显示天气数据 --><c:if test="${not empty weather}"><div class="weather-info"><div class="text">${weather.location}</div><div class="text">${weather.now.text}</div><div class="temp">${weather.now.temp} ℃</div><div>风向:${weather.now.windDir}</div><div>湿度:${weather.now.humidity}%</div></div></c:if><!-- 错误提示 --><c:if test="${empty weather or weather.code != '200'}"><div style="color: red;">获取天气失败,请稍后重试</div></c:if>
</div>
</body>
</html>
优化
优化点1:根据登录ip判断所在地,自动使用所在地地点显示天气
- 工具调查,需要使用获取地址的api工具
- 需要用到api:
[https://ip.taobao.com/service/getIpInfo.php](https://ip.taobao.com/service/getIpInfo.php),现在已经永久废止了,使用[https://ip9.com.cn/get?ip=[IP](https://ip9.com.cn/get?ip=[IP)地址]与前面一样,都是会返回JSON格式
控制器
Controller 改动原来的就可以,毕竟是为了保障以后
逻辑层
- 所需数据少,需要变动点少,索性放在一个里面,引入lombok,省下写getter/setter;
- 城市 是需要请求天气所需要的东西,如果进行变动的话需要考虑进去
- 请求响应失败的场合 需要返回个默认地址
package com.utility.service;import com.utility.config.WeatherConfig;
import lombok.Data;
import org.springframework.beans.factory.annotation.Autowired;
import org.springframework.stereotype.Service;
import org.springframework.web.client.RestTemplate;@Service
public class CityCodeService {// 和风天气城市搜索API  curl "https://nj59fbrfwr.re.qweatherapi.com/geo/v2/city/lookup?location=北京&key=key***"private static final String CITY_SEARCH_URL = WeatherConfig.API_URL + "/geo/v2/city/lookup";//    @Value("${weather.api.key}")//    private String apiKey;@Autowiredprivate RestTemplate restTemplate;// 根据城市名获取城市ID(如“北京”→“101010100”)public String getCityIdByCityName(String cityName) {try {// 拼接请求URLString url = String.format("%s?location=%s&key=%s",CITY_SEARCH_URL, cityName, WeatherConfig.API_KEY);System.out.println(" 和风天气城市搜索API::" + url);// 调用API并解析结果CitySearchResponse response = restTemplate.getForObject(url, CitySearchResponse.class);if (response != null && "200".equals(response.getCode())&& response.getLocation() != null && !response.getLocation().isEmpty()) {return response.getLocation().get(0).getId(); // 返回第一个匹配的城市ID}} catch (Exception e) {e.printStackTrace();}// 失败时返回默认城市ID : 北京return "101010100";}@Data// 城市搜索API返回的实体类(简化版)public static class CitySearchResponse {private String code; // 200表示成功private java.util.List<Location> location;}@Datapublic static class Location {private String id; // 城市ID}
}- taobao的废止了,使用了ip9的接口去用;
IpParseService返回一个城市name,这个name,CityCodeService需要使用,我们使用这个去 查找城市代码; Test成功,使用junit测试通过,使用的百度在北京的服务器所在的ip地址;使用单元测试的思想,可以避免我们不停的重复启停服务所花费时间,来回启动会导致 IDE工具 内存不足;
package com.utility.service;import lombok.Data;
import org.junit.Test;
import org.springframework.beans.factory.annotation.Autowired;
import org.springframework.stereotype.Service;
import org.springframework.web.client.RestTemplate;@Service
public class IpParseService {// 淘宝IP解析接口
//    private static final String IP_API_URL = "https://ip.taobao.com/service/getIpInfo.php?ip=";private static final String IP_API_URL = "https://ip9.com.cn/get?ip=";@Autowiredprivate RestTemplate restTemplate;// 根据IP获取城市名称(如“北京”)public String getCityByIp(String ip) {try {// 调用淘宝IP接口String url = IP_API_URL + ip;// 获取原始响应作为字符串
//            String responseString = restTemplate.getForObject(url, String.class);IpResponse response = restTemplate.getForObject(url, IpResponse.class);// 手动解析JSON(需要引入Jackson或其他JSON库)
//            ObjectMapper objectMapper = new ObjectMapper();
//            IpResponse response = objectMapper.readValue(responseString, IpResponse.class);// 解析返回结果(淘宝接口格式特殊,需对应实体类)if (response != null && response.getCode() == 0) {if (response.getData() != null && !response.getData().getCity().isEmpty()) {return response.getData().getCity();}}} catch (Exception e) {e.printStackTrace();}// 解析失败时返回默认城市return "山东";}@Data// 淘宝IP接口返回的实体类(简化版)public static class IpResponse {private int code; // 0表示成功private IpData data;}@Datapublic static class IpData {private String city; // 城市名称}@Testpublic void test() {RestTemplate restTemplate = new RestTemplate();String IP = "182.61.200.108";System.out.println(getCityByIp(IP));}
}
工具类
- 解析Request中ip地址
package com.utility.utils;import javax.servlet.http.HttpServletRequest;public class IpUtils {// 获取用户真实IP(考虑代理情况)public static String getRealIp(HttpServletRequest request) {String ip = request.getHeader("x-forwarded-for");if (ip == null || ip.isEmpty() || "unknown".equalsIgnoreCase(ip)) {ip = request.getHeader("Proxy-Client-IP");}if (ip == null || ip.isEmpty() || "unknown".equalsIgnoreCase(ip)) {ip = request.getHeader("WL-Proxy-Client-IP");}if (ip == null || ip.isEmpty() || "unknown".equalsIgnoreCase(ip)) {ip = request.getRemoteAddr();}// 多代理情况下,取第一个IPif (ip != null && ip.contains(",")) {ip = ip.split(",")[0].trim();}return ip;}
}
优化点2:地址拆出来,方便以后使用,这样就可以一次请求存在Session中使用,节省api请求次数,提高效率
控制器
Controller 改动原来的就可以,毕竟是为了保障以后
逻辑层
原来功能:
public WeatherResponse getCurrentWeather(HttpServletRequest request) {String cityId =
cityCodeService
.getCityIdByCityName(ipParseService.getCityByIp(IpUtils.getRealIp(request)));}
分析可拆分点,IP转化日期单独拿出,后面再单独去调用;
public WeatherResponse getCurrentWeather(String city) {String cityId = cityCodeService.getCityIdByCityName(city);
}
实体类
需求发生变化,页面内容就要变更,取值的方式就多种多样了,改之前的Entity,返回的ResponseVo中加个字段? 再新写个实体类? 把IpParseService 的 IpData提取出来?思路各色各样
人世间万事万物都是变得,唯唯物辩证法永恒。